 Visualization
Tiered Spice Rack SVG, Three Step Spice Jar Stand Laser Cut File, Twelve Bay Countertop Spice Shelf DXF
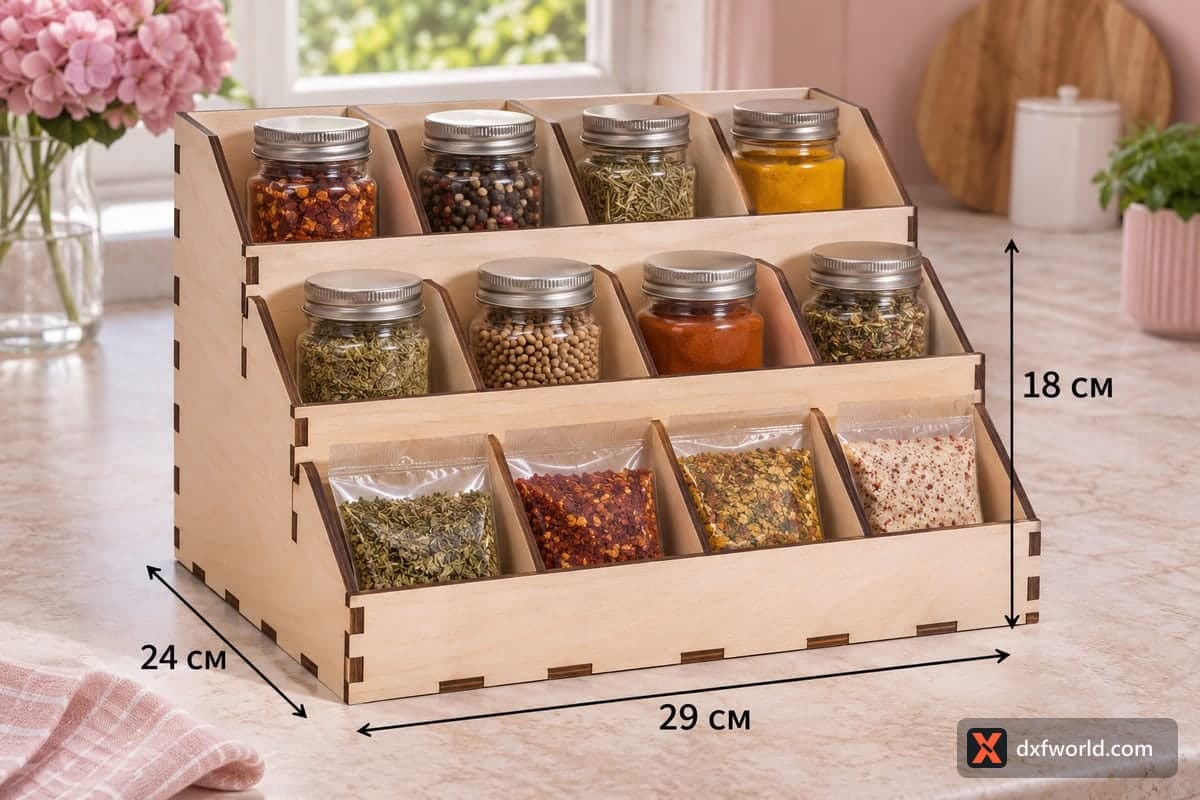
A free laser cut file for a three-step tiered spice rack with twelve bays, four on each step, for jars and spice pouches. It comes as SVG and DXF for 3, 4, 5 and 6 mm plywood, measures 290 × 240 × 180 mm (11.42 × 9.45 × 7.09 in), and its 18 pieces assemble with tabs and slots, with small part numbers engraved to help you put them in the right place.
- Formats
- SVG, DXF
- Outer size (W × D × H)
- 290 × 240 × 180 mm (11.42 × 9.45 × 7.09 in)
- Parts
- 18
- Material thickness
- 3, 4, 5 or 6 mm plywood (a file for each)
- Layout size (3 mm file)
- 1,180 × 328 mm
- Cut length
- 11.39 m
- Est. time, 10 W diode (3 mm)
- 37 min 58 s
- Est. time, 40 W CO2 (3 mm)
- 15 min 49 s
- Layers
- CUT only, no engraving
Free account required to download
How to make it
- 01Pick the file for your plywood, from 3 to 6 mm, and test-fit one shelf tab in a side panel slot cut from scrap.
- 02Cut the 18 numbered parts, spreading them over two or three sheets if your bed is shorter than 1180 mm.
- 03Fit the three shelves, the front board, both step boards and the back brace into one side panel, close with the second side, then push the dividers into each step following the numbers.
- 04Sand the step edges, seal the rack with lacquer, and fill the bottom step with pouches and the upper two with jars.
Three steps, four bays each
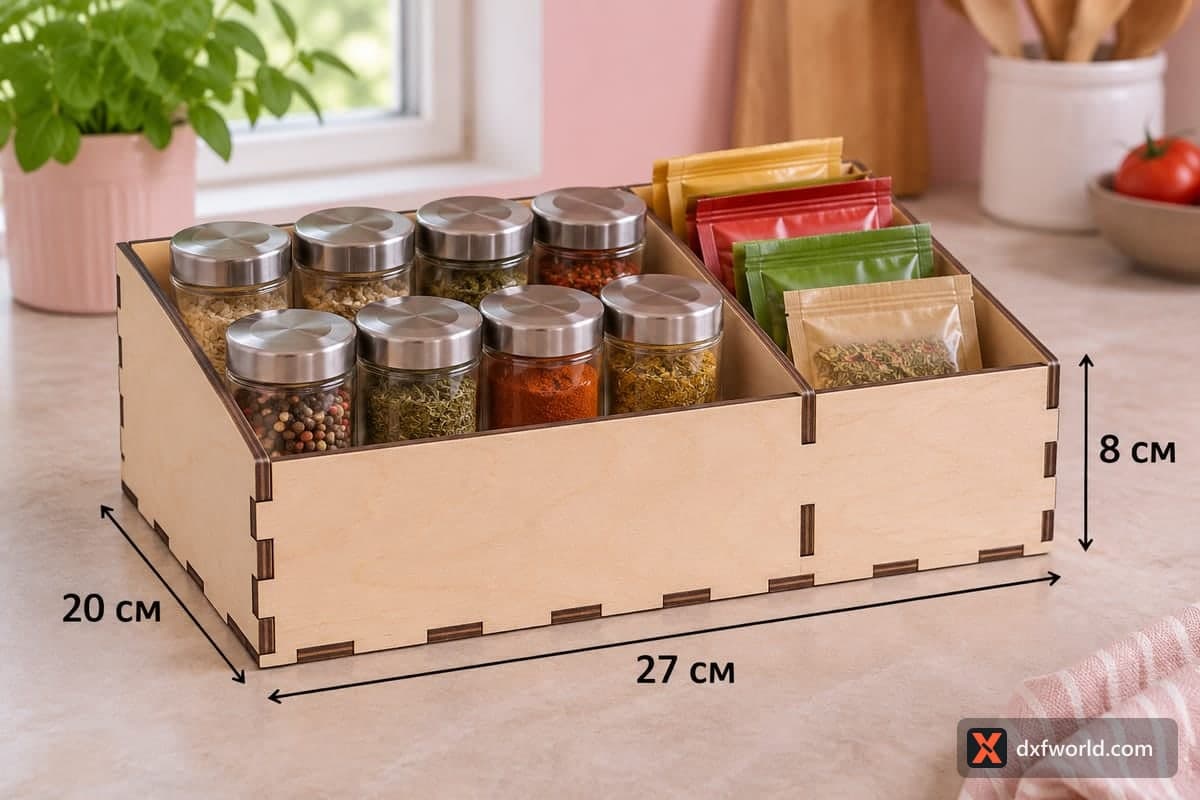
The rack rises in three steps from front to back. Each step is a shelf with a low lip, and three dividers per step make four bays side by side, twelve in all, each roughly 7 cm wide. In the photo the bottom step holds clear zip pouches of dried herbs, chilli and salt blends, and the two upper steps hold capped jars: chilli flakes, peppercorns, thyme and turmeric at the top, oregano, white pepper, paprika and mixed herbs in the middle. The rear bays stand higher, so every label is readable from the front.
This width suits a deep counter or a pantry shelf. Market sellers can offer it with twelve matching jars, and a spice or tea shop can use it as a small counter display for sample pouches.
The 18 pieces and how they go together
Two stepped side panels carry everything. Between them sit three shelves, a front board and two step boards that form the lips, and a brace at the back for stiffness. The nine dividers come in two lengths: three of 97 mm for one shelf and six of 87 mm for the other two. Small numbers are engraved on each part, so the similar shelves and boards are easy to tell apart. That engraving is the only marking; the rest of the file is cut lines.
Cutting time and bed size
The 3 mm layout is 1180 × 328 mm; on a 400 mm bed split it over three sheets, sides on one, shelves and boards on the others. The 3 mm file takes about 37 min 58 s with a 10 W diode, about 15 min 49 s with a 40 W CO2 and about 7 min 36 s with a 100 W CO2. A diode handles 3 or 4 mm well, while 6 mm is better left to a CO2 machine or many slow passes.
Questions about this file
What size jars fit on the steps?
Each bay is about 7 cm wide and the shelves are roughly 9 to 10 cm deep, so one small round spice jar stands in each bay. Flat pouches fit the front step well.
What are the numbers engraved on the parts?
They identify each piece so the shelves, boards and two divider lengths go in the right place. Sand them lightly after assembly if you prefer a clean surface.
Is the rack stable when every bay is full?
Yes, the stepped sides and the back brace keep it steady on a flat counter. 4 mm or thicker plywood adds stiffness if you load heavy glass jars.
Should I use plywood or acrylic for this rack?
Plywood is the natural choice for a kitchen rack. Acrylic works on a CO2 laser with the matching thickness file, but press the tabs gently so it does not crack.
How do I make it last near the stove?
Seal every piece with clear lacquer or hardwax oil before filling it, and keep it a little away from the hob so heat and grease do not reach it.
Similar files