 Visualization
Spice Caddy SVG, Two Compartment Spice Jar Organizer Laser File, Low Front Seasoning Tray DXF
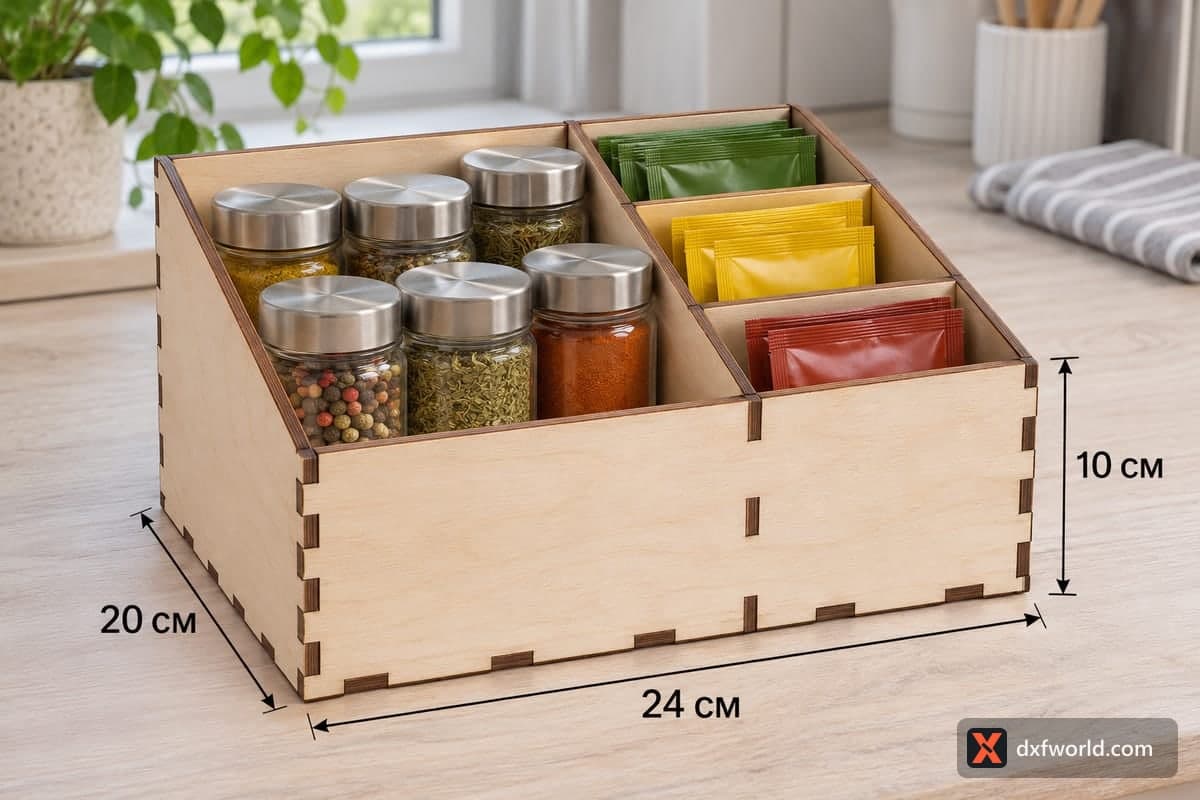
A free laser cut file for a two-section spice caddy: a wide bay for jars beside a narrower one for seasoning sachets, with a 44 mm front and side panels that slope up to an 80 mm back. It comes as SVG and DXF for 3, 4, 5 and 6 mm plywood, measures 270 × 200 × 80 mm (10.63 × 7.87 × 3.15 in) and is built from just 6 pieces joined with tabs and slots.
- Formats
- SVG, DXF
- Outer size (W × D × H)
- 270 × 200 × 80 mm (10.63 × 7.87 × 3.15 in)
- Parts
- 6
- Material thickness
- 3, 4, 5 or 6 mm plywood (a file for each)
- Layout size (3 mm file)
- 960 × 292 mm
- Cut length
- 4.21 m
- Est. time, 10 W diode (3 mm)
- 14 min 02 s
- Est. time, 40 W CO2 (3 mm)
- 5 min 51 s
- Layers
- CUT only, no engraving
Free account required to download
How to make it
- 01Open the file that matches your sheet, from 3 to 6 mm, and test one tab of the divider in a scrap slot before the full run.
- 02Cut the six pieces; if your bed is shorter than 960 mm, give the base a sheet of its own.
- 03Set the back and the two sloped sides into the base, press the 44 mm front into place, then drop the divider in from above.
- 04Round over the slanted edges with fine sandpaper, oil the wood and fill the wide bay with jars and the narrow one with sachets.
Two bays, nothing fussy
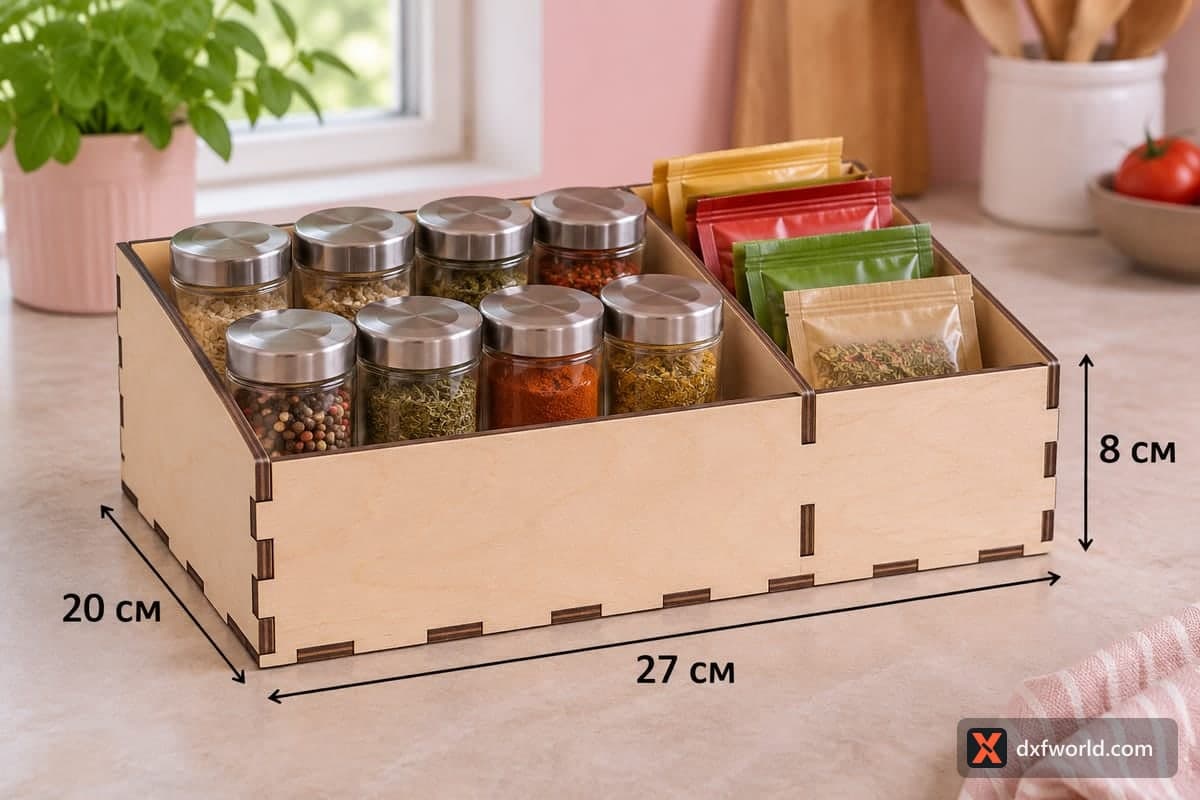
This is the simplest box in the spice range: base, back, front, two sides and a single divider that runs the full 200 mm from front to back. In the photo the left bay carries eight jars with brushed metal lids, standing in two rows of four, while the right bay keeps zip pouches and sachets upright like files in a drawer. With only one divider, both bays stay open enough for odd shapes: a pepper grinder, a tin of stock cubes or a bag of bay leaves.
The front wall is just 44 mm high against the 80 mm back, so the sides fall away steeply. From above you see every lid at once, and a sachet comes out with two fingers.
Cutting and assembly notes
Six parts make it one of the quickest jobs in this category. The 3 mm file runs about 14 min 02 s on a 10 W diode, about 5 min 51 s on a 40 W CO2 and about 2 min 48 s on a 100 W CO2. The layout is 960 × 292 mm; on a smaller bed put the base on its own sheet and the rest on another. For 5 or 6 mm stock a diode needs extra passes, and a CO2 tube makes the job easier.
Push the back and both sides into the base first, then the front. Slide the divider in last, from the top. The tab-and-slot joints hold without glue, and a few drops of wood glue make the caddy permanent.
Who buys these
Small starter organizers sell well at weekend markets because they are cheap to make and quick to pack. Offer it in a set with a matching tea box, or fill it with spice jars as a teacher or neighbour gift. Engrave a family name on the low front if you like; it is the first thing people see on the counter.
Questions about this file
How many jars fit in the left bay?
The photo shows eight jars in two rows of four. Squat jars or a small grinder can share the same space.
Can I move the divider to get two equal halves?
Its position is set by the slots in the base and walls, so moving it means editing those slots in a vector editor. Keep each slot as wide as your plywood is thick.
Will this caddy work in acrylic?
Yes, 3 mm acrylic cuts cleanly on a CO2 laser with the 3 mm file. Diode lasers struggle with clear acrylic, so plywood or MDF is the safer choice there.
Which plywood thickness looks best?
3 or 4 mm keeps this small caddy light and neat. 6 mm gives a chunkier rustic look, though the low front then looks rather heavy.
How do I protect it from cooking grease?
A wipe-on polyurethane or hardwax oil seals the plywood, so oily fingerprints come off with a damp cloth.
Similar files