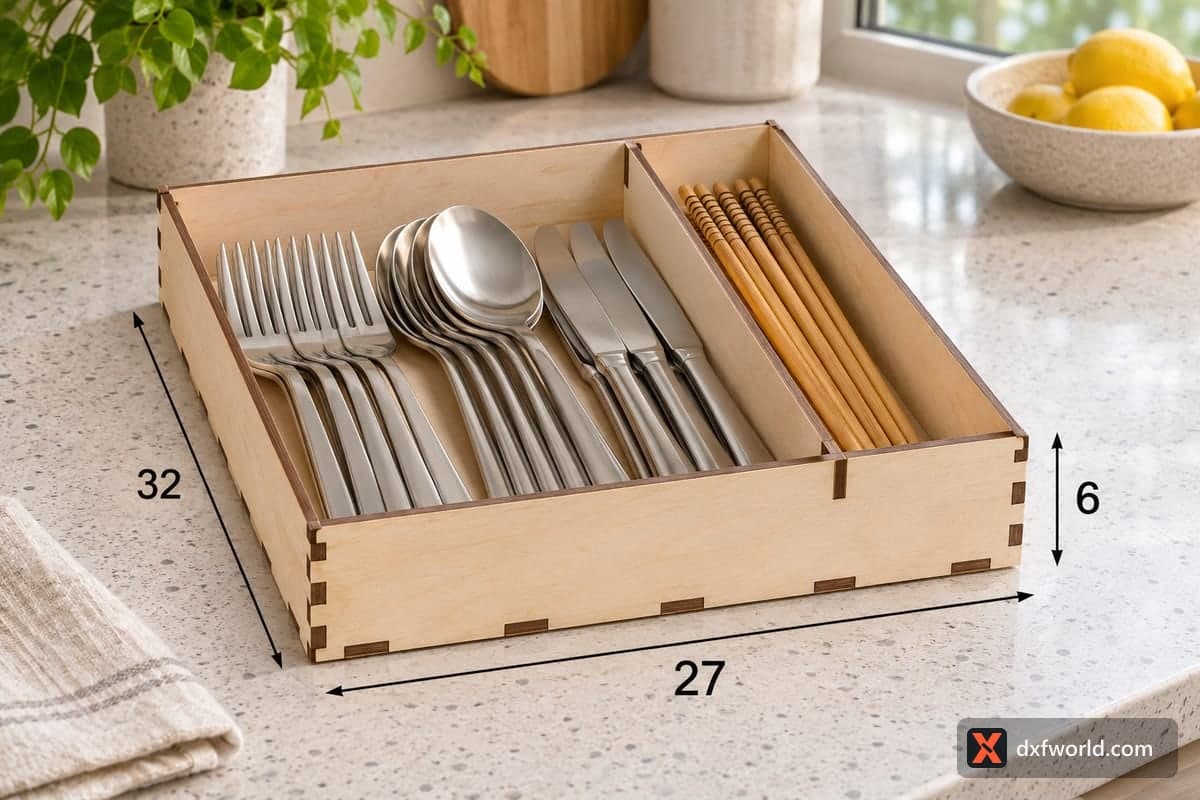
 Visualization
Cutlery Drawer Tray SVG, Two Compartment Utensil Organizer Laser File, Chopstick Tray DXF
A free SVG and DXF file for a simple wooden cutlery drawer tray split into two sections by one long divider. It is 270 × 320 × 60 mm (10.63 × 12.60 × 2.36 in), has only 6 plywood pieces that lock together with tabs and slots, and the download has separate files for 3, 4, 5 and 6 mm plywood.
- Formats
- SVG, DXF
- Outer size (W × D × H)
- 270 × 320 × 60 mm (10.63 × 12.60 × 2.36 in)
- Parts
- 6
- Material thickness
- 3, 4, 5 or 6 mm plywood (a file for each)
- Layout size (3 mm file)
- 1,200 × 392 mm
- Cut length
- 5.30 m
- Est. time, 10 W diode (3 mm)
- 17 min 39 s
- Est. time, 40 W CO2 (3 mm)
- 7 min 21 s
- Layers
- CUT only, no engraving
Free account required to download
How to make it
- 01Load the file for your plywood thickness and cut one test slot to confirm a tight, hand-pressed fit.
- 02Cut the base, two long sides, front, back and the single divider, placing the base alone if your bed is shorter than 1200 mm.
- 03Slot the long sides into the base, close the ends with front and back, then push the divider down into its slots.
- 04Sand lightly, oil the tray and set forks, spoons and knives in the wide bay with chopsticks in the narrow lane.
One wide bay, one narrow lane
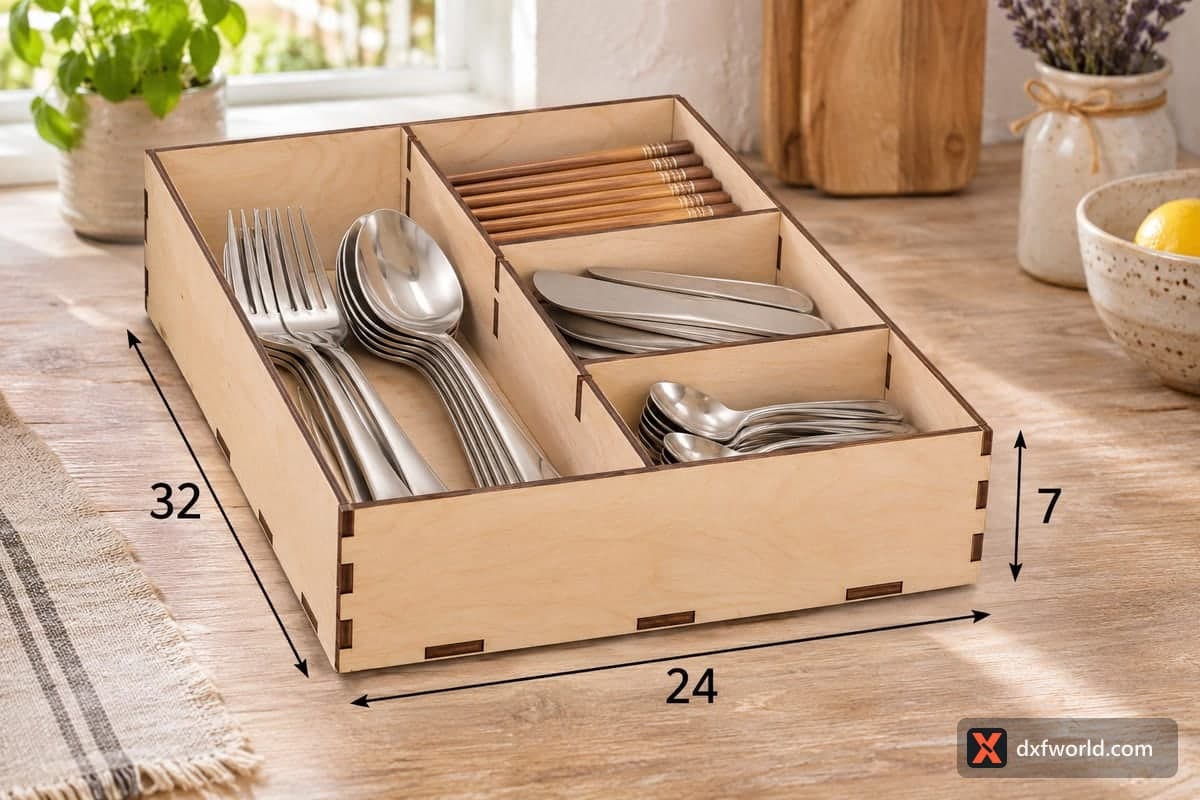
A single divider runs the full depth of the tray. In the photo it leaves a wide bay where forks, spoons and table knives lie side by side, and a slim lane on the right that keeps chopsticks together. You can also use the lane for teaspoons, a cake server or a pastry brush, anything long and thin that tends to get lost under the rest. The tray is deeper than it is wide, so it fits most standard kitchen drawers lengthwise, and its 60 mm walls clear the underside of a drawer above.
A good first project
With six parts and the shortest cutting time in this group, this is an easy file to start with. The layout is 1200 × 392 mm; on a small bed move the base onto its own sheet. Cutting the 3 mm file takes about 17 min 39 s on a 10 W diode, about 7 min 21 s on a 40 W CO2 or about 3 min 32 s on a 100 W CO2. A diode laser cuts 3 mm in one or two passes; 5 and 6 mm need more power or several passes. Put the long sides into the base, add front and back, and slide the divider into its slots. It holds firmly without glue, and a little wood glue fixes it for good.
Finishing and ideas
Sand the edges and wipe on a food-safe oil. Make several in different widths to fill an entire drawer, or cut one for a camper van or holiday cottage kitchen. As a gift, fill it with a set of chopsticks and spoons for a sushi lover. Small sellers can offer it in natural wood and in a stained version side by side.
Questions about this file
What fits in the narrow lane?
Chopsticks, teaspoons, a cake server or other long, thin tools. The lane runs the full 320 mm depth of the tray.
Can I move the divider to make two equal halves?
Yes, shift the divider slots in the base and the end walls in your design software. Keep the slot width the same as your plywood.
Will a 3 mm two-section tray hold up in daily use?
For a drawer insert, yes. It is light and keeps the walls thin so more fits inside; choose 5 or 6 mm only for a heavier tray.
Should I seal it for kitchen use?
A coat of food-safe oil or clear lacquer keeps water and grease out of the wood and makes cleaning easier.
Could the front wall of this drawer tray carry a family name?
You can add your own engraving to the front wall in your laser software. Nothing is engraved in the download itself.
Similar files