 Visualization
Slanted Flatware Organizer SVG, Low Front Cutlery Caddy Laser Cut File, Four Section Silverware Tray DXF
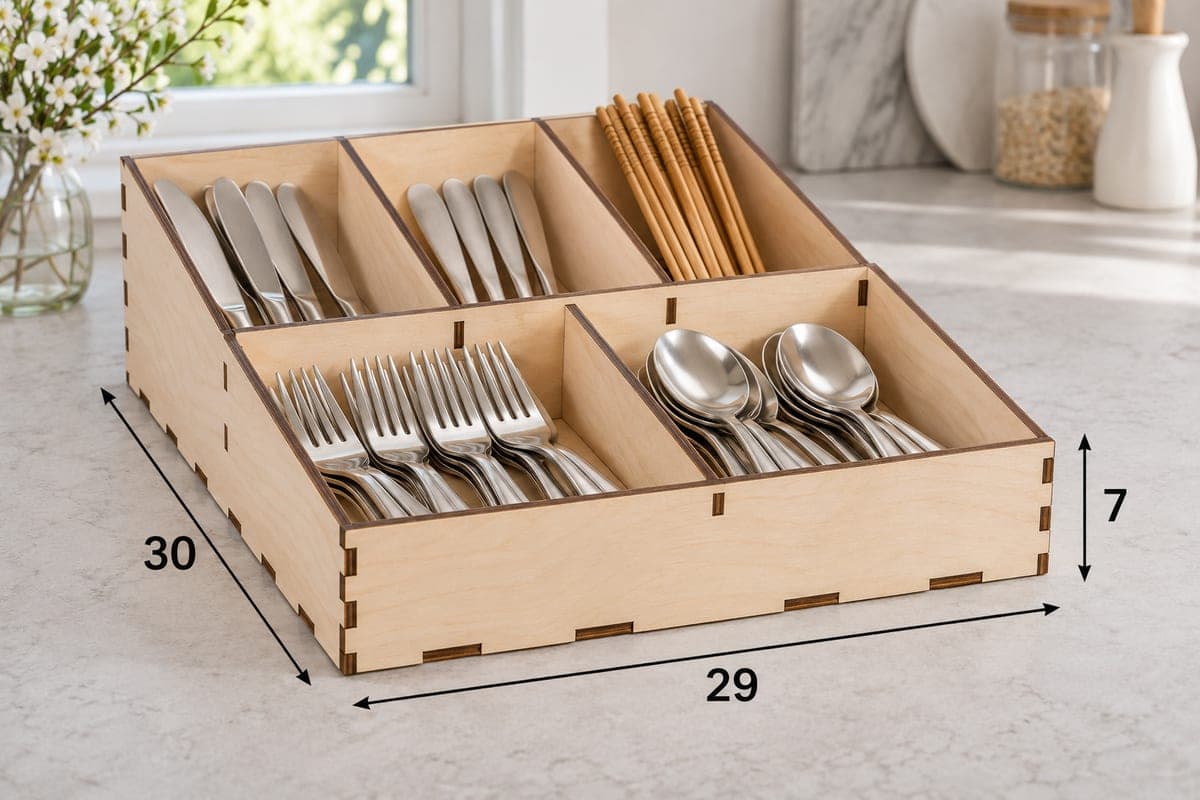
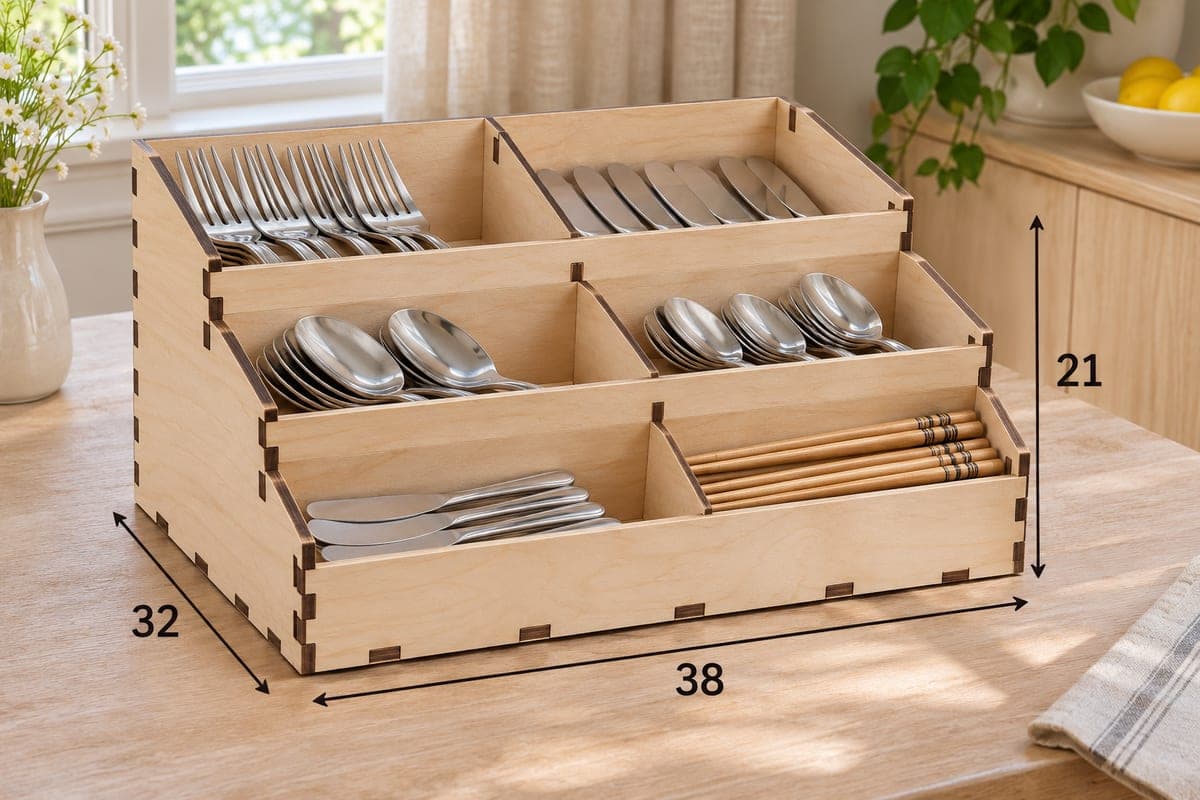
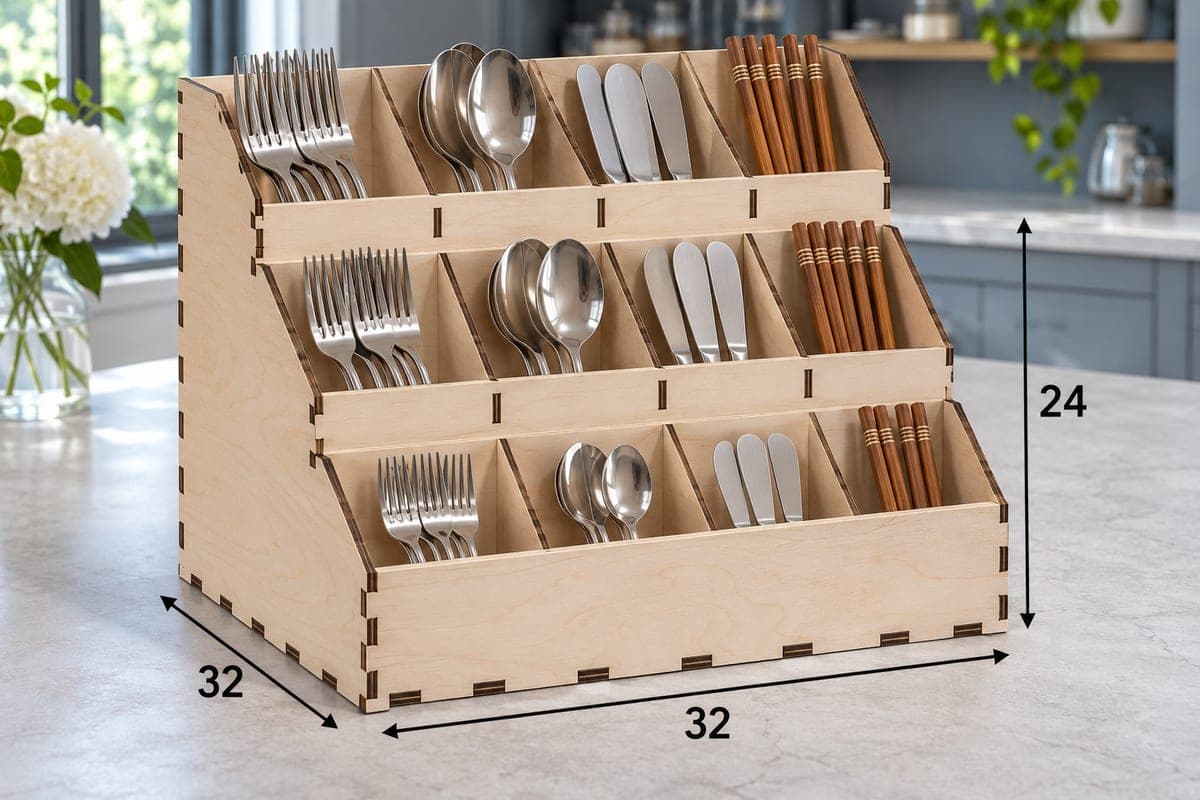
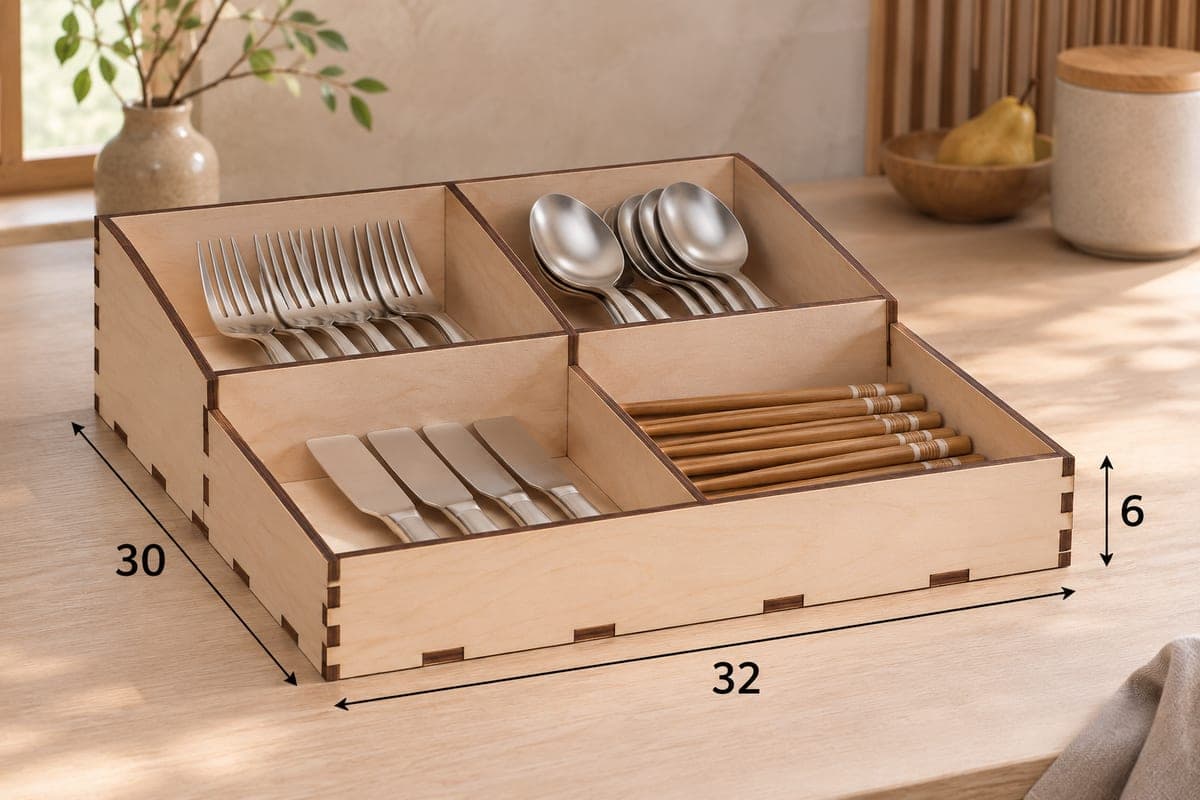
An open flatware organizer with four sections in two rows: a low front row and a full-height back row, with side walls that slope down from 60 mm at the back to 36 mm at the front. It measures 320 × 300 × 60 mm (12.60 × 11.81 × 2.36 in), is cut from 8 plywood pieces that join with tabs and slots, and is a free SVG and DXF download with separate files for 3, 4, 5 and 6 mm plywood.
- Formats
- SVG, DXF
- Outer size (W × D × H)
- 320 × 300 × 60 mm (12.60 × 11.81 × 2.36 in)
- Parts
- 8
- Material thickness
- 3, 4, 5 or 6 mm plywood (a file for each)
- Layout size (3 mm file)
- 1,260 × 372 mm
- Cut length
- 6.56 m
- Est. time, 10 W diode (3 mm)
- 21 min 52 s
- Est. time, 40 W CO2 (3 mm)
- 9 min 07 s
- Layers
- CUT only, no engraving
Free account required to download
How to make it
- 01Choose the plywood thickness, download that file pair and test a single tab against its slot on scrap.
- 02Cut the base, the 36 mm front, the 60 mm back, both sloped sides, the cross divider and the two short dividers.
- 03Join the sloped sides to the base, add front and back, then set the cross divider and slot the low divider in front and the tall one behind.
- 04Round the top corners with sandpaper, finish with oil and place knives and chopsticks in the low front row.
Two rows at two heights
The front wall is only 36 mm tall, 60 percent of the 60 mm back. A cross divider of 47.9 mm sits between the rows, so the front pair of sections is shallow and the back pair is deep. Each row has its own short divider: the front one is 36 mm high and the back one is 60 mm. In the photo, forks and soup spoons stand in the back sections while table knives and wooden chopsticks lie in the low front row, where they are easy to pick up.
This layout works best on a counter or an open shelf, where the sloped sides let you see every handle at a glance. It also fits a deeper drawer if you want the everyday pieces at the front.
Cutting it on a small laser
With just 8 parts this one cuts fast. The 3 mm layout is 1260 × 372 mm; time for the 3 mm file is about 21 min 52 s on a 10 W diode, about 9 min 07 s on a 40 W CO2 and about 4 min 22 s on a 100 W CO2. On a diode with 5 or 6 mm plywood, run two or three passes and check that each piece drops free before moving the sheet. If your bed is shorter than 1260 mm, put the 320 × 300 mm base on its own sheet.
The two sloped side walls are mirror images, so dry-fit them before gluing to make sure the slope runs down toward the front.
Selling and gift ideas
- A starter kitchen gift for students moving into their first flat.
- A salad server and cutlery caddy for a garden table.
- Sell it with a set of four wooden chopsticks in the front row.
Questions about this file
Why are the front sections lower than the back ones?
The front wall is 36 mm and the back 60 mm, so the tray slopes down toward you. Short items in the front row are easy to grab and the taller ones behind stay visible.
Can this go in a drawer?
Yes, if the drawer is at least 300 mm deep and 320 mm wide inside. The 60 mm back height fits most standard drawers.
Would clear acrylic work for this caddy?
Use 3 mm acrylic with the 3 mm file. Glue the joints with acrylic cement because tabs alone feel loose in plastic.
Do I need glue?
The tabs hold the tray together for daily use. A little wood glue on the side joints makes it stiffer if you carry it around full.
What finish holds up next to a wet sink?
Seal all faces and the cut edges with two coats of clear lacquer or hard wax oil, and let washed cutlery dry before putting it back.
Similar files