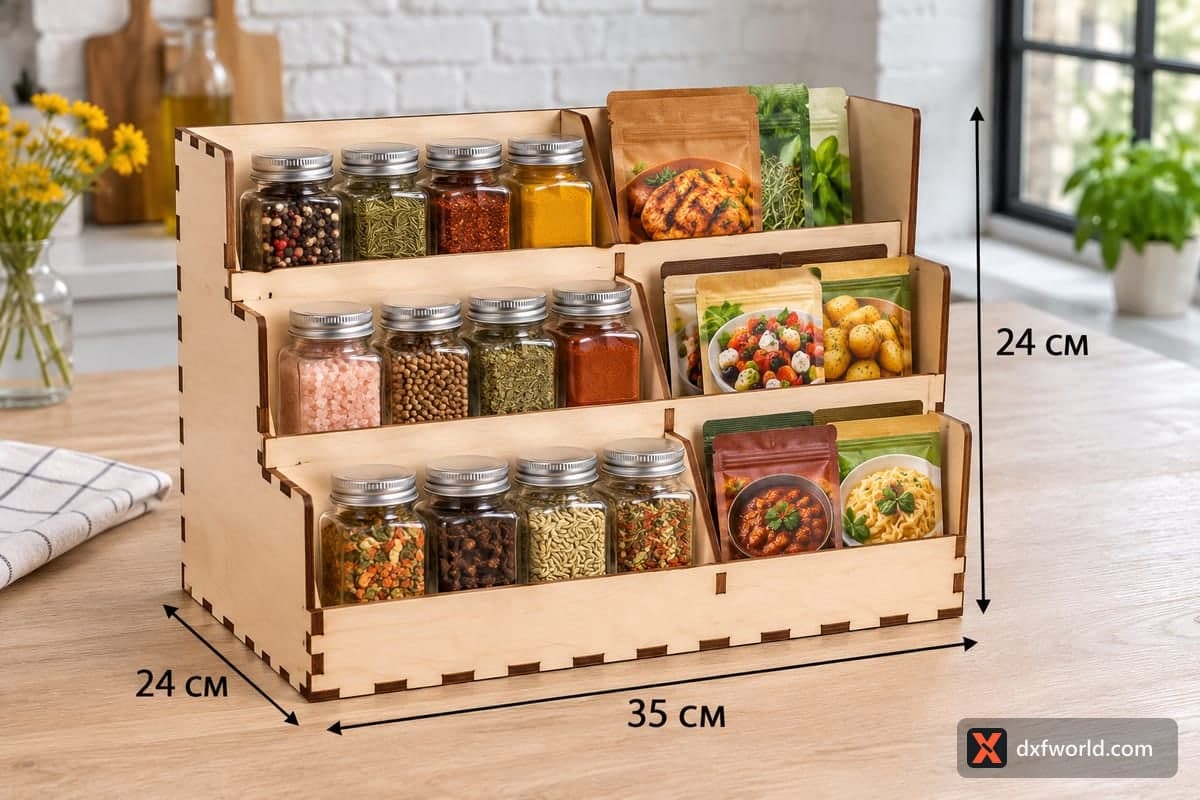
 Visualization
3 Tier Spice Stand SVG, Split Shelf Jar and Pouch Display Laser Cut File, Tall Spice Shelf DXF
A free laser cut file for a three-step tiered spice rack with 6 bays: a centre divider on every step splits it in two, one side for jars and the other for spice pouches. It stands 350 × 240 × 240 mm (13.78 × 9.45 × 9.45 in), is made of 12 plywood pieces that assemble with tabs and slots, and small part numbers are engraved on the pieces to guide assembly. The download has SVG and DXF files for 3, 4, 5 and 6 mm plywood.
- Formats
- SVG, DXF
- Outer size (W × D × H)
- 350 × 240 × 240 mm (13.78 × 9.45 × 9.45 in)
- Parts
- 12
- Material thickness
- 3, 4, 5 or 6 mm plywood (a file for each)
- Layout size (3 mm file)
- 1,420 × 376 mm
- Cut length
- 10.89 m
- Est. time, 10 W diode (3 mm)
- 36 min 17 s
- Est. time, 40 W CO2 (3 mm)
- 15 min 07 s
- Layers
- CUT only, no engraving
Free account required to download
How to make it
- 01Download the version for your plywood thickness and cut one divider plus a scrap with a matching slot to confirm the fit.
- 02Cut all 12 parts; the engraved numbers help you sort the near-identical shelves when they come off the bed.
- 03Stand the two stepped sides up, fit the shelves from the bottom step upwards, add the front board, both step boards and the rear brace, then push one divider into the middle of each shelf.
- 04Lightly sand the step edges, finish with oil or lacquer, and load jars on one side of every step and pouches on the other.
Three steps, two bays each
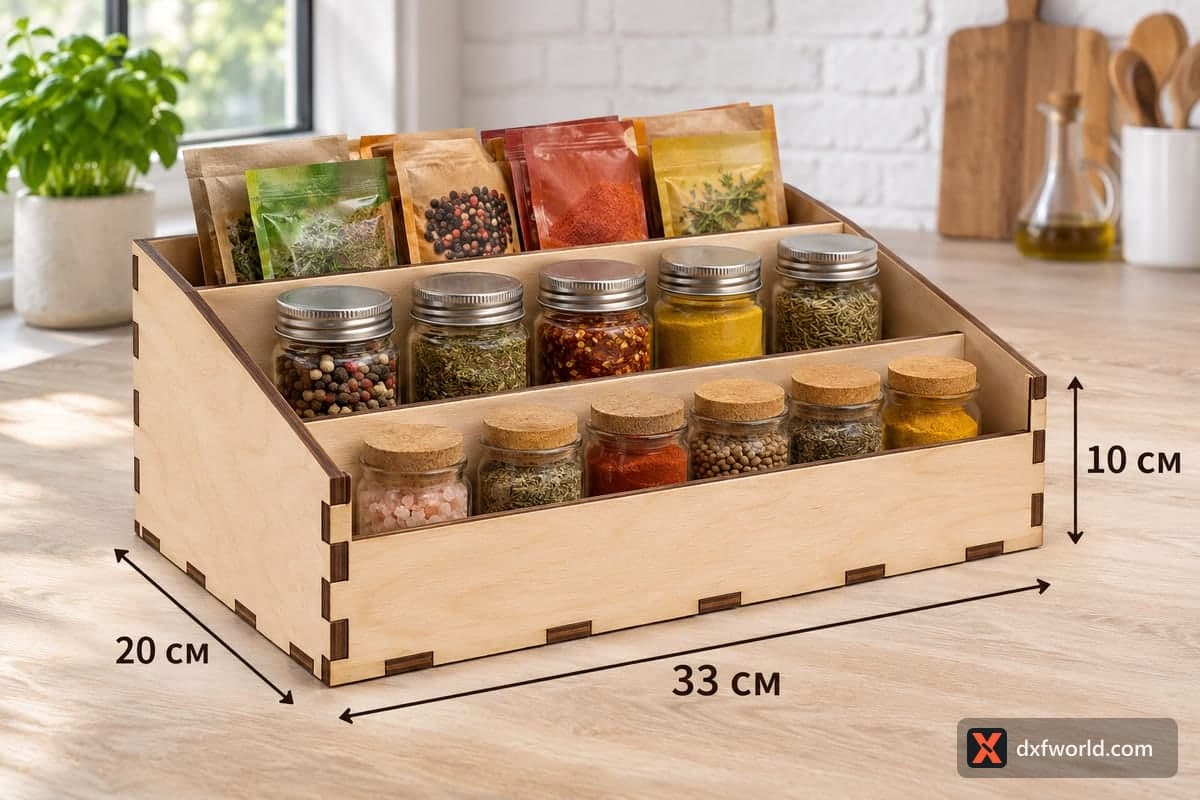
The stand climbs in three steps toward the back, so the top row sits highest and nothing hides behind anything else. Each step is a shelf with a lip at the front (the 72 mm front board on the bottom step, 68 mm step boards above) and one short divider in the middle, giving six bays in total. The lowest shelf is 97 mm deep, the two upper ones 89.4 mm. A brace across the back ties the two stepped side panels together.
In the photo the left bay of each step holds a row of four square jars with silver lids (peppercorns, pink salt, chili, coriander, fennel seed and dried vegetables), while the right bays hold stand-up pouches of spice mixes and meal kits. The pouches lean against the step behind them, so their labels face you.
Cutting the 12 pieces
On 3 mm plywood the layout is 1420 × 376 mm, so most diode owners will split it: the two side panels on one sheet, the long shelves and boards on two more. Cutting time for the 3 mm file is about 36 min 17 s with a 10 W diode, about 15 min 07 s on a 40 W CO2 and about 7 min 15 s on a 100 W CO2. Engraved part numbers on every piece tell you which shelf goes where, a real help since the three shelves look alike. For 5–6 mm plywood a diode needs several passes; a CO2 handles it far more easily.
For gifts and shops
A filled stand makes a generous housewarming gift. Small food sellers can use it on a market table to show jars of blends on one side and refill pouches on the other, with their logo engraved on the side panels.
Questions about this file
What goes in each bay?
Each step is split down the middle, so one half takes a row of four small square jars and the other takes stand-up pouches, as in the photo. Small bottles of oil or vinegar fit the bottom step too.
Is 3 mm plywood strong enough for a full rack?
For jars and pouches 3 mm holds well, because each shelf is carried by both sides and the back brace. Choose 4 or 5 mm if you plan to fill it with heavier glass bottles.
Could the stand be made wider?
Widening the shelves means editing the drawing rather than scaling it, because uniform scaling changes the slot width. Whatever you change, keep the slots equal to your sheet thickness.
Do I need glue?
The shelves lock into the sides with tabs and the rack stands without glue. A thin bead of wood glue along each shelf joint makes it stiffer for heavy bottles.
How do I keep it safe from steam beside the stove?
Seal it with two coats of clear lacquer or a moisture-resistant oil so steam and splashes do not swell the edges, and keep it a little away from direct heat.
Similar files