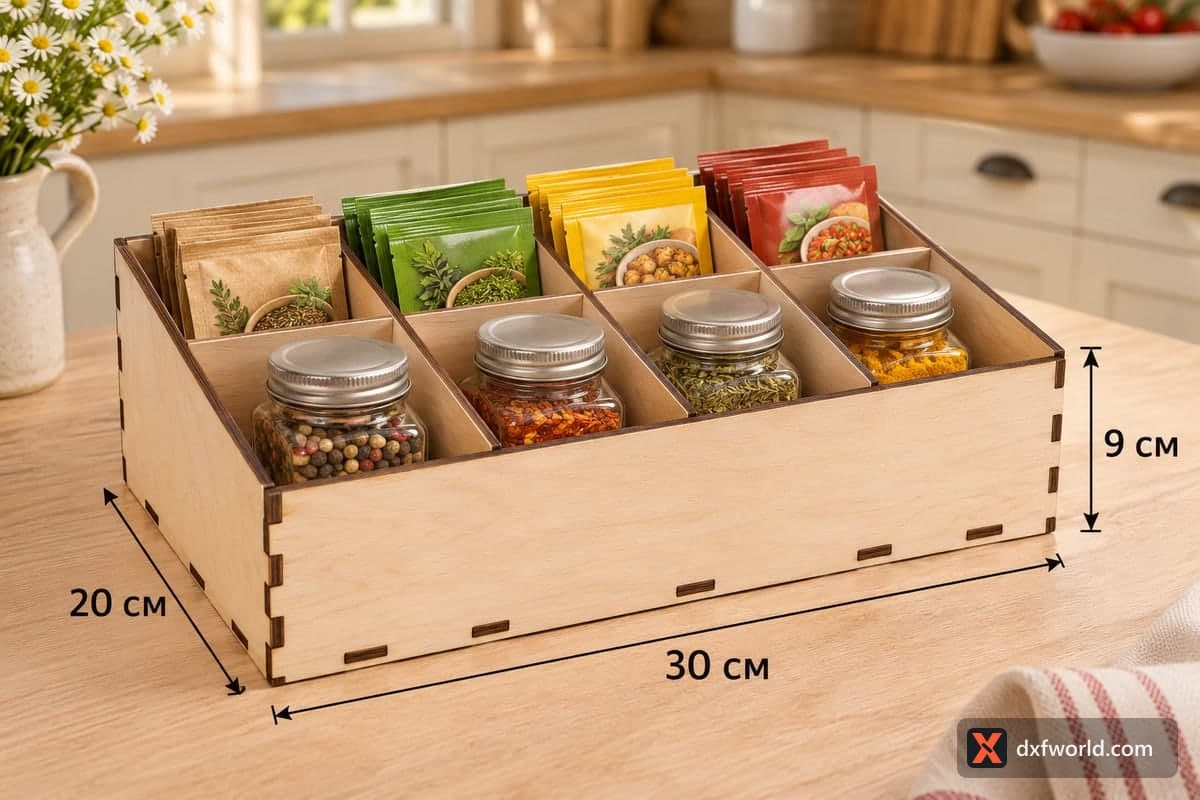
 Visualization
8 Compartment Spice Organizer SVG, Sloped Spice Jar and Packet Tray Laser Cut File, Seasoning Box DXF
A free laser cut file for a sloped spice organizer with 8 compartments: four low front cells for jars and four taller back cells for spice packets. It measures 300 × 200 × 90 mm (11.81 × 7.87 × 3.54 in), the front wall is 50 mm high and the sides slope up to the back. The download has SVG and DXF files for 3, 4, 5 and 6 mm plywood, and the 12 pieces join with tabs and slots.
- Formats
- SVG, DXF
- Outer size (W × D × H)
- 300 × 200 × 90 mm (11.81 × 7.87 × 3.54 in)
- Parts
- 12
- Material thickness
- 3, 4, 5 or 6 mm plywood (a file for each)
- Layout size (3 mm file)
- 1,134 × 396 mm
- Cut length
- 7.55 m
- Est. time, 10 W diode (3 mm)
- 25 min 10 s
- Est. time, 40 W CO2 (3 mm)
- 10 min 29 s
- Layers
- CUT only, no engraving
Free account required to download
How to make it
- 01Open the SVG or DXF that matches your plywood thickness and cut one short divider and the cross divider first to check that the slots fit snugly.
- 02Cut all 12 pieces, moving parts onto two or three sheets if your bed is shorter than 1134 mm.
- 03Set the back and the two sloped sides into the base, close it with the 50 mm front, then slide in the long cross divider and finish with the three tall back dividers and three short front ones.
- 04Sand the slanted top edges, seal with oil or clear lacquer, then load jars in front and packets behind.
Two rows of four
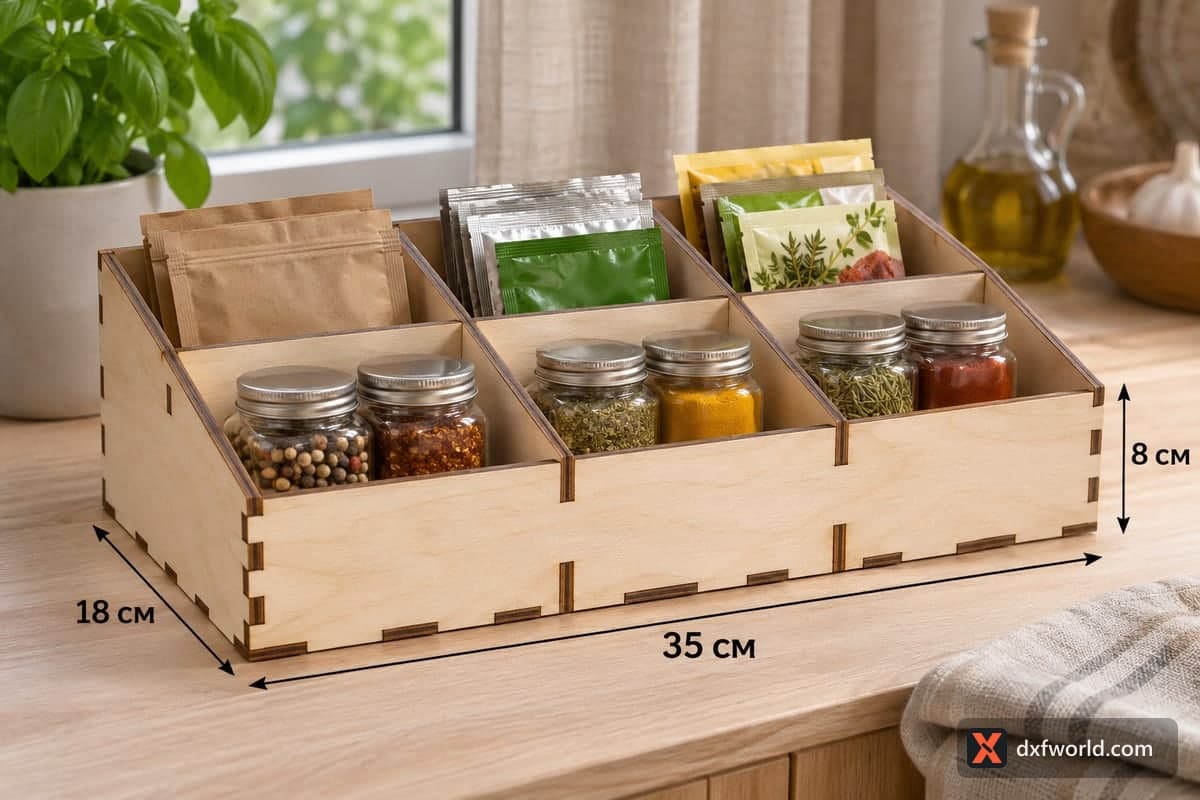
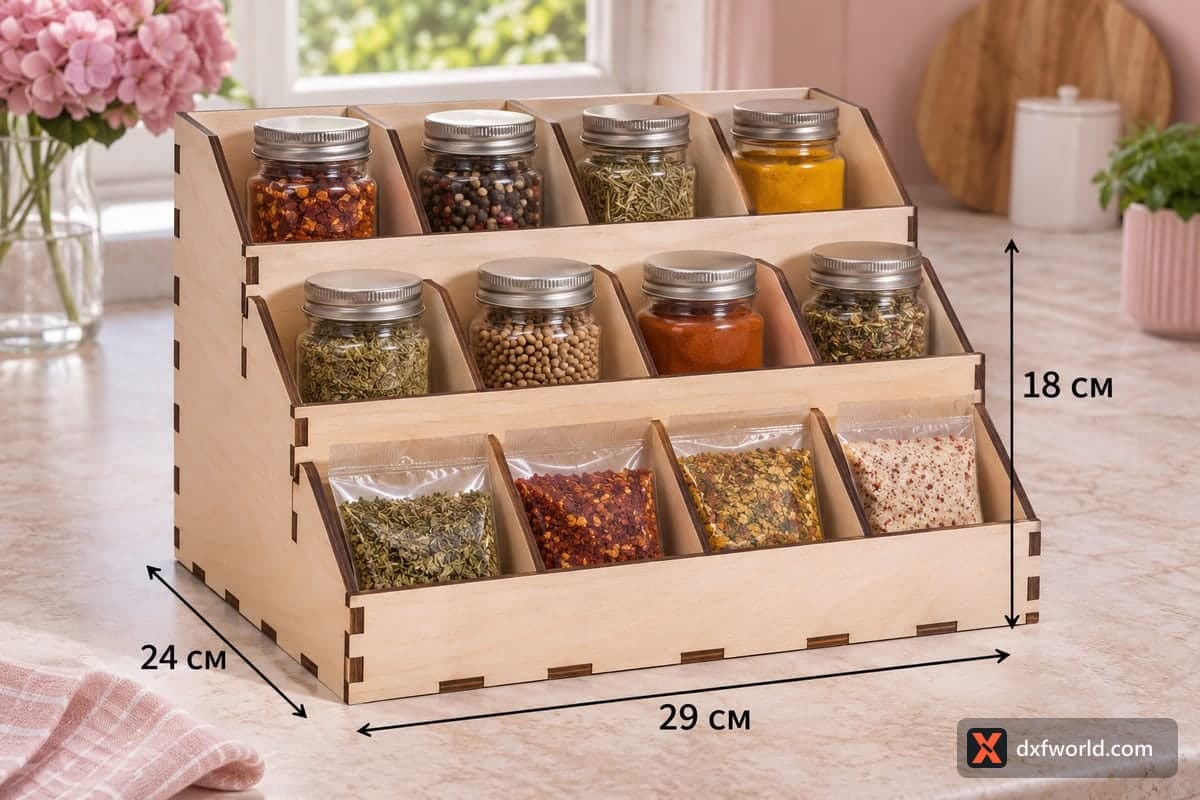
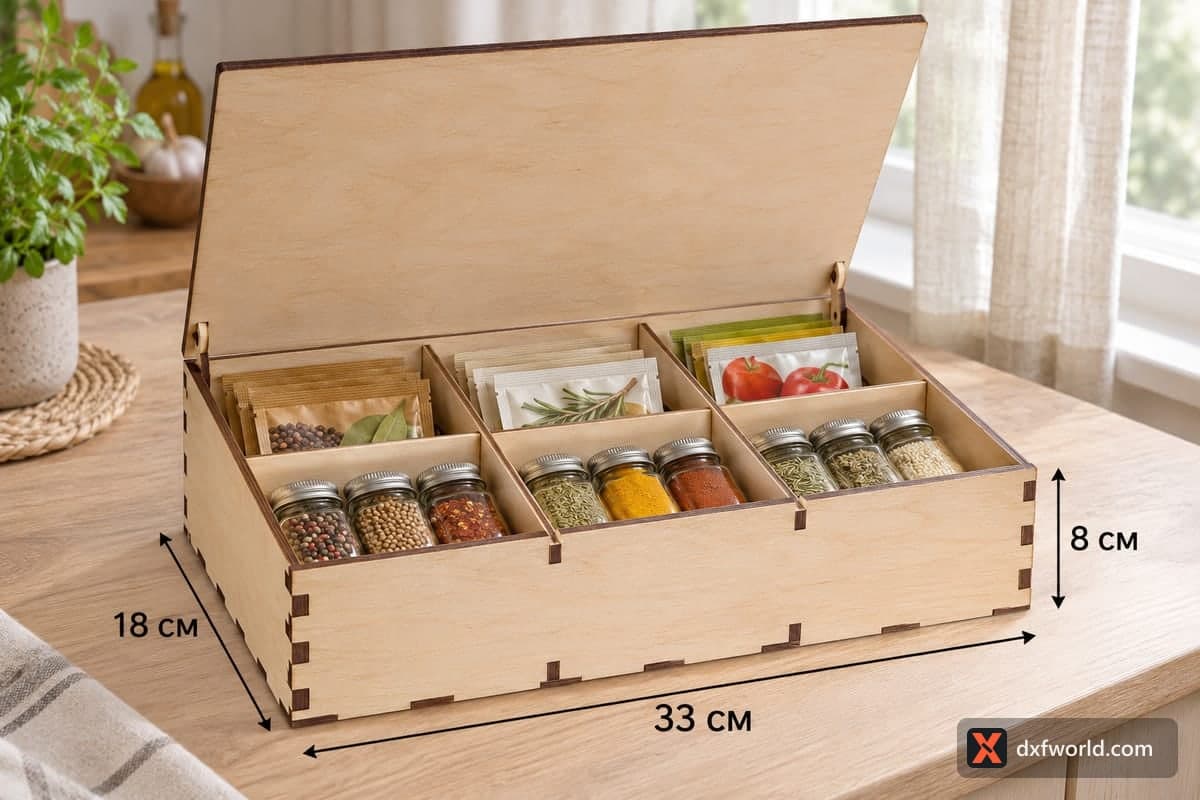
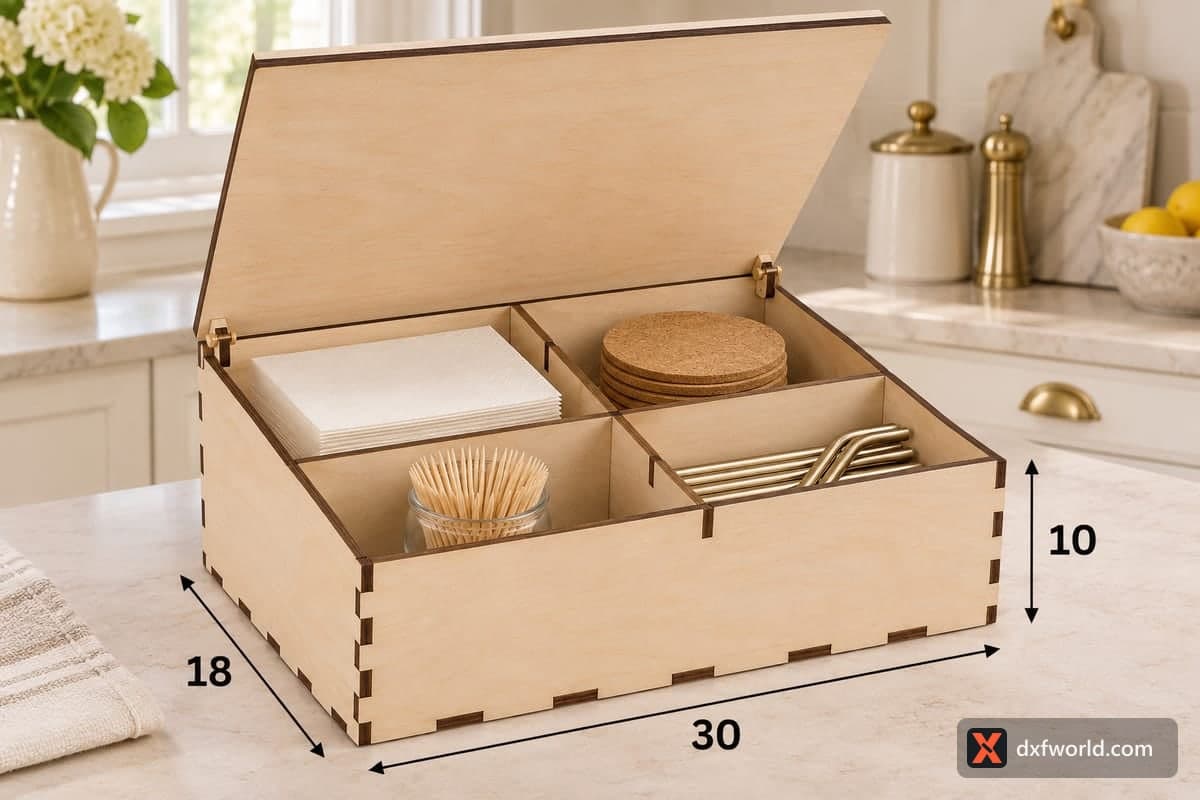
The box is split into eight cells of equal width, four in a low front row and four in a taller back row. One cross divider, 69.7 mm high, runs the full 300 mm length between the rows. Three short dividers in front and three full-height ones behind line up with each other, so the cells form neat columns about 74 mm wide. In the photo each front cell holds one squat jar with a silver screw lid (peppercorns, chili flakes, fennel seed and a yellow blend), and each back cell holds a stack of seasoning packets sorted by colour.
The front wall is only 50 mm tall against a 90 mm back, and the side panels run in a straight slope between them. Jar lids sit right at your fingertips, and the packet fronts behind them stay readable from across the kitchen.
Cutting and putting it together
The 3 mm layout is 1134 × 396 mm. On a smaller diode bed, split it: base and back on one sheet, front, sides and cross divider on a second, the six small dividers on a third. For the 3 mm file the job takes about 25 min 10 s on a 10 W diode, about 10 min 29 s on a 40 W CO2 and about 5 min 02 s on a 100 W CO2. A 10 W diode gets through 3 mm in one or two passes; for 5 or 6 mm plywood plan on extra passes or a CO2 tube. The tabs hold without glue, though a little wood glue along the base makes the shell rigid.
Ideas for gifts and stalls
Fill the front row with four homemade spice rubs and the back with matching refill packets, and you have a ready gift set. Craft-fair sellers can offer it empty or stocked. A family name added as an engraving on the front wall turns it into a wedding or housewarming present.
Questions about this file
What size jars fit the front cells?
Each front cell is roughly 74 mm wide and 97 mm deep, enough for one squat jar like those in the photo. Taller jars work too, since the low front wall does not hide them.
Can I make the organizer larger to hold more jars?
Yes, but scaling changes the slot width as well. After resizing, reset every slot to your real plywood thickness so the tabs still lock.
Is MDF or acrylic an option?
3 mm MDF cuts cleanly with the 3 mm file, but seal it well because it swells if it gets wet. Acrylic works too if you measure its true thickness and pick the closest file.
Which plywood thickness suits a kitchen counter?
4 mm is a good middle ground: sturdier than 3 mm yet still quick to cut. Go to 6 mm only if you have a CO2 laser and want a heavy, chunky look.
How do I protect it from cooking splashes?
Two thin coats of clear lacquer or a food-safe hard wax oil on every face and edge keep grease and water out. Wipe it clean rather than rinsing it.
Similar files