 Visualization
Stepped Oil Bottle Organizer SVG, Tiered Sauce Tray Laser Cut File, Wooden Condiment Riser DXF
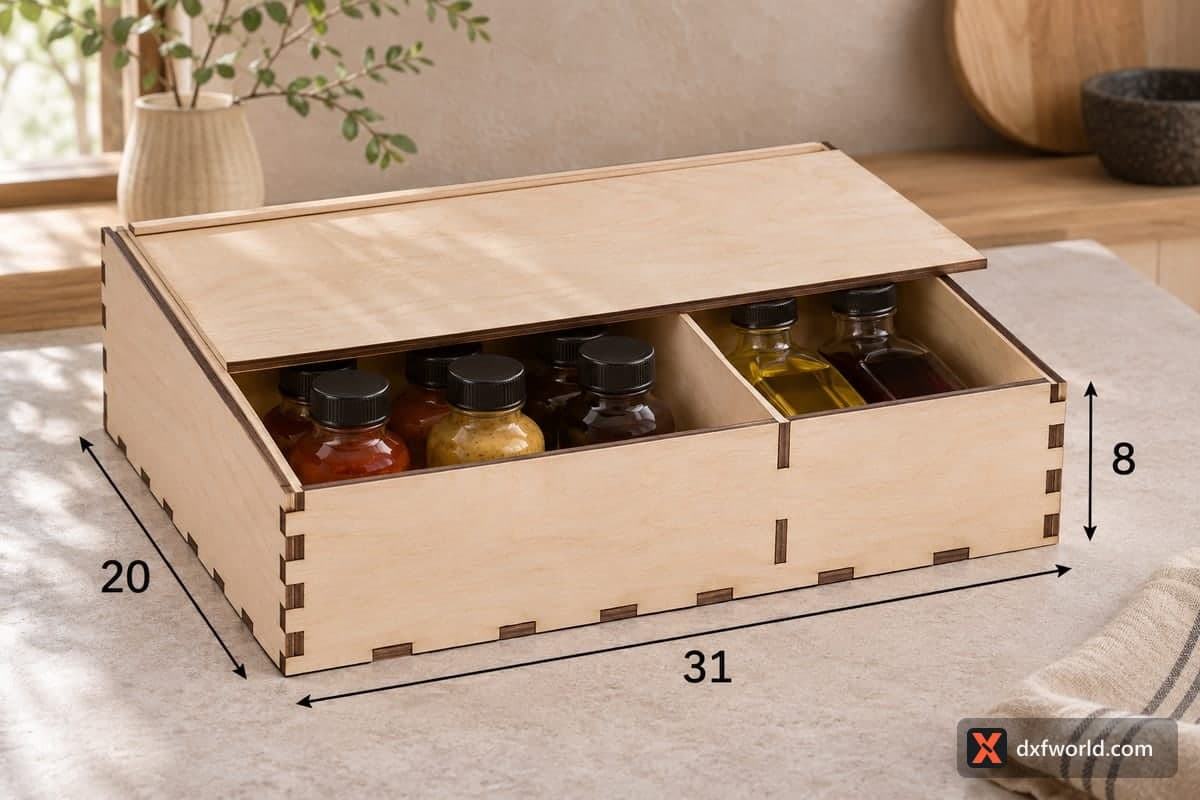
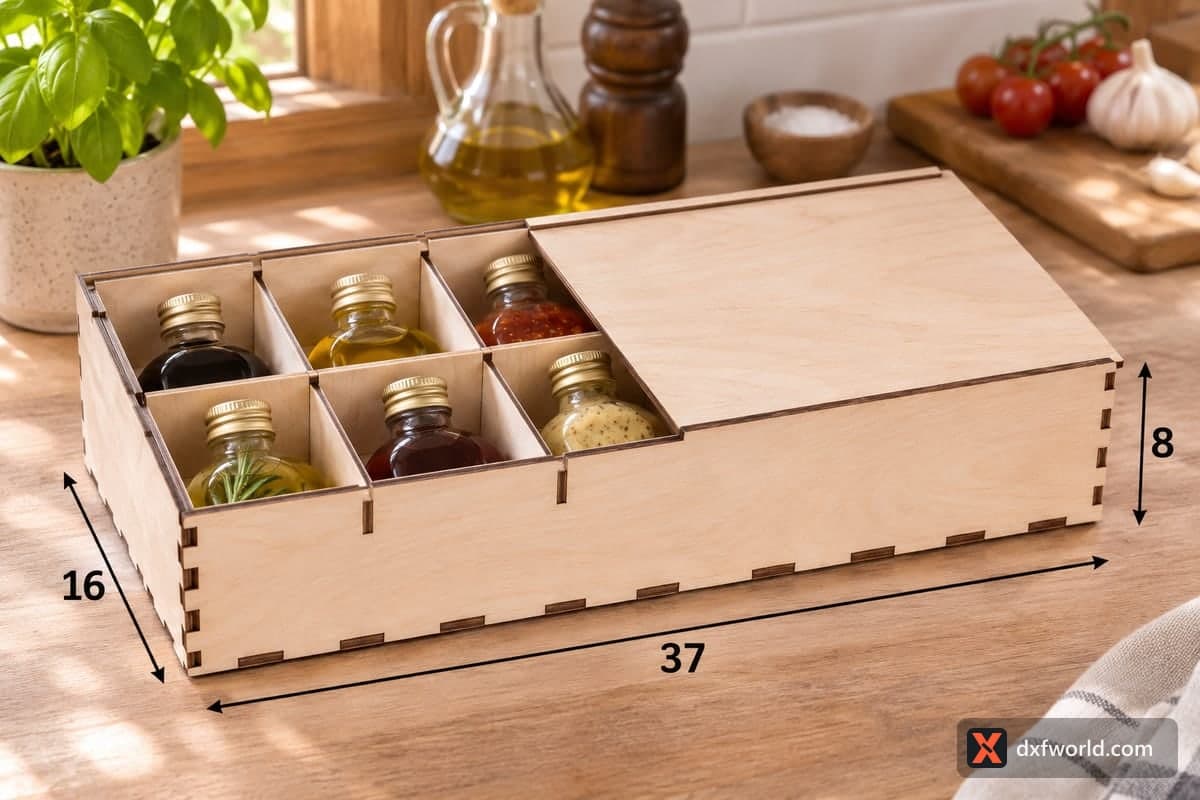
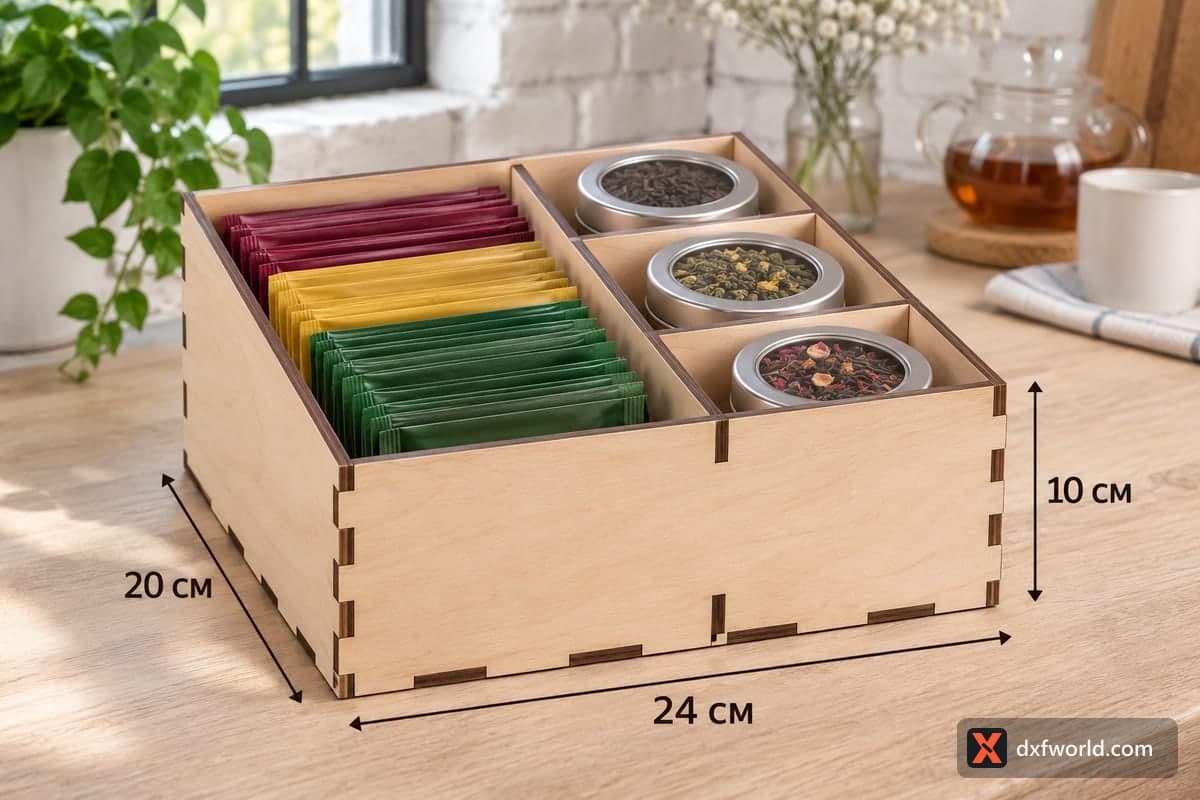
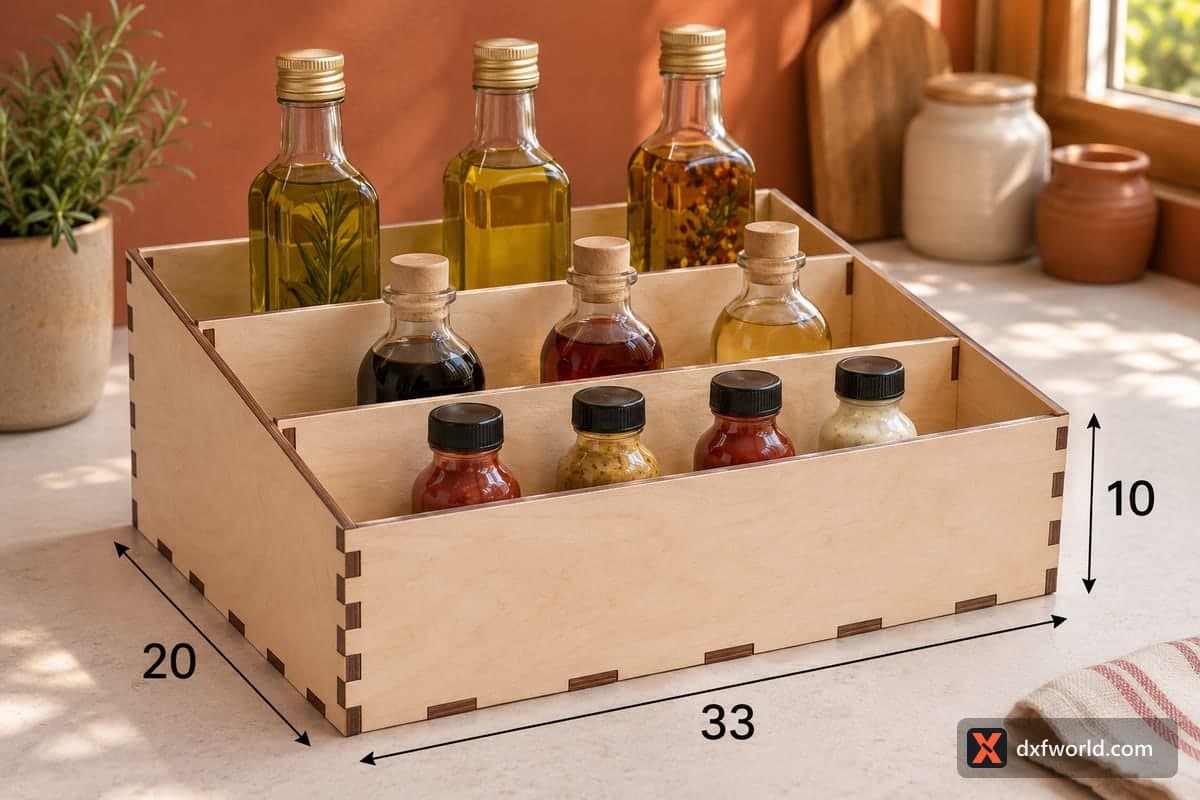
This is a stepped countertop tray for oil bottles, vinegar and small sauce jars, with three rows front to back that rise toward the back and a low sloped front. The free download has SVG and DXF files for 3, 4, 5 and 6 mm plywood and builds a 330 × 200 × 100 mm (12.99 × 7.87 × 3.94 in) tray from 7 pieces that join with tabs and slots.
- Formats
- SVG, DXF
- Outer size (W × D × H)
- 330 × 200 × 100 mm (12.99 × 7.87 × 3.94 in)
- Parts
- 7
- Material thickness
- 3, 4, 5 or 6 mm plywood (a file for each)
- Layout size (3 mm file)
- 1,080 × 312 mm
- Cut length
- 6.23 m
- Est. time, 10 W diode (3 mm)
- 20 min 46 s
- Est. time, 40 W CO2 (3 mm)
- 8 min 39 s
- Layers
- CUT only, no engraving
Free account required to download
How to make it
- 01Open the SVG or DXF folder that matches your plywood thickness and cut one slot from a scrap first to check that a tab fits snugly.
- 02Cut the base, front, back, two sloped sides and the two cross dividers, splitting them over two sheets if your bed is short.
- 03Fit the back and both sloped sides into the base, add the low front, then slide in the shorter divider near the front and the taller one behind it.
- 04Sand the edges, seal with lacquer or food-safe oil, and load tall oil bottles at the back and small sauce jars along the front.
Three rows at three heights
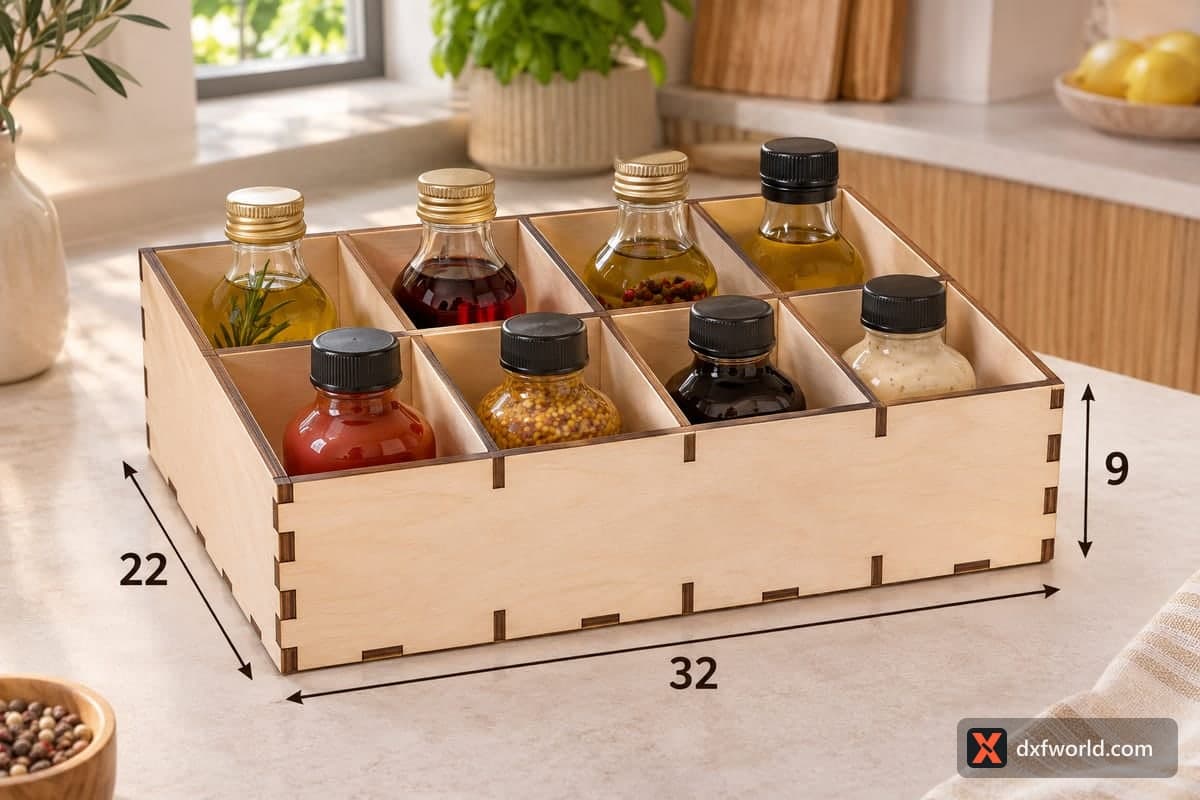
The front wall is only 55 mm tall, the back wall is 100 mm, and the side panels slope down between them. Two cross dividers of different heights (about 70 mm and 84 mm) split the base into three rows that climb toward the back, so the short jars up front never hide the tall bottles behind them. In the photo the front row holds four small hot sauce and mustard jars, the middle row three corked bottles of soy sauce, chili oil and dressing, and the back row three tall olive oil bottles with herbs inside. Each row takes up roughly a third of the 200 mm depth.
Cutting on a smaller bed
All seven pieces sit on a 1080 × 312 mm layout, which is longer than most diode and desktop CO2 beds. Move them onto two or three sheets: base and back on one, sides, front and both dividers on the next. Cutting takes about 20 min 46 s on a 10 W diode, about 8 min 39 s on a 40 W CO2 and about 4 min 09 s on a 100 W CO2, all for the 3 mm file. A 10 W diode gets through 3 mm birch in one or two passes; for 5 or 6 mm stock plan several passes or use a CO2 tube.
Finishing and gift ideas
The tab-and-slot corners hold on their own, and a drop of wood glue in each joint makes the tray permanent. Sand the burnt edges lightly, then seal everything with clear lacquer or a food-safe oil so a drip of olive oil or chili sauce wipes off instead of soaking in. Ideas: fill it with three infused oils and four small sauces as a housewarming gift, sell it at a craft fair next to homemade dressings, or pair it with a matching spice tray for a kitchen set.
Questions about this file
What size bottles does this stepped tray suit?
Tall oil and vinegar bottles go in the back row, medium bottles in the middle and short sauce or mustard jars in the front row. The photo shows three, three and four bottles per row.
Can I scale the tray up for wine bottles?
You can enlarge it, but the slots and tabs are cut to the plywood thickness, so they must stay that width after scaling. Scale the outline, then correct every slot to your material, or the joints will be loose or will not close.
Which plywood thickness is best for a bottle riser?
4 or 5 mm birch gives a firm tray that does not flex under full glass bottles. 3 mm works for small jars and is the quickest to cut on a diode.
Will oil stain the bare plywood?
Yes, raw birch soaks up oil quickly. Two coats of clear lacquer or a hardening food-safe oil keep the rows easy to wipe.
Can I add a name or a kitchen motif?
The file has cut lines only, but you can place your own engraving on the low front wall in your laser software before cutting.
Similar files