 Visualization
Three Bay Sloped Cutlery Tray SVG, Low Front Table Utensil Holder Laser Cut File, Small Slanted Silverware Box DXF
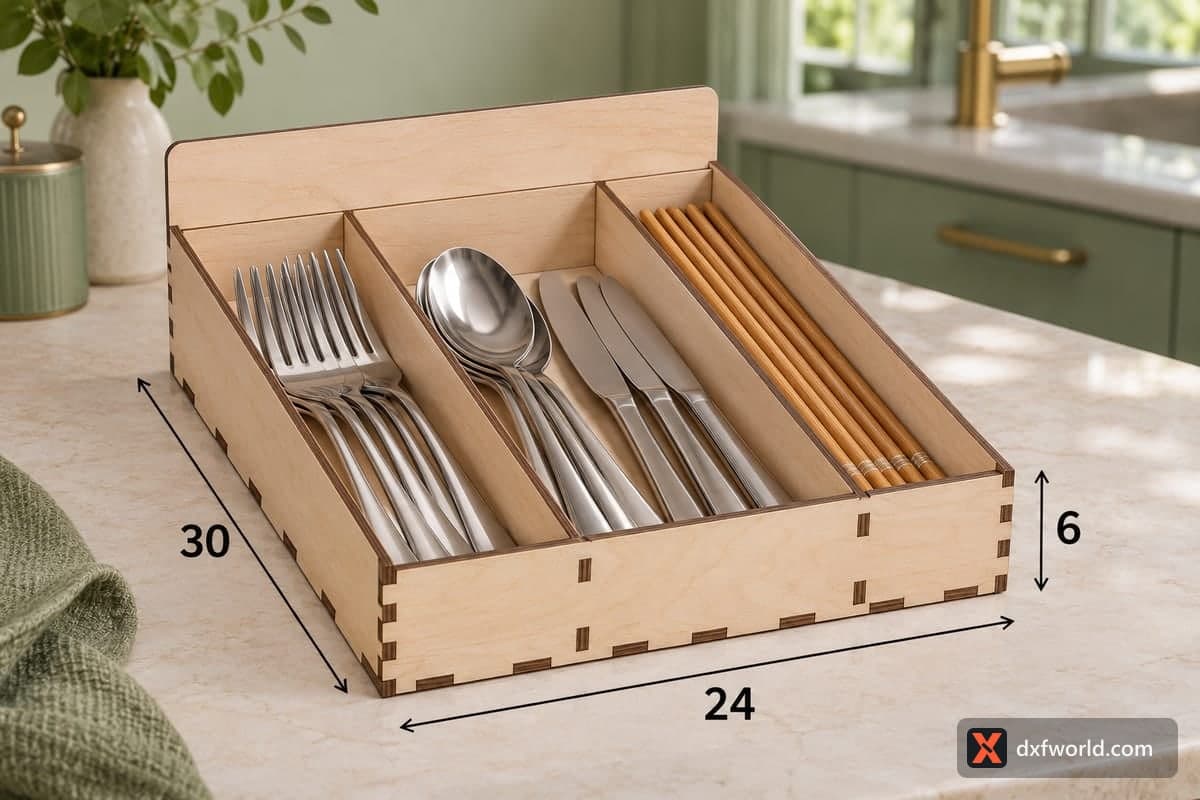
A free laser cut file for a small open cutlery tray with three lanes and a low front, 240 × 300 × 60 mm (9.45 × 11.81 × 2.36 in) outside; the sides slope from the 60 mm back down to a 33 mm front so the handles are easy to see and reach. The download includes SVG and DXF for 3, 4, 5 and 6 mm plywood, and the 7 pieces join with tabs and slots.
- Formats
- SVG, DXF
- Outer size (W × D × H)
- 240 × 300 × 60 mm (9.45 × 11.81 × 2.36 in)
- Parts
- 7
- Material thickness
- 3, 4, 5 or 6 mm plywood (a file for each)
- Layout size (3 mm file)
- 1,100 × 372 mm
- Cut length
- 5.80 m
- Est. time, 10 W diode (3 mm)
- 19 min 19 s
- Est. time, 40 W CO2 (3 mm)
- 8 min 03 s
- Layers
- CUT only, no engraving
Free account required to download
How to make it
- 01Choose the file for your plywood thickness and cut one divider slot on scrap to check the fit.
- 02Cut the seven pieces, keeping track of the two sloped sides and the two sloped dividers.
- 03Place both dividers in the base with their low ends to the front, add the sides and back, then fit the 33 mm front last.
- 04Sand the sloping edges smooth, oil or lacquer the tray, and set it on the table with forks, spoons and knives in separate lanes.
Made for the table, not just the drawer
The front wall is only 33 mm tall, a little over half the height of the back, and the two sides and both dividers slope down to meet it. Set on a dinner table or counter, the tray shows every handle at a glance and lets you pick up a fork without lifting the others. Three lanes run the full depth, each roughly 7.5 cm wide and 29 cm long inside on 3 mm plywood, which is enough for dinner knives and standard chopsticks.
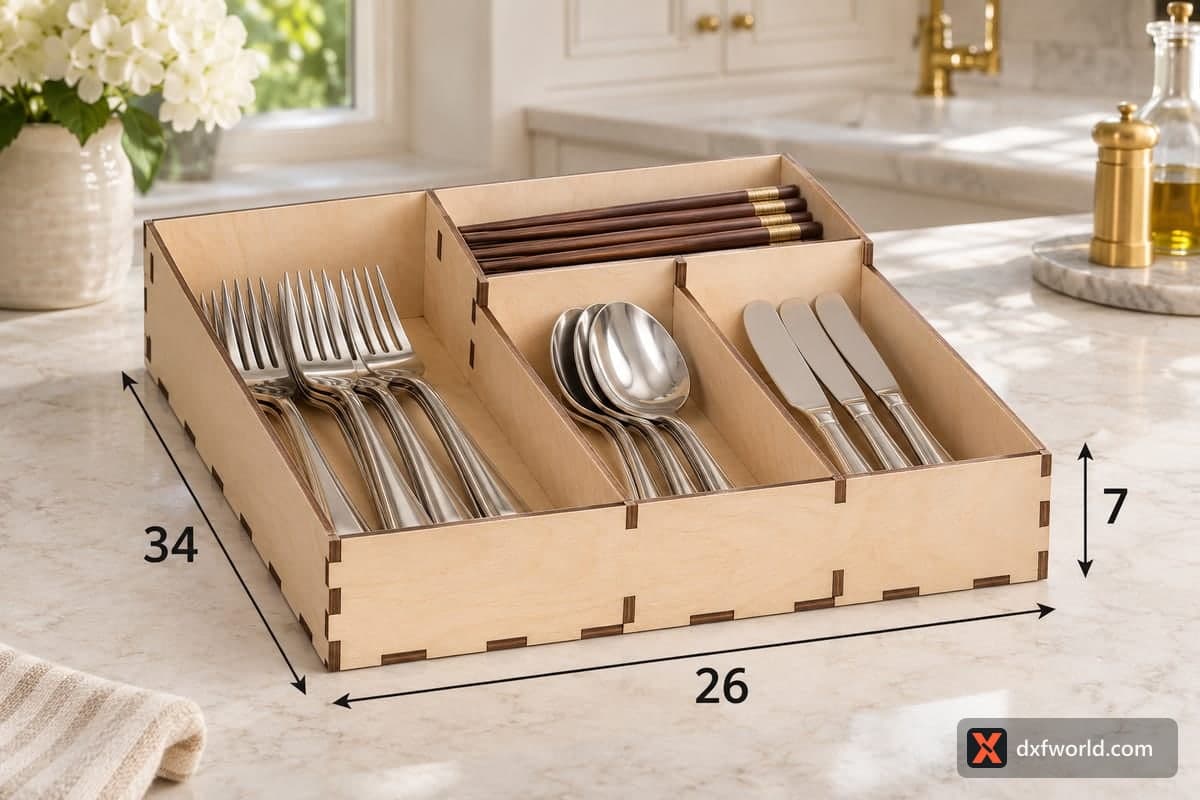
The photo shows the classic family setup: forks on the left, spoons in the middle, knives and a bundle of bamboo chopsticks on the right. It works just as well by a barbecue with tongs and skewers, on a kids' craft table with brushes and pencils, or in a cafe for self-service cutlery.
Cutting and assembly
The 3 mm file takes about 19 min 19 s on a 10 W diode, about 8 min 03 s on a 40 W CO2 and about 3 min 52 s on a 100 W CO2, a short job even on a diode. The 1100 × 372 mm layout splits easily into two sheets on a desktop laser, with the 240 × 300 mm base on one.
Fit the two dividers into the base first, keeping the sloped edges facing the front, then add the sides, the tall back and finally the short front. Because the sides slope, check that each piece faces the right way before pressing it home. Glue is optional; a drop in each corner makes the tray sturdy enough to carry to the table fully loaded.
Selling ideas
Sell it as a table caddy in sets of two for long dining tables, or with a short engraved word added by you on the back wall, such as a family name or "Grill" for an outdoor kitchen.
Questions about this file
Why is the front of this caddy only 33 mm tall?
At 33 mm the front lets you see and grab the handles from the table. The 60 mm back stops cutlery from sliding out behind.
Will it fit in a drawer too?
Yes, it is only 60 mm tall at the back. The low front just makes it easier to reach into from above.
Can I make a wider version with four lanes?
Lengthen the front, back and base in your editor and copy one divider and its slots. Keep every slot at your plywood thickness.
Which plywood thickness suits a table caddy?
4 mm gives a good balance of weight and strength. 3 mm is fine for a drawer, and 5 or 6 mm makes a heavier caddy that does not tip when lifted.
Can I use it outdoors by the grill?
Seal it with an exterior varnish and bring it inside after use. Plywood left out in rain will delaminate.
Similar files