 Visualization
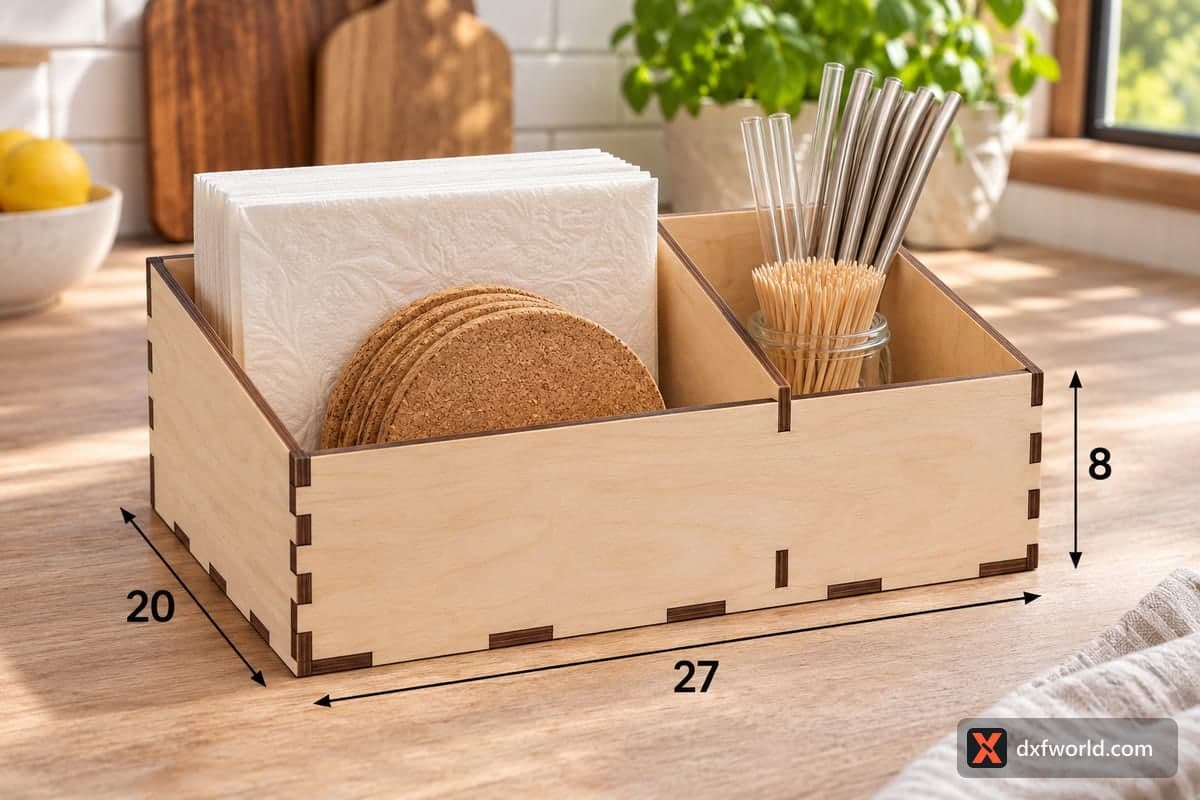
Two Section Napkin Holder SVG, Sloped Front Table Caddy DXF, Wood Napkin and Straw Organizer Laser File
A free laser cut napkin caddy with two side-by-side sections and a sloped front, sized 270 × 200 × 80 mm (10.63 × 7.87 × 3.15 in). It is built from 6 pieces that lock together with tabs and slots, and the download includes SVG and DXF files for 3, 4, 5 and 6 mm plywood.
- Formats
- SVG, DXF
- Outer size (W × D × H)
- 270 × 200 × 80 mm (10.63 × 7.87 × 3.15 in)
- Parts
- 6
- Material thickness
- 3, 4, 5 or 6 mm plywood (a file for each)
- Layout size (3 mm file)
- 960 × 292 mm
- Cut length
- 4.21 m
- Est. time, 10 W diode (3 mm)
- 14 min 02 s
- Est. time, 40 W CO2 (3 mm)
- 5 min 51 s
- Layers
- CUT only, no engraving
Free account required to download
How to make it
- 01Choose the file for the plywood you have and cut a single test slot to confirm the tabs press in snugly.
- 02Cut the 6 parts: low front, back, two sloped sides, base and the centre divider.
- 03Fit the back and both sides into the base, close the box with the front, then slide the divider into its slots from above.
- 04Sand the edges, seal with oil, and fill one bay with napkins and the other with straws or cutlery.
A simple two-bay layout
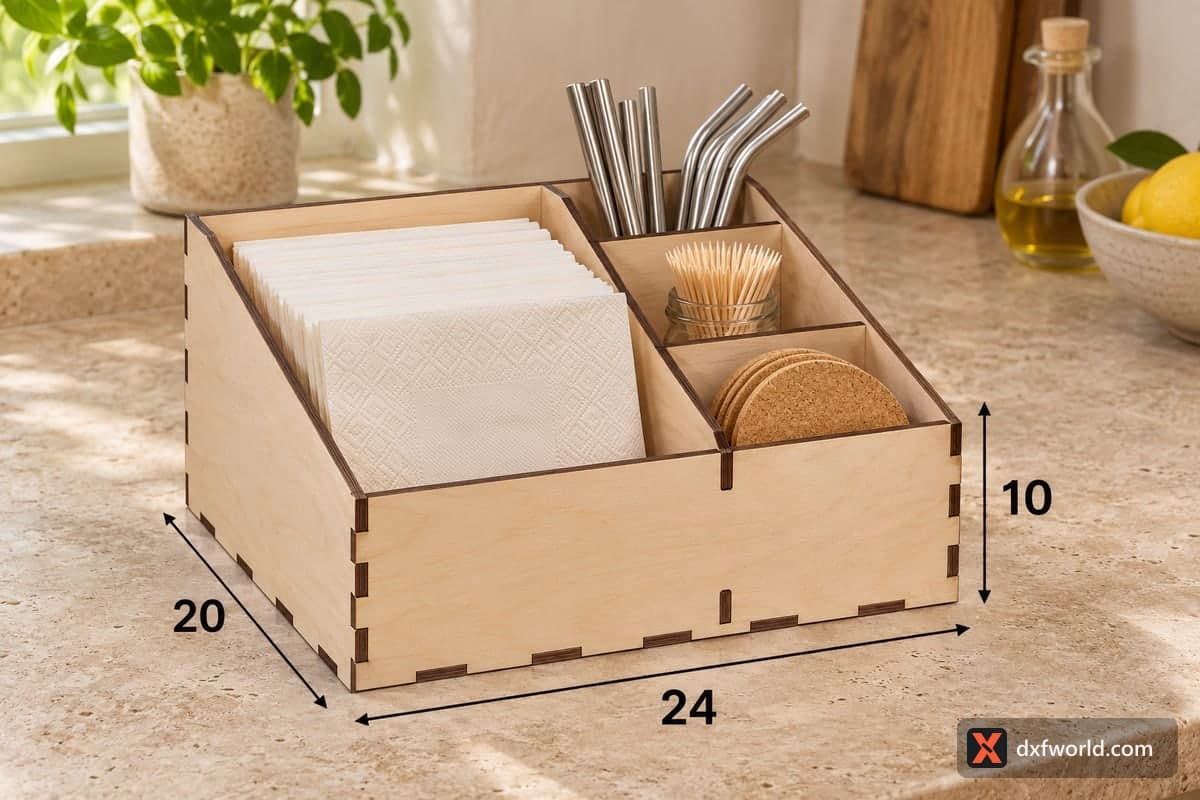
This is the plainest box in the napkin range: one divider runs from front to back and splits the tray into a left and a right bay. The left bay in the photo carries a stack of white napkins with cork coasters leaning in front; the right bay takes a jar of toothpicks and a bundle of glass and metal straws. The front wall is only 44 mm tall while the back is 80 mm, and the sides slope between them, so the napkins lean back slightly and the front of the stack stays visible. At 80 mm high it is low enough to sit in the middle of a dining table without blocking the view across it.
Thickness and cutting time
With only 6 pieces it is a quick job. The 3 mm file takes about 14 min 02 s on a 10 W diode, about 5 min 51 s on a 40 W CO2 and about 2 min 48 s on a 100 W CO2. Thin 3 mm birch keeps the caddy light; 5 or 6 mm makes it sturdier for a busy cafe counter, but a diode will need extra passes at that thickness. The 3 mm layout is 960 × 292 mm, so on a small bed cut the base on its own sheet and the walls and divider on another.
Ways to use and sell it
The tab joints hold on their own; a thin line of wood glue along the base makes the caddy permanent. Oil or lacquer it if it will live next to drinks. Picnic tables, patio sets and food truck counters all suit a low two-bay caddy. As a gift, pair it with linen napkins and reusable straws. Small cafes often buy several identical ones, so batch-cutting four at a time is worth setting up.
Questions about this file
What goes in each of the two bays?
Napkins on one side and straws, toothpicks or a few pieces of cutlery on the other is the usual split. Coasters can lean against the napkin stack as in the photo.
Can I resize it for a smaller table?
You can scale it down, but the tab slots must still equal your board thickness, so correct them after scaling instead of keeping the shrunken widths.
Which thickness should I choose for outdoor tables?
Use 5 or 6 mm plywood for a caddy that gets carried outside and knocked around, and finish it with an exterior varnish.
Does it need glue?
No, the tabs grip well in a clean cut. Glue is worth adding if the caddy will be lifted by its sides often.
Is there room to engrave a logo?
The 270 mm front panel is the best spot. Place your logo there in your laser software; the file only contains cut lines.
Similar files