 Visualization
Napkin Caddy SVG, Sloped Table Organizer Laser Cut File, Straw and Coaster Holder DXF
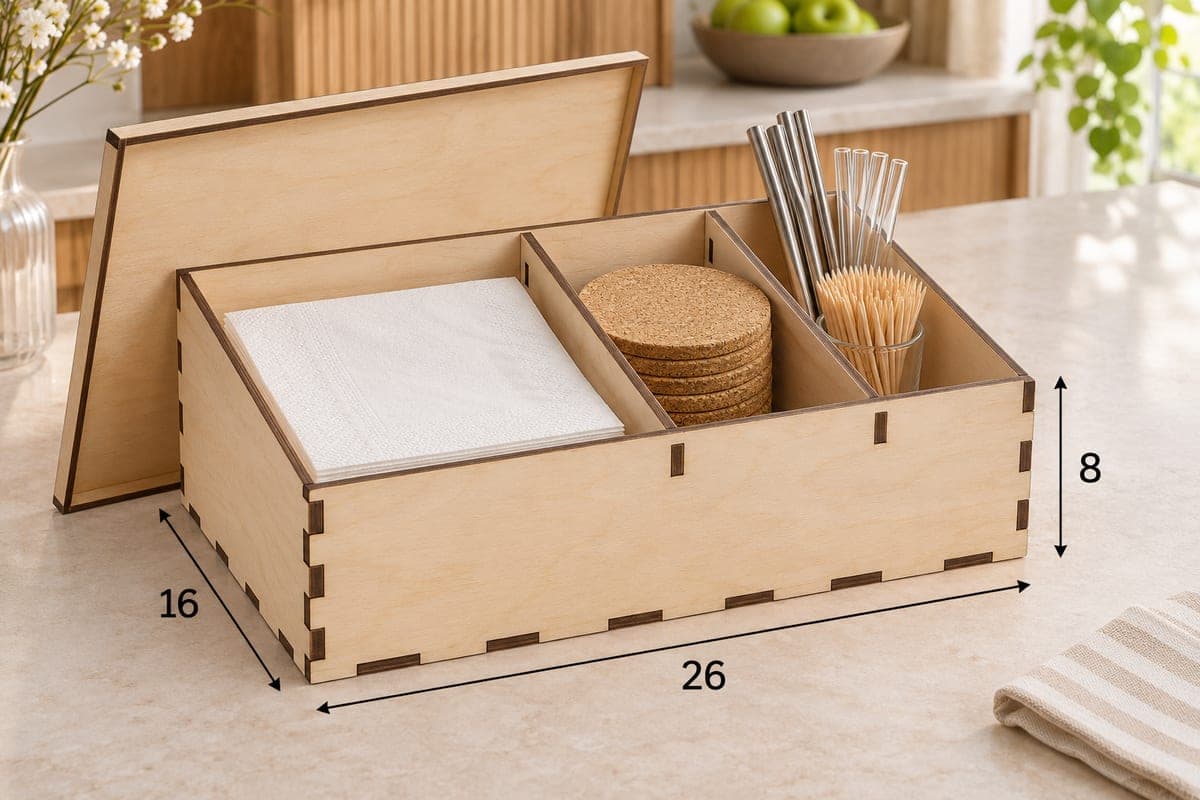
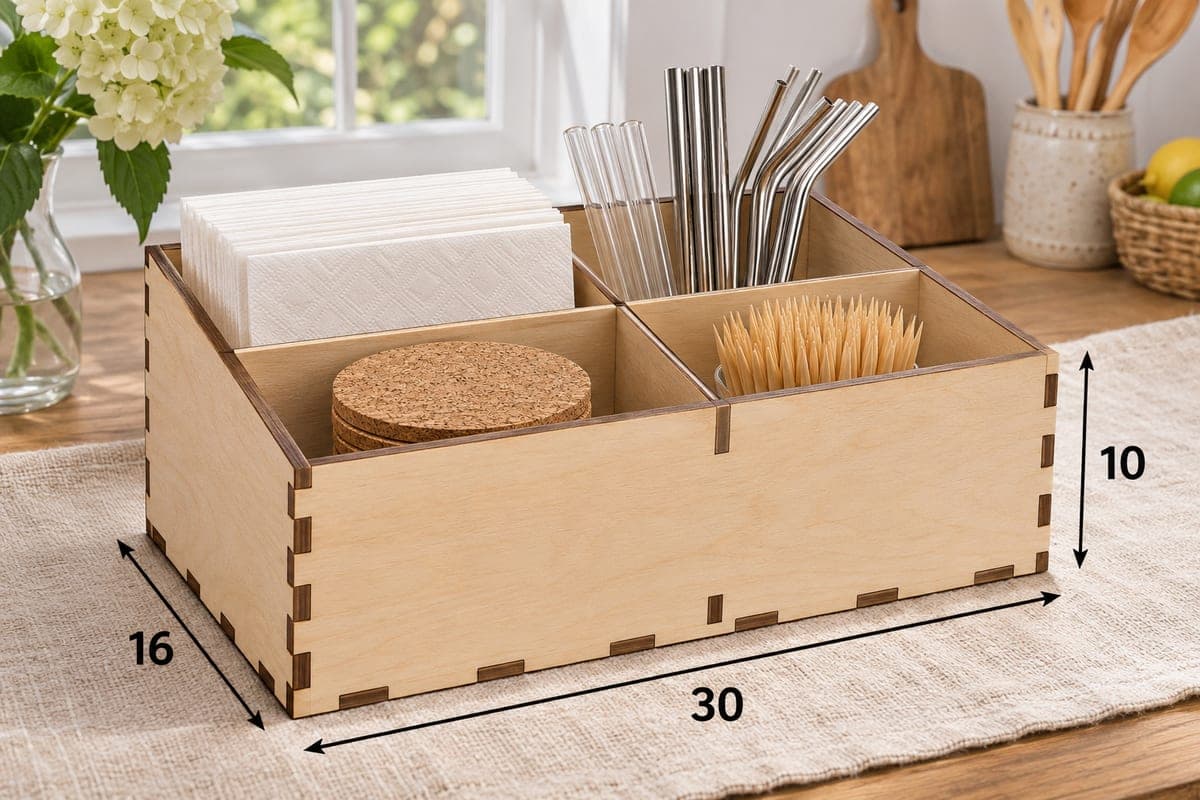
A free four-section napkin caddy with a 60 mm front wall and side panels that slope up to a 100 mm back, so napkins, coasters, straws and toothpicks stay easy to reach. The download has SVG and DXF files for 3, 4, 5 and 6 mm plywood; the caddy measures 300 × 160 × 100 mm (11.81 × 6.30 × 3.94 in) and is cut as 8 pieces that lock together with tabs and slots.
- Formats
- SVG, DXF
- Outer size (W × D × H)
- 300 × 160 × 100 mm (11.81 × 6.30 × 3.94 in)
- Parts
- 8
- Material thickness
- 3, 4, 5 or 6 mm plywood (a file for each)
- Layout size (3 mm file)
- 940 × 272 mm
- Cut length
- 5.59 m
- Est. time, 10 W diode (3 mm)
- 18 min 39 s
- Est. time, 40 W CO2 (3 mm)
- 7 min 46 s
- Layers
- CUT only, no engraving
Free account required to download
How to make it
- 01Pick the SVG or DXF that matches your plywood thickness and cut one slot from scrap to check the tab fit.
- 02Cut the 8 pieces; on a bed shorter than 940 mm, run the base and back as one job and the rest as a second.
- 03Join the back and both sloped sides to the base, slide in the long cross divider and the two short dividers, then add the 60 mm front.
- 04Sand the edges, oil or lacquer the caddy, and load napkins and straws at the back with coasters and toothpicks in front.
Two rows, four pockets
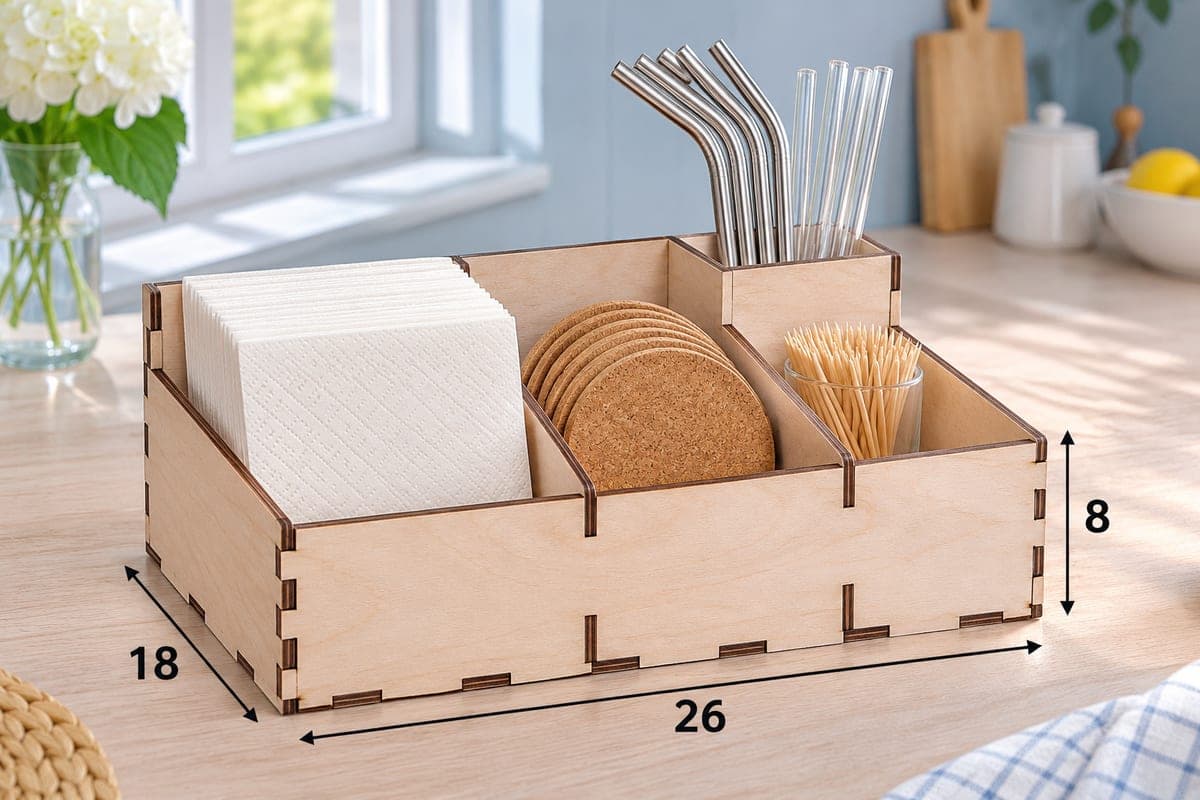
A full-length cross divider splits the tray into a back row and a front row, and a short divider in each row halves it again. In the photo the back left pocket holds paper napkins standing on edge, the back right one takes metal and glass straws, and the front row keeps cork coasters and a cup of toothpicks. The 100 mm back wall is tall enough to hold napkins upright instead of letting them flop, while the low 60 mm front lets you see the coasters at a glance. Put it in the middle of a dining table or next to the stove for everyday serving bits.
Cutting and bed size
All 8 parts fit on a 940 × 272 mm layout, which is narrow enough for most diode beds; only the length may need splitting into two runs on a 400 mm machine. Estimated time for the 3 mm file is about 18 min 39 s on a 10 W diode, about 7 min 46 s on a 40 W CO2 and about 3 min 44 s on a 100 W CO2. A 10 W diode handles 3 mm in one or two passes; for 5 or 6 mm plan several passes or use a CO2.
Putting it together and finishing
Seat the back and the two sloped sides on the base, then press in the long cross divider and the two short dividers before closing with the front. The joints hold dry, and a drop of wood glue in each corner makes the caddy permanent. Sand the scorched edges lightly and wipe on a clear oil so spills near a sink do not stain it.
Gift ideas: pair it with linen napkins for a housewarming set, or sell it at craft fairs with a bundle of reusable straws. A family initial engraved on the front panel is an easy custom touch you can add yourself.
Questions about this file
What fits in the four pockets?
Paper napkins standing on edge, a bundle of straws, a stack of round coasters and a small glass of toothpicks, as in the photo. Each pocket takes roughly a quarter of the 300 × 160 mm footprint.
Can I enlarge it for dinner napkins?
Yes, but after scaling, set the slot widths back to your plywood thickness, otherwise the tabs will rattle. A 3 mm file scaled to 120% has slots too wide for 3 mm stock.
Which thickness looks best for this caddy?
4 mm birch feels sturdy without shrinking the pockets much. 3 mm is lighter and the quickest to cut on a diode.
Will it survive a wet kitchen counter?
Seal every face, including the underside of the base, with lacquer or hard-wax oil. Wipe up spills rather than leaving it standing in water.
Can I cut it from acrylic instead?
Clear or frosted 3 mm acrylic works with the 3 mm file, but test one slot first because acrylic does not compress like wood. Bond it with acrylic cement rather than wood glue.
Similar files