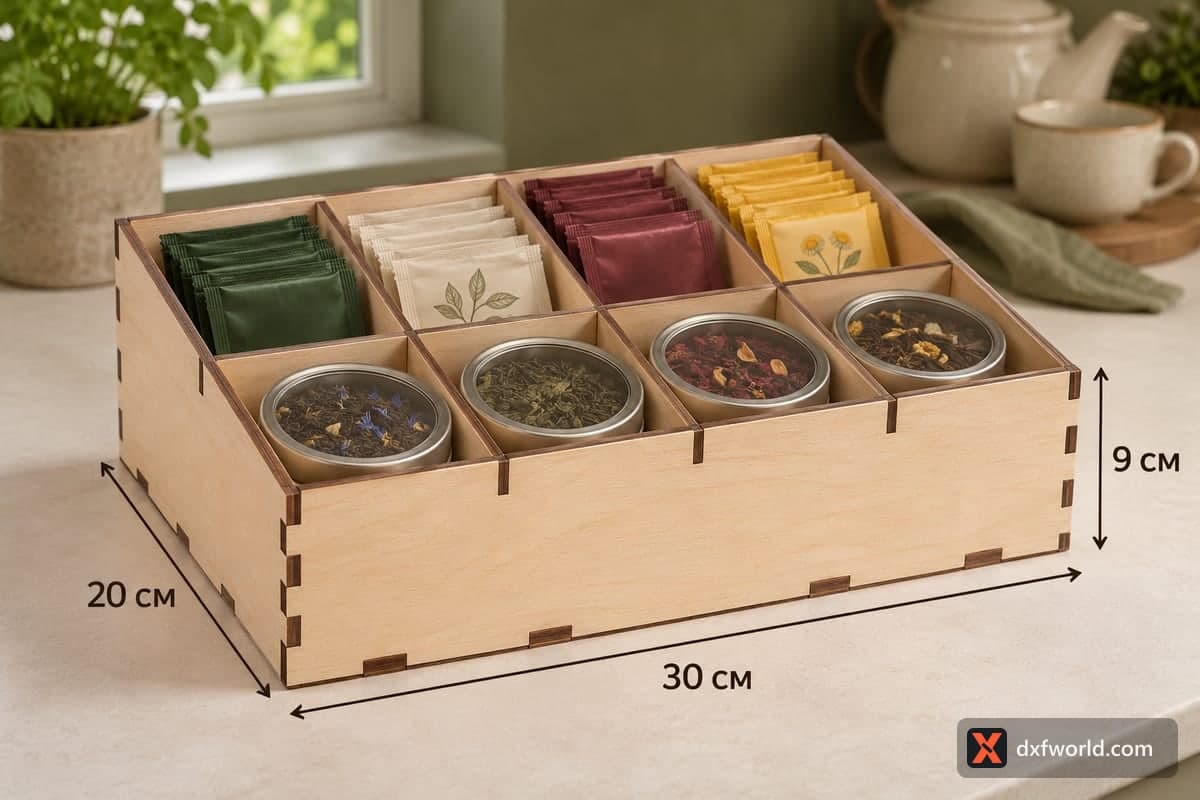
 Visualization
8 Section Tea Organizer SVG, Slanted Two Row Tea Tray Laser Cut File, Tea Station Organizer DXF
A free eight-section tea organizer laser cut file in SVG and DXF, with separate files for 3, 4, 5 and 6 mm plywood. It is 300 × 200 × 90 mm (11.81 × 7.87 × 3.54 in), has two rows of four compartments, and its sides slope down to a 54 mm front so the front row is easy to reach. The 12 pieces assemble with tabs and slots.
- Formats
- SVG, DXF
- Outer size (W × D × H)
- 300 × 200 × 90 mm (11.81 × 7.87 × 3.54 in)
- Parts
- 12
- Material thickness
- 3, 4, 5 or 6 mm plywood (a file for each)
- Layout size (3 mm file)
- 1,134 × 396 mm
- Cut length
- 7.59 m
- Est. time, 10 W diode (3 mm)
- 25 min 18 s
- Est. time, 40 W CO2 (3 mm)
- 10 min 33 s
- Layers
- CUT only, no engraving
Free account required to download
How to make it
- 01Pick the file that matches your plywood thickness and cut a single slot on an offcut to check the tab fit.
- 02Cut the 12 pieces and sort the dividers by height: three tall ones for the back row and three short ones for the front.
- 03Fit the back, sloped sides and low front onto the base, add the cross divider, then push in the six short dividers row by row.
- 04Sand the edges, apply a finish, and load the tins and tea bags into the eight compartments.
Eight compartments in two rows
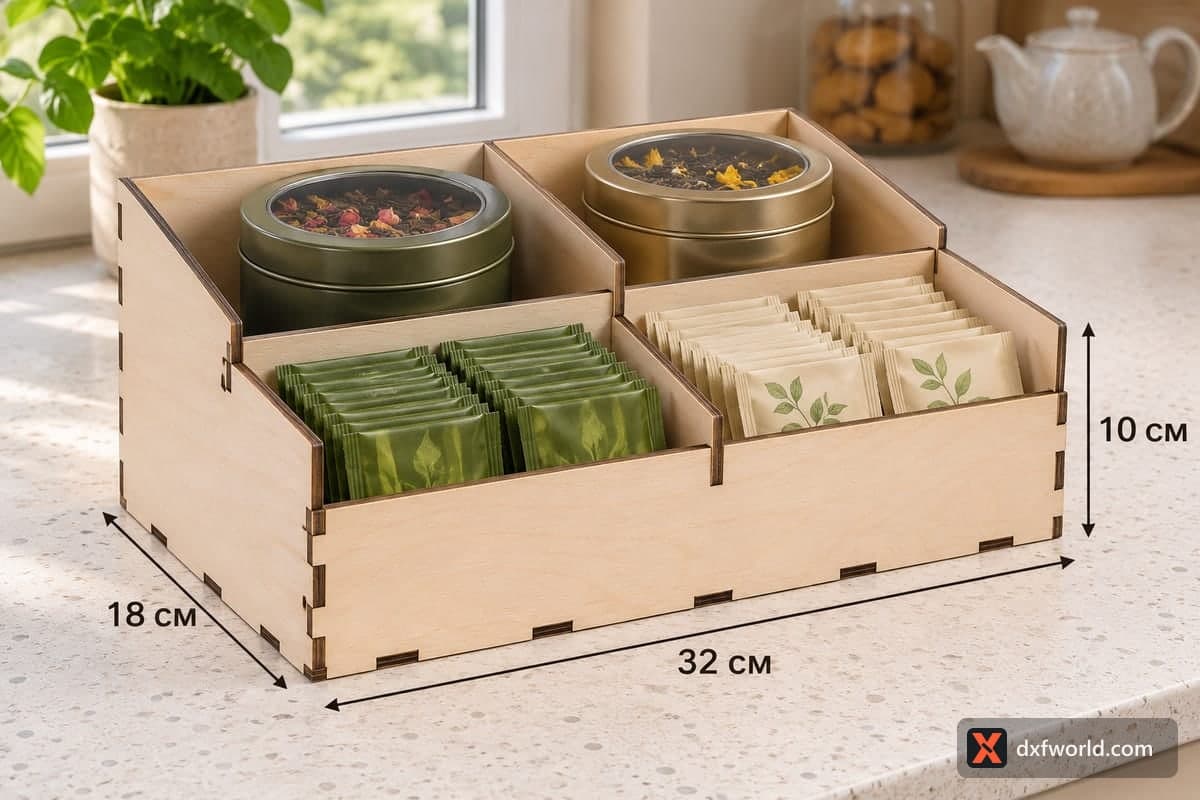
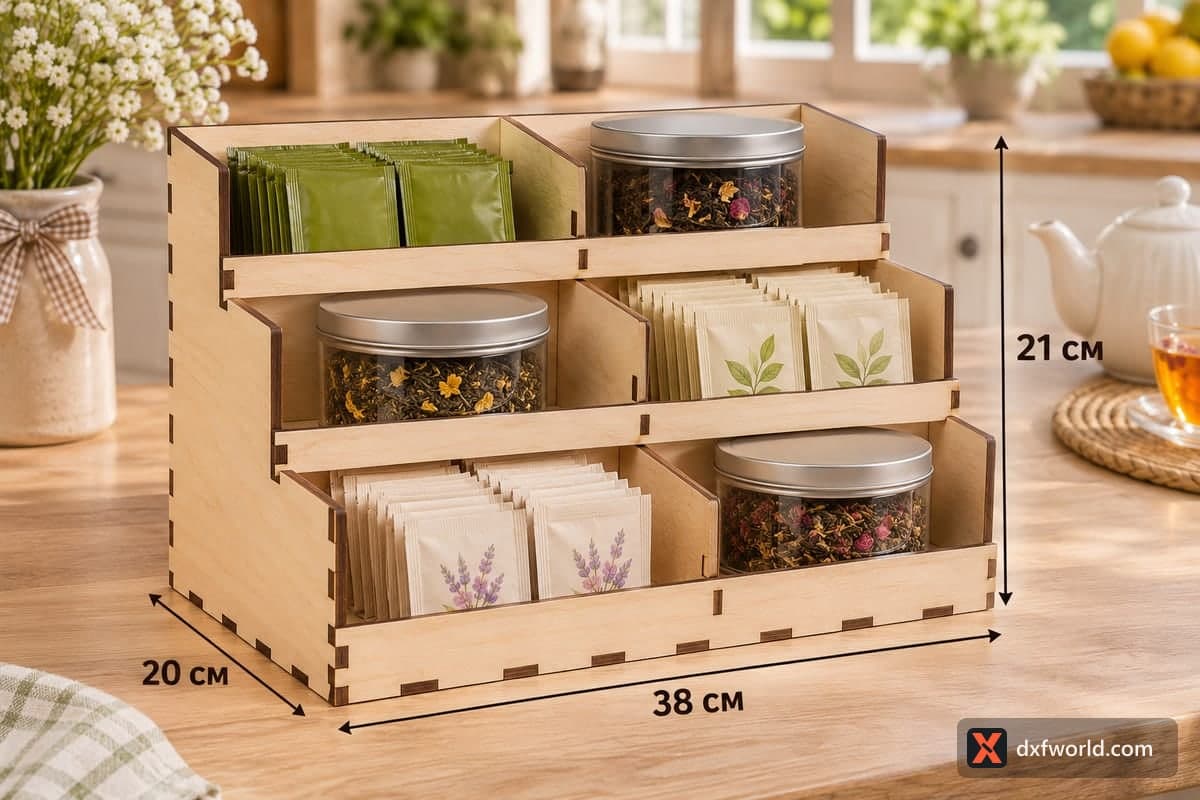
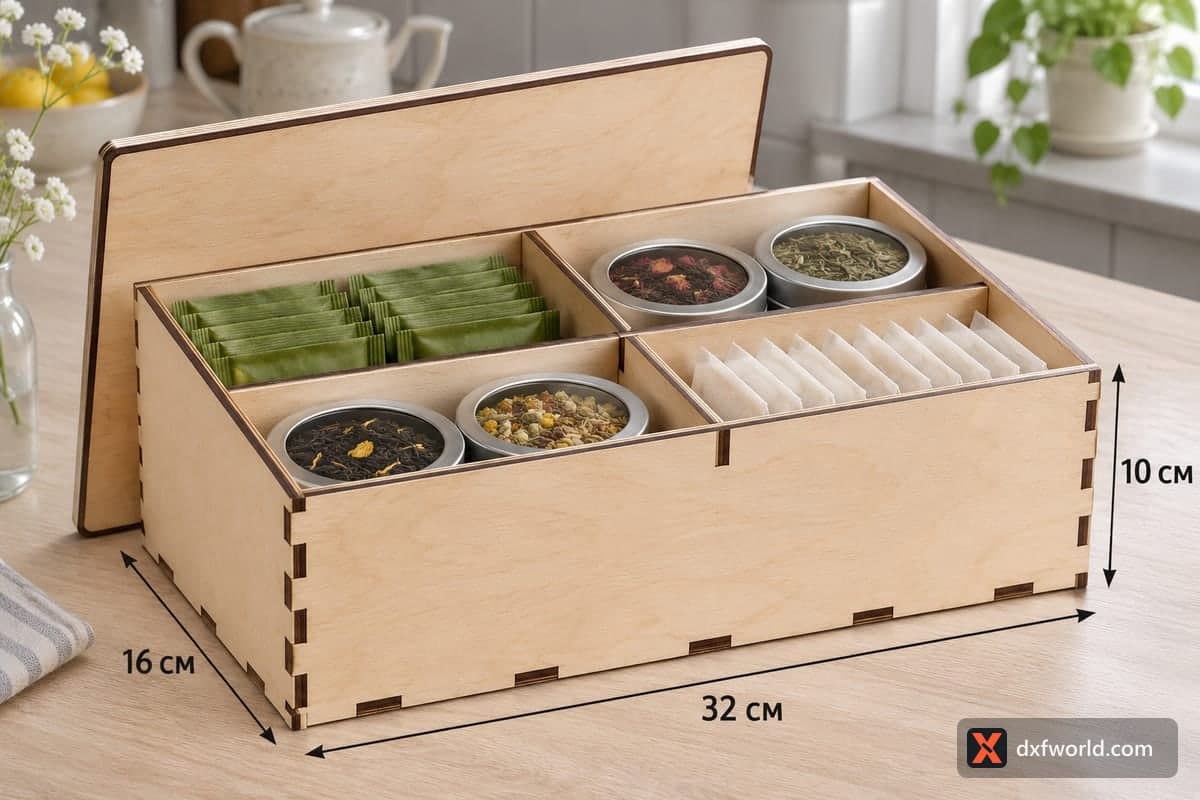
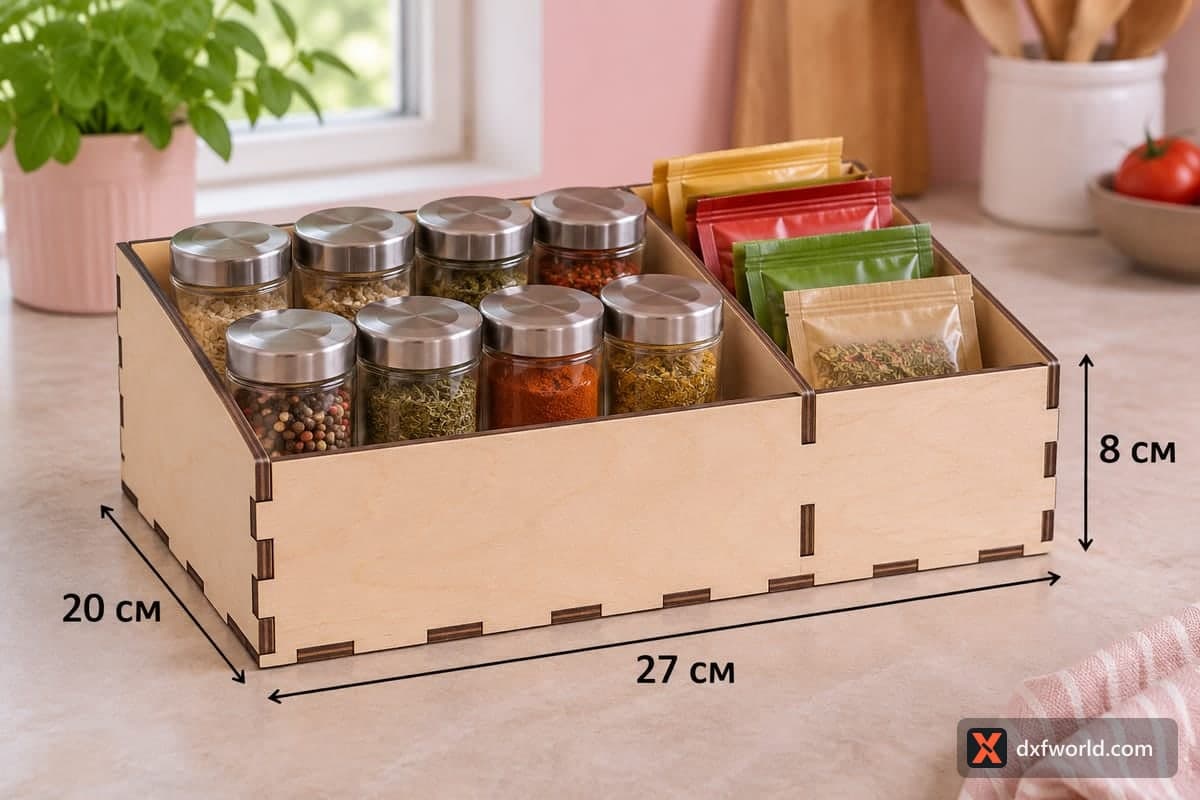
A cross divider splits the tray into a front and a back row, and short dividers cut each row into four compartments about 7 cm wide. The back wall and the back-row dividers stand the full 90 mm, while the front wall is 54 mm and the front-row dividers sit lower too, so the whole tray steps down toward you. The photo shows the back row packed with tea bags (dark green, leaf-printed cream, burgundy and yellow with a flower print) and the front row holding four round tins of loose tea: black tea with cornflowers, a plain green, a red fruit blend and a flowery herbal mix. It suits a counter corner, a deep drawer or an office tea station.
Thickness, cutting time and bed size
The 3 mm file needs about 25 min 18 s on a 10 W diode, about 10 min 33 s on a 40 W CO2 and about 5 min 04 s on a 100 W CO2. For a box that will be lifted full, 4 mm plywood is a good middle ground; 5 and 6 mm need a stronger laser or several diode passes. The 3 mm layout spans 1134 × 396 mm, so on smaller machines regroup the 12 pieces onto two or three sheets.
Assemble the outer walls on the base first. Then fit the cross divider and the six short dividers: the three taller ones go behind it, the three shorter ones in front. Wood glue is optional, since the tabs hold the tray together; use it if you want the joints fixed for good.
Finishing and gift ideas
Sand the sloped edges and corners, then protect the wood with clear lacquer or a food-safe oil. Stocked with four tins of loose tea and a few dozen bags, it makes a full tea tasting kit for a birthday or a teacher gift. Small shops can sell it in natural and stained versions, or add a customer's name on the front wall as a separate engraving.
Questions about this file
How many tea bags does each compartment take?
A compartment about 7 cm wide holds a stack of 10 to 15 standard tea envelopes standing upright, more if they are thin paper bags.
Why do the front-row tea dividers stand lower?
They follow the sloped sides down to the 54 mm front, so the front row stays open and you can see every tin from above.
Can I scale this tea organizer for my drawer?
Yes, as long as you keep each slot the same width as your plywood after resizing; otherwise the tabs will be too loose or will not go in.
Is the tray safe to keep by the sink?
Seal every face with a water-resistant clear lacquer or hardwax oil, and dry it after splashes so the plywood does not swell.
Can I add a name or logo?
Add an engraving layer to the front wall in your laser software; the file only contains cut lines.
Similar files