 Visualization
Sloped Tea Organizer SVG, Tea Tin and Sachet Holder Laser Cut File, Two Row Wooden Tea Caddy DXF
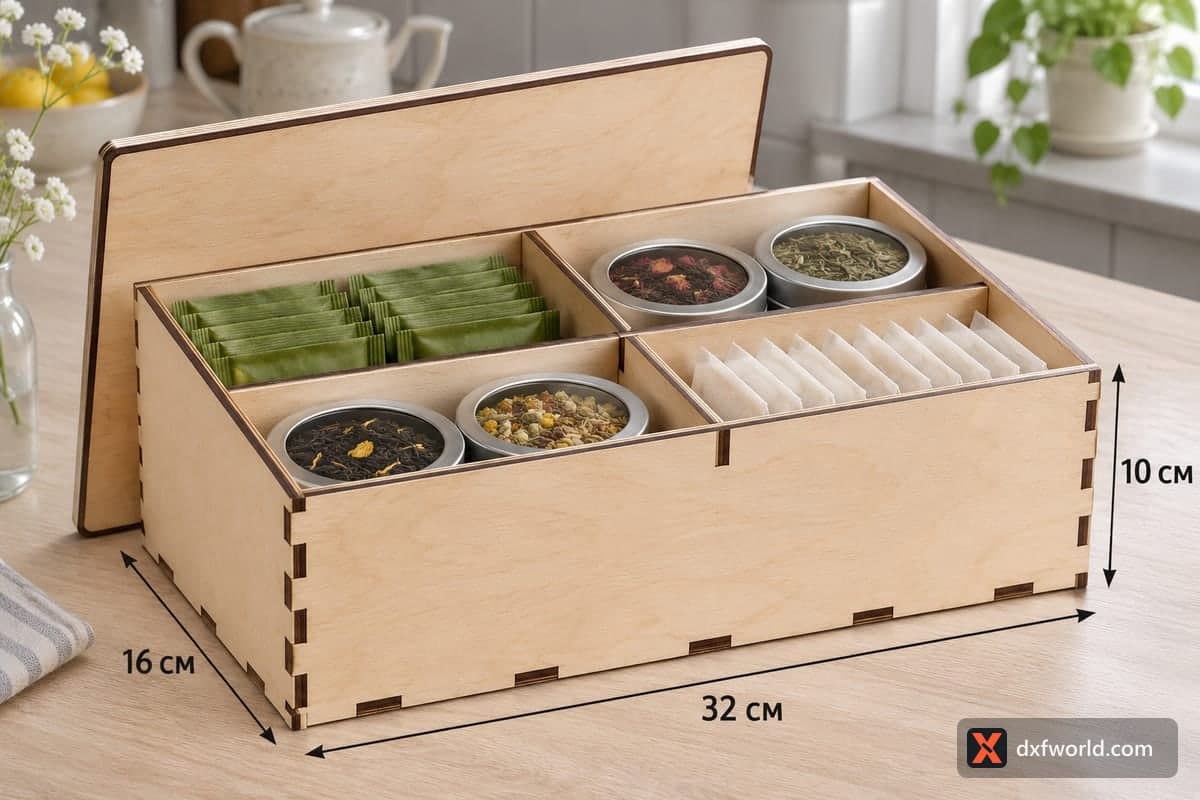
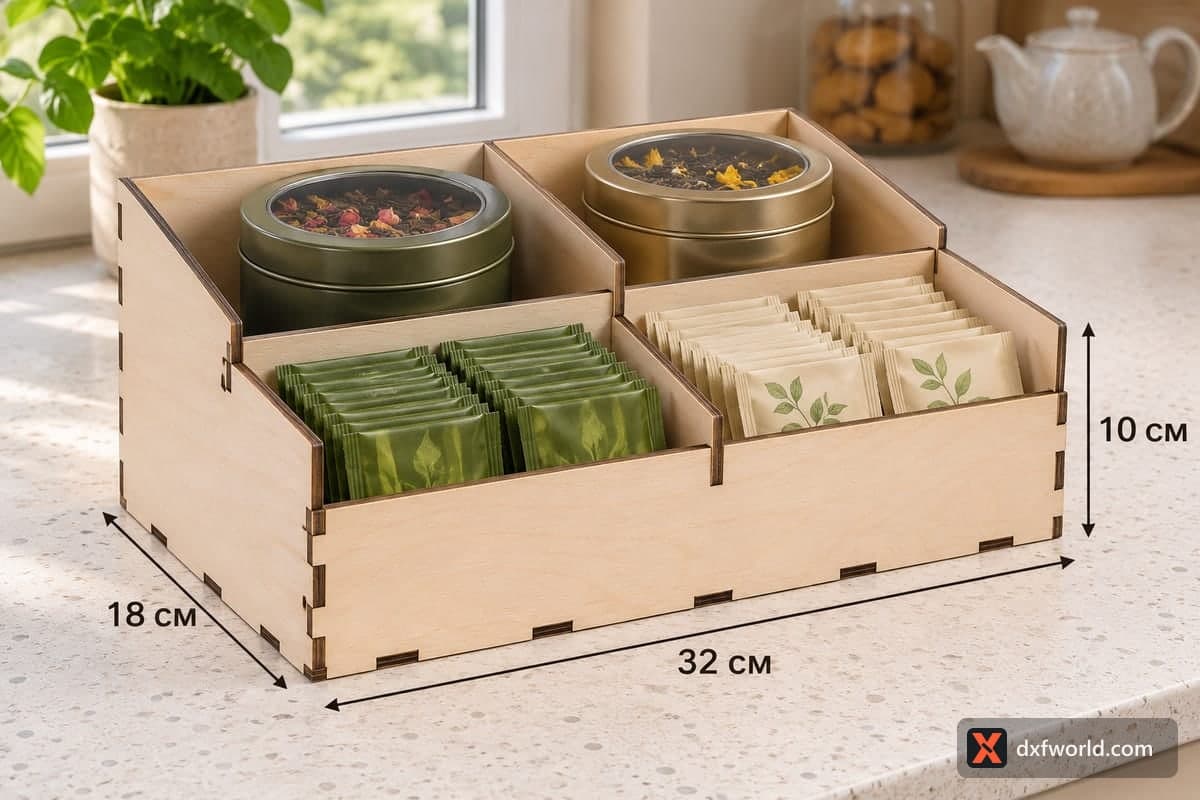
An open tea organizer with a low front and sloped sides, split by one long and one cross divider into 4 bays: two low ones in front for sachets and two taller ones at the back for large tins. The free download has SVG and DXF files for 3, 4, 5 and 6 mm plywood; it measures 320 × 180 × 100 mm (12.60 × 7.09 × 3.94 in) and is cut as 7 pieces held together by tabs and slots.
- Formats
- SVG, DXF
- Outer size (W × D × H)
- 320 × 180 × 100 mm (12.60 × 7.09 × 3.94 in)
- Parts
- 7
- Material thickness
- 3, 4, 5 or 6 mm plywood (a file for each)
- Layout size (3 mm file)
- 1,020 × 292 mm
- Cut length
- 5.87 m
- Est. time, 10 W diode (3 mm)
- 19 min 33 s
- Est. time, 40 W CO2 (3 mm)
- 8 min 09 s
- Layers
- CUT only, no engraving
Free account required to download
How to make it
- 01Take the SVG or DXF that fits your plywood thickness and test the slot fit with a small offcut before cutting the sloped sides.
- 02Cut the 7 pieces, dividing the 1020 mm layout into two jobs on a smaller bed.
- 03Join the base, back and sloped sides, fit the 60 mm front, then insert the middle divider and lock the cross divider through it.
- 04Sand the sloped edges smooth, oil or lacquer the caddy and put tins at the back and sachets at the front.
Tall tins behind, sachets in front
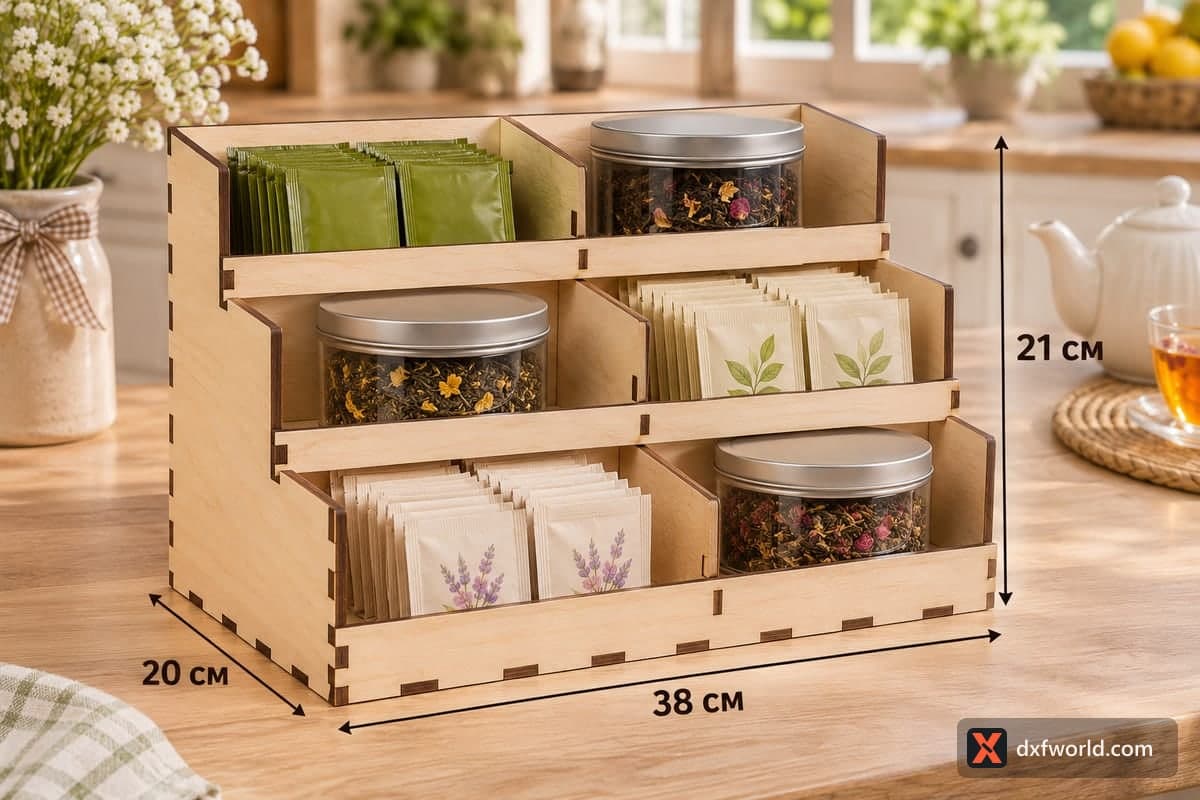
The layout is planned in two rows. A cross divider runs the full length to separate a low front row from a deeper back row, and one long divider splits both rows down the middle, so you get four bays. The front wall is only 60 mm high, about 60 % of the 100 mm back, and the side panels slope between them. That way the sachets in front stay in plain sight and the big tins behind are still easy to lift out.
The photo shows two large tea tins with loose rose and calendula blends at the back, and green sachets next to leaf-print paper sachets in the front bays. Caddy tins up to about 9 cm across suit the back row.
Making it
Seven pieces: front, back, two sloped sides, base, the long cross divider and the full-depth middle divider. The 1020 × 292 mm layout can be cut in two parts on a typical 500 mm diode bed. For the 3 mm file it takes about 19 min 33 s on a 10 W diode, about 8 min 09 s on a 40 W CO2 or about 3 min 55 s on a 100 W CO2, which makes it quick to batch for a market stall. Plan on slower settings or more passes for 5 and 6 mm plywood.
Start with the base, back and both sides, then add the low front. Slide the middle divider in from above and lock the cross divider through it. No glue is needed for a counter caddy; add a drop at each corner if it will be lifted often. Sand the sloped edges, which take the most handling, and finish with oil or water-based lacquer.
Ideas
Give it filled with two loose teas and two sachet flavours, sell it next to a matching coffee version, or use it on a guesthouse breakfast table.
Questions about this file
Why are the front bays lower than the back ones?
The low front row keeps sachets visible and reachable, while the taller back row holds big tins that would tip over in a shallow bay.
How large a tin fits at the back?
Each back bay is about 15 cm wide and 9 cm deep, so round caddy tins up to roughly 9 cm across fit.
Can I use 6 mm plywood?
Yes, the 6 mm file has slots sized for it; it gives a heavier, more solid caddy but needs a stronger laser or several passes.
Will it hold up near a sink?
Seal every surface and edge with lacquer or oil; plywood that is left bare can swell if it gets splashed.
Can I add a name to it?
The 100 mm back wall rises behind the tins and is a good spot for a name or logo you add in your software before cutting.
Similar files