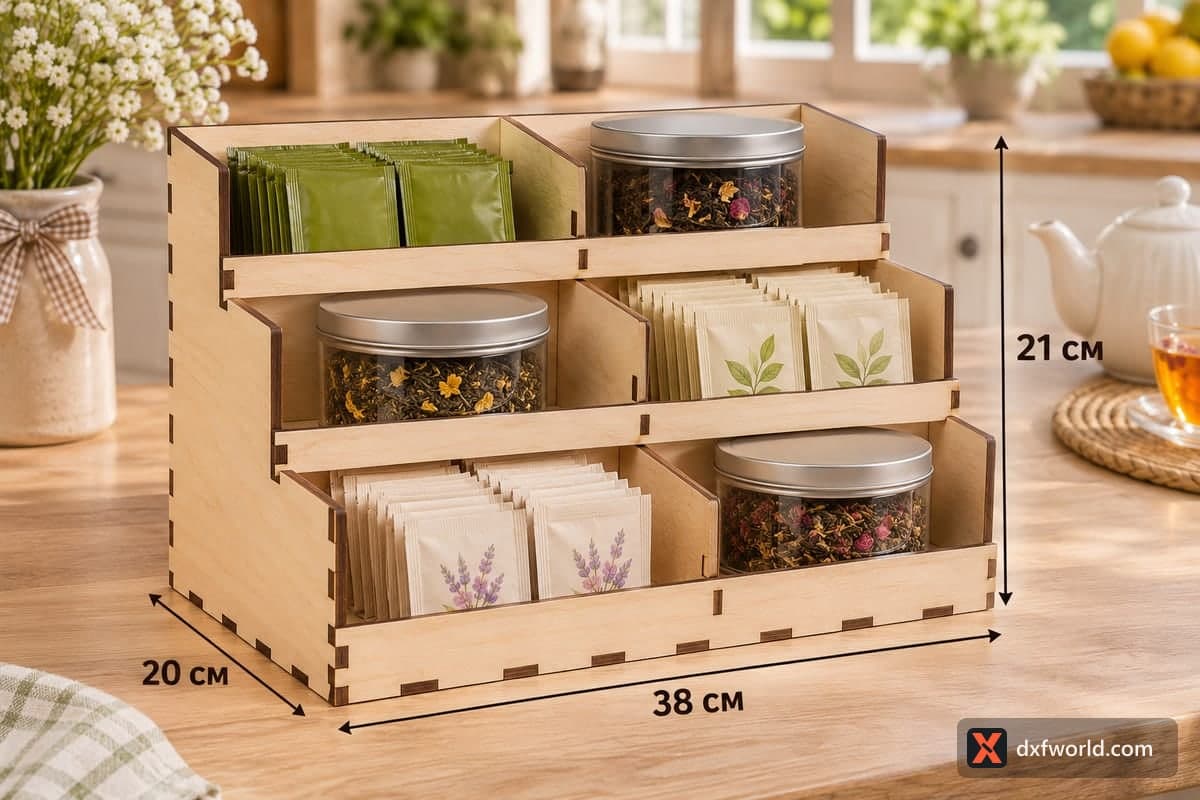
 Visualization
Tiered Tea Stand SVG, Three Step Tea Display Laser Cut File, Wooden Tea Rack DXF
A three-step tiered display stand for tea, where every step has one divider, giving 6 bays for tins of loose leaf and boxes of sachets. The free download has SVG and DXF files for 3, 4, 5 and 6 mm plywood; the stand measures 380 × 200 × 210 mm (14.96 × 7.87 × 8.27 in), is cut as 12 pieces with small engraved part numbers, and assembles with tabs and slots.
- Formats
- SVG, DXF
- Outer size (W × D × H)
- 380 × 200 × 210 mm (14.96 × 7.87 × 8.27 in)
- Parts
- 12
- Material thickness
- 3, 4, 5 or 6 mm plywood (a file for each)
- Layout size (3 mm file)
- 1,540 × 337 mm
- Cut length
- 10.66 m
- Est. time, 10 W diode (3 mm)
- 35 min 32 s
- Est. time, 40 W CO2 (3 mm)
- 14 min 48 s
- Layers
- CUT only, no engraving
Free account required to download
How to make it
- 01Choose the file for your plywood thickness and cut a shelf corner first to see whether its tabs sit snugly in a side panel.
- 02Cut all 12 numbered pieces, splitting the 1540 mm layout over two or three sheets if needed.
- 03Join both side panels with the three shelves and the brace, then fit the front board, the two step boards and finally one divider per step.
- 04Sand, seal with lacquer or oil, and fill each of the six bays with a jar or a stack of sachets.
A tea shelf that shows every flavour
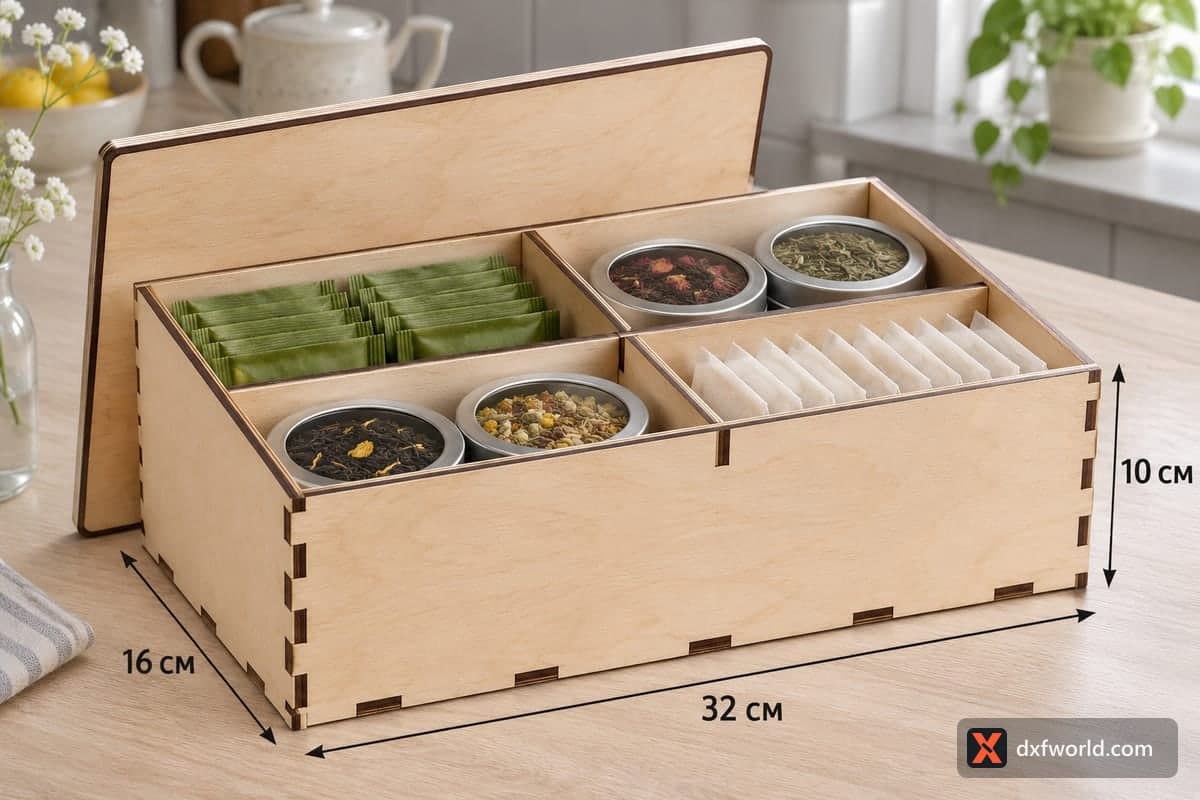
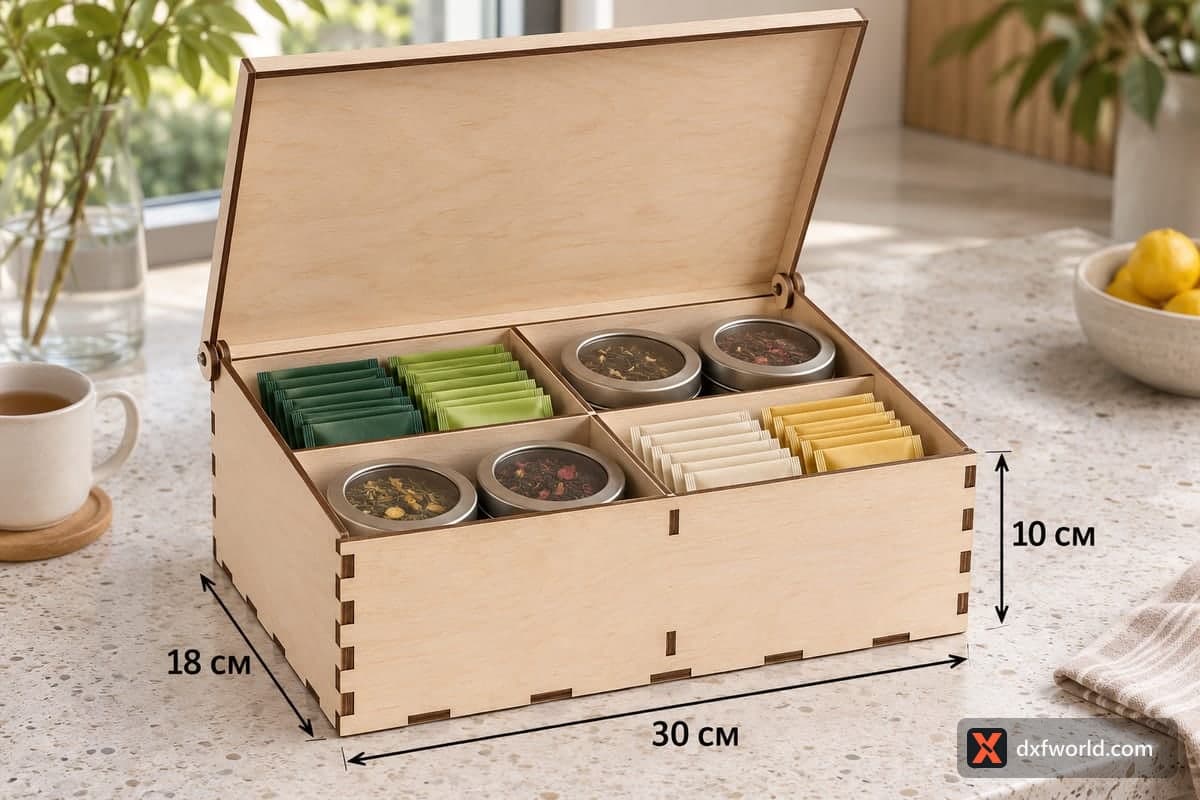
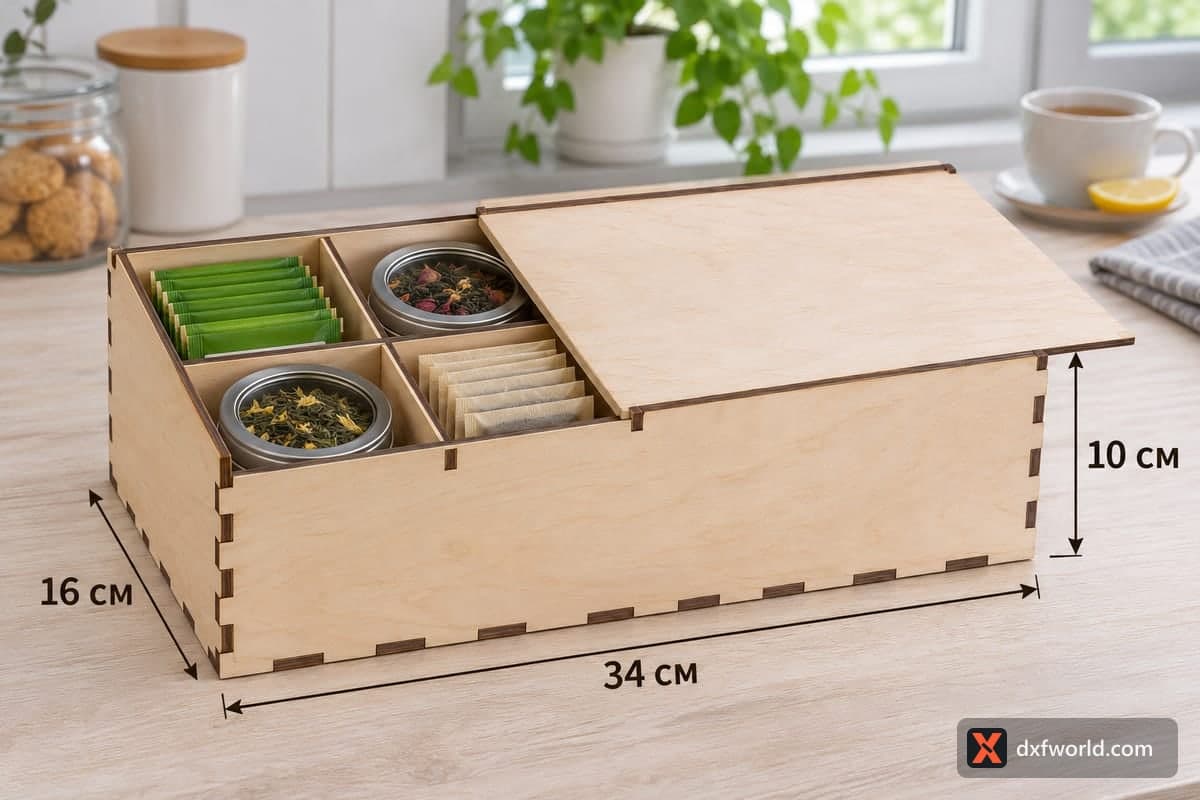
The three steps rise toward the back so the top row stays visible over the front one. Each step has a single divider, which gives six bays: in the photo each level pairs a glass jar of loose leaf with a row of paper sachets, green on top, leaf-print in the middle and lavender at the bottom. The step faces are low enough that you can read a label on the jar behind them. At 21 cm tall and 38 cm wide it suits a kitchen counter, a breakfast nook or the corner of a small tea shop.
Pieces and cutting
You get 12 pieces: two stepped side panels, a front board, two step boards, three shelves, a brace that stiffens the back and three short dividers. Small part numbers are engraved on each piece so you can match them up quickly; that is the only engraving in the file. The layout is 1540 × 337 mm, so on a smaller bed spread it over two or three sheets, keeping the long shelves together. A 10 W diode cuts the 3 mm file in about 35 min 32 s, a 40 W CO2 in about 14 min 48 s and a 100 W CO2 in about 7 min 06 s. In 5 or 6 mm plywood a diode will need several passes.
Putting it together
Stand one side panel flat, plug in the three shelves and the brace, then lay the second side on top and press it home. Add the front board and two step boards, then drop a divider into each shelf. Glue is optional; a few drops make the rack rigid for daily use. Sand edges and finish with clear lacquer if tea will be scooped over it.
For a cafe counter it works as a tasting display with one blend per bay. It also makes a good gift filled with six teas, or a stall item sold alongside matching coasters.
Questions about this file
Which tea jars and tins suit these six bays?
The bays are roughly 18 cm wide and 7 to 8 cm deep, so short round jars and tins up to about 7 cm across stand comfortably.
Can I scale it up for bigger tea tins?
You can enlarge it in your laser software, but the slot width must stay equal to your plywood thickness, so resize the slots back after scaling.
What are the numbers on the pieces for?
Each piece has a small engraved number that matches the assembly order, which helps because the shelves and step boards look alike.
Is 3 mm plywood strong enough for full glass jars?
3 mm holds tea sachets and light tins well; for heavy glass jars on every step, cut the 4 or 5 mm version.
Could a cafe brand this stand?
Yes, the side panels have plenty of flat space for a logo you add yourself before cutting, which works well on a counter display.
Similar files