 Visualization
Six Section Cutlery Tray SVG, Wooden Utensil Organizer Laser Cut File, Grid Divider Silverware Box DXF
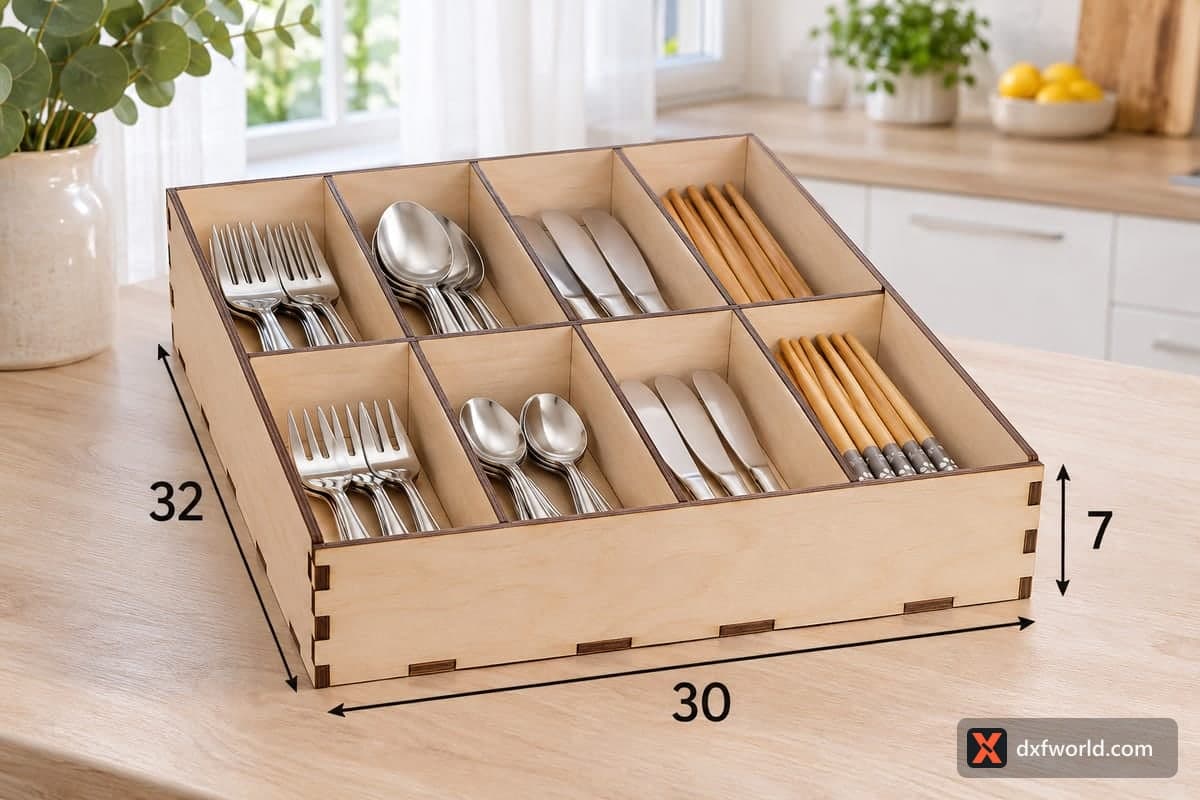
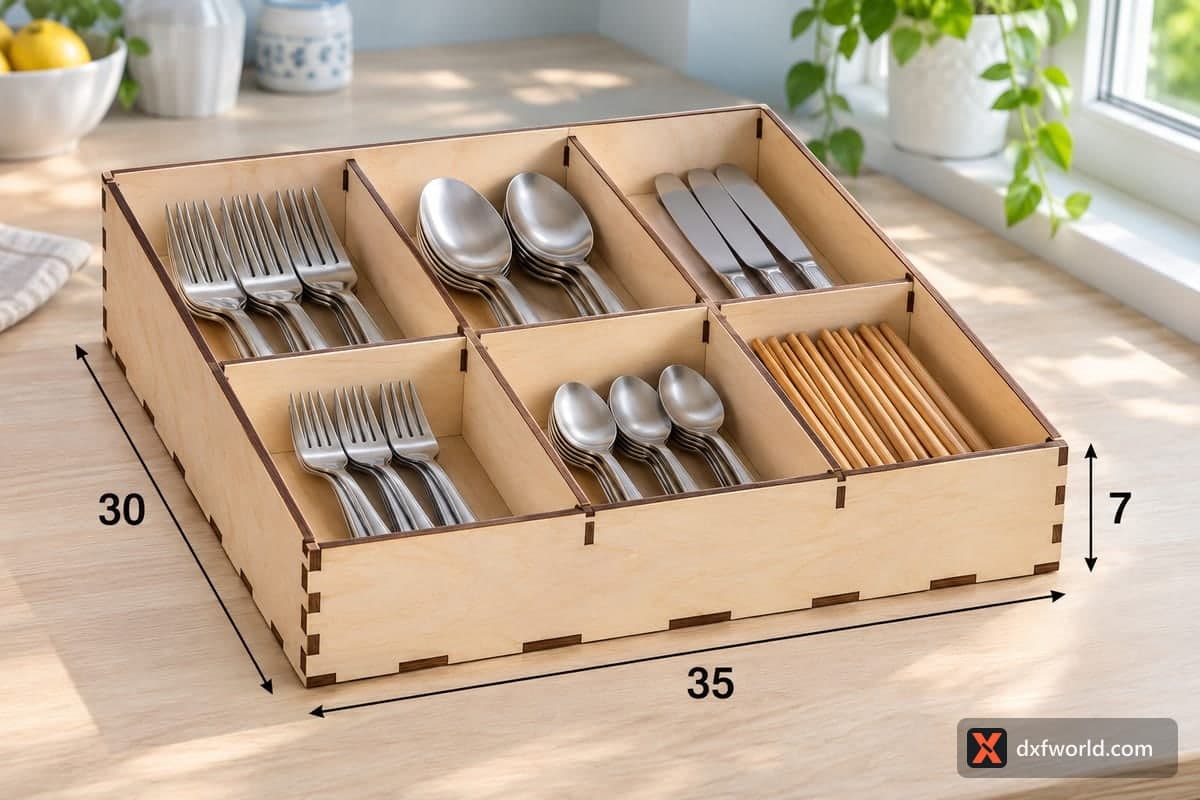
A free cutlery tray laser cut file: an open box 350 × 300 × 70 mm (13.78 × 11.81 × 2.76 in) outside with six sections in three columns and two rows. It comes as SVG and DXF for 3, 4, 5 and 6 mm plywood, and its 8 pieces assemble with tabs and slots, the three dividers crossing each other with halving slots.
- Formats
- SVG, DXF
- Outer size (W × D × H)
- 350 × 300 × 70 mm (13.78 × 11.81 × 2.76 in)
- Parts
- 8
- Material thickness
- 3, 4, 5 or 6 mm plywood (a file for each)
- Layout size (3 mm file)
- 1,320 × 382 mm
- Cut length
- 9.80 m
- Est. time, 10 W diode (3 mm)
- 32 min 39 s
- Est. time, 40 W CO2 (3 mm)
- 13 min 36 s
- Layers
- CUT only, no engraving
Free account required to download
How to make it
- 01Open the SVG or DXF for your sheet thickness (3, 4, 5 or 6 mm) and test one halving slot on scrap so the dividers cross without forcing.
- 02Cut the 8 parts, splitting the 1320 mm layout over two sheets if your bed is shorter.
- 03Join the two long dividers and the cross divider into a grid, set it into the base, then fit the back, the sides and the front around it.
- 04Sand, wipe on food-safe oil, and fill the six bays with forks, spoons, knives and chopsticks.
A simple grid with wide bays
Only three dividers make the whole layout: two run from back to front and one runs across, and they slide into each other where they cross. The result is a 3 × 2 grid of six bays, each roughly 11 cm wide and 14 cm deep, wider than most drawer inserts. In the photo the back row holds dinner forks, tablespoons and table knives, while the front row keeps dessert forks, teaspoons and a stack of bamboo chopsticks. The generous width also suits whisks, cake servers or a pile of napkin rings if you prefer to use the tray on the counter.
At 70 mm high every wall is the same height, so the tray slides into a drawer without catching and stacks neatly on a shelf.
Laser settings and sheet size
With only eight parts this is a quick cut. The 3 mm file is about 32 min 39 s on a 10 W diode, about 13 min 36 s on a 40 W CO2 and about 6 min 32 s on a 100 W CO2. The layout measures 1320 × 382 mm; on a 400 mm bed, cut the base and one side on the first sheet and the remaining walls and dividers on a second. Thicker 5 and 6 mm files give a sturdier tray but take several passes on a diode.
Putting it together
Slot the two long dividers over the cross divider first, drop the grid into the base, then add the four walls. Glue is not required, though a little wood glue along the base keeps it square. Sand, oil with a food-safe finish and it is ready for the drawer.
Good ideas for gifts or market stalls: a wedding gift paired with a cutlery set, a camper-van drawer organizer, or a batch of six-bay trays in walnut stain for a home goods table.
Questions about this file
How big is each section?
With the 3 mm file each of the six bays is roughly 11 cm wide and 14 cm deep inside. That fits full-size dinner cutlery lying flat as well as chopsticks and pastry forks.
Can I stretch it to fill a wider drawer?
Yes, lengthen the outer walls, base and cross divider in your editor while leaving all slot widths equal to the plywood thickness. Uniform scaling would make the slots too wide or too narrow for your sheet.
Do the crossing dividers need glue?
No, the halving slots hold the grid in place once the walls are around it. Add glue only if you want the tray to stay rigid when lifted out by one side.
Which thickness should I pick for this tray?
3 mm keeps it light and cuts fastest on a diode laser. 4 mm feels noticeably sturdier for a 350 mm wide tray, and 6 mm suits a heavy counter box.
Can I add a family name to the front?
The file has cut lines only, but you can place your own text or monogram on the front panel in LightBurn and engrave it before cutting.
Similar files