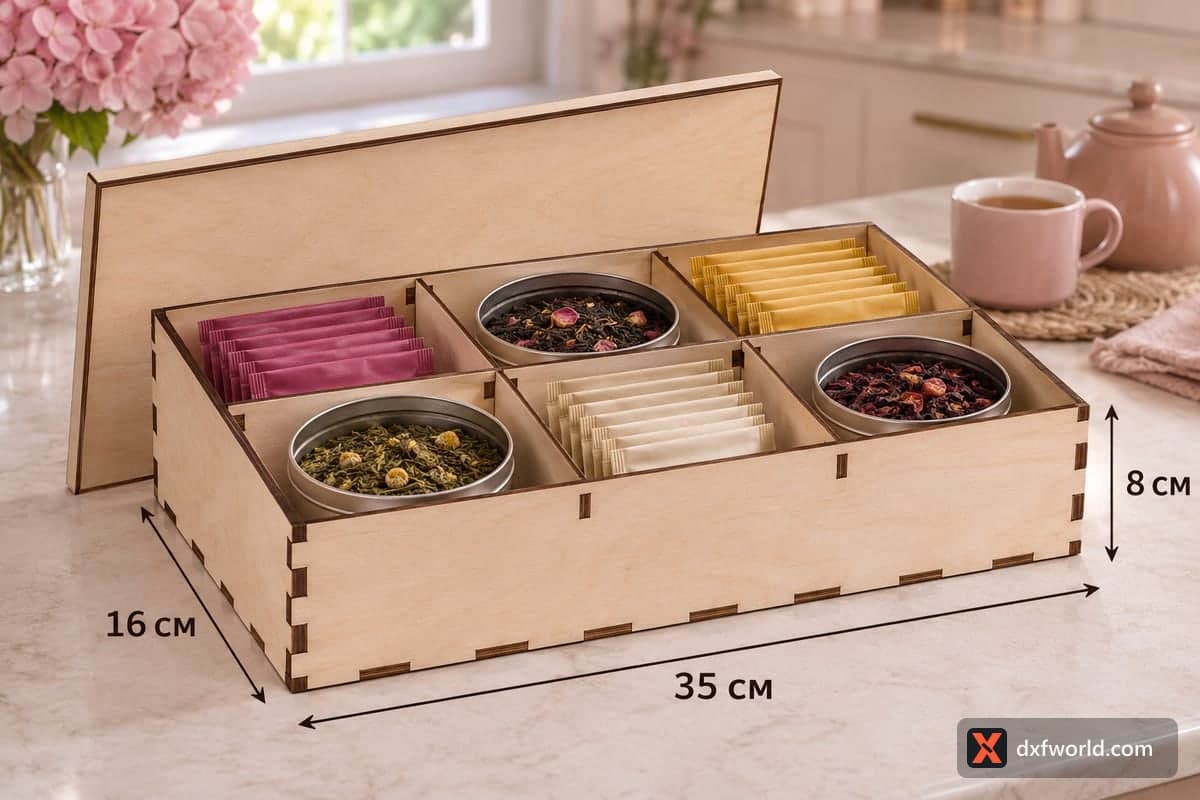
 Visualization
6 Bay Tea Bag Box SVG, Lift Off Lid Tea Organizer Laser Cut File, Loose Leaf Tea Caddy DXF
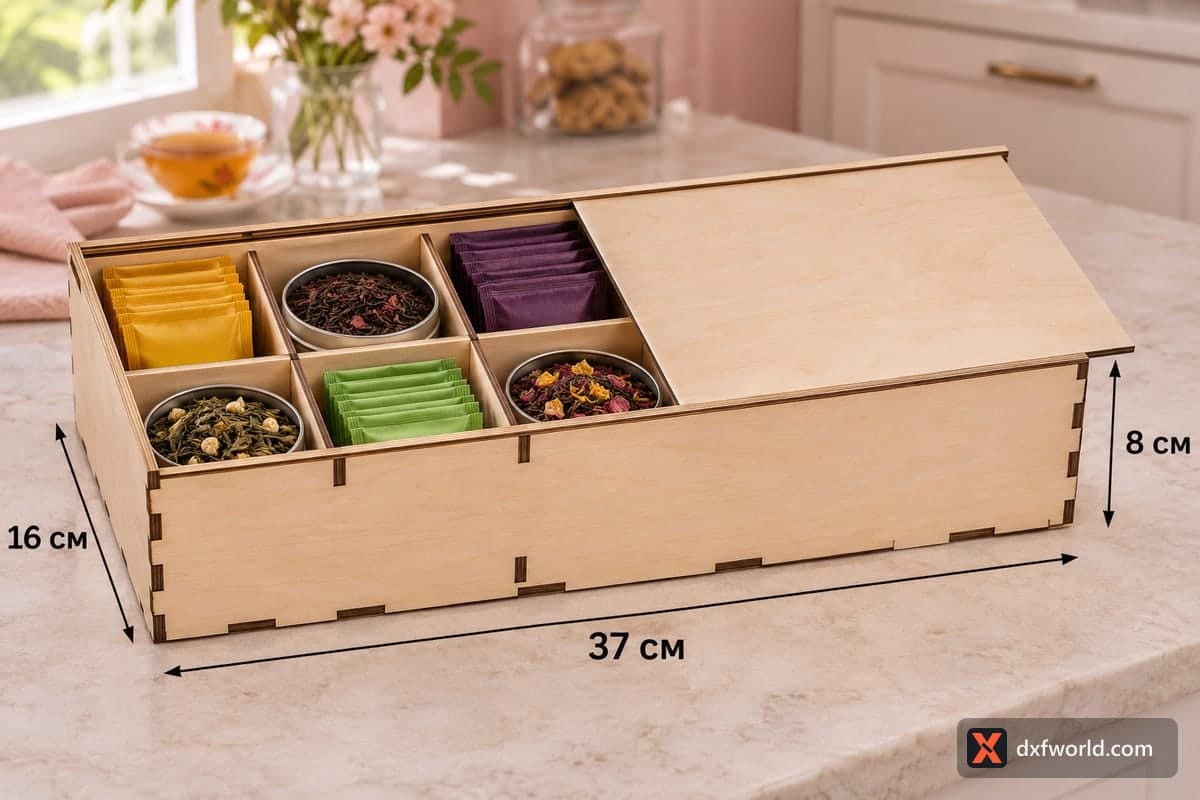
This free laser cut file makes a tea box with a separate lift-off lid, supplied in SVG and DXF for 3, 4, 5 and 6 mm plywood. The box is 350 × 160 × 80 mm (13.78 × 6.30 × 3.15 in), has six bays arranged in two rows of three, and is cut as 9 pieces joined by tabs and slots. Small tabs on top of the walls key into slots in the lid, so it sits in place when closed.
- Formats
- SVG, DXF
- Outer size (W × D × H)
- 350 × 160 × 80 mm (13.78 × 6.30 × 3.15 in)
- Parts
- 9
- Material thickness
- 3, 4, 5 or 6 mm plywood (a file for each)
- Layout size (3 mm file)
- 1,394 × 332 mm
- Cut length
- 10.13 m
- Est. time, 10 W diode (3 mm)
- 33 min 46 s
- Est. time, 40 W CO2 (3 mm)
- 14 min 04 s
- Layers
- CUT only, no engraving
Free account required to download
How to make it
- 01Select the SVG or DXF for your plywood and cut a short test strip with one slot to see that a wall tab pushes in firmly.
- 02Cut the box walls, base and the three dividers first, then the lid, using extra sheets if the 1394 mm layout is longer than your bed.
- 03Fit the walls to the base, interlock the long divider with the two short ones, and test that the lid drops onto the wall tabs.
- 04Sand all edges, apply lacquer or oil, and arrange your tins and tea bags in the six bays.
Six bays and a loose lid
The box keeps a simple shape: four straight walls 80 mm high, a long divider down the middle and two short dividers across it, giving two rows of three bays about 11 cm wide. In the photo the back row holds pink tea envelopes, a tin of black tea with rose petals and a row of yellow sachets, while the front row has a tin of green tea with chamomile, cream-coloured envelopes and a tin of dried hibiscus. The lid is a flat panel the full size of the box. When it is off, lean it against the wall behind or set it underneath; when it is on, the wall tabs locate it so it does not slide.
Cutting and putting it together
On a 10 W diode the 3 mm file runs about 33 min 46 s, on a 40 W CO2 about 14 min 04 s, and on a 100 W CO2 about 6 min 45 s. The 3 mm sheet comes to 1394 × 332 mm; if your machine is smaller, move the lid to a second sheet and the walls to a third. Diodes cut 3 mm in one or two passes, while 5 or 6 mm stock needs more power or several passes. Build the four walls around the base, drop in the long divider, then the two short ones. Dry assembly is fine for a box that stays on a shelf; add wood glue if it will be carried around.
Making it a gift or a set
Left plain, the lid is a large flat panel for an engraved family name, a tea quote or a botanical sketch that you add yourself. Fill the bays with six loose leaf samples for a Mother's Day or Christmas present. If you sell at markets, a matching set of this box and a smaller tea bag tray in the same finish makes an easy bundle to offer. Wipe on clear lacquer or a hardwax oil to protect it in the kitchen.
Questions about this file
How does the lift-off lid stay in place?
A small tab on the top of each wall fits into a matching slot in the lid, so the lid locates itself and will not slide off the box.
What tea fits in the six bays?
Each bay is around 11 cm wide and 7.5 cm front to back, enough for a round tin up to about 7 cm across or a stack of standard tea bags.
Can I change the size of this tea box?
Resize the whole drawing evenly, then set every slot back to the thickness of your plywood; if the slots scale with the box, the joints will not fit.
Should I use 3 mm or 4 mm plywood?
3 mm keeps the box light and quick to cut, and 4 mm gives a heavier lid that feels more solid in the hand.
Can I engrave the lid?
Yes. The file contains cut lines only, so add your engraving as a separate layer on the lid before you send the job to the laser.
Similar files