 Visualization
Coaster Organizer SVG, Six Compartment Napkin Tray Laser Cut File, Wooden Serving Caddy DXF
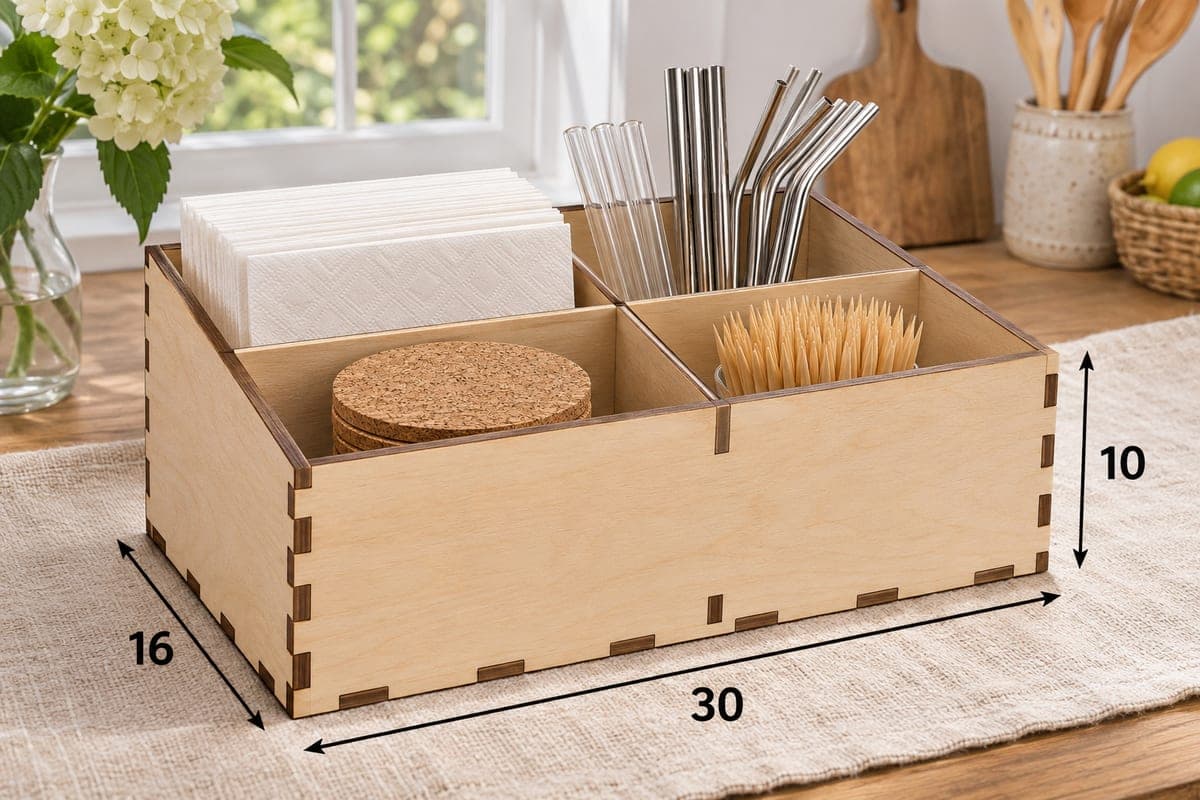
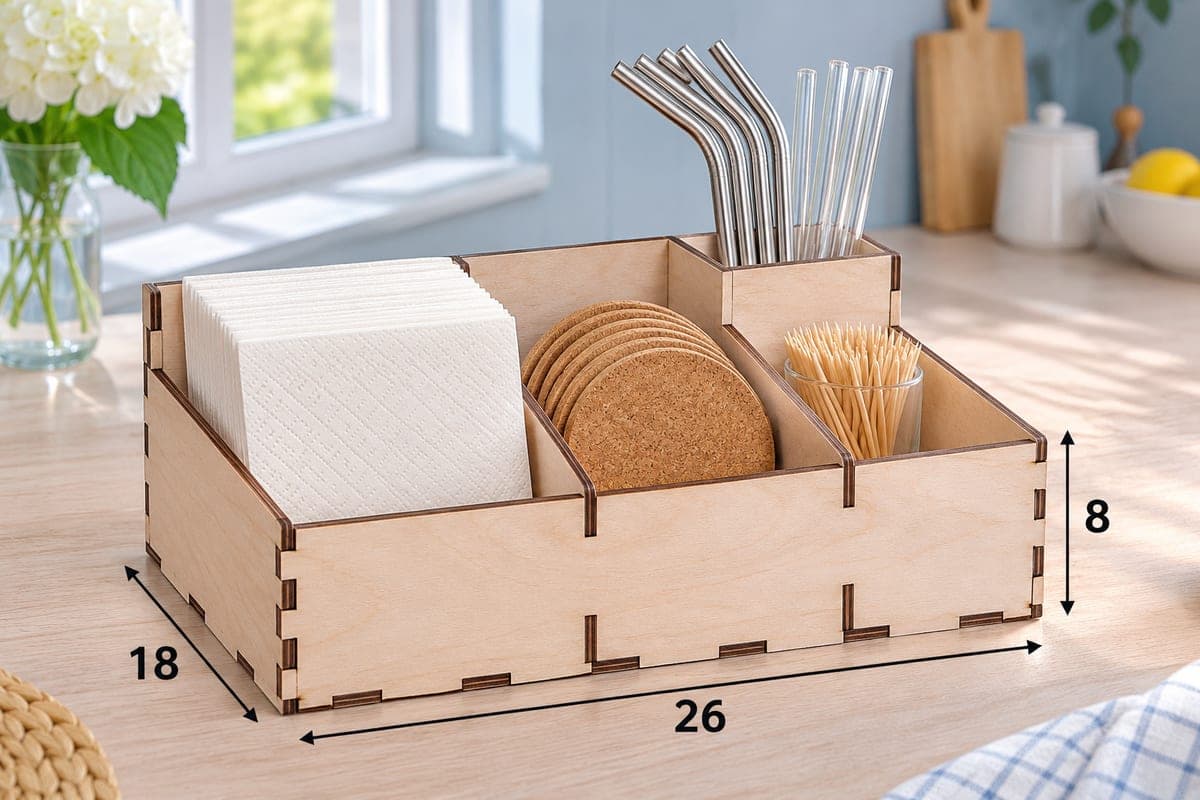
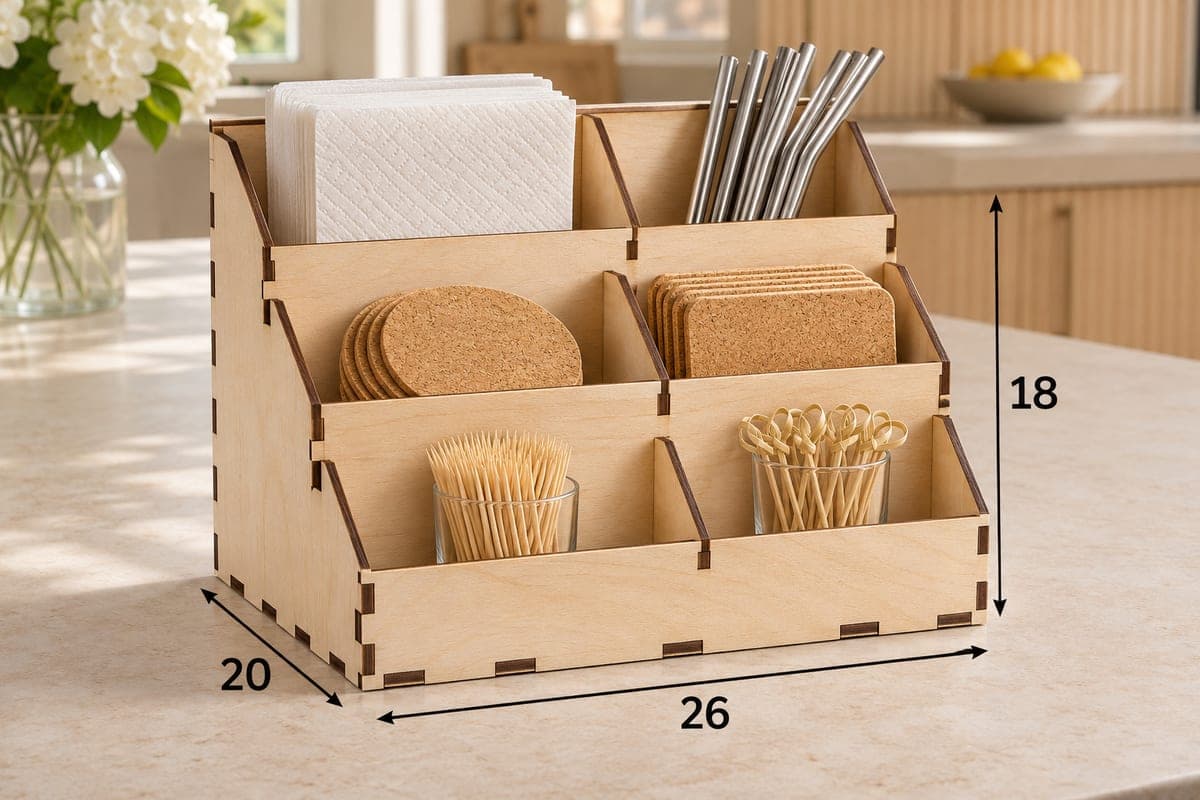
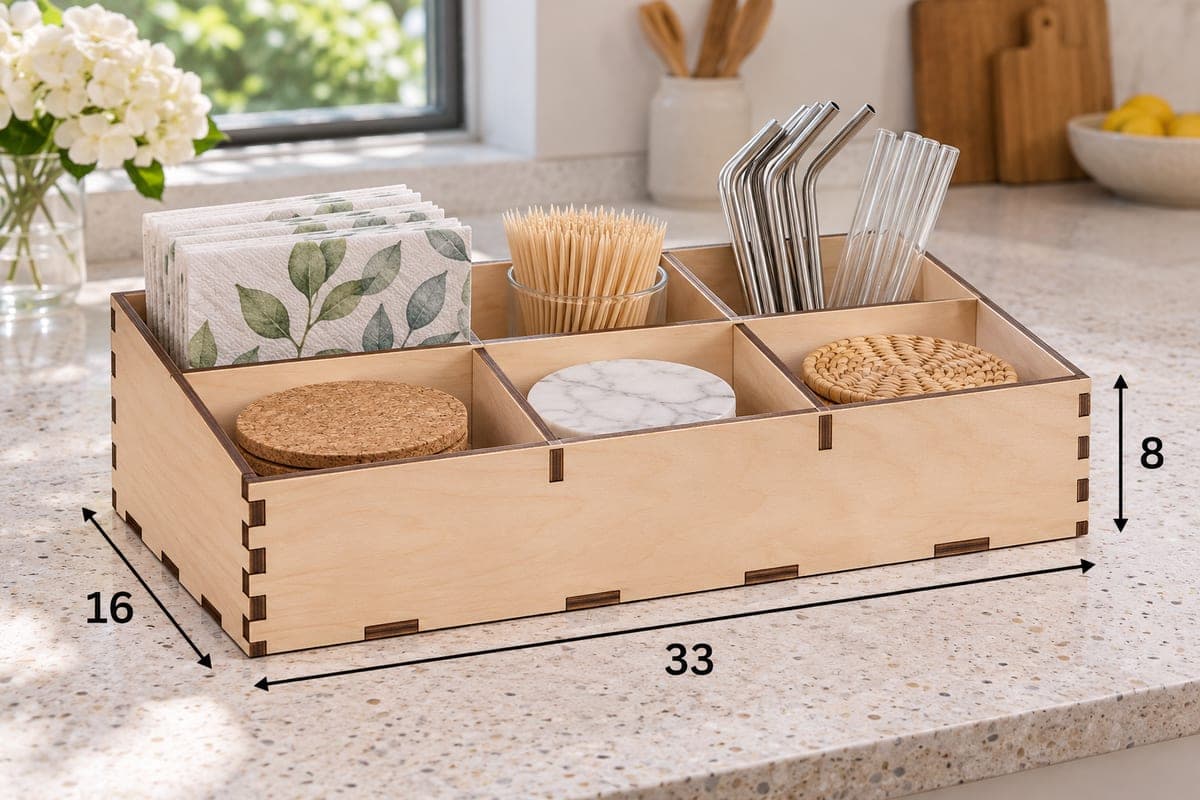
A free low napkin and coaster tray with six compartments in two rows of three, a 48 mm front and sides that slope up to an 80 mm back. The download includes SVG and DXF files for 3, 4, 5 and 6 mm plywood; the tray is 330 × 160 × 80 mm (12.99 × 6.30 × 3.15 in) and assembles from 10 pieces with tabs and slots.
- Formats
- SVG, DXF
- Outer size (W × D × H)
- 330 × 160 × 80 mm (12.99 × 6.30 × 3.15 in)
- Parts
- 10
- Material thickness
- 3, 4, 5 or 6 mm plywood (a file for each)
- Layout size (3 mm file)
- 1,334 × 252 mm
- Cut length
- 6.42 m
- Est. time, 10 W diode (3 mm)
- 21 min 23 s
- Est. time, 40 W CO2 (3 mm)
- 8 min 55 s
- Layers
- CUT only, no engraving
Free account required to download
How to make it
- 01Download the folder for your plywood, cut a single slot and tab in scrap, and adjust power until the tab slides in snugly.
- 02Cut all 10 pieces, splitting the 1334 mm strip into two or three jobs if your bed is shorter.
- 03Fit the sloped sides and back to the base, add the long cross divider, push the four short dividers into their slots, and close with the low front.
- 04Lightly sand, oil the tray, and set coasters along the front row with napkins, toothpicks and straws behind.
A row for coasters, a row for everything else
This is a long, low tray: 330 mm wide but only 80 mm high at the back. One cross divider runs the full length, and two short dividers in each row give six pockets of similar size. The photo puts three kinds of coasters in the front row, cork, white marble and woven rattan, so guests can pick one without digging. The back row holds leaf-print napkins, a glass of toothpicks and a mix of steel and glass straws. A short tray like this slides under wall cabinets and sits comfortably on a narrow kitchen island.
Laser settings and layout
The file spreads the 10 pieces along a strip of 1334 × 252 mm, so on a smaller machine split it: base, back and front on one sheet, the sides and four dividers on another. The 3 mm file takes about 21 min 23 s on a 10 W diode, about 8 min 55 s on a 40 W CO2 and about 4 min 17 s on a 100 W CO2. Thicker 5 or 6 mm plywood needs a CO2 or a diode with several passes, and thick walls look chunky on a tray this low, so 3 or 4 mm suits it best.
Selling it as a set
Coaster makers can sell this tray already filled: three styles of coasters in front, napkins behind. In a cafe it can sit by the till with sugar sticks and stirrers, and party planners like it for a drinks table. Glue is optional; a little wood glue on the corners keeps the tray square if it gets moved around a lot. Finish with a clear oil and buff it once dry.
Questions about this file
How big are the pockets?
Each pocket is a little over 100 mm wide and about 80 mm from front to back. Coasters up to roughly 80 mm lie flat; larger ones lean against the divider.
Can I make the tray longer?
Stretch it in your editor only if you redraw the slots at their original width. Uniform scaling also scales the slots, and they will no longer match your plywood.
MDF or plywood for this tray?
Both cut cleanly. MDF gives a smooth surface for paint but swells when wet, so birch plywood is the safer pick for a kitchen.
Is there room for a name or logo?
The long front panel is 330 mm wide, which leaves space for a family name or a cafe logo. Add the engraving layer yourself in LightBurn before cutting.
Do the joints need glue?
Not for everyday use at home, because the tabs grip firmly. Glue the corners if the tray will travel to markets or events.
Similar files