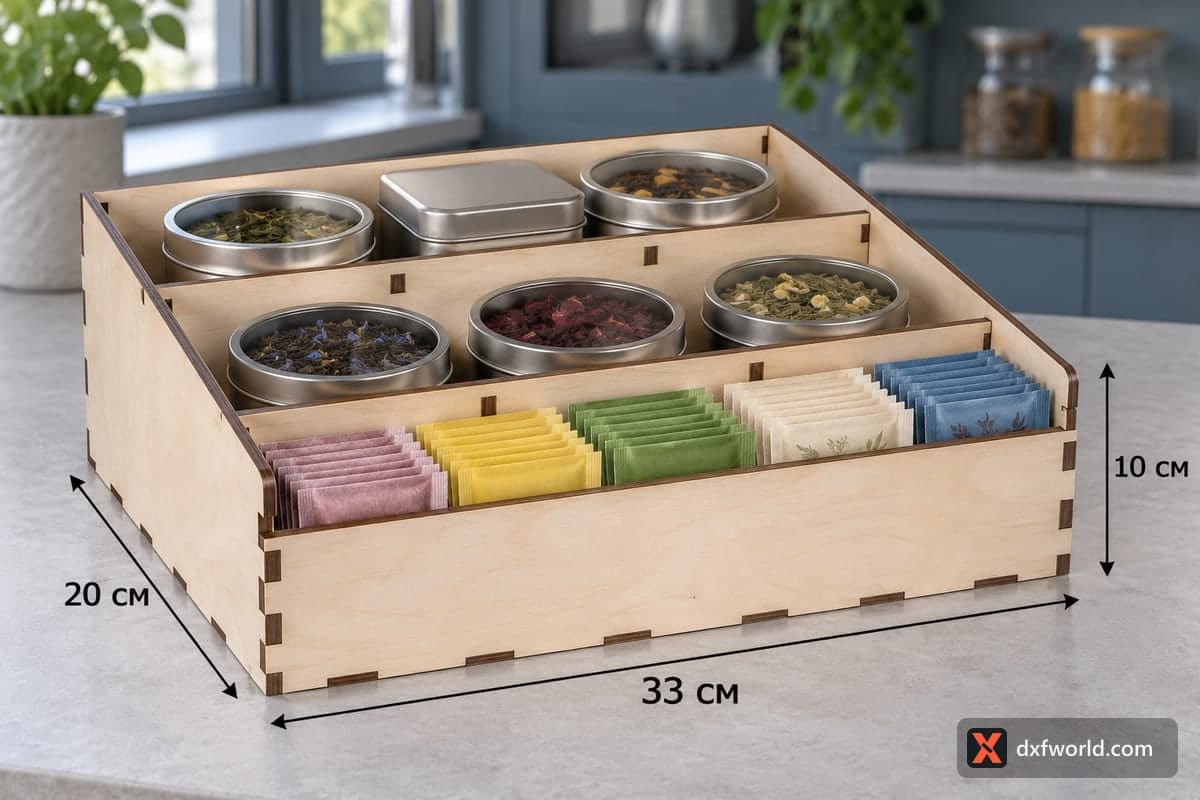
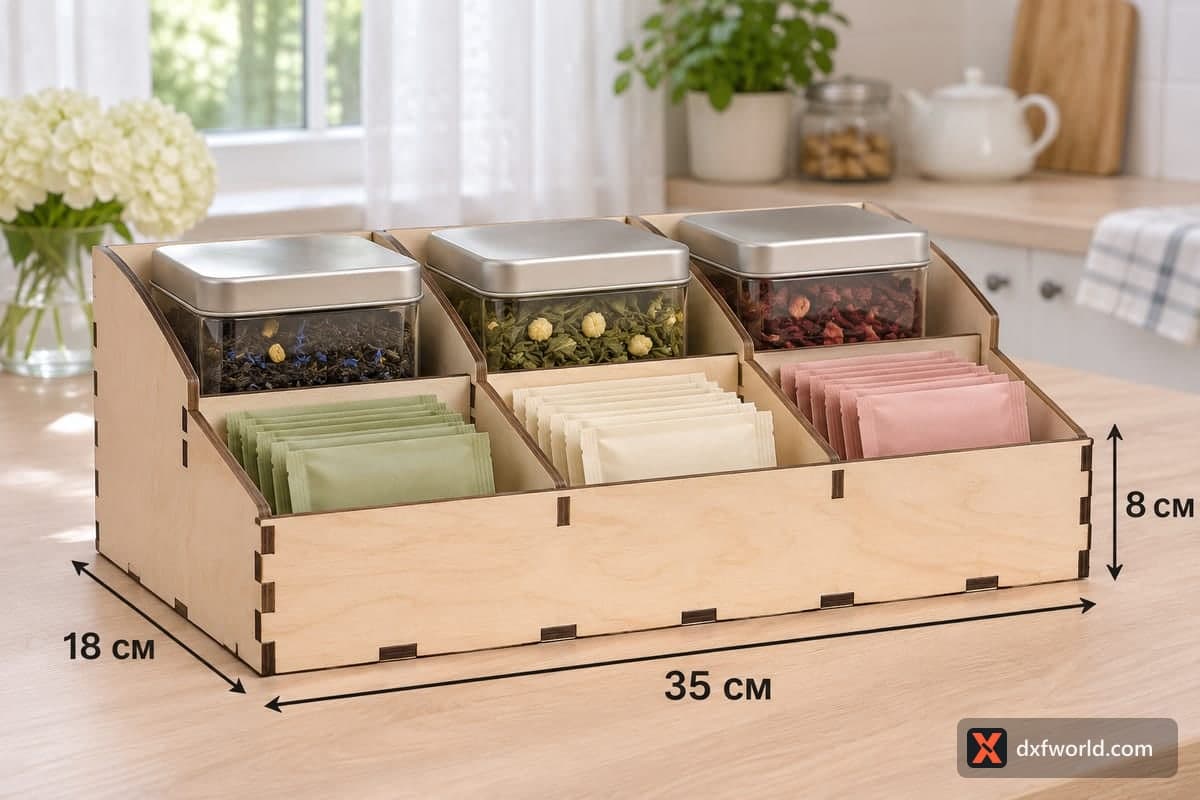
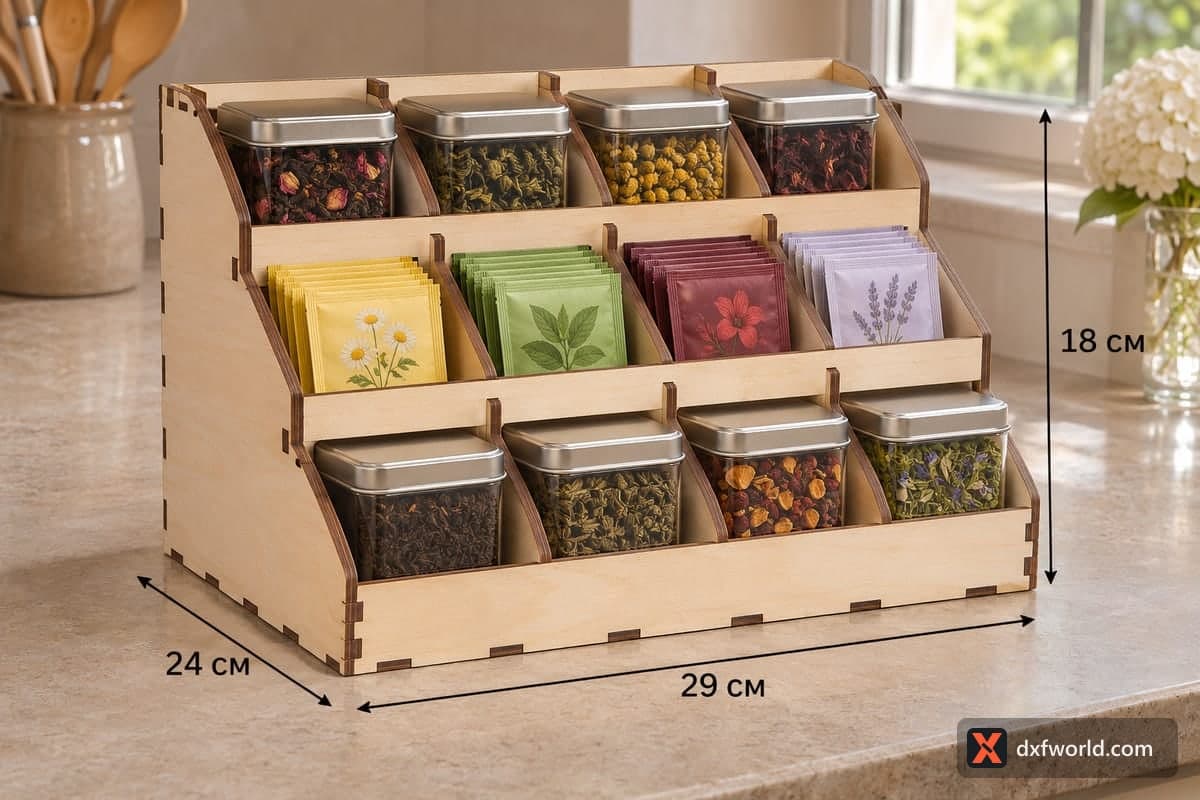
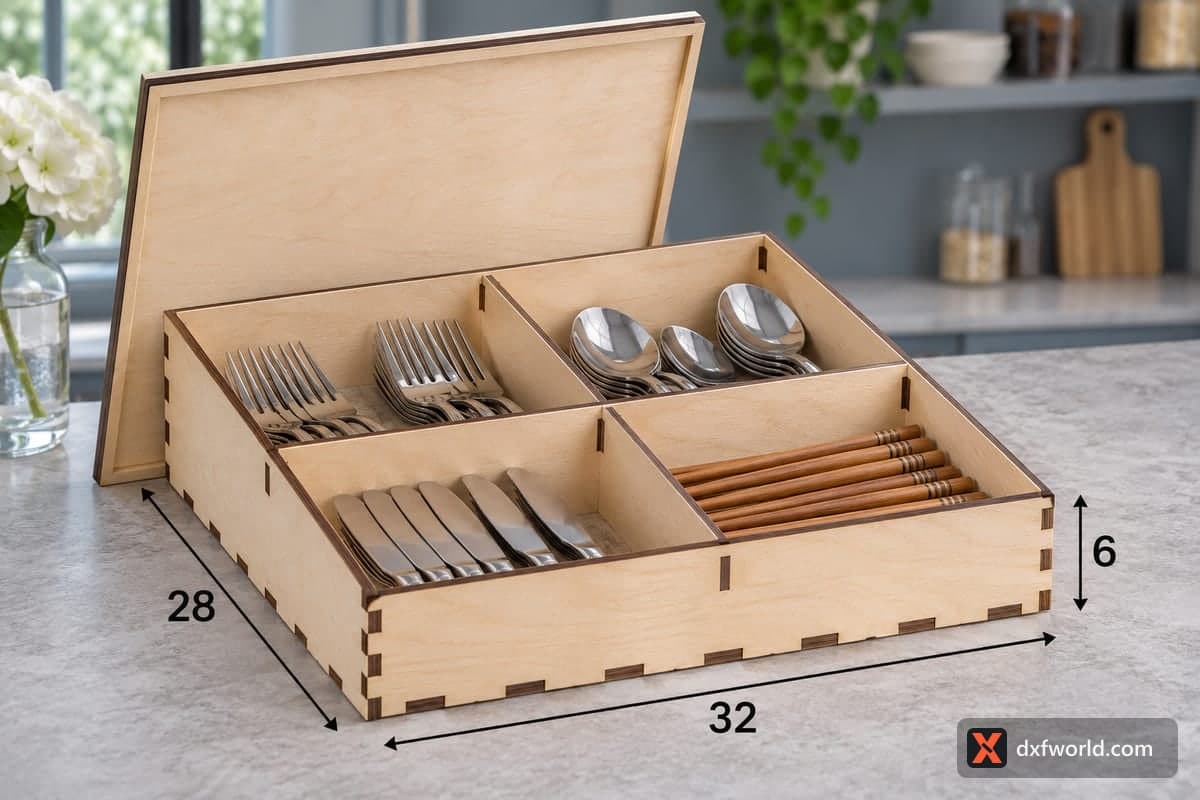
 Visualization
Five Lane Tea Bag Tray SVG, Low Sloped Tea Sachet Holder Laser Cut File, Wooden Tea Drawer Tray DXF
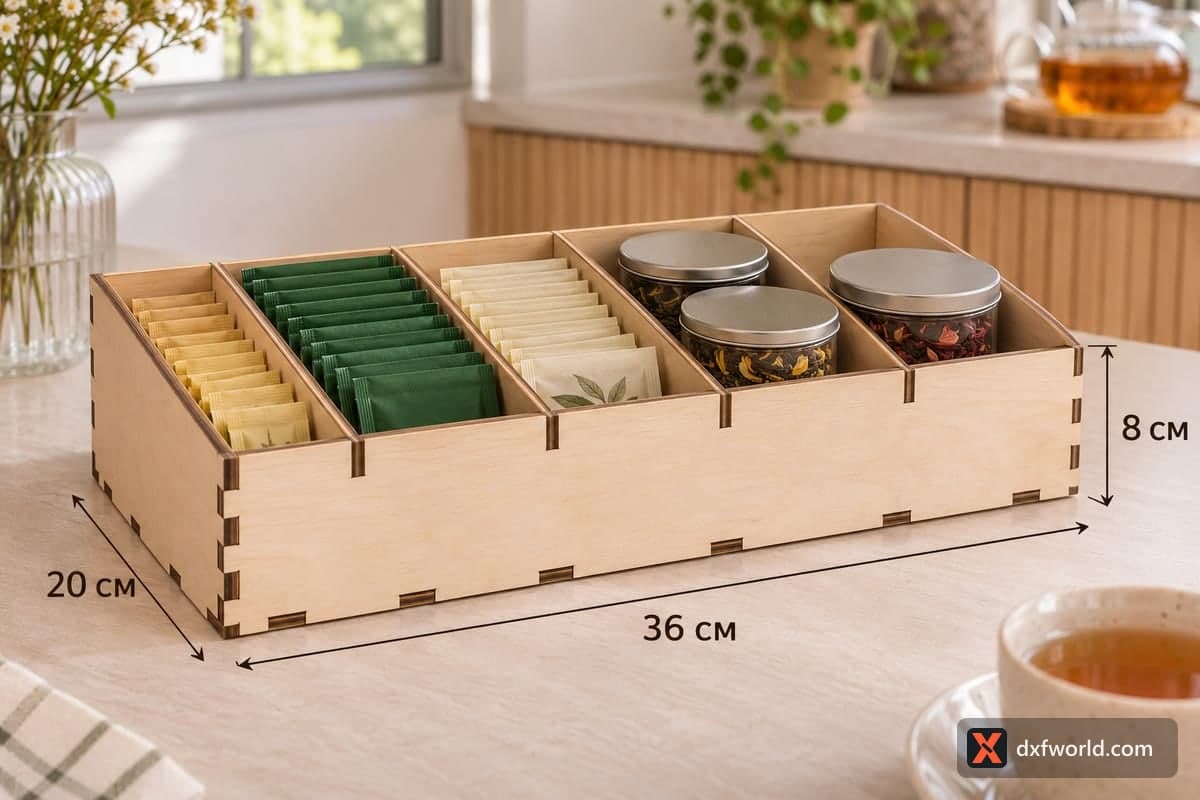
A free five-lane tea bag tray laser cut file in SVG and DXF, with separate versions for 3, 4, 5 and 6 mm plywood. The open tray is 360 × 200 × 80 mm (14.17 × 7.87 × 3.15 in) and has 5 equal lanes running front to back. It is cut as 9 pieces that join with tabs and slots, and the front wall is 48 mm high, with the sides sloping down from the 80 mm back.
- Formats
- SVG, DXF
- Outer size (W × D × H)
- 360 × 200 × 80 mm (14.17 × 7.87 × 3.15 in)
- Parts
- 9
- Material thickness
- 3, 4, 5 or 6 mm plywood (a file for each)
- Layout size (3 mm file)
- 1,184 × 292 mm
- Cut length
- 6.97 m
- Est. time, 10 W diode (3 mm)
- 23 min 13 s
- Est. time, 40 W CO2 (3 mm)
- 9 min 41 s
- Layers
- CUT only, no engraving
Free account required to download
How to make it
- 01Select the file that matches your plywood and test a single divider slot on scrap before cutting the tray.
- 02Cut the nine parts, splitting the 1184 mm layout over two sheets on a smaller machine.
- 03Press the four identical dividers into the base, add the sloped sides, then close the tray with the back and the low front.
- 04Round the sloped edges with sandpaper, oil the wood, and file tea bags in the lanes.
Five lanes, front to back
Four full-length dividers split the tray into five equal lanes, each about 7 cm wide, which is the width of most tea bag envelopes. The lanes run the full 200 mm depth, so each one holds a long file of bags standing on edge, like cards in a box. In the photo three lanes carry yellow, dark green and cream tea bags, the fourth holds two small tins one behind the other and the fifth a single larger tin. At only 80 mm tall, the tray slides into a deep kitchen drawer as easily as it sits on the counter.
Why the front is low
The front wall is just 48 mm, and the side panels slope up to the back. Tea bag tags and labels stay readable from above, and your fingers reach the last bag in a lane without lifting the tray.
Cutting it
There are nine parts: front, back, two sloped sides, base and four dividers. The four dividers are identical, so a spare is easy to recut if one snaps. For the 3 mm file the cut takes about 23 min 13 s on a 10 W diode, about 9 min 41 s on a 40 W CO2 and about 4 min 39 s on a 100 W CO2. The 1184 × 292 mm layout splits naturally in two: base and back on one sheet, sides, front and dividers on the other. Leave 5 and 6 mm to a laser with enough power for that depth.
Fit the dividers into the base before the sloped sides go on, then add the back and front. Leave it dry, or glue the corners for daily use. A coat of hardwax oil keeps splashes from marking the wood. Make a pair, one for tea and one for coffee sticks and sugar, or sell it at a market alongside a matching mug.
Questions about this file
Will individually wrapped tea bags fit the lanes?
Most wrapped tea bags are 6 to 7 cm wide and fit a lane standing on edge; very wide envelopes may need the tray scaled up.
Does the tray fit in a kitchen drawer?
At 80 mm tall it fits most deep drawers; measure your drawer against 360 × 200 × 80 mm first.
Can I make fewer, wider lanes?
Leave out one or two dividers when you assemble. The empty slots in the base stay visible, so fill them with glue and sanding dust if that bothers you.
Should I use 3 or 6 mm plywood for the tray?
3 mm keeps the lanes widest and suits a diode laser; 6 mm makes a chunkier tray with slightly narrower lanes and needs more laser power.
How do I protect the tray next to a sink?
Seal all faces, including the underside, with hardwax oil or water-based lacquer, and wipe up spills quickly.
Similar files