 Visualization
Sliding Lid Box SVG, Napkin Storage Box Laser Cut File, Wooden Table Setting Organizer with Lid DXF
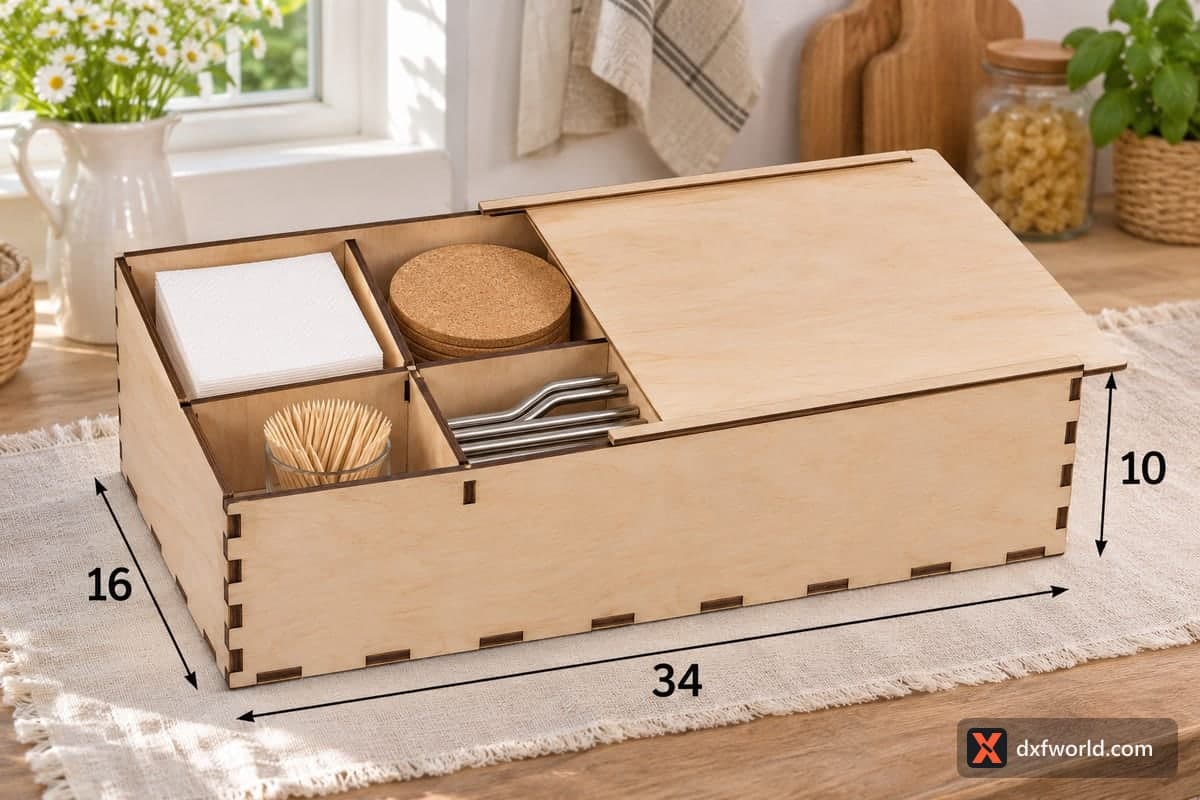
This free laser file makes a long napkin and table-setting box with a sliding lid, 340 × 160 × 100 mm (13.39 × 6.30 × 3.94 in) outside, divided into four compartments. The lid runs in two rails, the box assembles from 10 tab-and-slot pieces, and SVG plus DXF files are included for 3, 4, 5 and 6 mm plywood.
- Formats
- SVG, DXF
- Outer size (W × D × H)
- 340 × 160 × 100 mm (13.39 × 6.30 × 3.94 in)
- Parts
- 10
- Material thickness
- 3, 4, 5 or 6 mm plywood (a file for each)
- Layout size (3 mm file)
- 1,364 × 332 mm
- Cut length
- 8.63 m
- Est. time, 10 W diode (3 mm)
- 28 min 46 s
- Est. time, 40 W CO2 (3 mm)
- 11 min 59 s
- Layers
- CUT only, no engraving
Free account required to download
How to make it
- 01Open the file for your plywood thickness and cut one slot plus a short rail offcut to check both fits.
- 02Cut the 10 pieces, keeping the lid and the two rails flat and unwarped.
- 03Join the walls on the base, set the long and short dividers into their slots, fit the rails, then slide the lid in to test it.
- 04Sand any tight spots on the lid, wax its edges, finish the box and fill the four compartments.
Why a sliding lid
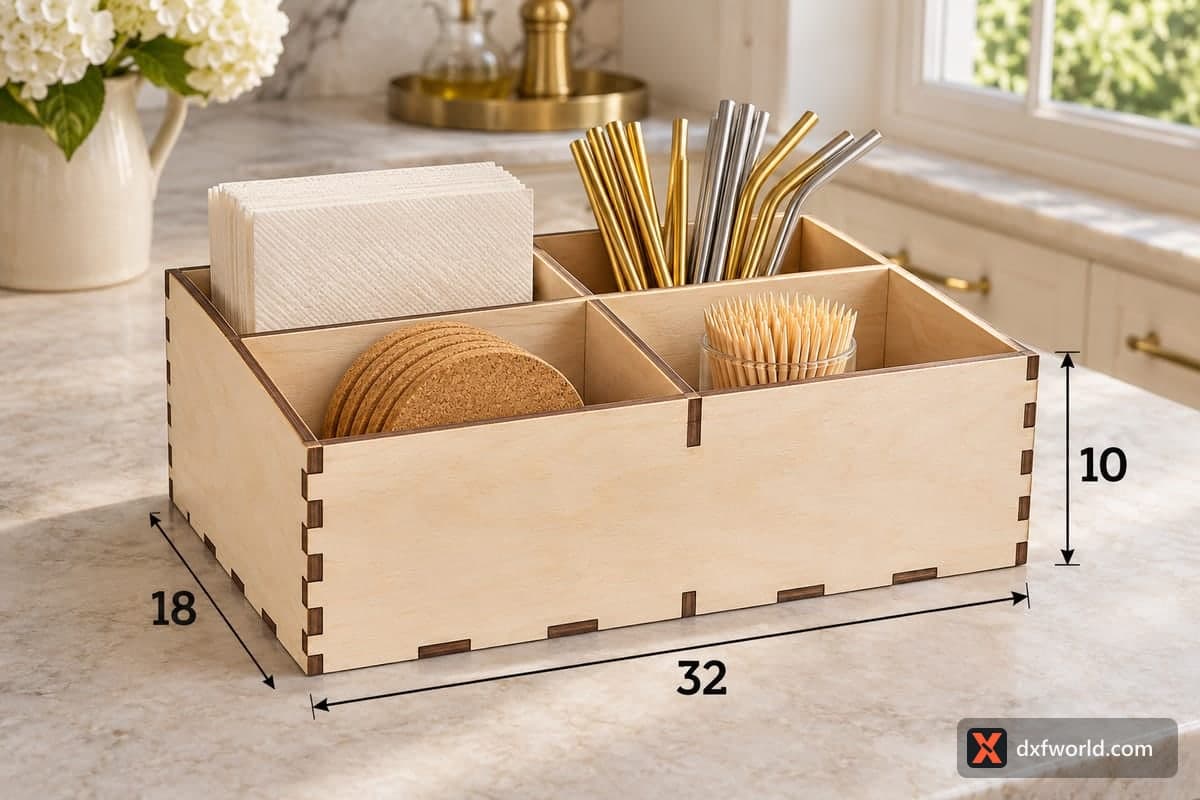
Open caddies collect dust and crumbs between meals. Here a flat lid slides in on two rails and covers everything, then slides back part way when you only need one corner, as in the photo. There is no hinge and no catch; the lid simply rests in its rails. Under it, one long divider and one short divider split the 340 mm length into four compartments in a 2 × 2 grid. In the photo the back row has folded white napkins and a stack of cork coasters, and the front row has toothpicks in a glass and a set of bent metal straws. The front wall is slightly lower than the back so the lid can pass over it.
What is in the file
Ten pieces: front, back, two ends, base, two dividers, two narrow rails and the lid. Cutting the 3 mm file takes about 28 min 46 s on a 10 W diode, about 11 min 59 s on a 40 W CO2 and about 5 min 45 s on a 100 W CO2. The 3 mm layout is 1364 × 332 mm, so on most desktop machines you will cut it in two or three batches: base and lid together, then the long walls, then the ends, dividers and rails.
Fit, finish and ideas
Test the lid in its rails before gluing anything; if it binds, sand its edges rather than the rails. Glue the walls to the base if you like, but keep glue out of the rail grooves. Wax on the lid edges keeps it gliding. The blank lid is a good place for a family name, a restaurant logo or a pattern you engrave yourself. Fill it with linen napkins and straws for a wedding gift, or use it as a drawer-free cutlery and napkin store on an open shelf.
Questions about this file
Is there a hinge or catch on the lid?
Neither. It slides in two rails and stays put by its own weight, so it opens with one finger.
My lid sticks after oiling. What can I do?
Oil can swell plywood slightly. Sand the lid edges a little and rub paraffin or furniture wax along them so it glides again.
Can I scale the box up for dinner napkins?
Yes, but every slot and the rail gap must match the real board thickness afterwards, so fix those widths in your software after scaling.
Which thickness keeps the sliding lid easy to move?
3 or 4 mm keeps the lid light and easy to slide. Thicker boards work, but the lid becomes heavy for such a long box.
Can it hold cutlery as well?
The four compartments take forks, teaspoons and straws lying flat; the lid keeps them clean between meals.
Similar files