 Visualization
Four Compartment Cutlery Tray SVG, Square Flatware Organizer Laser File, Open Utensil Box DXF
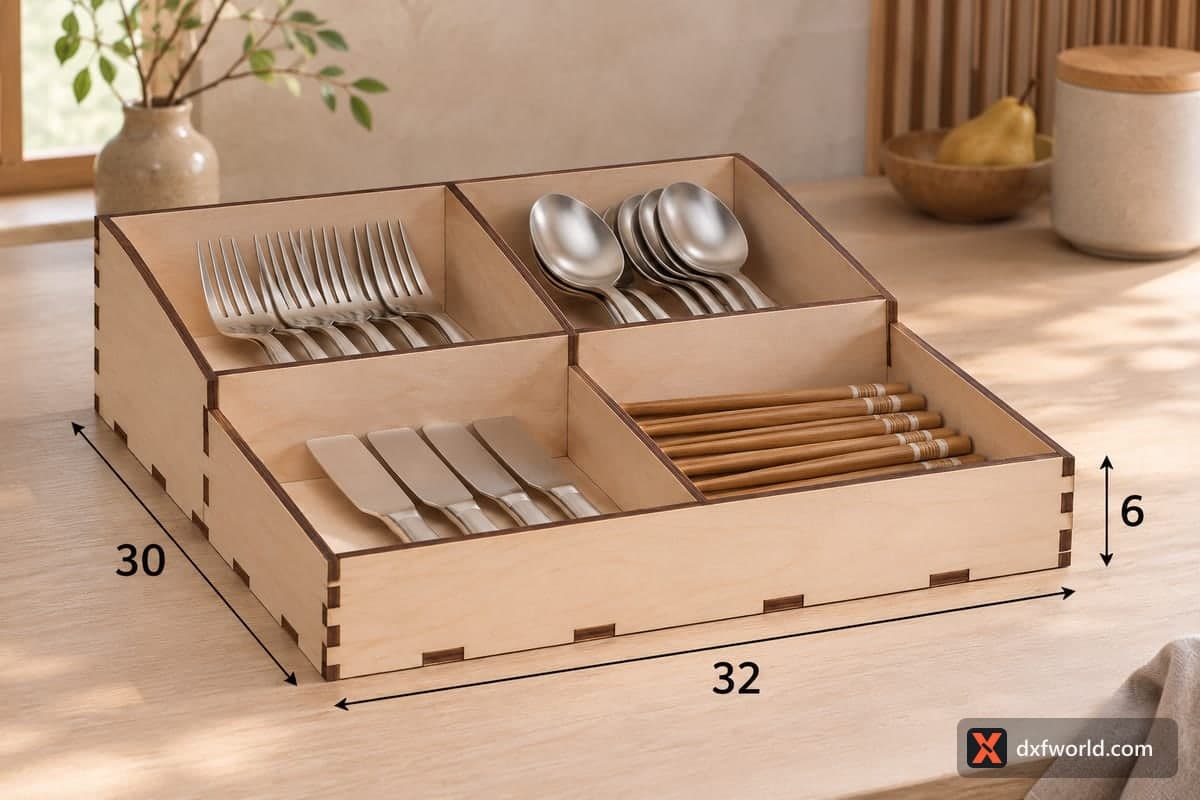
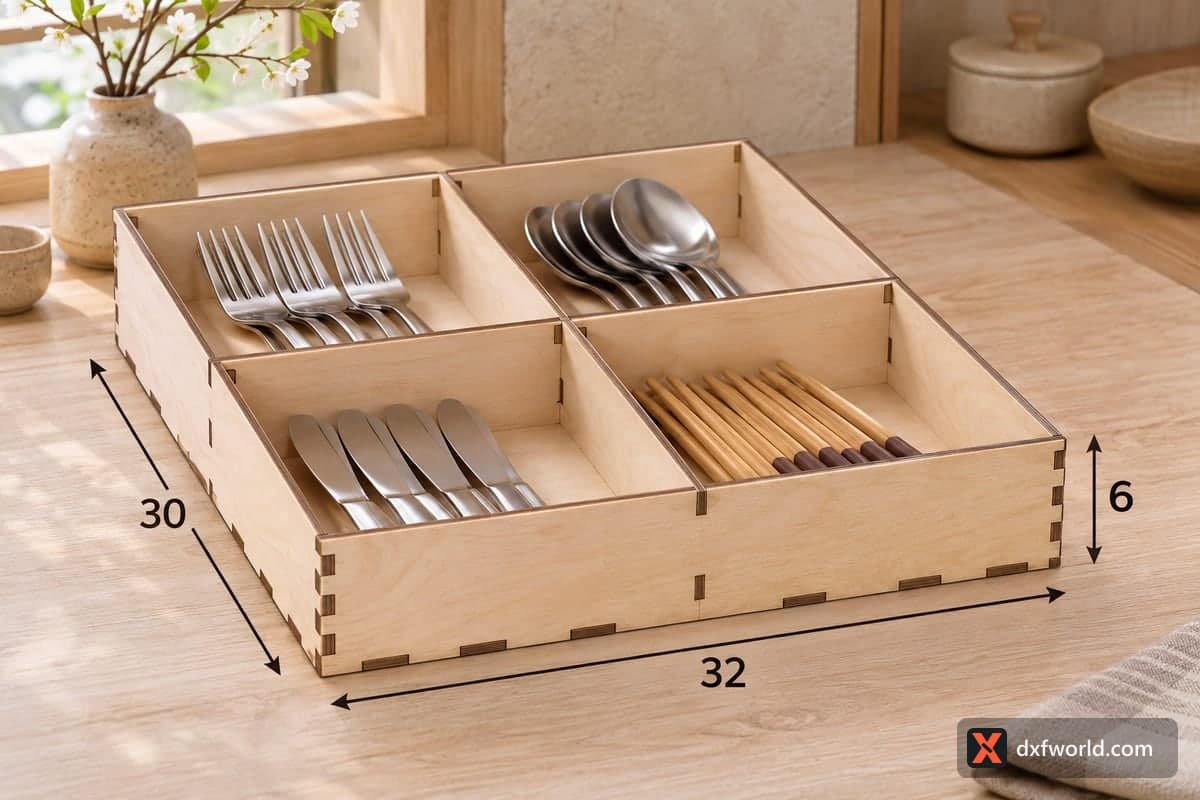
This free SVG and DXF file cuts an open, almost square cutlery tray with four equal compartments formed by two crossing dividers. The finished tray is 320 × 300 × 60 mm (12.60 × 11.81 × 2.36 in), has 7 plywood pieces that fit together with tabs and slots, and comes in separate versions for 3, 4, 5 and 6 mm plywood.
- Formats
- SVG, DXF
- Outer size (W × D × H)
- 320 × 300 × 60 mm (12.60 × 11.81 × 2.36 in)
- Parts
- 7
- Material thickness
- 3, 4, 5 or 6 mm plywood (a file for each)
- Layout size (3 mm file)
- 1,260 × 372 mm
- Cut length
- 7.82 m
- Est. time, 10 W diode (3 mm)
- 26 min 03 s
- Est. time, 40 W CO2 (3 mm)
- 10 min 51 s
- Layers
- CUT only, no engraving
Free account required to download
How to make it
- 01Open the version for your sheet thickness and test-cut one tab and slot pair to confirm the fit before cutting the full sheet.
- 02Cut the base, front, back, two sides and the two long dividers; give the base its own run if your bed is smaller than 1260 mm.
- 03Press the four walls onto the base, slide the two dividers together at their centre slots and set the cross into the tray.
- 04Smooth the edges with fine sandpaper, oil the wood and fill the four bays with forks, spoons, knives and chopsticks or napkins.
A simple grid of four
One divider runs left to right and one runs front to back. They meet in the middle with a halving slot, so the cross locks itself and both pieces stand at the full 60 mm wall height. That gives four roomy bays, each about a quarter of the tray. In the photo one bay holds dinner forks, one soup spoons, one table knives and the last a handful of chopsticks. Because the footprint is nearly square, the tray works in wide, shallow drawers or simply on an open shelf or dining table.
Cutting notes
With only seven pieces this is a quick job. The layout is 1260 × 372 mm; on a desktop machine place the base by itself and cut the walls and dividers in a second run. For the 3 mm file expect about 26 min 03 s on a 10 W diode, about 10 min 51 s on a 40 W CO2 or about 5 min 13 s on a 100 W CO2. A 10 W diode manages 3 mm in one or two passes; for 5 or 6 mm use a stronger laser or plan several passes. Assemble the four walls around the base first, then lower the crossed dividers in as one unit. A dab of wood glue in the corners is optional.
Where it sells and how to finish it
Sand the cut edges and seal with food-safe oil. Café and restaurant owners like a tray like this for a self-service cutlery station on the counter, and a set of two makes sense for a terrace or a staff room. At craft fairs it sells well next to engraved cutting boards. You can also stack paper napkins in one bay instead of chopsticks.
Questions about this file
Do the two dividers need glue?
No. They interlock with a centre slot and are held by the walls, so they stay put. Glue them only if you want the grid fixed for good.
Can the tray stand on a café counter?
Yes, it has no lid and an open top, which makes it easy for guests to take cutlery. Seal it well because it will be handled and wiped often.
What thickness should I cut?
Use the 3 mm file for a light drawer insert and the 5 or 6 mm file for a sturdy counter tray that gets moved around a lot.
Can I make it bigger or smaller?
Yes, but after scaling set every slot back to your real material thickness, or the cross and the walls will not lock together properly.
Will the four-bay grid cut well in clear acrylic?
It does if you pick the file that matches the acrylic thickness. Acrylic is easy to wipe clean, which suits a busy counter.
Similar files