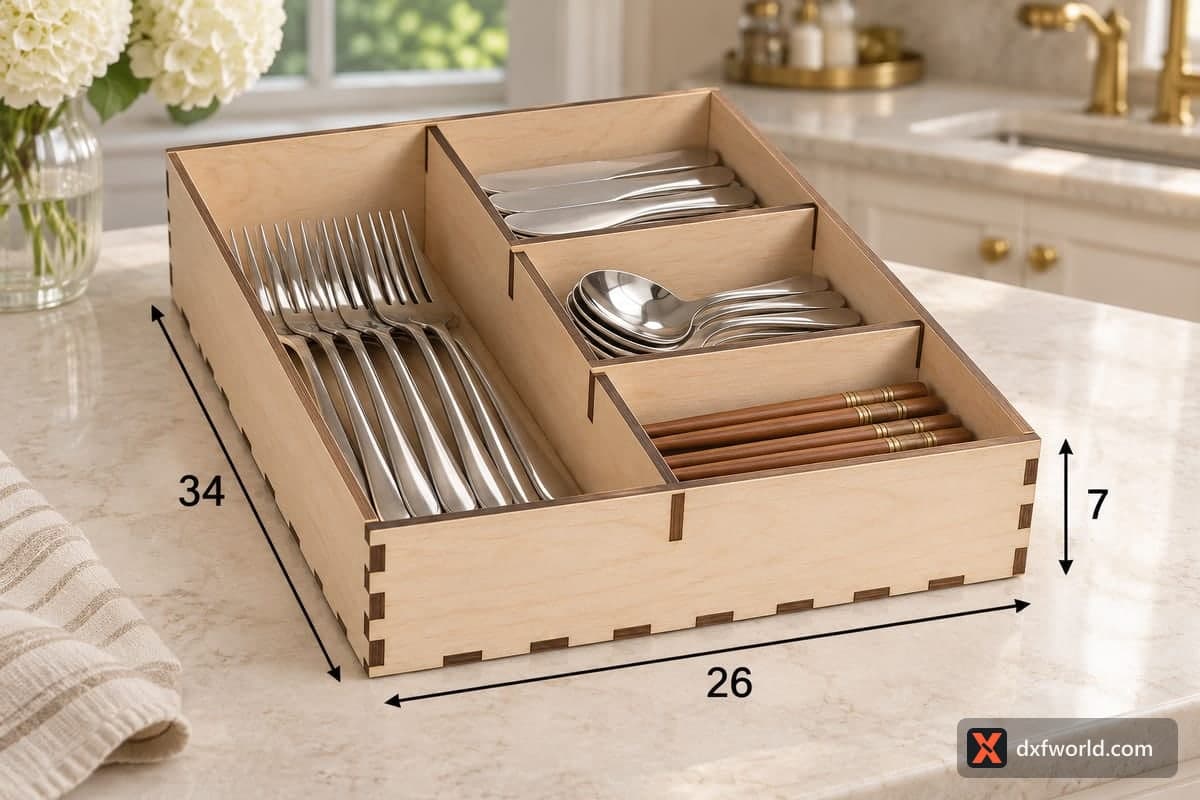
 Visualization
Two Lane Cutlery Tray SVG, Beginner Kitchen Drawer Organizer Laser Cut File, Long Utensil Divider DXF
A free laser cut file for a simple open cutlery tray split into two long lanes by a single divider, 260 × 340 × 70 mm (10.24 × 13.39 × 2.76 in) outside. The download includes SVG and DXF for 3, 4, 5 and 6 mm plywood, and the 6 pieces (four walls, a base and one divider) slot together with tabs, so it makes an easy first box.
- Formats
- SVG, DXF
- Outer size (W × D × H)
- 260 × 340 × 70 mm (10.24 × 13.39 × 2.76 in)
- Parts
- 6
- Material thickness
- 3, 4, 5 or 6 mm plywood (a file for each)
- Layout size (3 mm file)
- 1,220 × 422 mm
- Cut length
- 6.45 m
- Est. time, 10 W diode (3 mm)
- 21 min 30 s
- Est. time, 40 W CO2 (3 mm)
- 8 min 58 s
- Layers
- CUT only, no engraving
Free account required to download
How to make it
- 01Open the SVG or DXF for your plywood thickness and cut a single tab and slot on scrap to tune your power and kerf.
- 02Cut the base on one sheet and the four walls and divider on another if your bed is smaller than the full layout.
- 03Seat the divider in the base, fit both long sides, then add the front and back and tap the corners closed.
- 04Sand all edges, apply oil or lacquer and fill one lane with long utensils and the other with cutlery.
The simplest tray in the set
With only six parts, this is the file to start with if you have never built a tab-and-slot box. One divider runs from front to back and leaves two lanes about 12.5 cm wide and 33 cm long inside on 3 mm plywood. That is roomy enough for ladles, spatulas, whisks and long serving spoons, or for two neat piles of everyday forks and spoons.
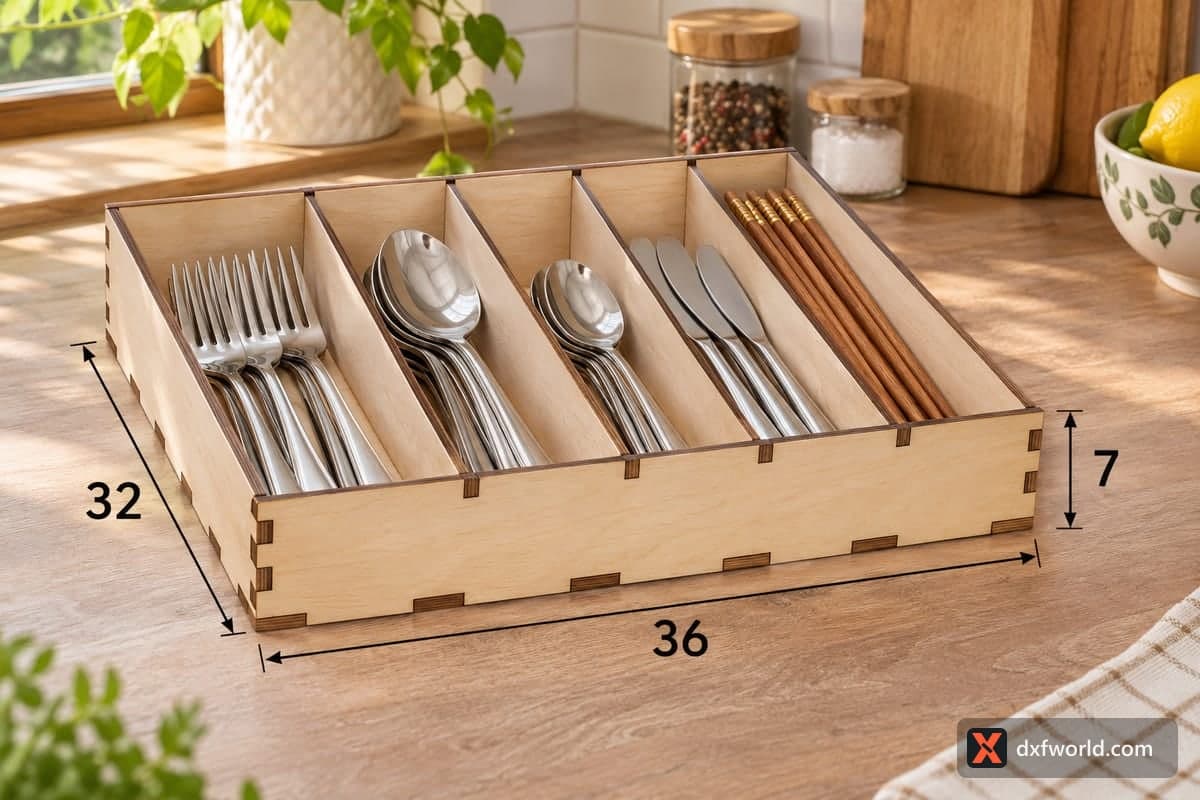
In the photo the right lane has been split further into three short pockets for knives, spoons and chopsticks. The file does not include those cross pieces; if you want them, glue in strips cut from the offcuts at whatever spacing suits your cutlery.
A fast cut for a first project
The 3 mm file takes about 21 min 30 s on a 10 W diode, about 8 min 58 s on a 40 W CO2 and about 4 min 18 s on a 100 W CO2, which makes it a sensible test of your focus and power settings. The layout is 1220 × 422 mm. The base is the largest single piece at 260 × 340 mm, so check that your bed takes it; the four walls and divider can go on a second sheet.
Assemble it base first: drop the divider into its slots, add the long sides, then the front and back. Tap the corners with a rubber mallet rather than forcing them. If a tab is tight, sand it lightly instead of widening the slot. Glue is not needed for a drawer tray, but it helps if you plan to sell the tray finished.
A quick sand and a coat of oil finish the job. For selling, list it as an unfinished kit next to a finished version, or offer two trays as a pair for wide drawers.
Questions about this file
Is this tray a sensible first build for a new laser owner?
Yes. Six pieces, one divider and a cut of under half an hour on a diode make it an easy way to learn how tight your tabs should be.
What fits in two long lanes?
Each lane is about 33 cm long, so ladles, spatulas, tongs and serving spoons lie flat. It also works as a tray for baking tools or a drawer of spare cutlery.
Can I add more compartments?
Glue short strips from your offcuts across a lane, as in the photo. Cut them to the inside width of the lane and the height of the walls.
Should I go thicker than 3 mm?
For a drawer tray 3 mm is plenty. Pick 5 or 6 mm only if you want a sturdier tray to sell or to use on an open shelf.
Will it survive wet utensils from the dishwasher?
Seal it with polyurethane or hardwax oil and dry the cutlery before putting it away. Raw plywood will stain and swell if water pools in the lanes.
Similar files