 Visualization
Parametric Chair DXF, Sliced Rib Lounge Chair CNC Plans, Sculptural Plywood Chair SVG, Waterfall Seat Furniture File
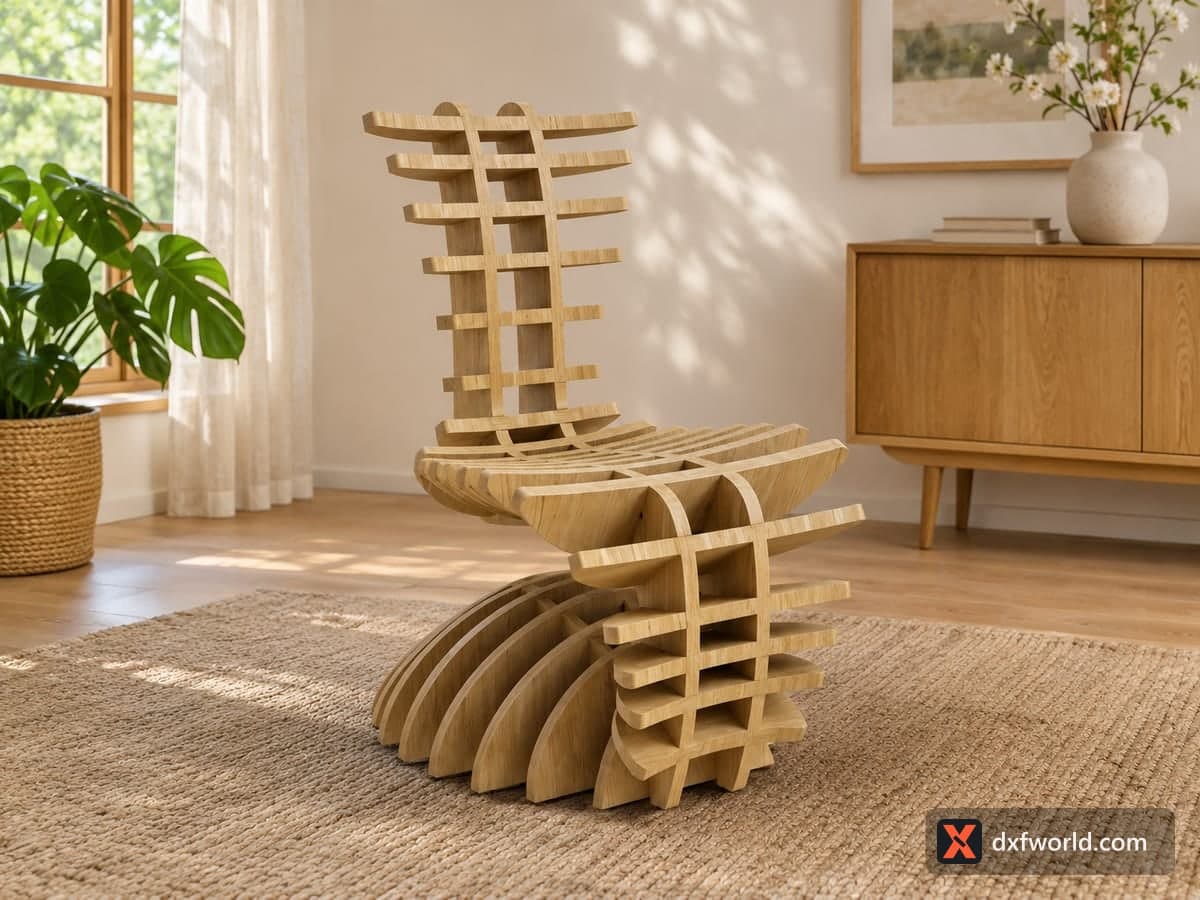
A full-size sculptural chair made of 28 flat parts: two curved spine profiles shaped like the side view of the chair, with notches along their edges, and 26 ribs of different widths, each with two slots that drop over the spines. The free SVG and DXF layout covers 2561.5 × 1959.7 mm (100.85 × 77.15 in) and needs a large-format CNC router. Stacked in order, the ribs form the backrest, the seat and a flared base.
- Formats
- SVG, DXF
- Size
- 2,562 × 1,960 mm (100.85 × 77.15 in)
- Material
- Plywood, MDF, acrylic or metal (scale to your piece)
- Cut length
- 42.31 m
- Est. time, 10 W diode (3 mm)
- 141 min 01 s
- Est. time, 40 W CO2 (3 mm)
- 58 min 46 s
- Layers
- CUT only, no engraving
Free account required to download
How to make it
- 01Check a slot width on screen, choose matching plywood and test one rib on a spine offcut.
- 02Join any open contours, cut both spines and all 26 ribs, and number the ribs in size order.
- 03Stand the spines parallel and tap the ribs into their notches from the base up to the top of the back.
- 04Glue the joints once everything is aligned, sand and finish with lacquer or oil.
How it goes together
The two spine profiles stand side by side and carry the shape of the chair: an upright back, a seat curve and a rounded base. Each rib has two slots spaced to match the two spines, and each one sits in a notch on the spine edge. The ribs change width from top to bottom, so the stack narrows across the back, widens over the seat and fans out into the semicircular base pieces at the floor. Lay the ribs out in size order before assembly; the shape only reads correctly when each one sits in its own notch.
Material thickness
The file does not state a thickness. Measure a rib slot and a spine notch in your CAM software, then pick plywood to suit, or resize the drawing so the slots suit the sheet you already have. Cut a spine offcut and one rib first and test the fit by hand; the joints should slide together with light tapping. Birch plywood of 15 to 18 mm is the usual choice for a seat that takes weight, and some contours in the file are drawn as joined segments, so run a join or close command before making toolpaths.
Finishing
Sand every rib edge before assembly, because the gaps between ribs are hard to reach later. A clear matte lacquer keeps the plywood layers visible, as in the photo. An outdoor version needs exterior-grade plywood with every edge sealed.
Questions about this file
What thickness plywood do I need?
The file gives no thickness. Measure the slots and match your sheet to them, or scale the file to your plywood, then test one joint.
Is a laser big enough?
Only as a scaled-down model. The full chair needs a CNC router with a large bed and thick plywood.
How do I know which rib goes where?
Each rib matches one notch on the spine edge by width and curve. Number them on the layout before you cut.
Does it need glue?
The slots hold the shape, but glue every joint on a chair that people will sit on.
Can I make a desk model of it?
Yes, shrink it and use 3 mm plywood or card, adjusting the scale until the slots match that sheet.
Similar files