
Easy Laser Cut Projects for Beginners: 12 First Builds, From Ornament to Box
The easiest laser cut projects for beginners start with a single-outline ornament, such as a reindeer that cuts in about 1 min 48 s on a 10 W diode, then add engraving, simple shapes like tags and coasters, an open tab-and-slot box of 6–7 parts, and finally boxes with lift-off, hinged or sliding lids. Each step adds one new skill, so problems stay easy to find. Use 3 mm plywood and test every setting on scrap first.
The first thing most people cut is a test square. The second thing, if they are lucky, is something they can hand to another person: a little reindeer, still warm from the bed, smelling of toasted birch, with a hanging hole that actually takes a ribbon. That moment hooks you for good. This list of easy laser cut projects for beginners is built to keep that feeling going, one small step at a time, from a single-outline ornament to a box with a lid that slides shut.
Each project adds exactly one new skill. You do not jump from a two-minute ornament to a twelve-part stand in one evening; you climb. Sizes, part counts and laser times below come from real files in our free library, so you know what you are signing up for before you press start.
How the projects are ordered
Difficulty is really about how many things can go wrong at once. An outline only asks for good focus and power; engraving adds a second layer; tabs and slots bring in plywood thickness and kerf; a moving lid adds clearance. So the list climbs in five levels:
- One cut outline, nothing else.
- Cut plus an engraved pattern.
- Text, small parts and simple shapes you draw yourself.
- An open box held together by tabs and slots.
- A box with a lid that lifts, pivots or slides.
All times are estimates for the 3 mm file on a 10 W diode laser, taken from each file page. A 40 W CO2 laser runs the same files about 2.4 times faster. Your machine, your plywood and your settings will differ, so read the numbers as a guide and always run a test on scrap first.
12 easy laser cut projects for beginners, ranked
| # | Project | New skill | Size, mm | Parts | 10 W diode, 3 mm | Difficulty |
|---|---|---|---|---|---|---|
| 1 | Reindeer ornament | One clean outline and a hanging hole | 90 × 124 | 1 | 1 min 48 s | 1 of 5 |
| 2 | Daisy ornament | Cut and engrave layers in one job | 90 × 100 | 1 | 3 min 40 s | 2 of 5 |
| 3 | Striped heart ornament | Heavy engraving and how it adds time | 90 × 80 | 1 | 4 min 44 s | 2 of 5 |
| 4 | Gift tags and keychains | Tiny parts and holes | your design | 1 | depends on your design | 1 of 5 |
| 5 | Coasters | Engraving a flat face evenly | about 90–100 round or square | 1 | depends on your design | 2 of 5 |
| 6 | Name sign | Text, fonts and bridges | your design | 1 | depends on your design | 3 of 5 |
| 7 | Two-section makeup caddy | First tab-and-slot box | 260 × 160 × 100 | 6 | about 13 min | 3 of 5 |
| 8 | Upright cutlery caddy | Sloped sides and dividers | 240 × 120 × 120 | 7 | about 14 min | 3 of 5 |
| 9 | Tiered spice rack | Steps, many parts, engraved part numbers | 260 × 200 × 180 | 12 | about 29 min | 4 of 5 |
| 10 | Tea box with lift-off lid | A lid that has to fit | 260 × 160 × 80 | 8 | about 25 min | 4 of 5 |
| 11 | Spice box with pin hinge | A lid that pivots on plywood pins | 240 × 180 × 80 | 8 | about 21 min | 5 of 5 |
| 12 | Spice box with sliding lid | Rails and a lid that slides | 280 × 160 × 80 | 10 | about 24 min | 5 of 5 |
Start with one outline: ornaments
The reindeer ornament is the gentlest possible first project. It has one closed cut line about half a metre long, a thin engraved line inside the edge and a 4 mm hanging hole. If it drops out of the sheet cleanly, your focus and power are right. If it clings on by a thread along one edge, your bed is not quite level or the sheet is warped, and you have learned something useful in under two minutes.
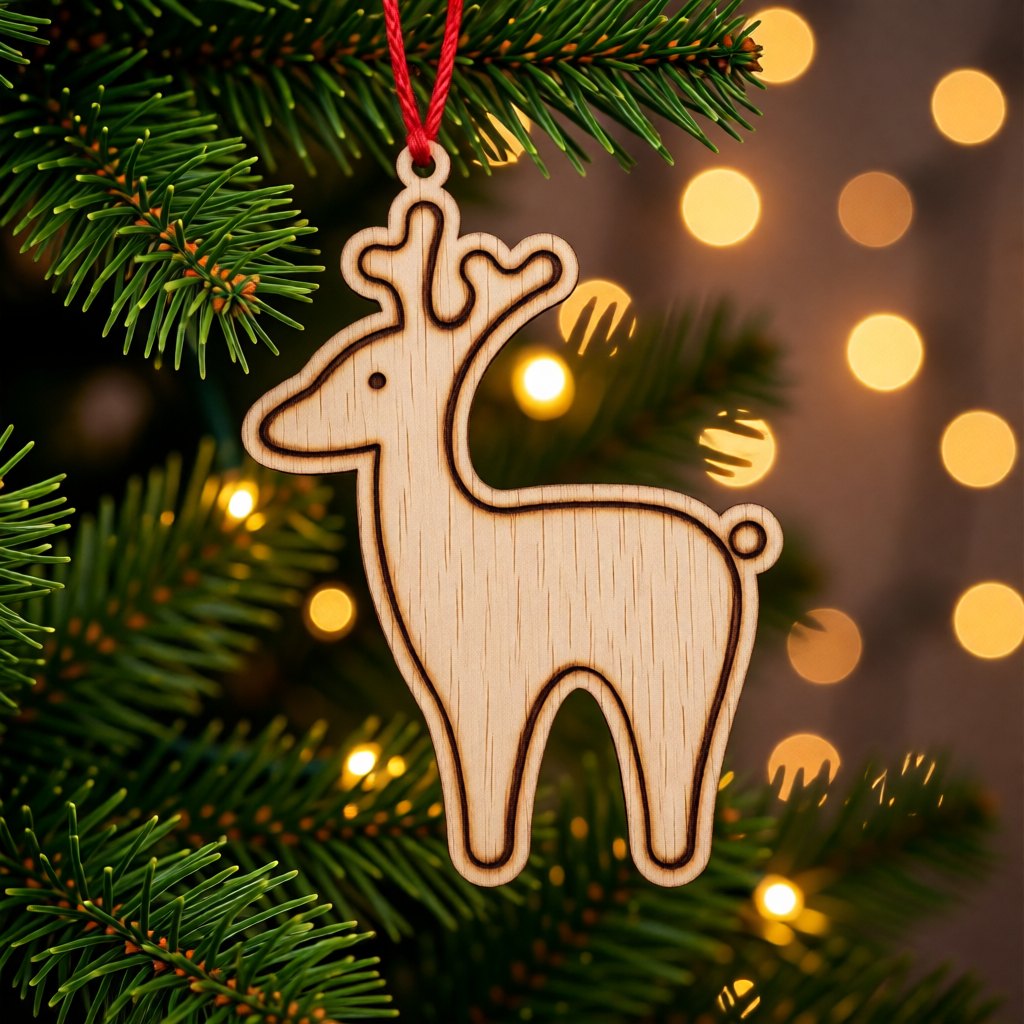 Cute Outline ReindeerSize 90 × 124 mm (3.54 × 4.89 in)Parts 1Est. time, 10 W diode (3 mm) 1 min 48 sEst. time, 40 W CO2 (3 mm) 44 sSVG · DXF →
Cut three in a row without changing anything. When they all come out the same, browse Christmas ornaments or animal ornaments and pick something with more detail. Our walkthrough of a first Christmas ornament covers the setup step by step, and hanging hole size explains why 4 mm is a comfortable default for ribbon.
Pro tip: keep the very first ornament you cut, burn marks and all. Six months from now it is the best measure of how far you have come.
Add engraving: the second skill
The daisy ornament has a red hairline for the cut and black filled shapes for the engraving. Your software treats them as two layers with two different settings. Run the engraving first and the cut last, in the same job, so the part cannot shift between them.
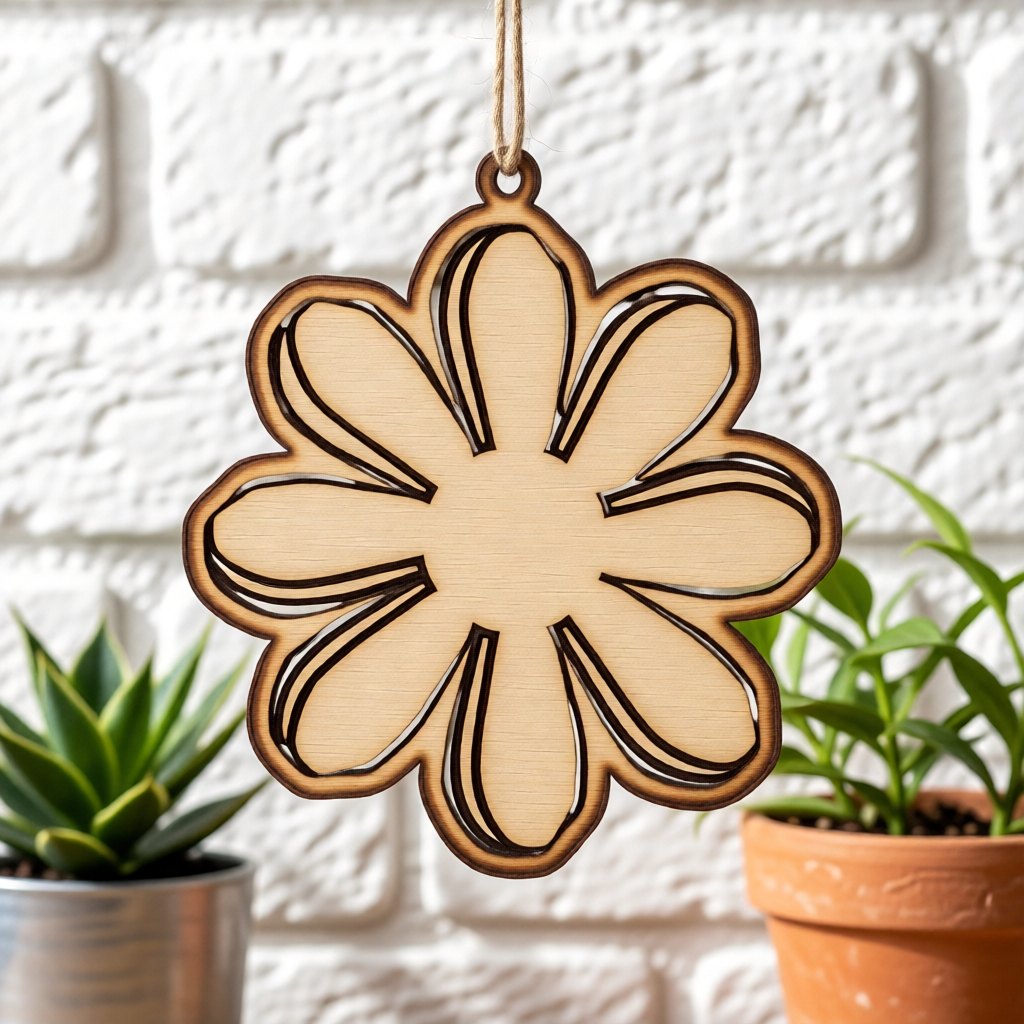 Eight-Petal Daisy OrnamentSize 90 × 100 mm (3.54 × 3.94 in)Parts 1Est. time, 10 W diode (3 mm) 3 min 40 sEst. time, 40 W CO2 (3 mm) 1 min 20 sSVG · DXF →
Now compare times. The striped heart is smaller than the reindeer, yet it takes 4 min 44 s on a 10 W diode instead of 1 min 48 s. The difference is all engraving: the laser has to scan every stripe line by line. If engraving looks scorched or patchy, see speed and power for engraving wood and cut, engrave and score layers.
Small projects you design yourself
You do not need a file for everything. Some of the best beginner projects are shapes you can draw in a few minutes:
- Gift tags and keychains. A rounded rectangle, a hole and a name. Tiny parts teach you how small text and holes behave, and they make great add-ons to any gift.
- Coasters. A circle or square of about 90–100 mm, the usual size covered in laser cut coaster size. The large flat face shows every unevenness in your engraving, which makes it a perfect test piece.
- A name sign. Letters look simple until the middle of every "O" and "A" falls out. Learn about bridges and stencil fonts in laser cut name signs.
Your first box: tabs, slots and plywood thickness
The two-section makeup caddy is the box we recommend first. It has only 6 parts: base, front, back, two sides and one divider. The sides slope from 100 mm at the back to 60 mm at the front, so it looks finished even without a lid.
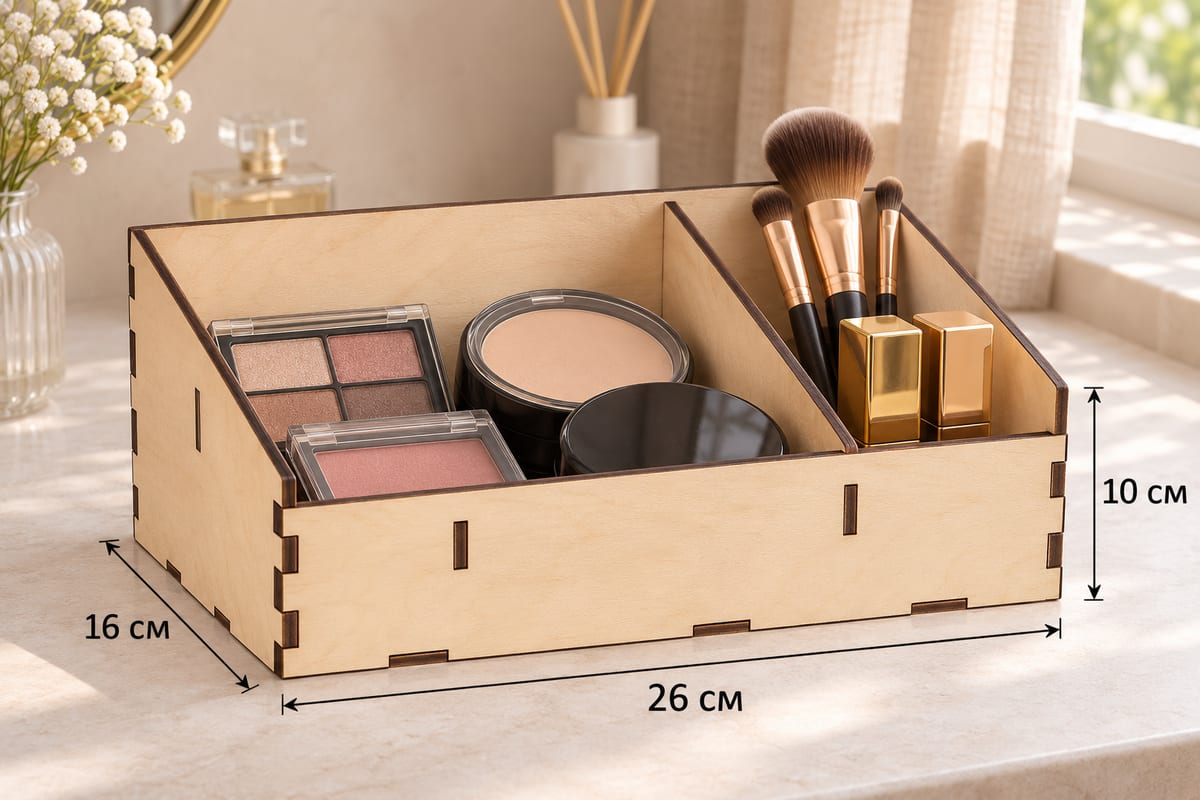 Two-Section Makeup CaddyOuter size (W × D × H) 260 × 160 × 100 mm (10.24 × 6.30 × 3.94 in)Parts 6Est. time, 10 W diode (3 mm) 13 min 23 sEst. time, 40 W CO2 (3 mm) 5 min 35 sSVG · DXF →
Here is the catch: plywood sold as 3 mm is often a few tenths of a millimetre thinner or thicker. Every box file in the library comes in versions for 3, 4, 5 and 6 mm, so measure your sheet with calipers in several places and pick the closest file. Read is 1/8 inch plywood the same as 3 mm if you buy in inches, and how to measure kerf when joints feel off.
Common mistake: cutting every part of your first box before testing a single joint. Cut one tab and one slot from the edge of the layout first, push them together, and only then run the full job. A two-minute test saves a whole sheet.
Also check the layout size. The 3 mm makeup caddy is laid out on 860 × 272 mm, which is wider than many hobby diode beds. That is fine: move the parts into two or three runs that fit your bed. Standard laser bed sizes helps you check what your machine takes. Once the caddy works, the upright cutlery caddy is a natural next box, and both makeup organizers and cutlery trays have plenty more.
Beginner problems and quick fixes
| Problem | Likely cause | Fix |
|---|---|---|
| Part still attached after the cut | Power too low, speed too high, lens out of focus or a warped sheet | Refocus, slow down a little, weigh the sheet flat, add a pass |
| Brown smoke stains around the cut | Smoke settling on the surface | Masking tape on top, air assist, light sanding |
| Tabs fall out of slots | Plywood thinner than the file, or kerf larger than expected | Try a drop of wood glue, adjust kerf on the next cut |
| Tabs will not go in | Plywood thicker than the file | Use the next thickness file, or sand the tabs lightly |
| Design imports at the wrong size | Unit mismatch between file and software | Import in mm and check one known dimension, see why an SVG comes in the wrong size |
| Engraving too dark or blotchy | Too much power or too slow | Run a small test grid on scrap |
| Layout does not fit the bed | Box layouts are long strips | Split the parts into several runs |
Boxes with lids: the graduation projects
The tiered spice rack is the step between open boxes and lids. It has 12 parts, which sounds like a lot, but each one carries a small engraved number, so assembly feels like a guided puzzle. The tea box with a lift-off lid is the easiest lid: it simply sits on top, and the only thing to judge is how snug you want it.
Then come the two real graduation pieces. The hinged spice box has a lid that pivots at the back on pins cut from the plywood itself, with no metal hinge to buy.
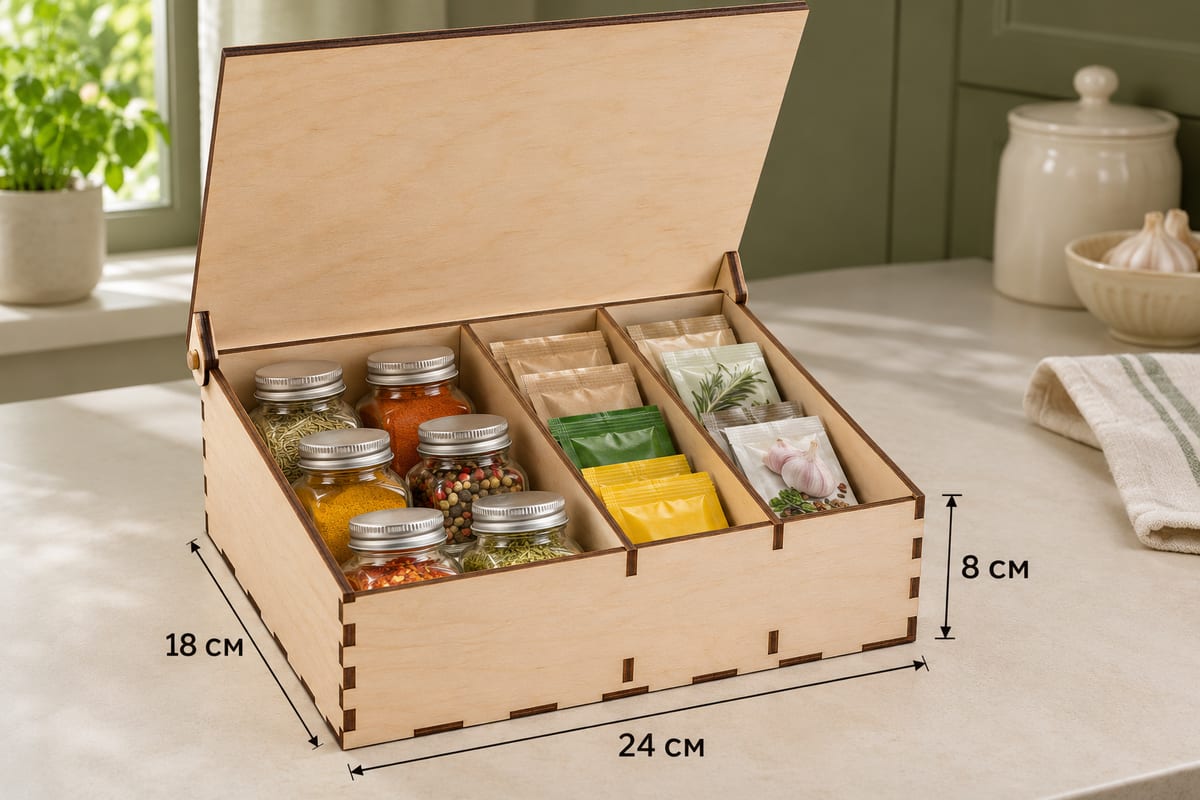 Hinged Spice Box, 3 SectionsOuter size (W × D × H) 240 × 180 × 80 mm (9.45 × 7.09 × 3.15 in)Parts 8Est. time, 10 W diode (3 mm) 20 min 53 sEst. time, 40 W CO2 (3 mm) 8 min 42 sSVG · DXF →
The sliding lid box runs its lid on two rails. It is 10 parts and about 24 minutes on a 10 W diode, and the first time the lid glides shut you will grin like you did with the reindeer.
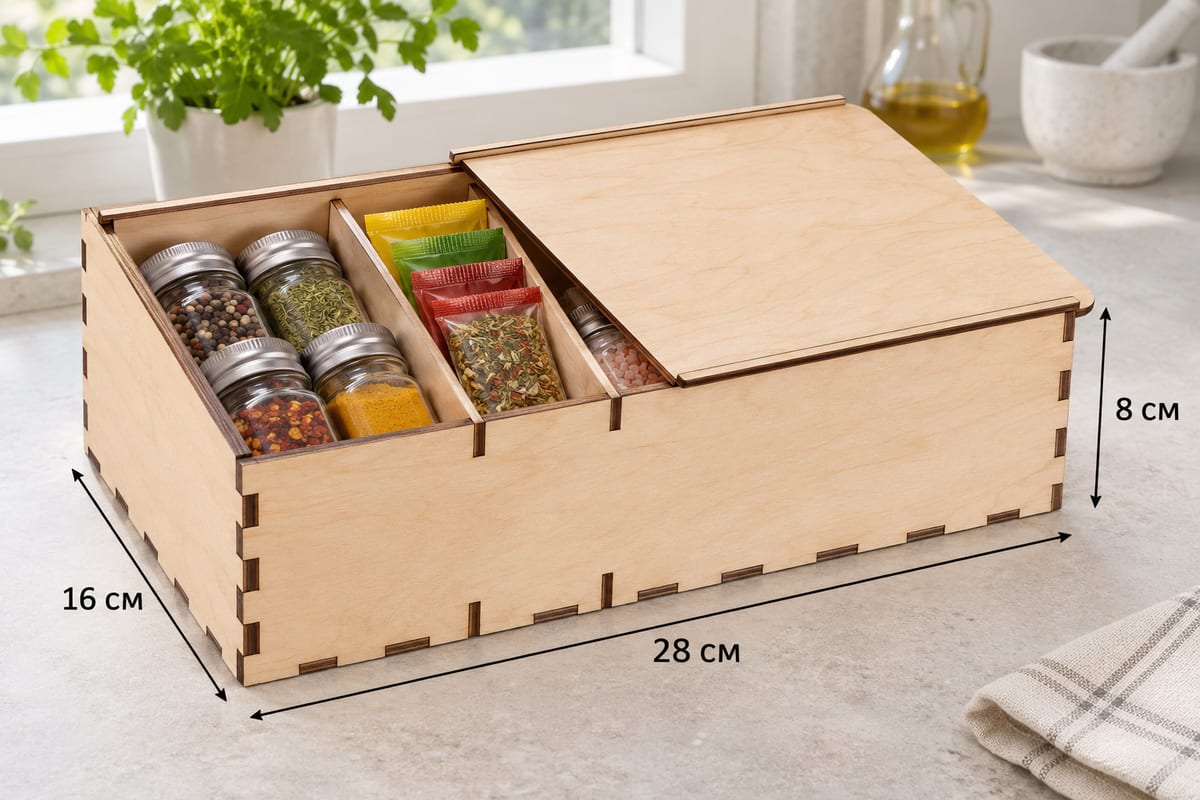 Sliding Lid Spice Box, 3 SectionsOuter size (W × D × H) 280 × 160 × 80 mm (11.02 × 6.30 × 3.15 in)Parts 10Est. time, 10 W diode (3 mm) 23 min 50 sEst. time, 40 W CO2 (3 mm) 9 min 56 sSVG · DXF →
Pro tip: if a sliding lid or a pin hinge feels stiff, sand the edges that rub and polish them with a little wax before you blame the file. A tenth of a millimetre makes all the difference.
More lidded designs live in spice organizers and tea and coffee organizers. When you want a box in your own size, the box generator builds a finger-joint box from inside dimensions, thickness and kerf, and how to make a finger joint box explains every setting.
Next step
Cut the reindeer tonight, three times. Next weekend, cut the makeup caddy after one test joint. Write your speed and power in a notebook every time, and by the time you reach the sliding lid box, you will be working from your own numbers instead of guesses.
Read next: Tab and Slot Laser Cut Joints and Laser Cut Gift Ideas.
Questions and answers
What is the easiest thing to laser cut first?
A single-outline ornament. Our reindeer ornament has one cut line and a 4 mm hanging hole and takes about 1 min 48 s on a 10 W diode laser in 3 mm plywood.
Can a 10 W diode laser cut these beginner projects?
Yes, in 3 mm plywood. All times in the table are estimates for the 3 mm file on a 10 W diode; thicker 5 and 6 mm plywood usually needs several passes on a diode.
What plywood thickness should a beginner use?
Start with 3 mm plywood. It cuts quickly, it is cheap to waste while you learn, and every file in our library has a 3 mm version.
How long does a first box take to cut?
The simplest boxes take roughly 13–14 minutes on a 10 W diode for the 3 mm file, plus a test joint, assembly and sanding.
Do tab-and-slot boxes need glue?
Snug joints often hold on their own, which is handy for a test fit. A small drop of wood glue in each joint makes the box permanent.
Do I need to design my own files to start?
No. Start with ready files from the library, and draw simple shapes like tags or coasters yourself once the machine feels familiar.