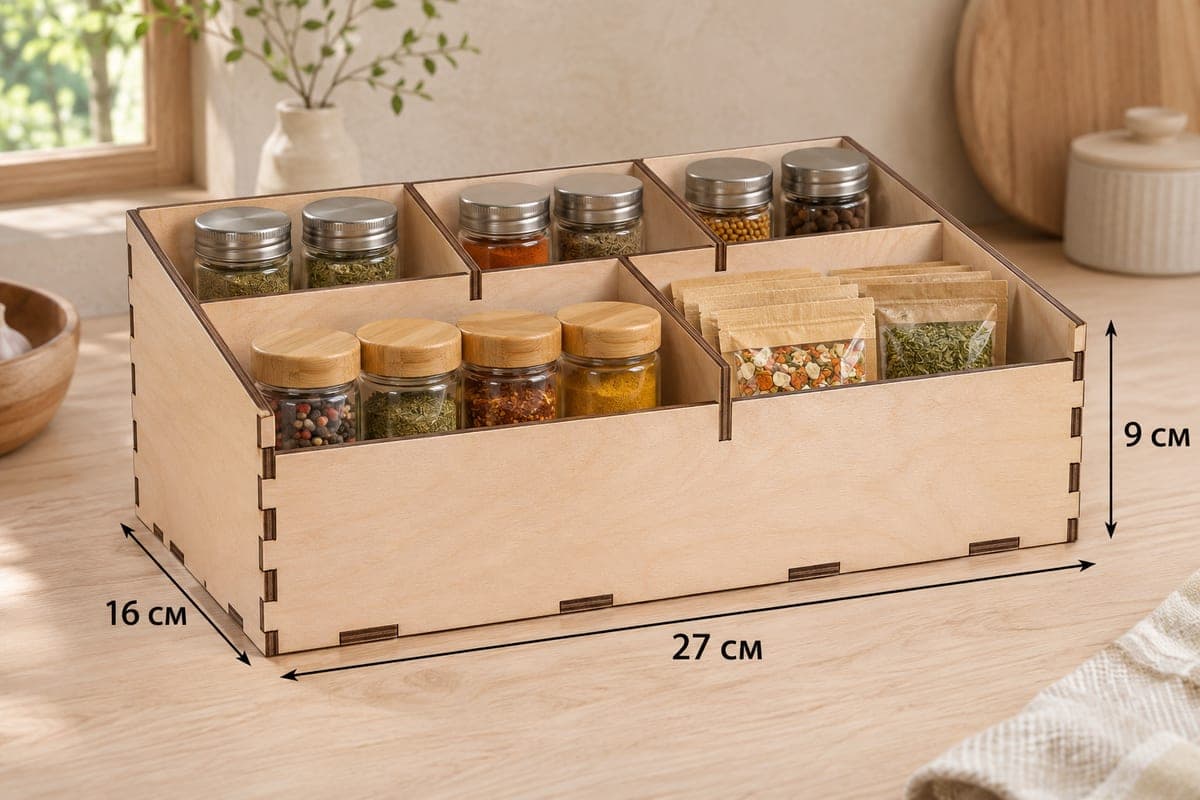
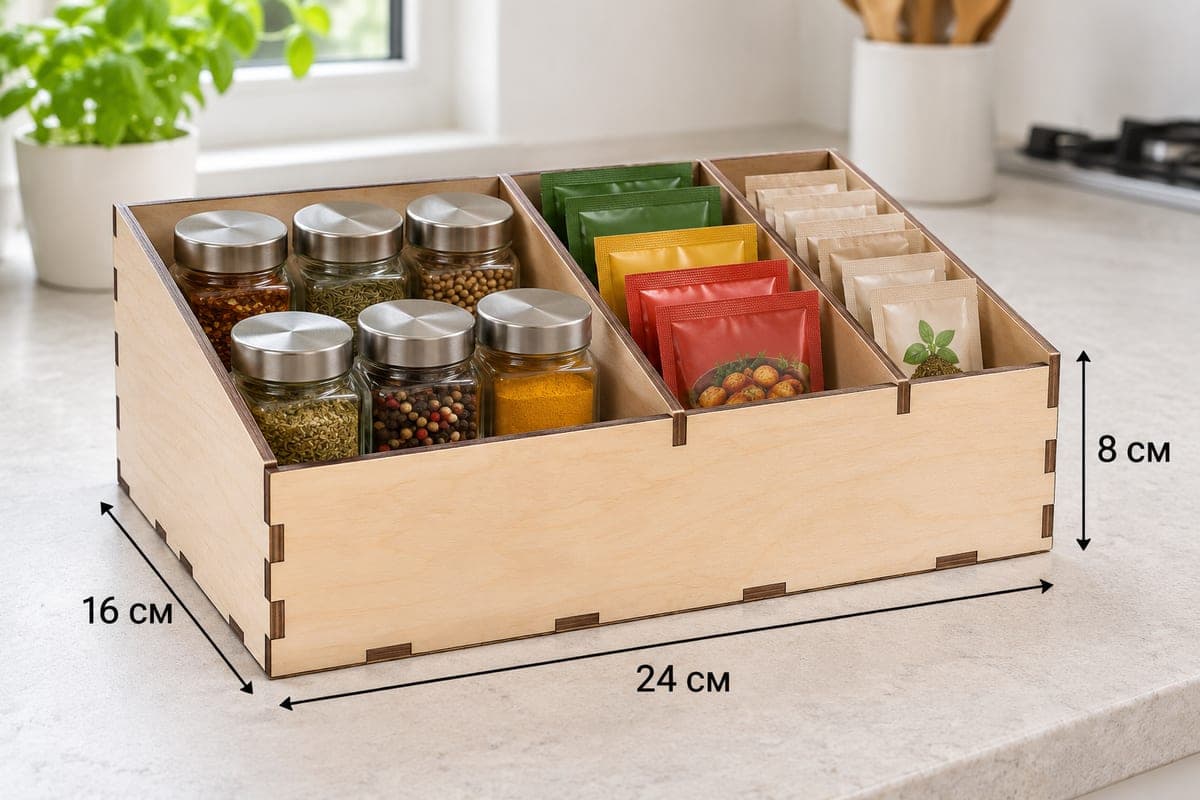
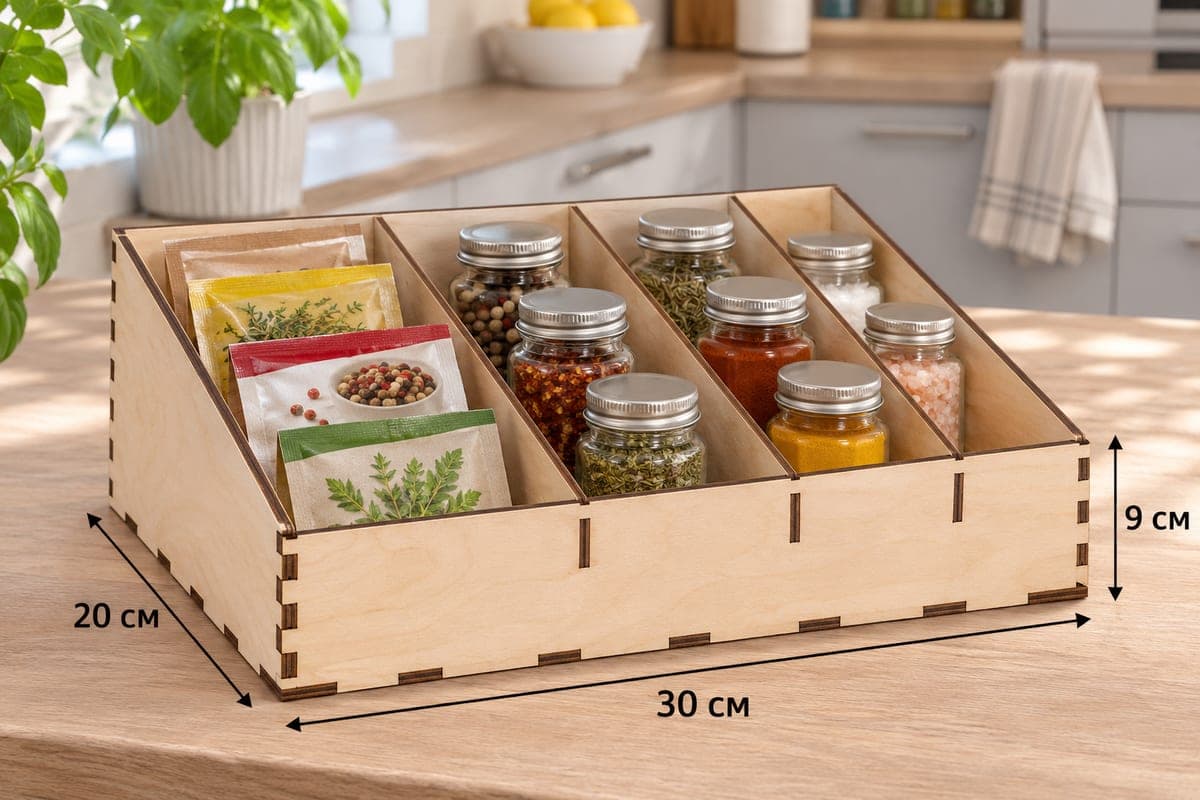
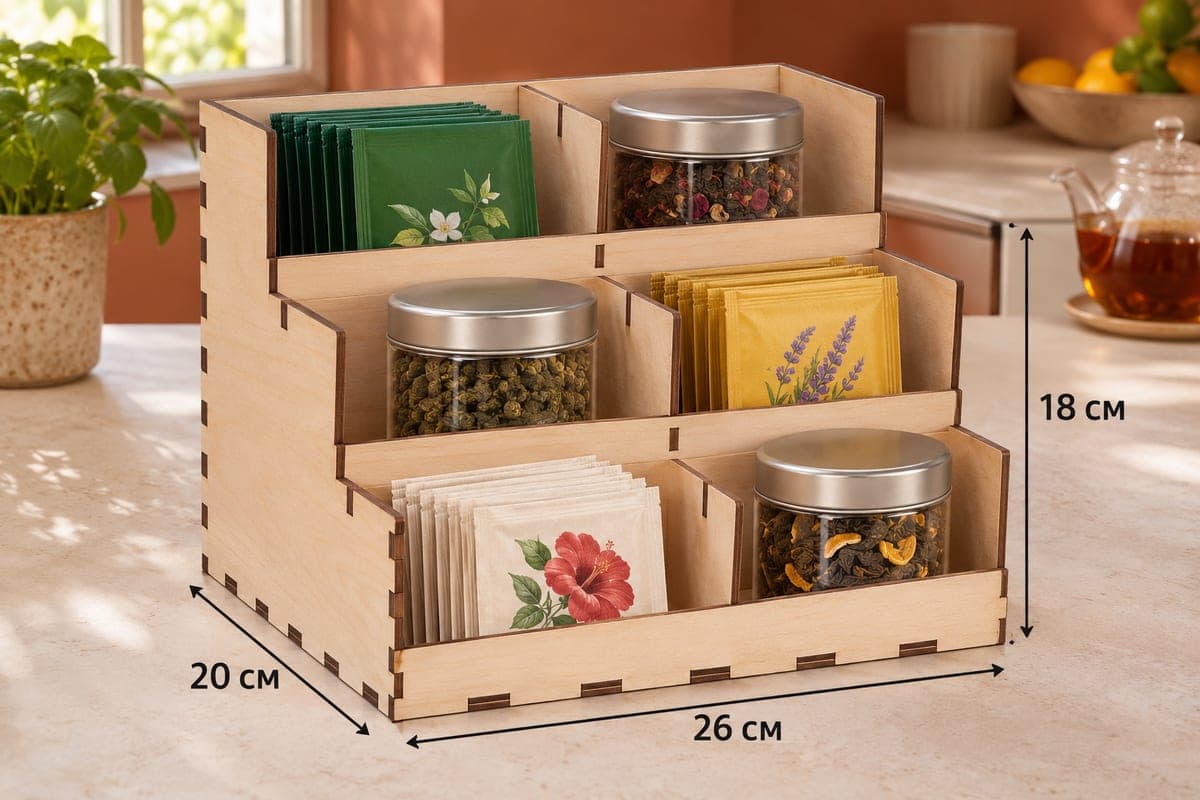
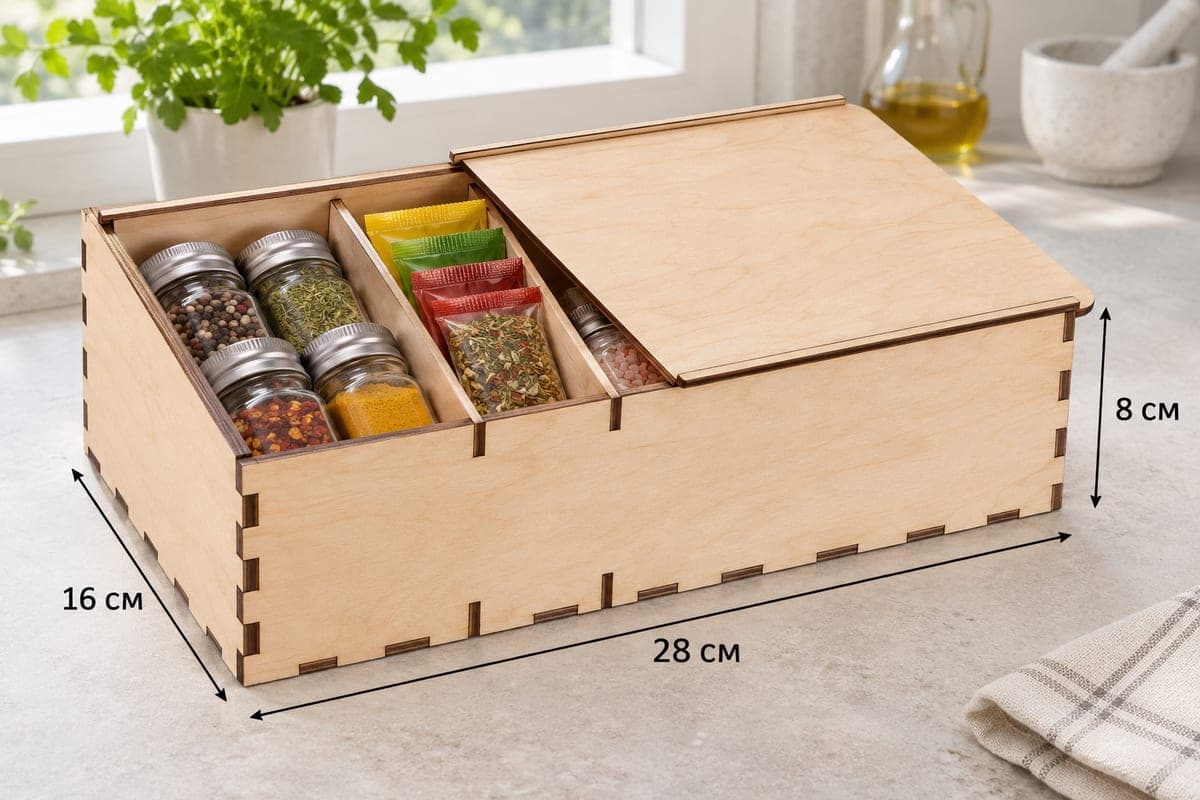
 Visualization
Sliding Lid Box SVG, Spice Storage Box With Lid Laser Cut File, Wooden Seasoning Box DXF
This free laser-cut file makes a three-section spice box with a sliding lid that runs on two rails, with no hinges or locks. The box measures 280 × 160 × 80 mm (11.02 × 6.30 × 3.15 in), is built from 10 plywood pieces that join with tabs and slots, and is supplied as SVG and DXF with a separate version for 3, 4, 5 and 6 mm plywood.
- Formats
- SVG, DXF
- Outer size (W × D × H)
- 280 × 160 × 80 mm (11.02 × 6.30 × 3.15 in)
- Parts
- 10
- Material thickness
- 3, 4, 5 or 6 mm plywood (a file for each)
- Layout size (3 mm file)
- 926 × 416 mm
- Cut length
- 7.15 m
- Est. time, 10 W diode (3 mm)
- 23 min 50 s
- Est. time, 40 W CO2 (3 mm)
- 9 min 56 s
- Layers
- CUT only, no engraving
Free account required to download
How to make it
- 01Select the version cut for your plywood thickness and run one test slot on scrap to confirm the tab fit.
- 02Cut the ten parts, putting the lid and base on a separate sheet when your laser bed is under 926 mm long.
- 03Join the base, back and side walls, add the front and both dividers, then fit the two rails and slide the lid in to test it.
- 04Sand the lid edges until it moves without catching, wax or oil the box and fill the three sections.
A covered spice box for open shelves
The lid keeps dust and kitchen steam off your spices, which matters when the box lives on an open shelf near the stove. It is a flat panel that slides in along two thin rails, so it never swings into a wall cabinet. Push it most of the way closed and leave one end uncovered when you are cooking, as in the photo, then close it fully afterwards. Inside, two dividers make three sections: small round jars of peppercorns, herbs, chili and turmeric on the left, a narrow lane of seasoning packets in the middle and a few more jars at the far end.
Cut, build and fit the lid
The 3 mm layout covers 926 × 416 mm, so on a smaller bed put the lid and base on one sheet and the walls, dividers and rails on another. Cutting time for the 3 mm file: about 23 min 50 s on a 10 W diode, about 9 min 56 s on a 40 W CO2, about 4 min 46 s on a 100 W CO2. A 10 W diode cuts 3 mm in one or two passes; thicker 5 or 6 mm plywood calls for more power or extra passes.
Build the open box first: base, back, both sides, then the slightly lower front and the two dividers. Fit the rails next, and only then test the lid. If it binds, sand its edges a little rather than forcing it. Glue the walls if you like, but keep glue away from the rails so the lid keeps sliding freely.
Gift and selling ideas
- Fill it with spice jars as a wedding or housewarming gift.
- The plain lid is a good surface for an engraved name or family recipe title you add yourself.
- Wax the lid edges so it glides smoothly.
Questions about this file
Does the lid lock or hinge?
No. It is a loose panel that slides along two rails, so it simply lifts off when you want full access.
The lid sticks after finishing, what now?
Oil or lacquer can swell the edges slightly. Sand the lid edges and rail faces lightly, then rub on a little paste wax.
Can I resize the sliding lid box?
You can, as long as the slots keep the thickness of your material and the lid and rails change by the same amount. Resizing only the outline in your software is the safe way.
What can I engrave on the lid?
The lid is a plain panel, so a name, a spice list or a small herb drawing fits well. Add it as your own engraving layer before cutting.
Which thickness should I cut?
3 mm keeps the lid light and easy to slide. 4 mm gives a sturdier box for heavy jars with only a little more cutting time.
Similar files