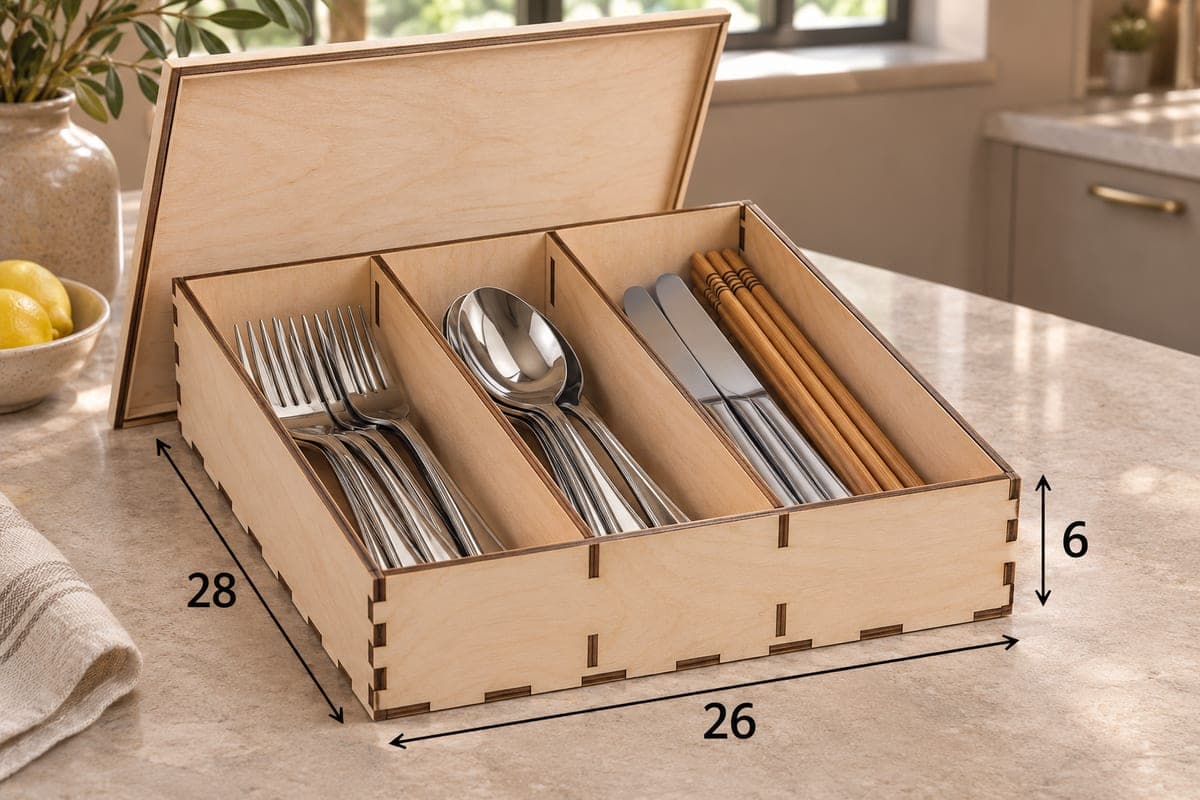
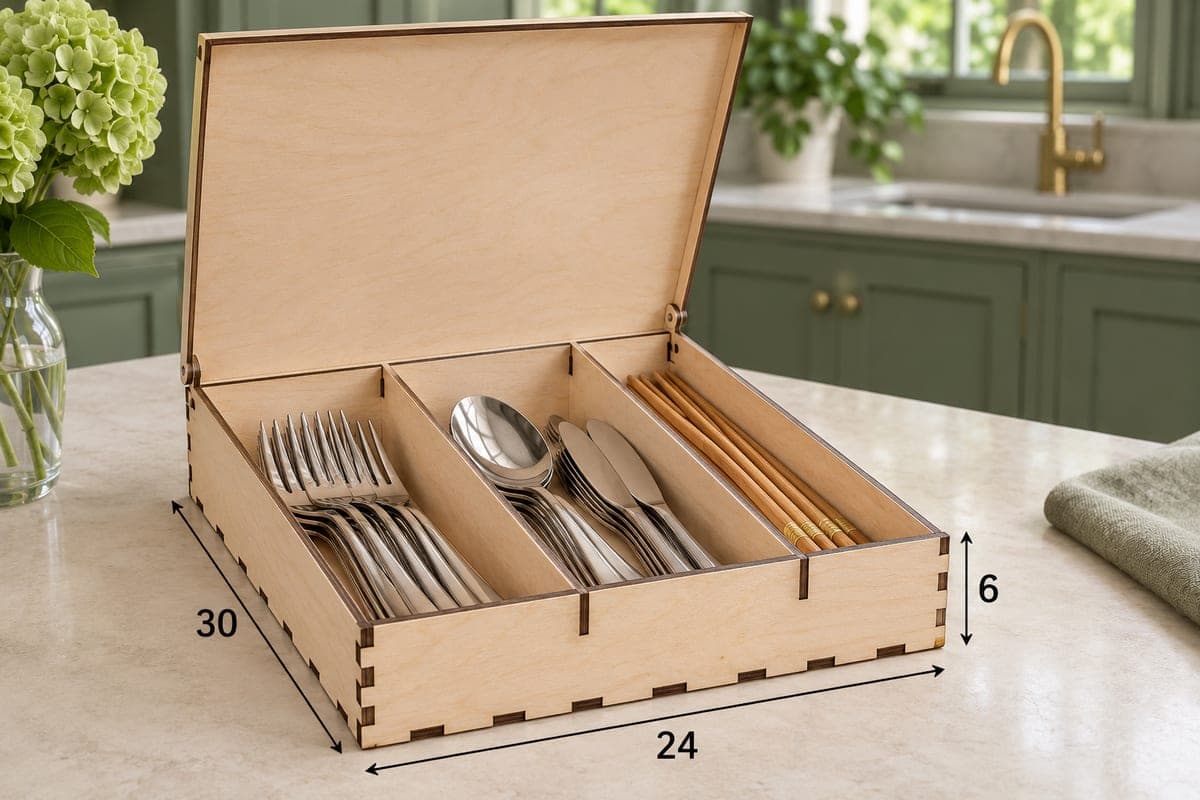
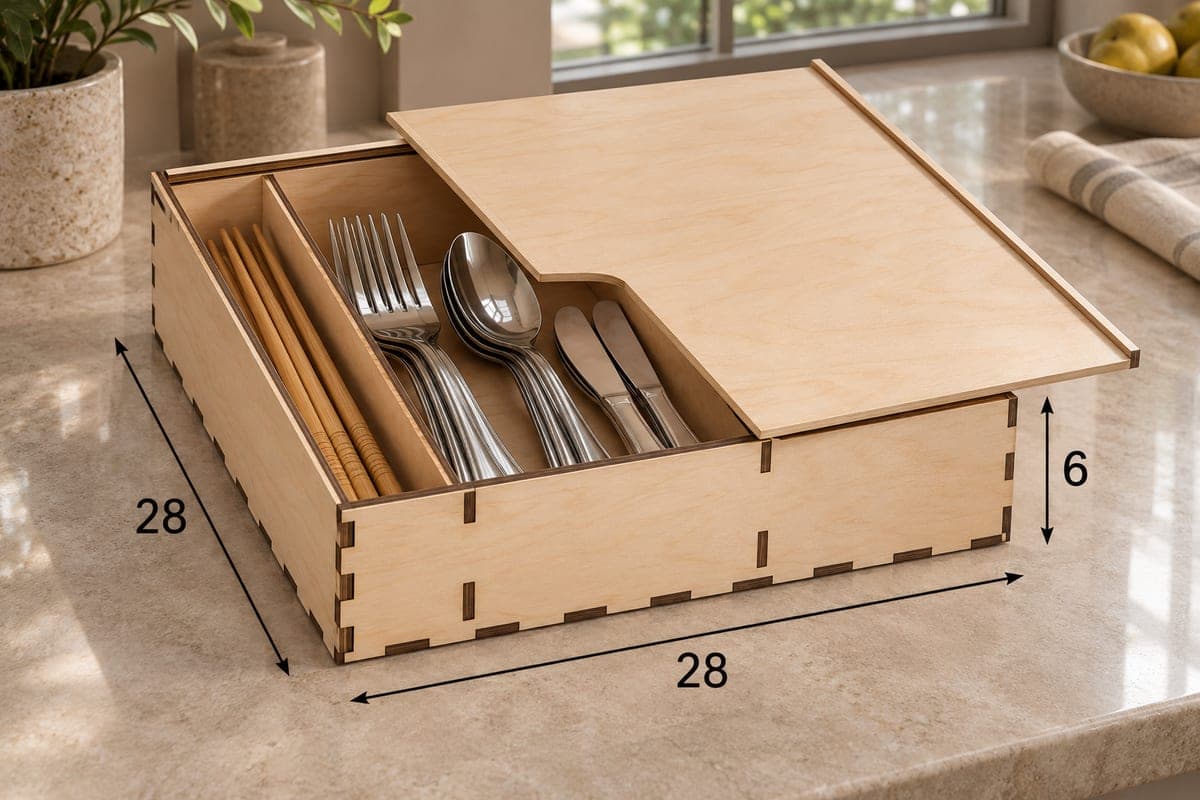
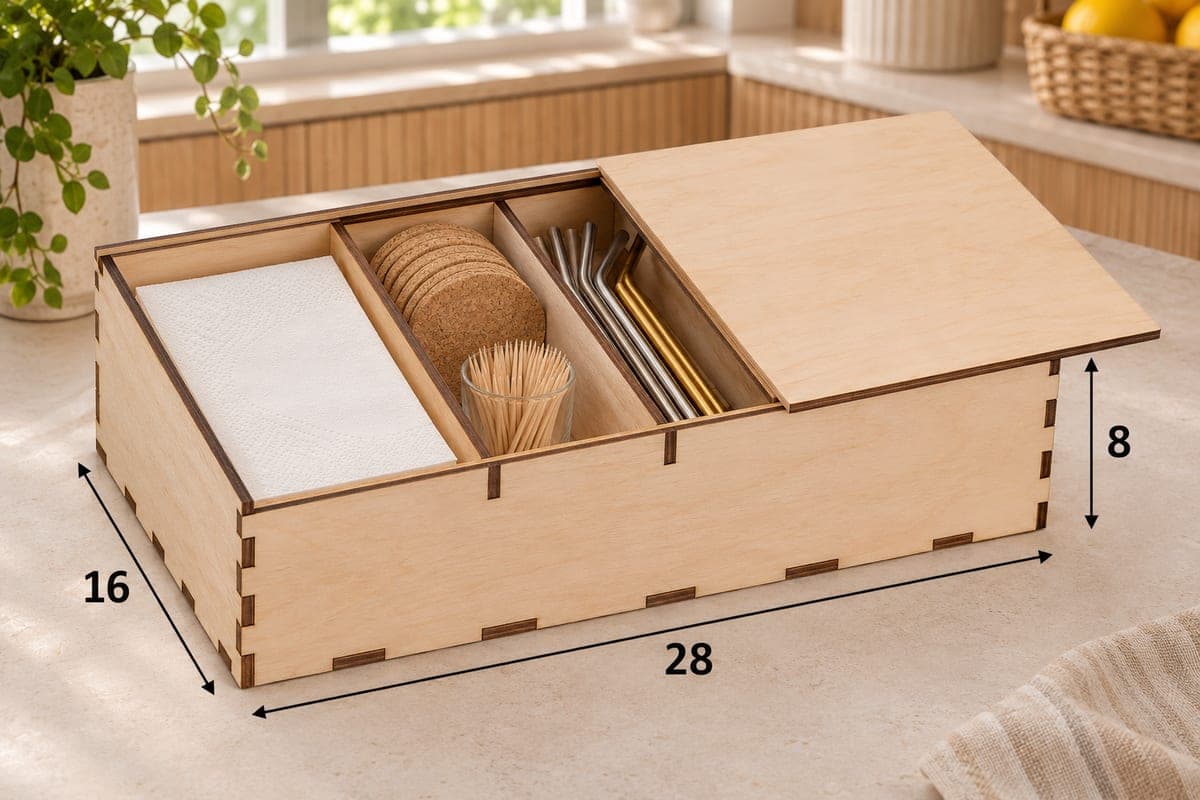
 Visualization
Tiered Cutlery Stand SVG, Countertop Silverware Caddy Laser Cut File, Wooden Utensil Holder With Steps DXF
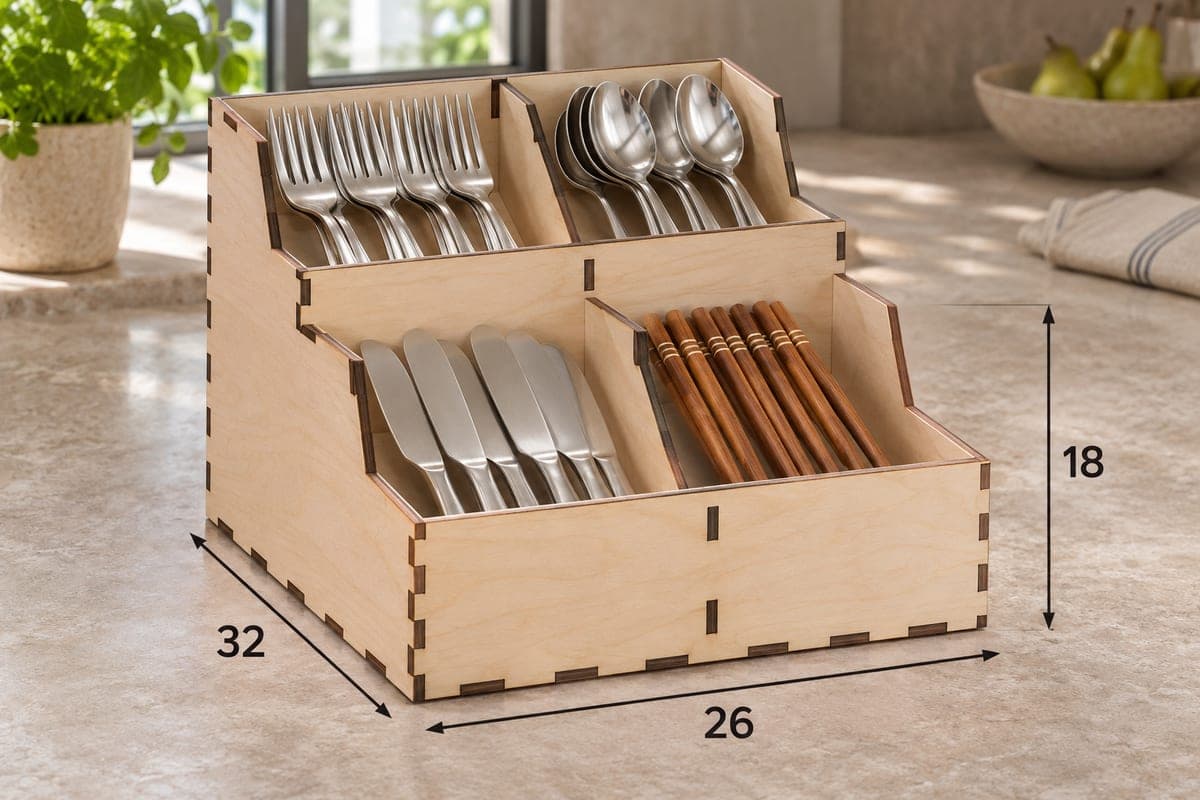
A countertop cutlery stand with three steps rising toward the back, each step split by one divider into two slots, six slots in total. It measures 260 × 320 × 180 mm (10.24 × 12.60 × 7.09 in), is made of 12 plywood pieces that join with tabs and slots and carry small engraved part numbers, and is a free download in SVG and DXF with separate files for 3, 4, 5 and 6 mm plywood.
- Formats
- SVG, DXF
- Outer size (W × D × H)
- 260 × 320 × 180 mm (10.24 × 12.60 × 7.09 in)
- Parts
- 12
- Material thickness
- 3, 4, 5 or 6 mm plywood (a file for each)
- Layout size (3 mm file)
- 1,324 × 333 mm
- Cut length
- 9.91 m
- Est. time, 10 W diode (3 mm)
- 33 min 02 s
- Est. time, 40 W CO2 (3 mm)
- 13 min 46 s
- Layers
- CUT only, no engraving
Free account required to download
How to make it
- 01Download the folder for your plywood thickness, then cut a single shelf slot on scrap and check that a riser tab slides in snugly.
- 02Cut all 12 numbered pieces, keeping the two tall sides together on the first sheet if your bed is short.
- 03Lay one side flat, plug in the front board, step boards, shelves and brace by number, cap with the second side, then add the three dividers.
- 04Sand the divider tops smooth, finish with oil or clear lacquer and fill each step with cutlery, handles facing out.
Six slots on three levels
This stand keeps cutlery upright on the counter instead of hidden in a drawer. Each of the three shelves sits higher than the one in front of it and carries a single divider, so you get two slots per level. The photo shows forks and soup spoons on the top step, table knives and wooden chopsticks on the middle one, and the low front step is free for teaspoons, dessert forks or folded napkins. Handles face you on every level, which makes it quick to grab a place setting while laying the table. It works as well on a buffet, a cafe counter or a staff kitchen shelf as it does at home.
Putting the steps together
The 12 pieces are two side panels, a front board, two step boards (the vertical risers), three shelves, a brace and three short dividers. Each piece has a small number engraved on it, so match the numbers to the part list before you start. Fit the shelves and risers into one side panel lying flat, add the brace, press the second side on top, then stand it up and drop the dividers into their shelf slots.
Cutting time for the 3 mm file is estimated at about 33 min 02 s on a 10 W diode, about 13 min 46 s on a 40 W CO2 and about 6 min 36 s on a 100 W CO2. The 3 mm parts spread over 1324 × 333 mm, so on a compact bed cut the two sides first and the shelves on a second sheet. Thicker plywood means more passes on a diode.
Finishing for daily use
Round over the top edges of the dividers with fine sandpaper so they do not catch on hands. Oil or lacquer the whole stand: cutlery that comes out of the dishwasher still damp will sit here every day.
Questions about this file
What goes on the lowest step of the stand?
It is the shallowest level, so teaspoons, cake forks or a stack of paper napkins suit it best. Longer dinner cutlery stands better on the higher steps at the back.
Why are numbers engraved on the pieces?
The shelves and risers look alike, and the numbers show which one goes where. They are tiny, light marks and you can sand them off after assembly if you prefer clean wood.
Can this stand be used on a cafe or catering counter?
Yes, an upright stand lets guests help themselves without digging in a box. Cut it in 5 or 6 mm plywood for a heavier, steadier stand and seal it so it wipes clean.
If I enlarge the stand, will the joints still fit?
Only if you rescale the pieces while leaving the slot and tab widths equal to your plywood thickness. A plain percentage scale changes the slots too and the stand will not hold together.
Should I glue the stand or leave it loose?
The stepped shape is rigid once the brace is in, so it holds without glue. A few drops of wood glue on the side joints make it permanent if it will be moved around a lot.
Similar files