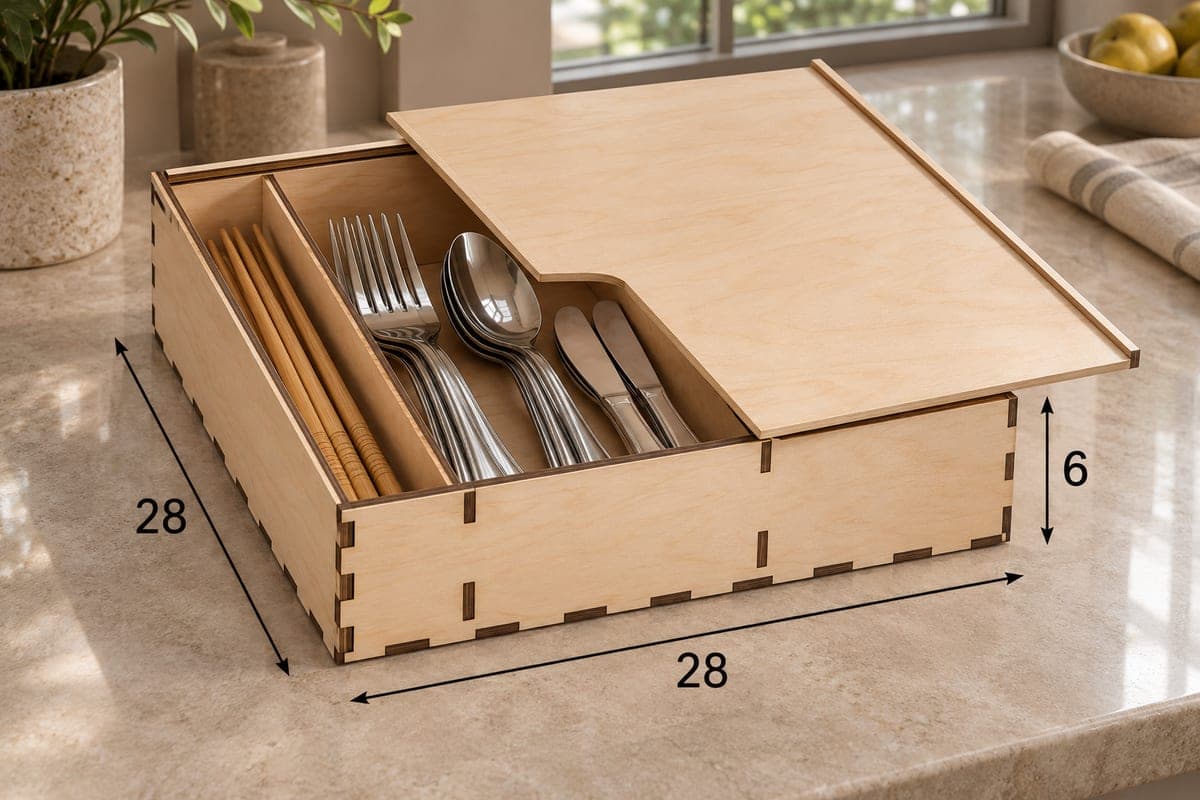
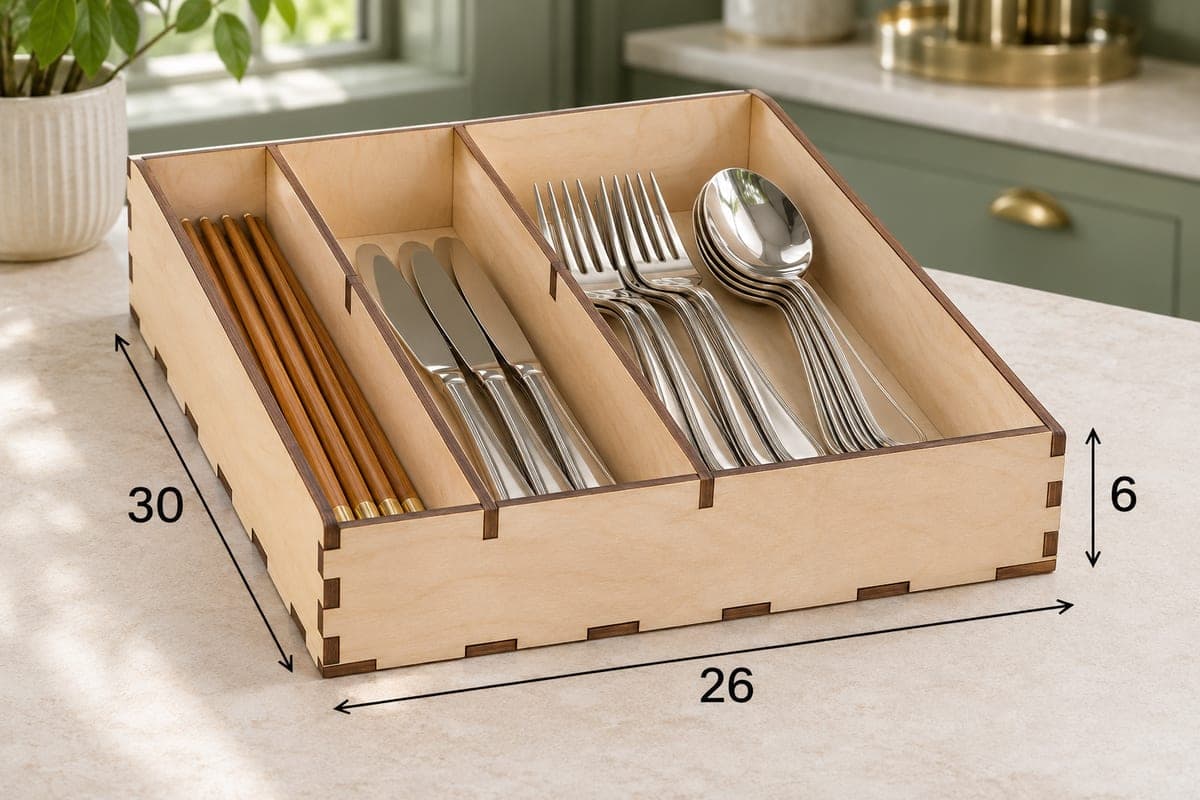
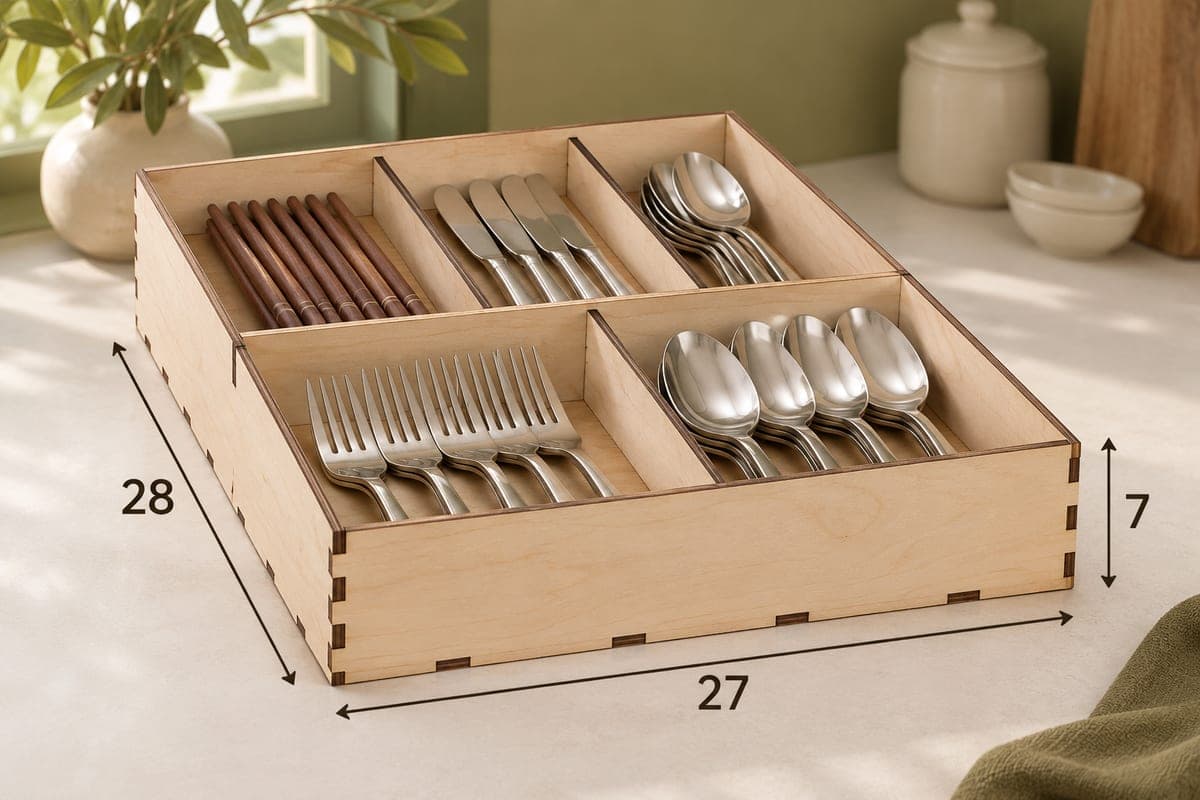
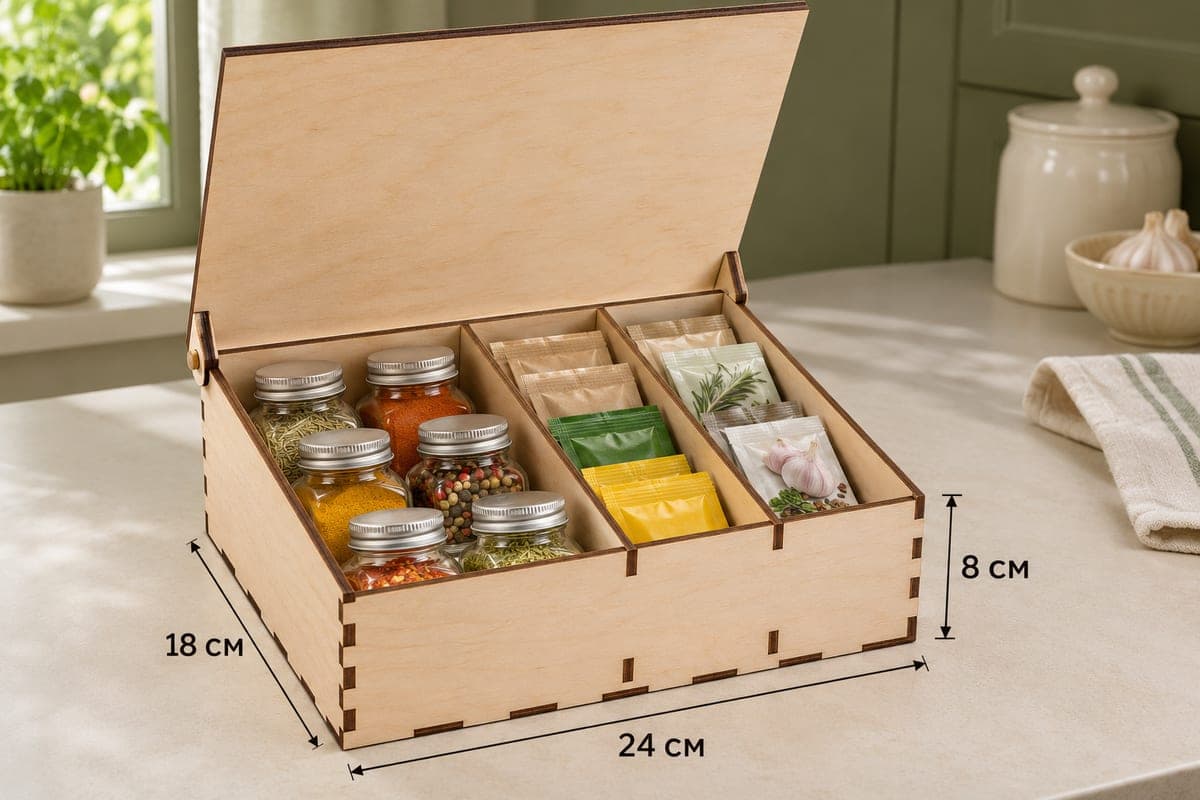
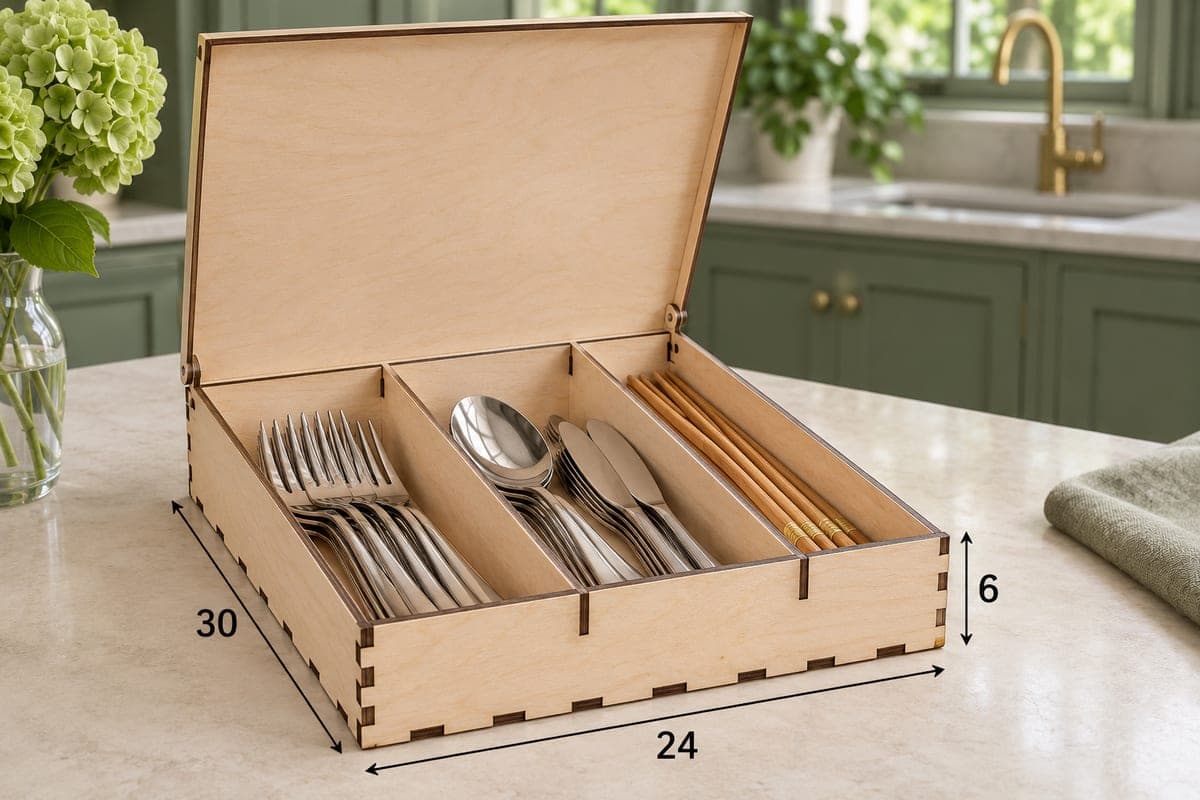
 Visualization
Hinged Cutlery Box SVG, Wooden Silverware Chest Laser Cut File, Flatware Box With Flip Lid DXF
A cutlery box with a lid that flips open at the back on pins cut into the plywood, and three sections inside for forks, spoons, knives and chopsticks. It measures 240 × 300 × 60 mm (9.45 × 11.81 × 2.36 in), is made of 8 plywood pieces joined with tabs and slots, and is a free download in SVG and DXF with separate files for 3, 4, 5 and 6 mm plywood.
- Formats
- SVG, DXF
- Outer size (W × D × H)
- 240 × 300 × 60 mm (9.45 × 11.81 × 2.36 in)
- Parts
- 8
- Material thickness
- 3, 4, 5 or 6 mm plywood (a file for each)
- Layout size (3 mm file)
- 1,100 × 376 mm
- Cut length
- 7.71 m
- Est. time, 10 W diode (3 mm)
- 25 min 42 s
- Est. time, 40 W CO2 (3 mm)
- 10 min 43 s
- Layers
- CUT only, no engraving
Free account required to download
How to make it
- 01Choose the file for your plywood thickness and cut a test corner joint plus a pin hole to check the fit before the full job.
- 02Cut all eight parts: base, front, back, two taller sides, two dividers and the lid.
- 03Fit the dividers into the base, add the front and back, place the lid's pin ends into one side, then close with the second side.
- 04Sand the lid edges until it swings freely, finish the box with oil or lacquer and fill the three sections.
Inside the box
Three sections of equal width run the full 300 mm depth. In the photo forks fill the left one, spoons and table knives share the middle, and wooden chopsticks lie in the right section. The lid is a single panel the size of the box top. Its back corners pivot on small pins that are part of the side walls, so it swings up and stays standing when opened all the way, and closes flat again with no metal parts at all. The side walls are slightly taller than the front and back to carry those pivot points. A closed box like this is good for a set of guest cutlery, a camping kit or a silverware set you only bring out for holidays.
Cutting and assembly notes
Estimated times for the 3 mm file are about 25 min 42 s on a 10 W diode, about 10 min 43 s on a 40 W CO2 and about 5 min 08 s on a 100 W CO2. Its parts take a 1100 × 376 mm area, so on a small bed cut the base and the lid on separate sheets. Fit the lid between the sides while you assemble the walls, because the pins are trapped once both sides are on. Do not glue the lid or the pin joints. Glue the remaining corners if you like; the tabs hold well without it.
Finishing and gift ideas
Sand the lid edges until it swings without rubbing, then seal everything with clear lacquer or oil. Engrave a monogram or a recipe line on the lid top as your own addition, or stain the lid darker than the box for contrast. Filled with a new cutlery set, it makes a neat wedding or housewarming present.
Questions about this file
Does the lid need metal hinges or screws?
No. The lid turns on pins cut into the plywood itself, so the whole box is wood. Nothing else needs to be bought.
Will the lid stay open on its own?
Swung fully back it stands up on its own, as in the photo. It is not locked in that position, so do not lean anything heavy on it.
What if the lid rubs on the sides?
Sand its long edges a little at a time, and check again after finishing, since lacquer adds a thin layer. A rub of wax helps it swing smoothly.
Can I engrave a name on the lid?
Yes. The file contains only cut lines, so add your own engrave layer for a name, date or pattern on the lid before cutting.
Is 6 mm plywood a good choice for this box?
It makes a heavy, solid chest that suits a gift. Use the 6 mm file so the slots match, and expect several passes on a diode laser.
Similar files