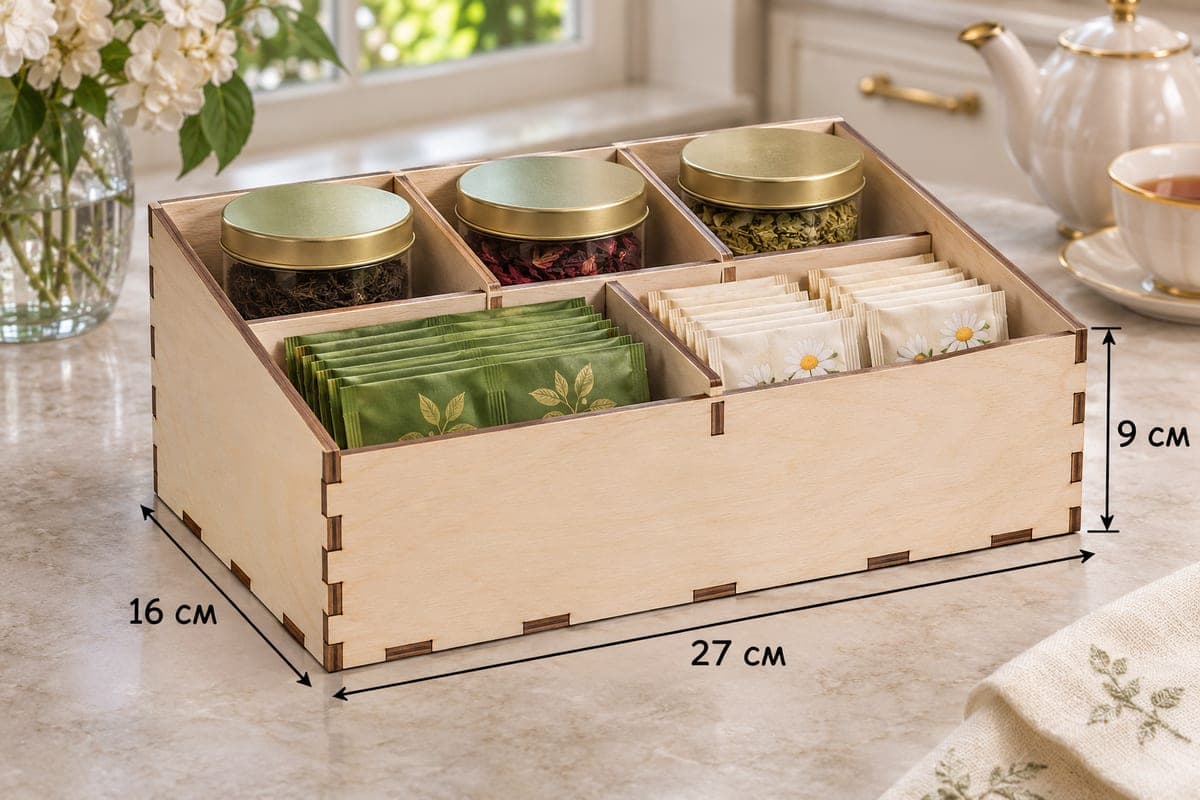
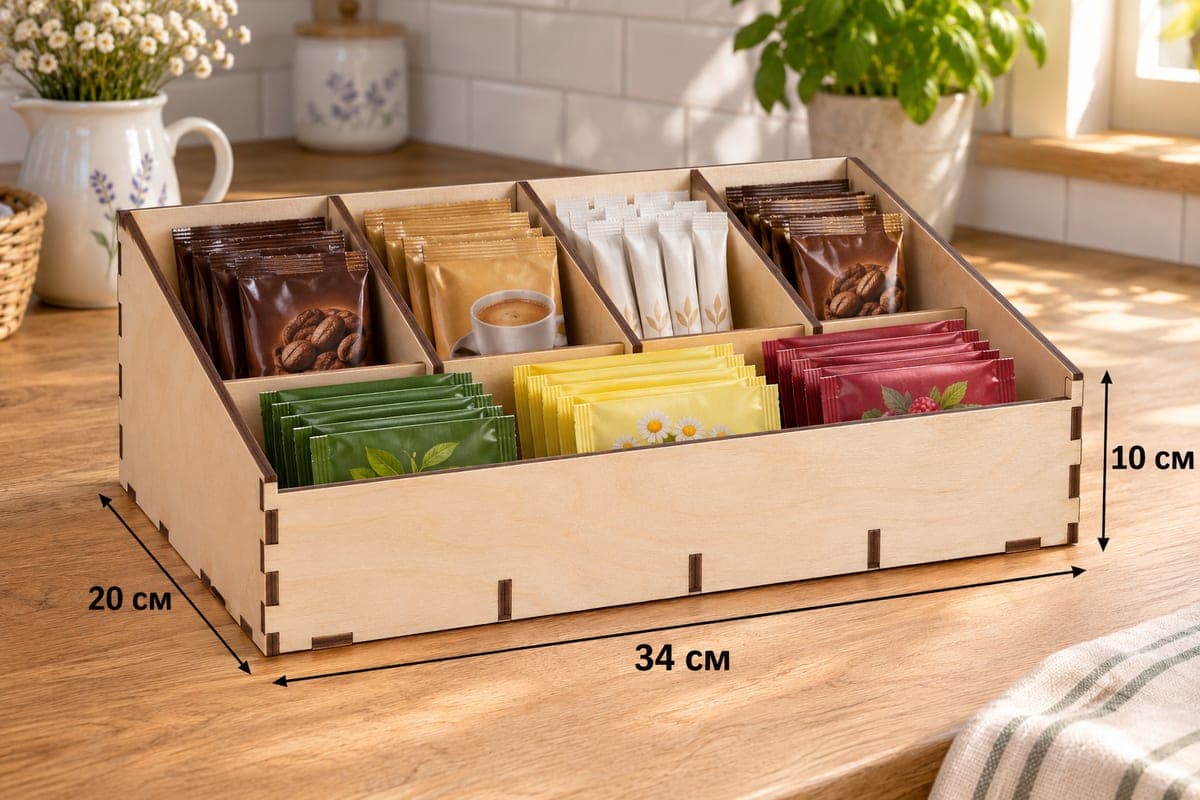
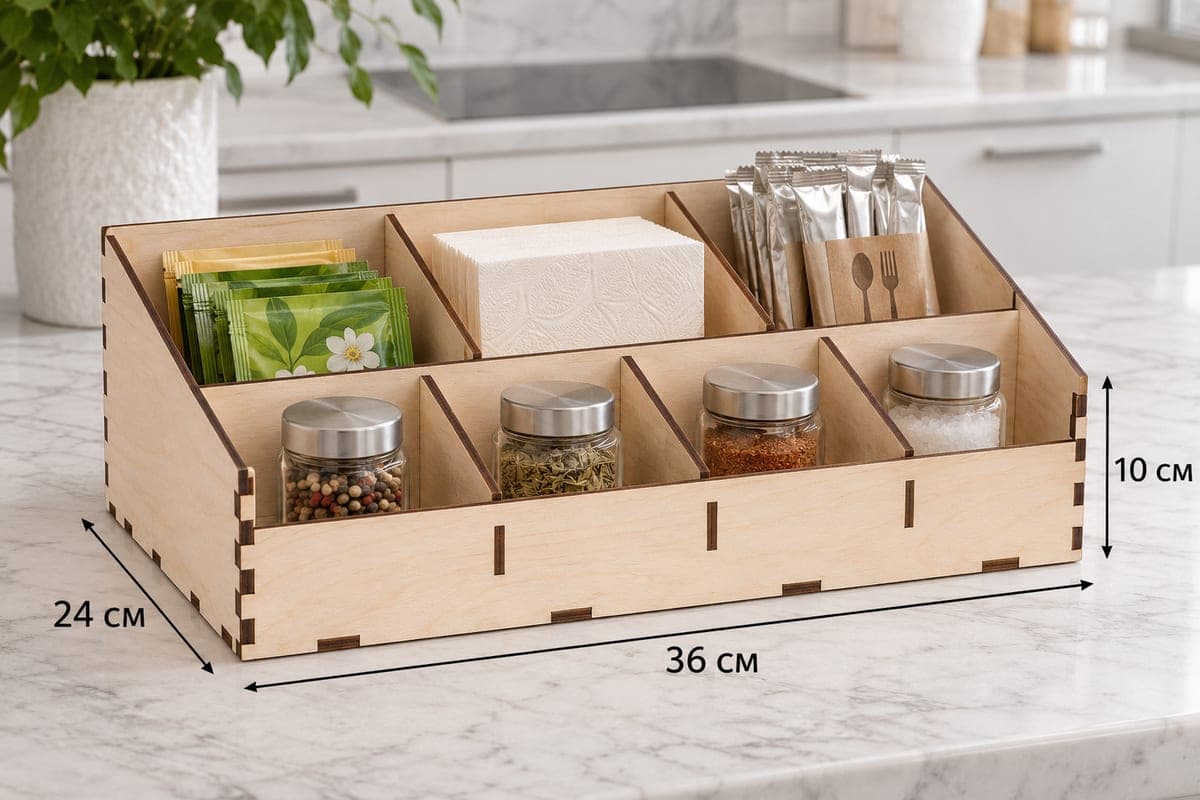
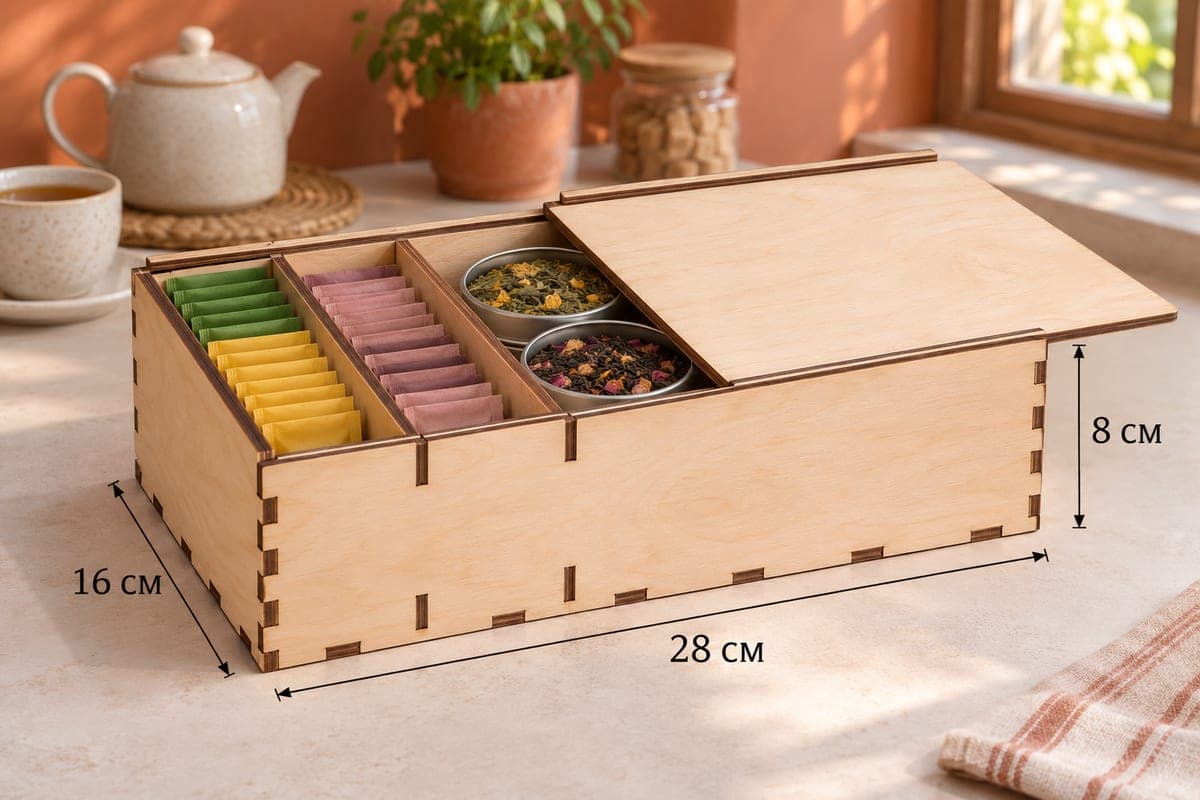
 Visualization
Sliding Lid Tea Box SVG, Wooden Tea Bag Storage Laser Cut File, Tea Chest With Lid DXF, Pantry Tea Organizer
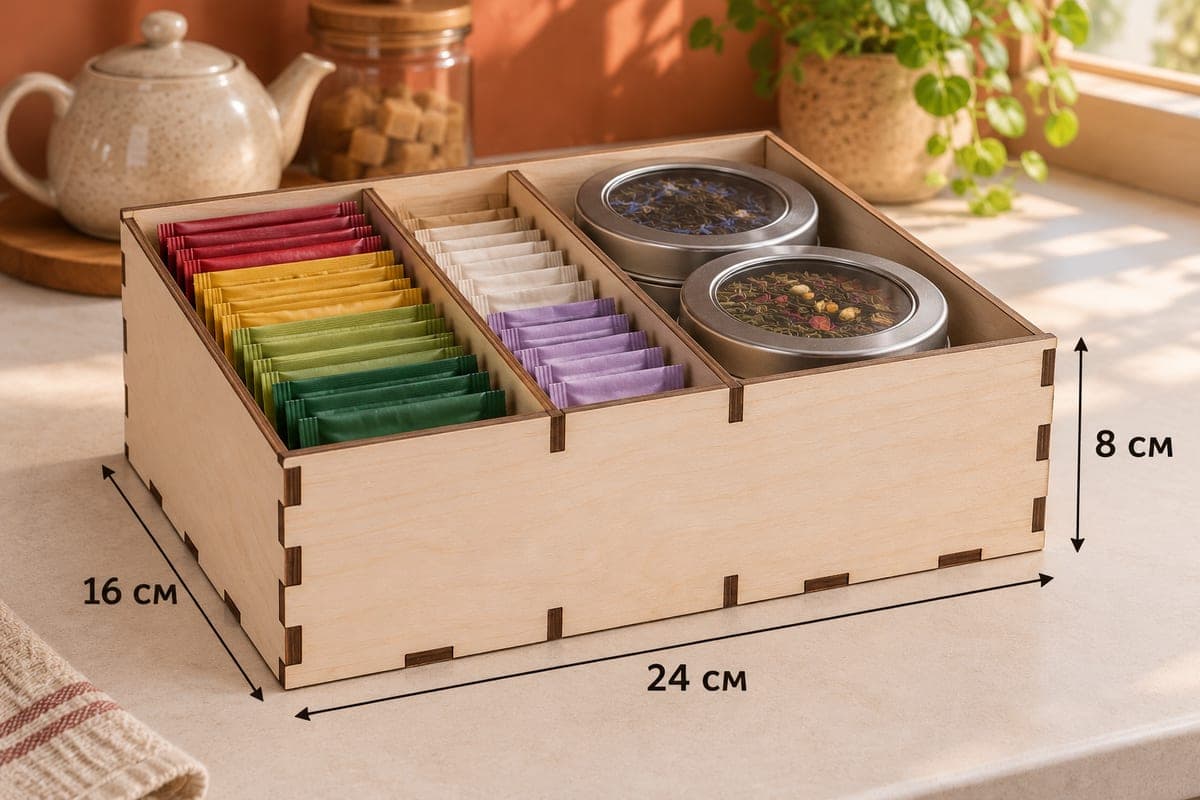
A free closed tea box with a lid that slides in on two rails and 3 sections inside from left to right, for tea bags and small tins. The download includes SVG and DXF files for 3, 4, 5 and 6 mm plywood; the box is 280 × 160 × 80 mm (11.02 × 6.30 × 3.15 in) and is made of 10 pieces joined with tabs and slots.
- Formats
- SVG, DXF
- Outer size (W × D × H)
- 280 × 160 × 80 mm (11.02 × 6.30 × 3.15 in)
- Parts
- 10
- Material thickness
- 3, 4, 5 or 6 mm plywood (a file for each)
- Layout size (3 mm file)
- 926 × 416 mm
- Cut length
- 7.15 m
- Est. time, 10 W diode (3 mm)
- 23 min 50 s
- Est. time, 40 W CO2 (3 mm)
- 9 min 56 s
- Layers
- CUT only, no engraving
Free account required to download
How to make it
- 01Select the file for your plywood thickness and cut a test slot from an offcut to make sure the tabs seat firmly.
- 02Cut the base, front, back, two sides, two dividers, both rails and the lid, 10 parts in all.
- 03Build the walls on the base, fix the rails inside the side walls, slip in the dividers, then slide the lid on to check it runs smoothly.
- 04Sand the lid edges until it moves easily, oil the outside, and load bags and tins before closing it.
How the lid works
Two narrow rails run along the inside of the side walls, and the flat lid glides along them, just like a classic pencil box. There is no hinge and no catch: push it back to open part of the box, or pull it right off. The two dividers stand a little lower than the walls, so the lid passes over them freely, and the closed lid keeps dust and kitchen light off delicate leaves.
What fits inside
The photo shows green and yellow bags in the left section, a long row of pink fruit tea in the middle and two round tins of loose blend on the right. The 280 mm length leaves space for a good assortment, and 160 mm of depth lets wrapped bags stand upright in neat lines.
Making it
The 3 mm layout covers 926 × 416 mm, while the 6 mm one is a little smaller at 908 × 413 mm; on a short bed, put the lid and base on their own sheet. Cutting the 3 mm file takes about 23 min 50 s with a 10 W diode, about 9 min 56 s with a 40 W CO2 and about 4 min 46 s with a 100 W CO2. Thicker 5 and 6 mm sheets mean extra passes on a diode or a stronger CO2 tube.
Test the lid in the rails before you glue anything; if it is stiff, rub the edges with sandpaper or a candle stub. A drop of glue in the corner joints is optional. Finish with oil or lacquer, and leave the rail grooves bare so the lid keeps gliding.
For gifts, engrave a pattern or a name on the lid yourself and fill the box with a tea sampler; for a shop, a logo on the lid turns it into a counter display.
Questions about this file
Will the sliding lid stay shut on its own?
No. It simply slides along two rails and can be taken off completely, which makes refilling quick.
My lid sticks in the rails. What can I do?
Sand the long lid edges lightly or rub them with wax. Plywood thickness varies a little from sheet to sheet, so a tiny trim is normal.
Can I make the box in a different thickness than the file?
Use the file that matches your sheet: there are versions for 3, 4, 5 and 6 mm. If you resize the design, keep slot widths at the material thickness or the joints and rails will not fit.
Is it airtight enough for loose tea?
It keeps out light and dust, but it is not sealed. Keep loose leaf in its own tin inside the box, as in the photo.
Where should I add an engraving?
The lid is the obvious canvas, since it is a large flat panel. The file itself has only cut lines, so add your own engraving layer before cutting.
Similar files