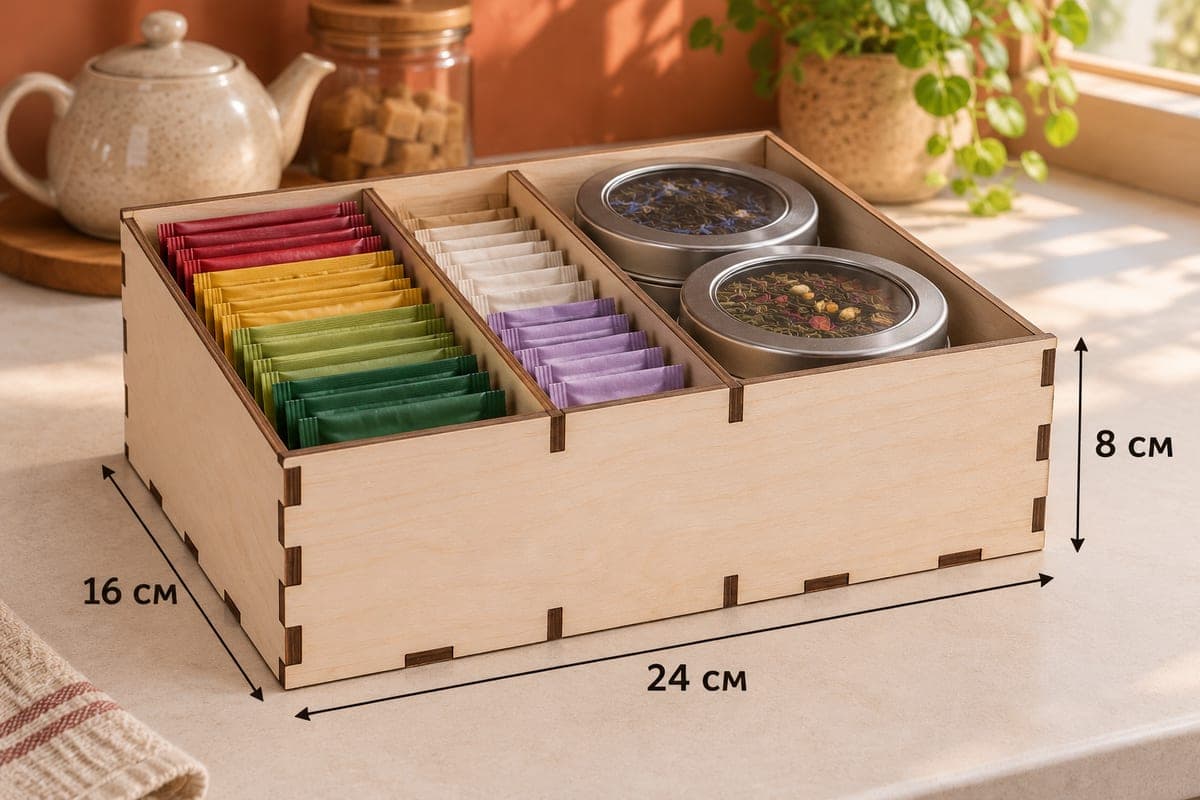
 Visualization
Tea Bag Organizer SVG, Sloped Tea Tray Laser Cut File, Wooden Tea Caddy DXF, Kitchen Counter Box
A free laser cut file for an open tea bag tray with a low front and sloped sides, divided into 3 sections from left to right, supplied as SVG and DXF with separate files for 3, 4, 5 and 6 mm plywood. The tray measures 240 × 160 × 80 mm (9.45 × 6.30 × 3.15 in) and is built from 7 pieces that lock together with tabs and slots.
- Formats
- SVG, DXF
- Outer size (W × D × H)
- 240 × 160 × 80 mm (9.45 × 6.30 × 3.15 in)
- Parts
- 7
- Material thickness
- 3, 4, 5 or 6 mm plywood (a file for each)
- Layout size (3 mm file)
- 820 × 252 mm
- Cut length
- 4.40 m
- Est. time, 10 W diode (3 mm)
- 14 min 40 s
- Est. time, 40 W CO2 (3 mm)
- 6 min 07 s
- Layers
- CUT only, no engraving
Free account required to download
How to make it
- 01Choose the SVG or DXF folder that matches your plywood thickness, then cut one slot in scrap and press a tab into it to check the fit.
- 02Cut all 7 pieces: the low front panel, the tall back, two sloped side panels, the base and two dividers.
- 03Stand the back and both sides in the base, slide the two dividers into their slots, and close the box with the low front last.
- 04Sand the corners, oil or lacquer the tray, then line up tea bags on edge in the left and middle sections and park the tins on the right.
What goes in each section
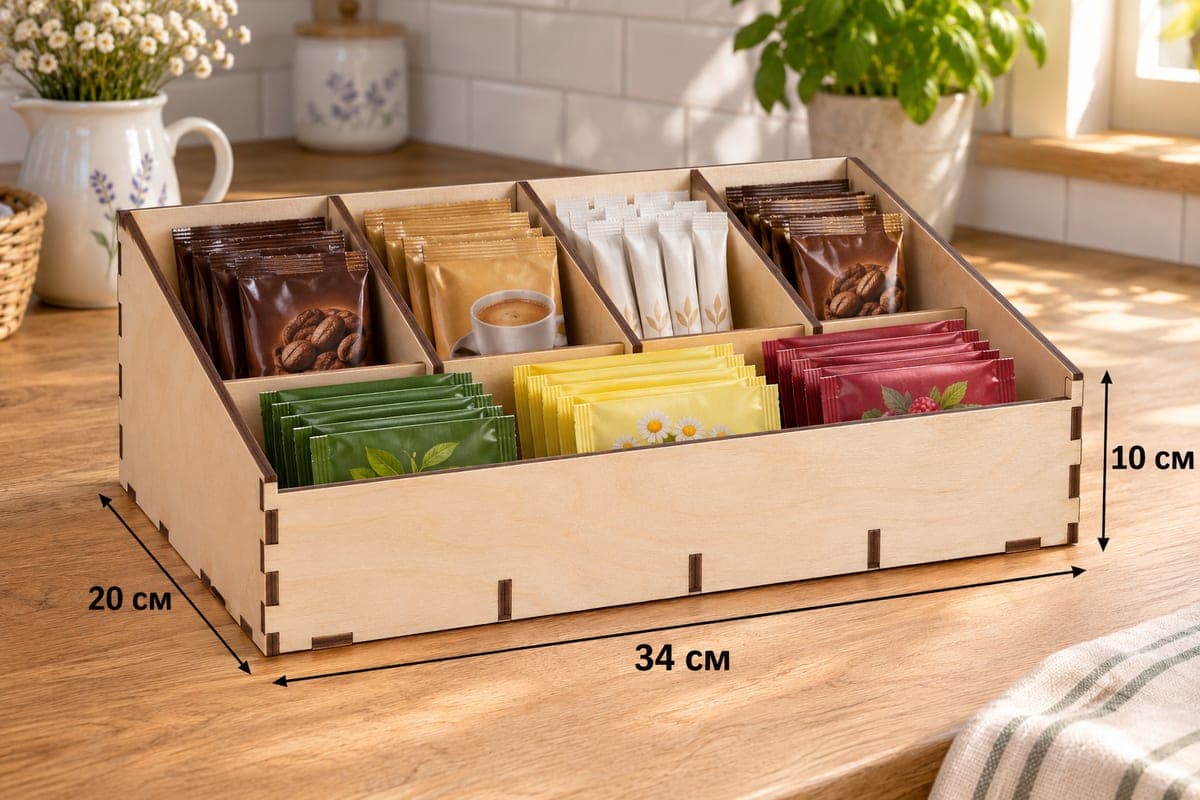
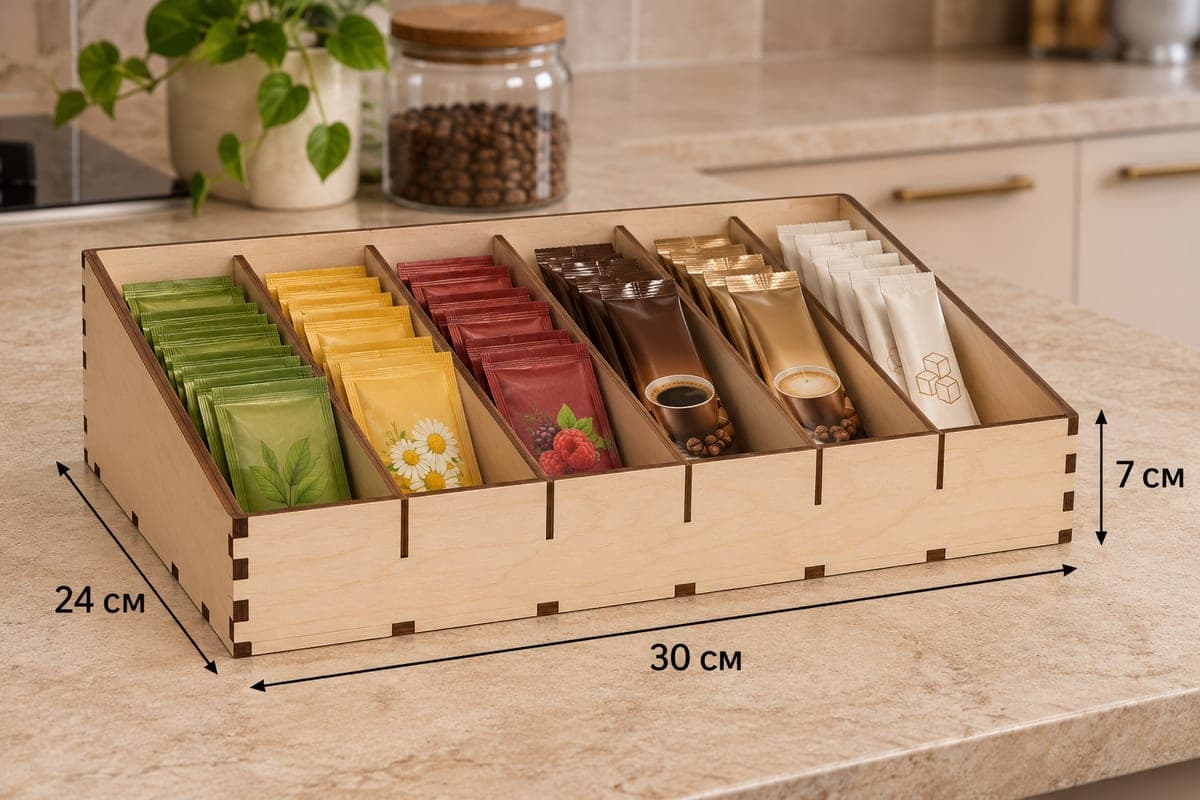
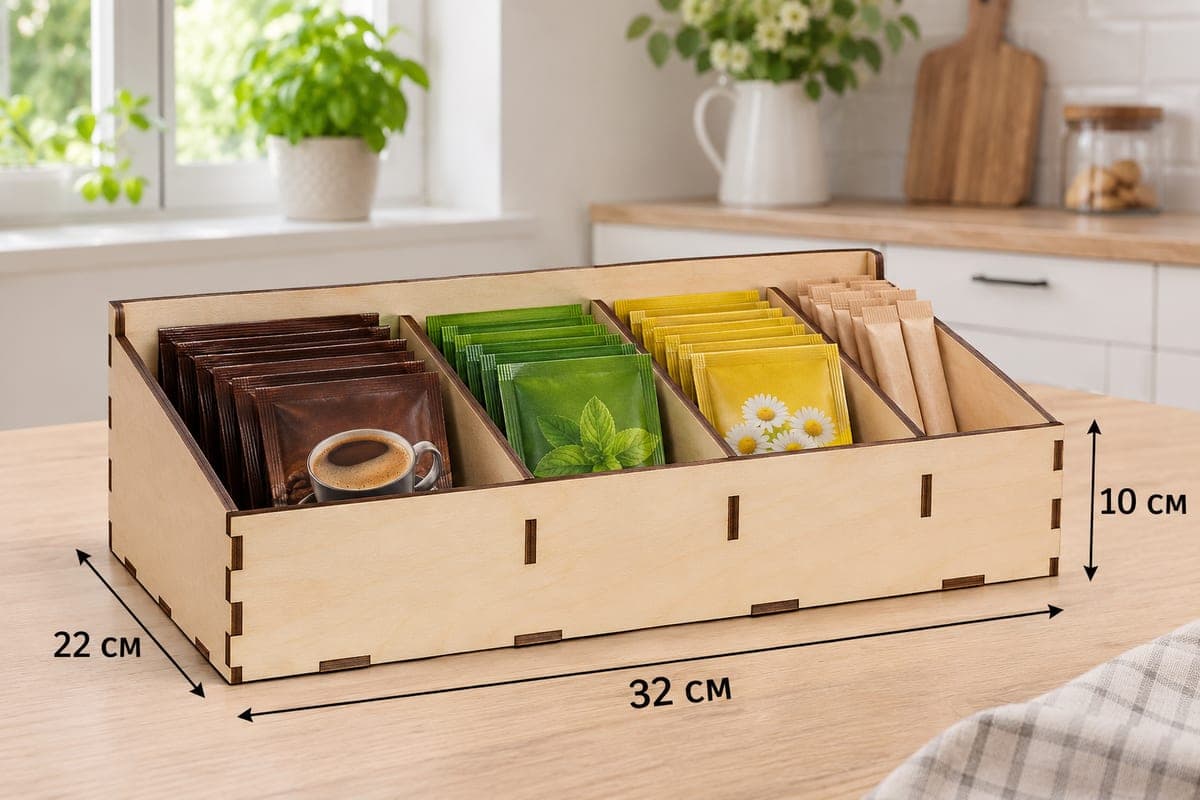
In the photo the left section carries a full rainbow of flavored tea bags standing on edge, red at the back through yellow to green at the front. The middle section holds plain white and lavender sachets in two short stacks, and the right one takes two round loose-leaf tins with window tops. Because the front wall is only 52 mm tall against an 80 mm back, the sides slope down and every tag stays readable from above, which is handy when guests choose their own cup.
Cutting it on your machine
All seven parts sit on an 820 × 252 mm layout. A large CO2 bed takes it in one go; on a compact diode, move the base and both dividers onto a second sheet. Expect about 14 min 40 s on a 10 W diode, about 6 min 07 s on a 40 W CO2 and about 2 min 56 s on a 100 W CO2 for the 3 mm file. Three millimetre birch goes through a 10 W diode in one or two passes, while 5 or 6 mm stock wants a stronger tube or several slow passes.
The joints hold dry, so glue is up to you. A thin bead of wood glue in each slot turns it into a permanent piece that survives years of daily use beside the kettle.
Gift and market ideas
- Fill it with a dozen assorted bags and two tins of loose leaf for a housewarming basket.
- Put a few on your craft fair table next to honey jars and mugs; the sloped front shows the colors from across the aisle.
- List it on Etsy as a pair with plywood coasters cut from the offcuts.
A light sanding and a coat of food-safe oil or clear lacquer keep steam and drips from marking the wood.
Questions about this file
Will ordinary wrapped tea bags stand up in this tray?
Yes. Each section runs the full 160 mm depth, so individually wrapped bags stand on edge in rows and lean slightly back against the sloped sides.
Could I enlarge it to hold taller tea tins?
You can scale the outline, but the slot widths must stay equal to your plywood thickness or the tabs will rattle or refuse to fit. Resize in your editor and then correct the slots, or simply use the file as it is for standard tins.
Does it cut well from acrylic or MDF?
Both work with the 3 mm file. MDF looks best painted, and clear or frosted acrylic suits a cafe counter, though acrylic joints usually need a little solvent cement to stay tight.
Which plywood thickness gives the sturdiest tray?
Four millimetre birch is a good middle ground: stiffer than 3 mm yet still quick on a diode. Use the 5 or 6 mm files if the tray will be handled roughly in a busy kitchen.
Can I put a family name on the front?
The download contains cut lines only, but you can add your own engraving layer to the low front panel before cutting, for example a name, a monogram or a small leaf motif.
Similar files