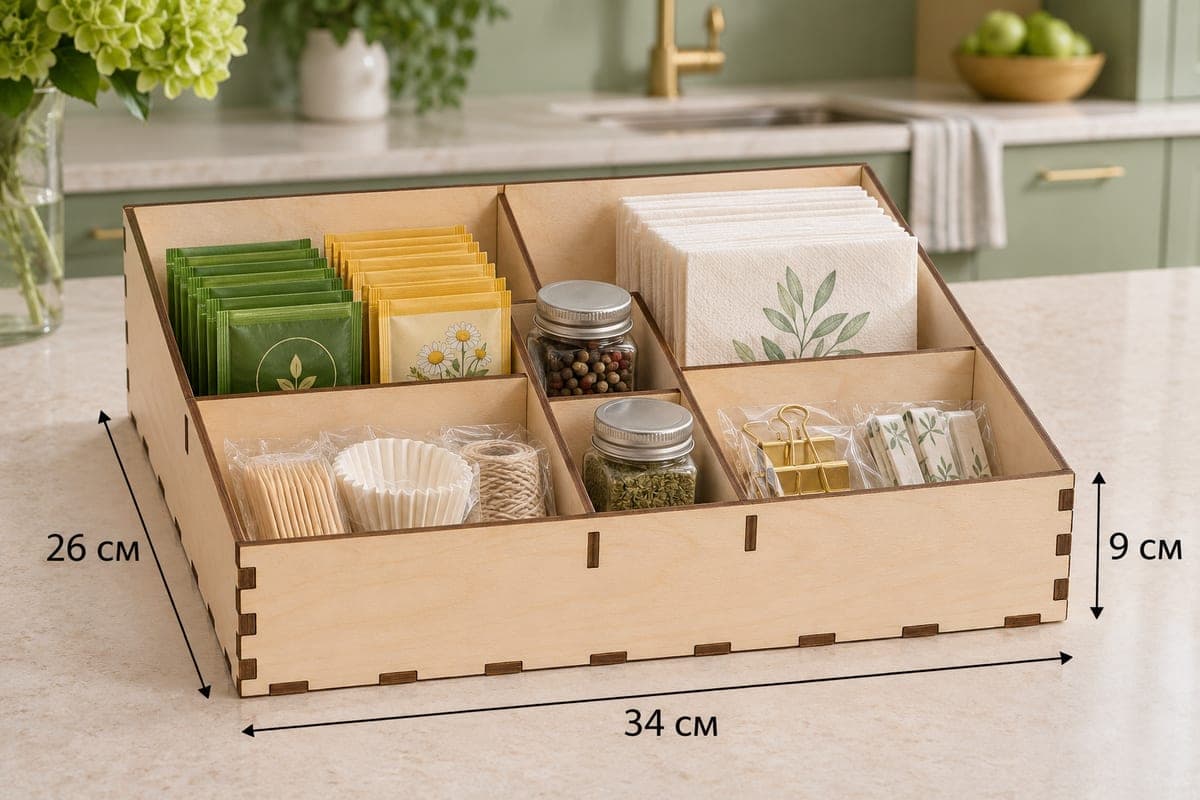
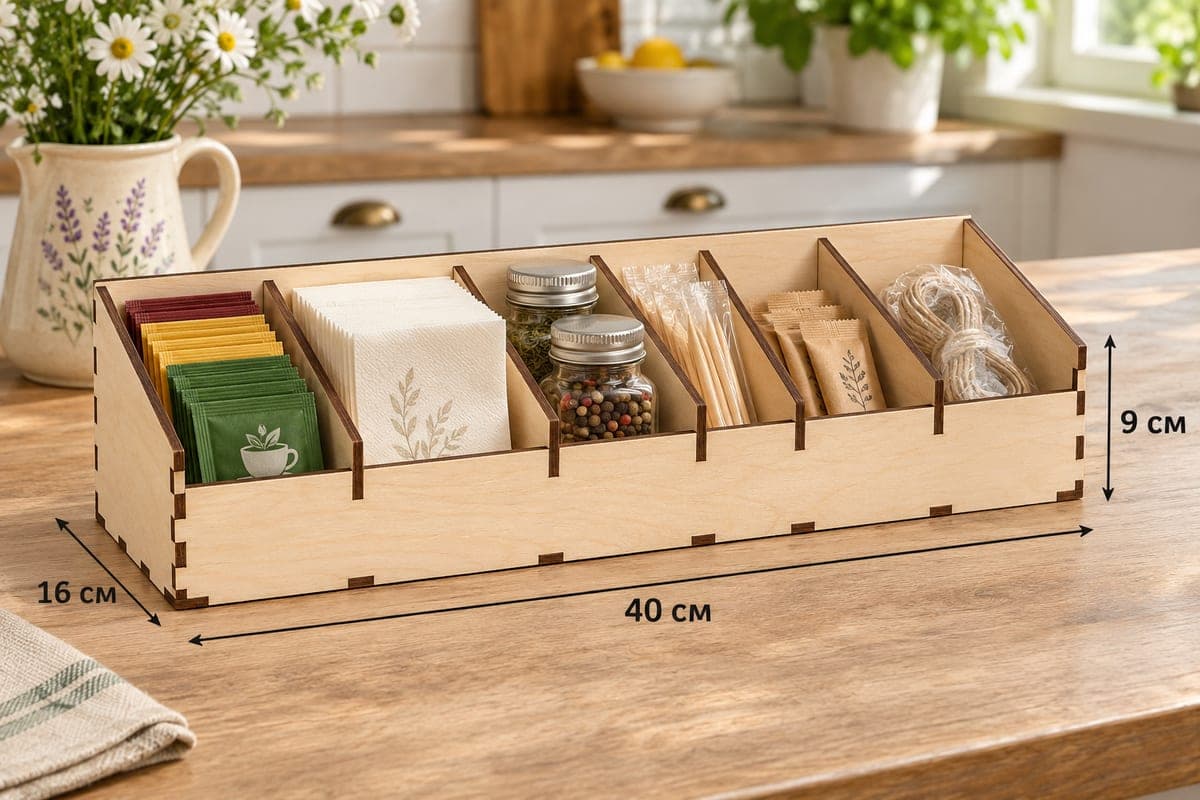
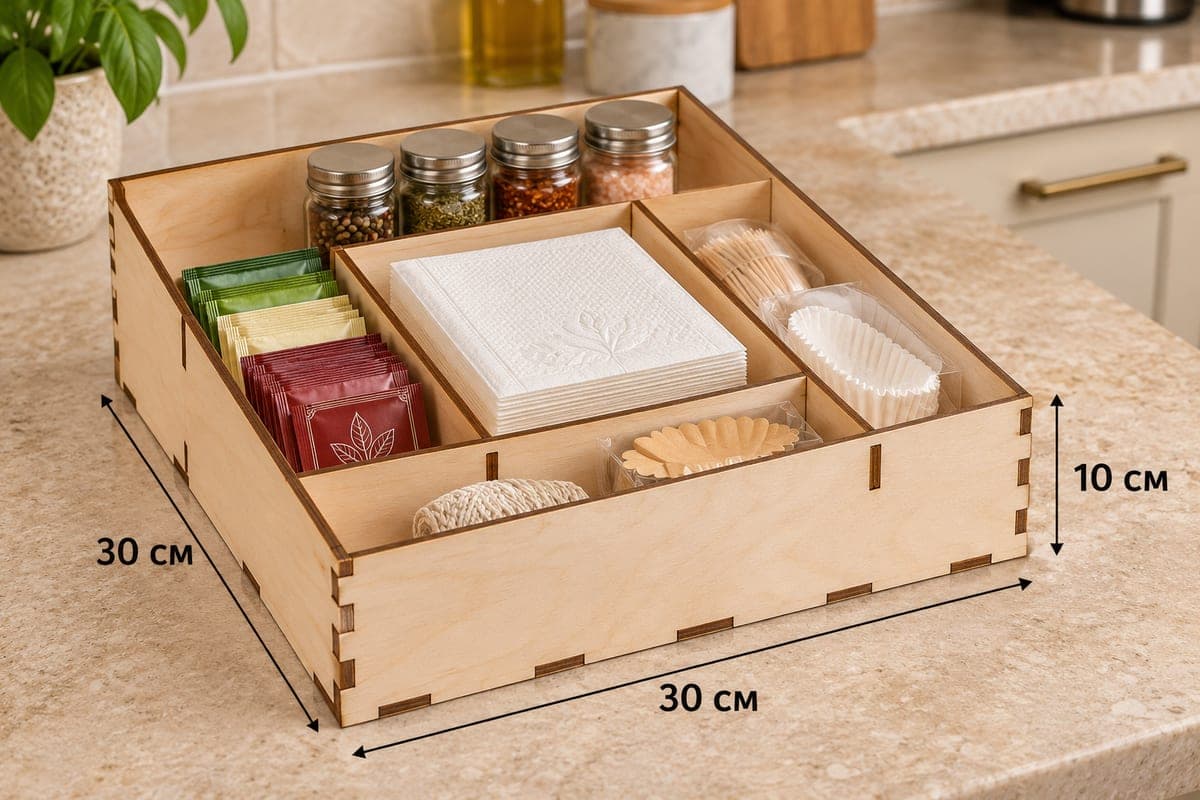
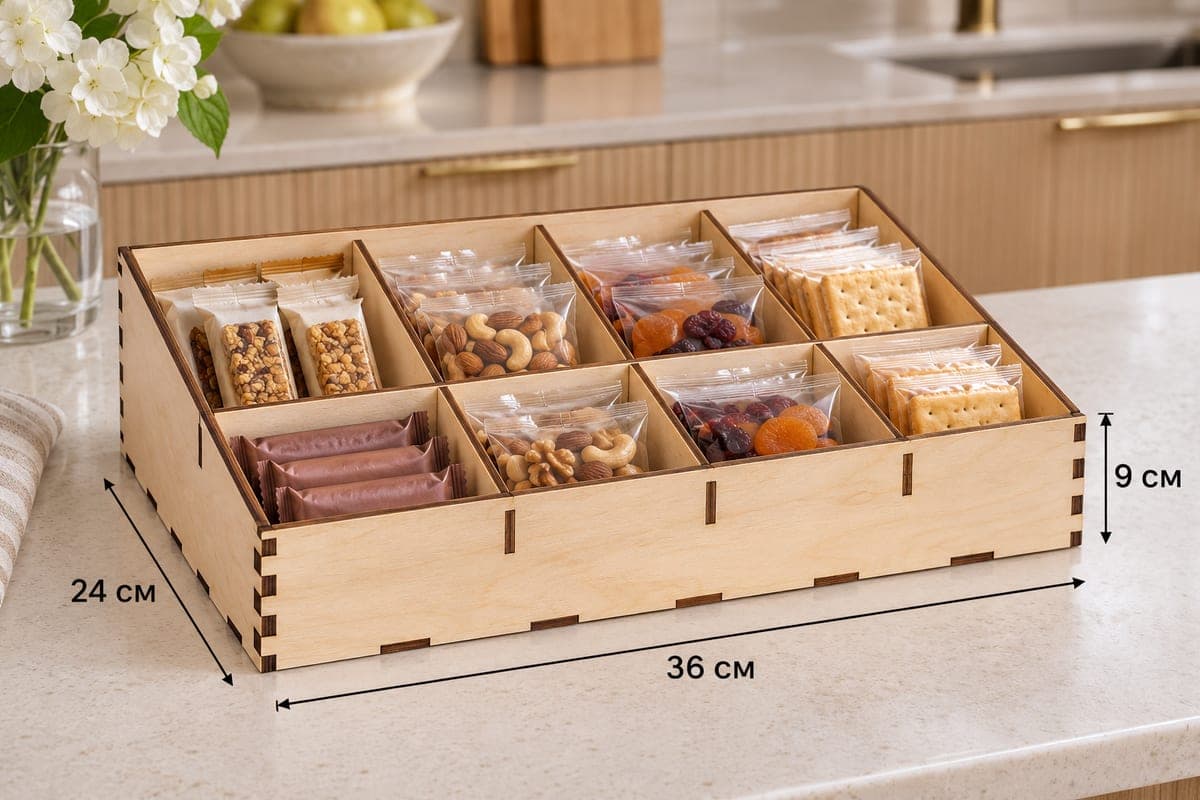
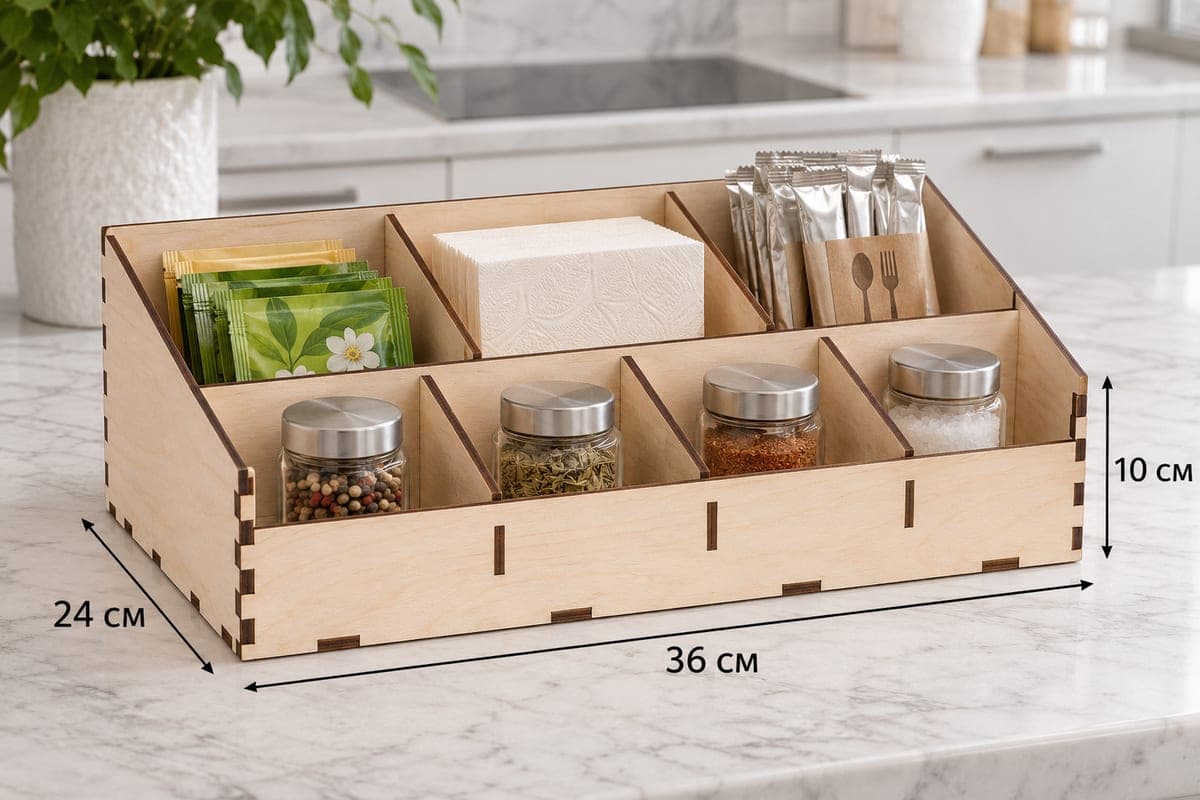
 Visualization
Countertop Organizer SVG, Seven Section Spice Jar and Tea Box DXF, Laser Cut Kitchen Caddy, Condiment Station
A laser cut file for a seven-section countertop organizer with a sloped front: three bays in the back row and four smaller bays in the front row, sized for tea bags, napkins, sachets and a row of spice jars. It contains SVG and DXF files for 3, 4, 5 and 6 mm plywood, an outer size of 360 × 240 × 100 mm (14.17 × 9.45 × 3.94 in) and 11 pieces with tab-and-slot joints. The seven-section organizer is available as a free download.
- Formats
- SVG, DXF
- Outer size (W × D × H)
- 360 × 240 × 100 mm (14.17 × 9.45 × 3.94 in)
- Parts
- 11
- Material thickness
- 3, 4, 5 or 6 mm plywood (a file for each)
- Layout size (3 mm file)
- 1,348 × 352 mm
- Cut length
- 8.32 m
- Est. time, 10 W diode (3 mm)
- 27 min 43 s
- Est. time, 40 W CO2 (3 mm)
- 11 min 33 s
- Layers
- CUT only, no engraving
Free account required to download
How to make it
- 01Select the file for your plywood thickness and run a single-slot test cut on scrap.
- 02Cut the eleven pieces: front, back, two sloped sides, base, the cross divider, two tall back dividers and three short front dividers.
- 03Build the outer box on the base, fit the cross divider, then the two tall dividers at the back and the three short ones in front.
- 04Sand, seal with lacquer or oil, put four spice jars in the front bays and tea, napkins and sachets in the back.
Three at the back, four at the front
A full-width cross divider separates two rows that are split differently. The back row has two tall dividers and three wide bays; in the photo they hold green and yellow tea bags, a block of napkins, and foil sauce sachets with a paper cutlery pouch. The front row has three lower dividers and four narrower bays, each holding one spice jar: peppercorns, dried herbs, paprika and salt. Because the front drops to 50 mm from a 100 mm back, the jar lids sit at eye level when you look down at the counter.
Cutting 11 pieces
This file has the most parts in this group, eleven. For the 3 mm file it runs about 27 min 43 s on a 10 W diode, about 11 min 33 s on a 40 W CO2 and about 5 min 33 s on a 100 W CO2. A diode gets 3 mm done in one or two passes, but the 5 and 6 mm versions need a CO2 or patience with several passes. The 3 mm layout is 1348 × 352 mm, so split it over two or three sheets on a desktop laser.
Assembly and finish
Sort the dividers first: the two tall ones go into the back row and the three short ones into the front. After the outer walls and the cross divider are in, the rest press in quickly. Glue is optional. Sand the edges and seal with lacquer or oil so oily jar bottoms do not stain the base.
Selling ideas: a condiment station for a café or office, a spice and tea box for a housewarming gift, or a set filled with four jars of the buyer's choice.
Questions about this file
What size spice jars fit the front bays?
Small round jars like the ones in the photo stand one per bay. Measure your jars against the front row before you cut.
Can I use the back row for coffee pods?
Yes, the three wide back bays suit coffee pods, tea bags, sachets or napkins.
Why do I need to sort the dividers?
The back row dividers are taller than the front row ones because of the sloped sides, and they are not interchangeable.
Can I scale it for bigger jars?
You can, but after scaling reset each slot to the real plywood thickness; otherwise the tabs will be loose or too tight.
Can I engrave spice names on the front?
Yes, the front panel sits right below the four jar bays, so you can add an engraved label under each one before cutting. The file itself has no engraving.
Similar files