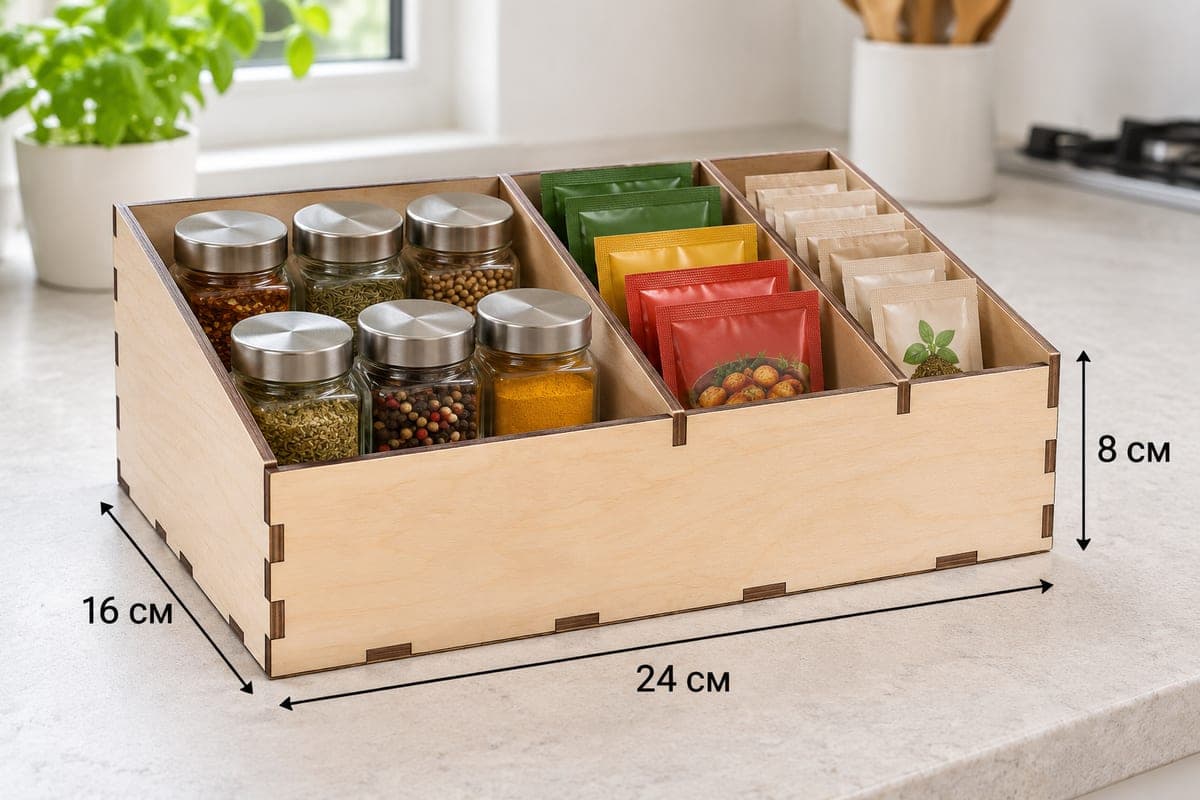
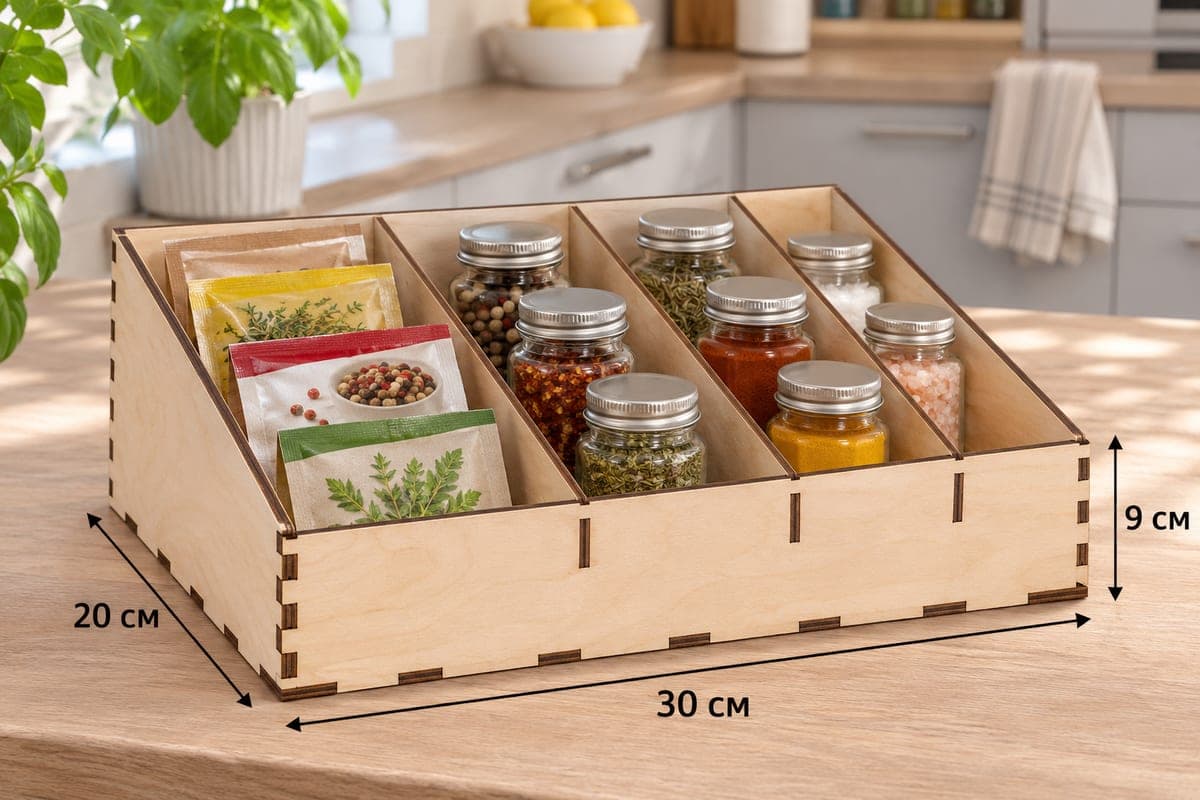
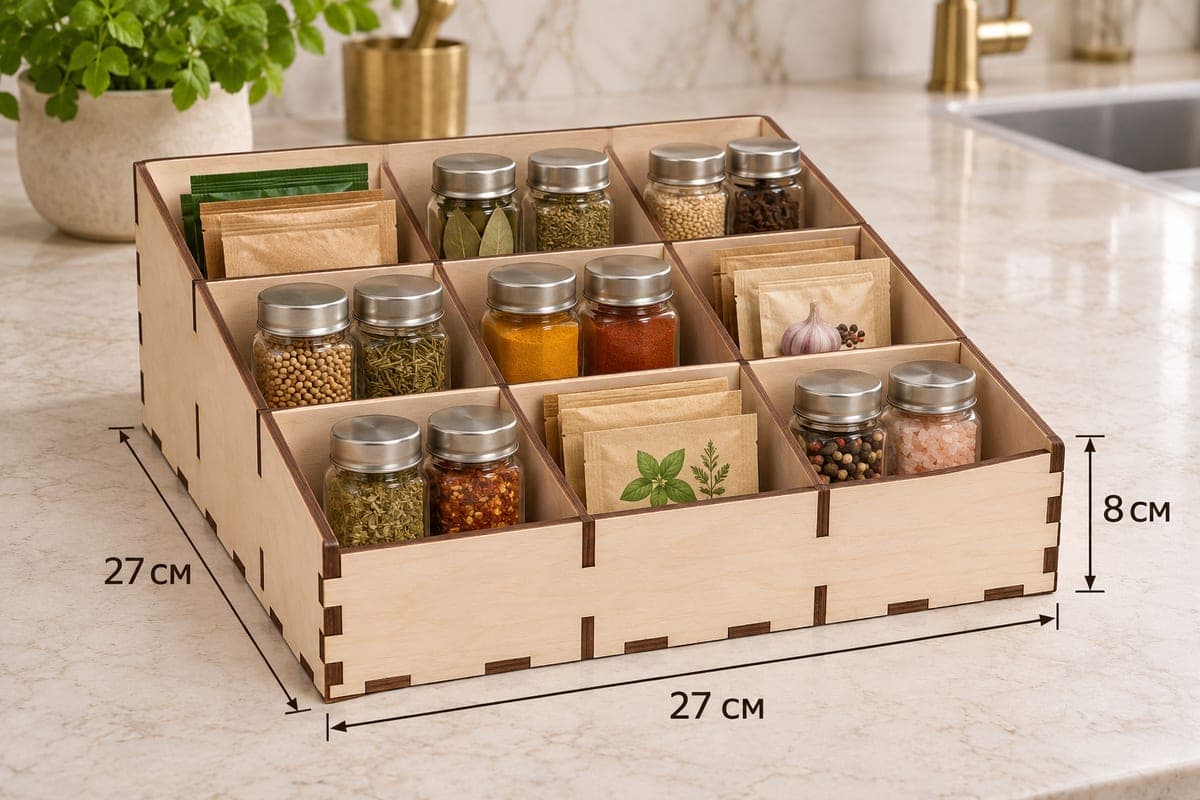
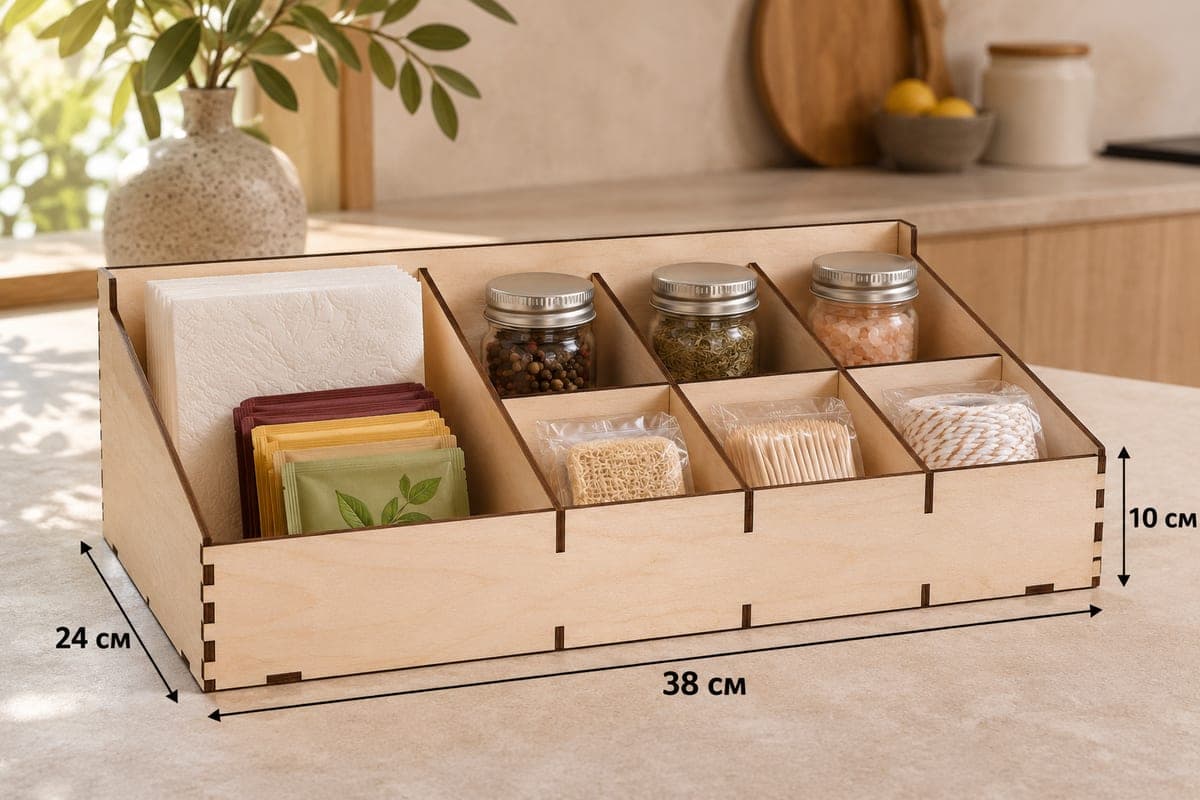
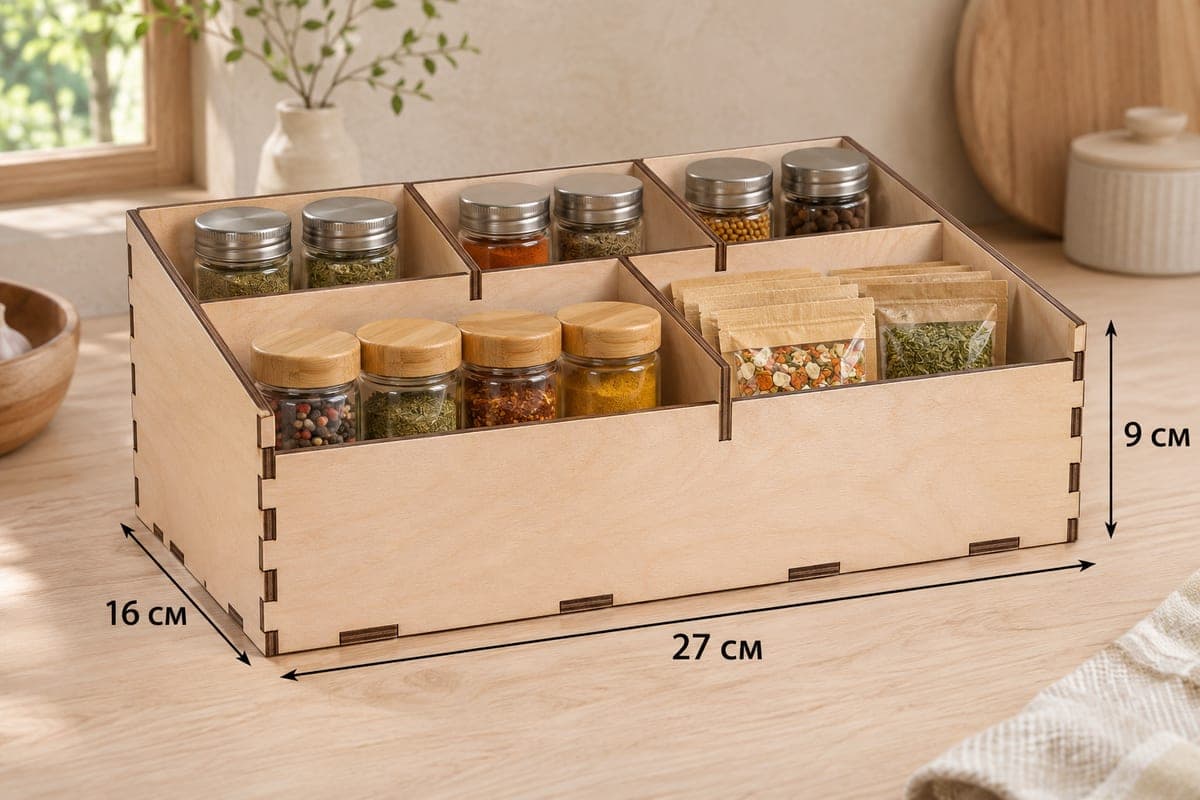
 Visualization
Spice Jar Tray SVG, Tiered Two Row Spice Organizer Laser Cut File, Wooden Seasoning Rack DXF
A free laser-cut file for a two-row spice tray with five sections: three in the back row and two in the front row, behind a sloped front so the side panels drop toward you. It measures 270 × 160 × 90 mm (10.63 × 6.30 × 3.54 in), is made of 9 plywood pieces fitted with tabs and slots, and comes as SVG and DXF with separate files for 3, 4, 5 and 6 mm plywood.
- Formats
- SVG, DXF
- Outer size (W × D × H)
- 270 × 160 × 90 mm (10.63 × 6.30 × 3.54 in)
- Parts
- 9
- Material thickness
- 3, 4, 5 or 6 mm plywood (a file for each)
- Layout size (3 mm file)
- 880 × 262 mm
- Cut length
- 5.60 m
- Est. time, 10 W diode (3 mm)
- 18 min 41 s
- Est. time, 40 W CO2 (3 mm)
- 7 min 47 s
- Layers
- CUT only, no engraving
Free account required to download
How to make it
- 01Choose the version for your plywood thickness and cut a single slot as a fit test.
- 02Cut the nine pieces, dividing them across two sheets if your bed is shorter than 880 mm.
- 03Build the shell from base, back, sides and low front, set the long cross divider in, add the two back dividers and finally the short front one.
- 04Smooth the edges, apply lacquer, and stand tall jars in the back row and pouches or short jars in the front.
Back row, front row
The back wall is 90 mm tall, the front wall 50 mm, and a long cross divider of about 70 mm separates the two rows. Behind it, two dividers form three equal back sections; in front, one divider makes two wider sections. In the photo the back row holds six small jars, two in each section, while the front row carries four bamboo-lid jars on the left and a stack of kraft spice pouches with windows on the right. With the front wall that much lower, the labels in both rows can be read at a glance from the counter.
Laser settings and layout
The 3 mm drawing occupies 880 × 262 mm. Cutters with a small bed can take the base and back on one pass and everything else on another. For the 3 mm file allow about 18 min 41 s on a 10 W diode, about 7 min 47 s on a 40 W CO2 or about 3 min 44 s on a 100 W CO2. A 10 W diode needs one or two passes through 3 mm, and the 5 and 6 mm files call for a more powerful laser or multiple passes.
Assemble the shell, then lower the long cross divider into place. The two back dividers go in next and the short front divider last. Tabs grip on their own; a little glue on the shell corners is enough if you want it fixed.
Selling ideas
- Sell it filled with five blends as a market gift box.
- Make a smaller tea version for a matching set.
- A clear matt lacquer keeps the pale wood looking fresh behind the stove.
Questions about this file
How many jars does the tray hold?
The photo shows ten small jars plus a stack of pouches. The exact number depends on your jar diameter, so measure before filling.
Why is the cross divider lower than the back wall?
At about 70 mm it keeps front jars steady but still lets you see the labels in the back row.
Can this tray go in a cupboard?
It needs 90 mm of height plus your jar lids. In a standard upper cupboard there is usually plenty of room.
What if my plywood is 3.2 mm, not 3 mm?
Cut a test slot from the 3 mm file first. If it is too tight, try the 4 mm file or adjust the kerf in your software.
Is it suitable for a market stall?
Yes, the tray displays spice jars well. Add your stall name as an engraving on the front if you like.
Similar files