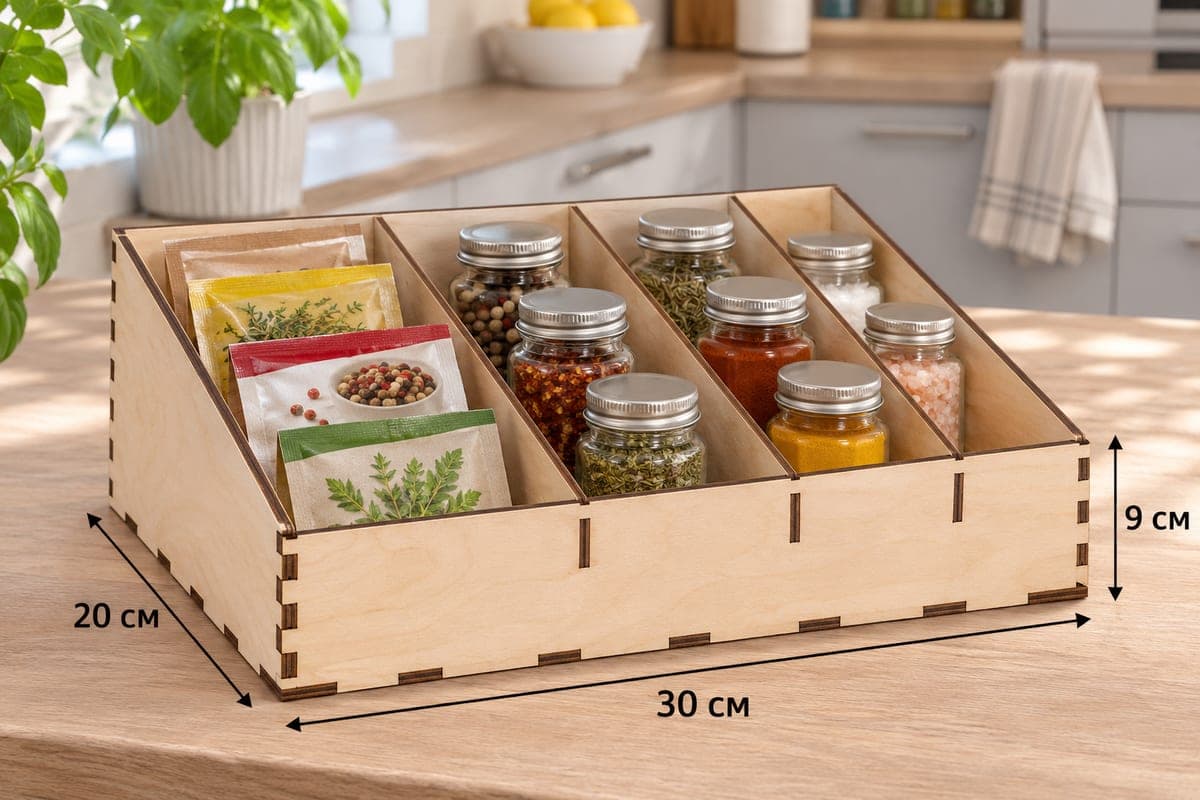
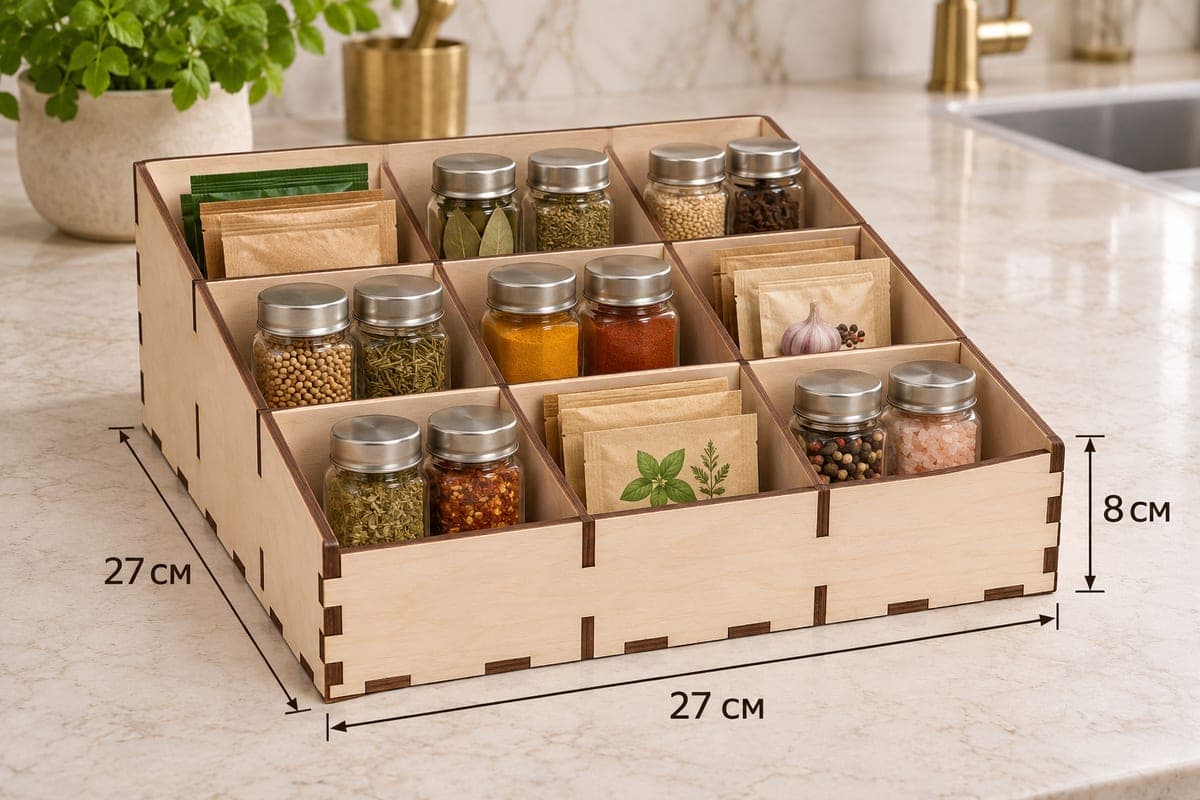
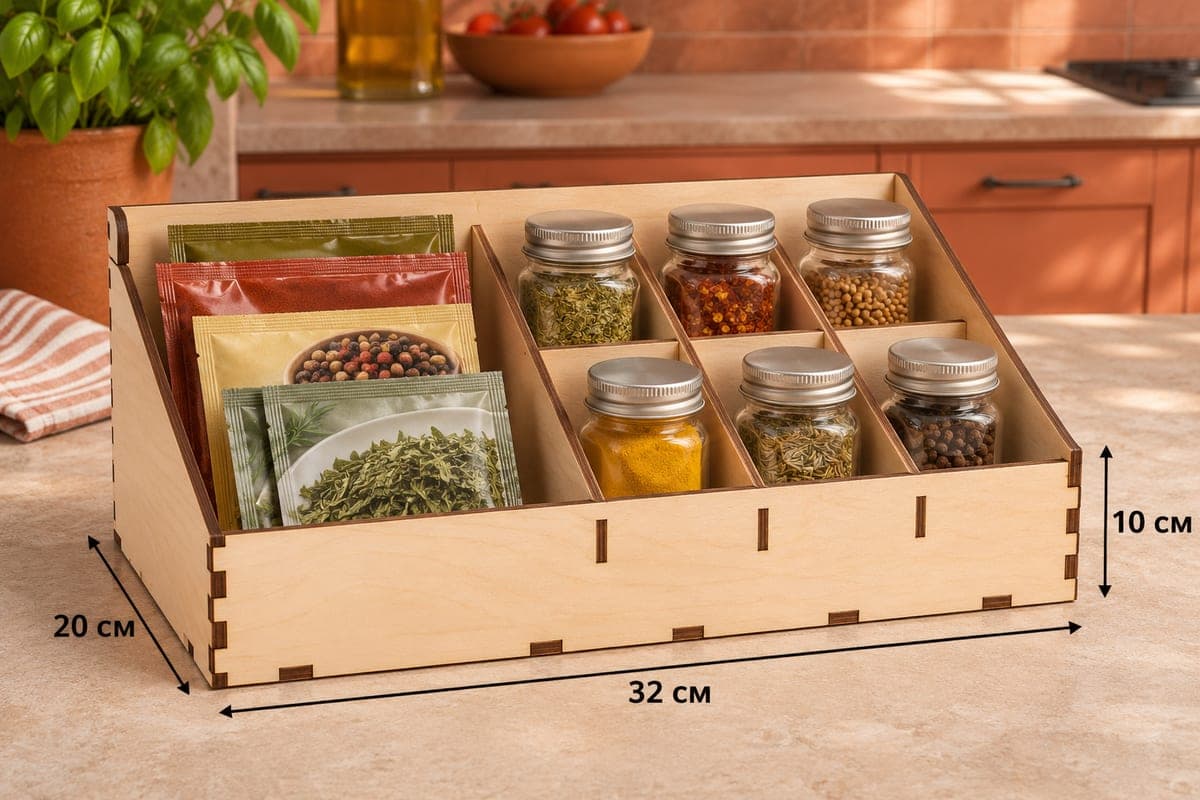
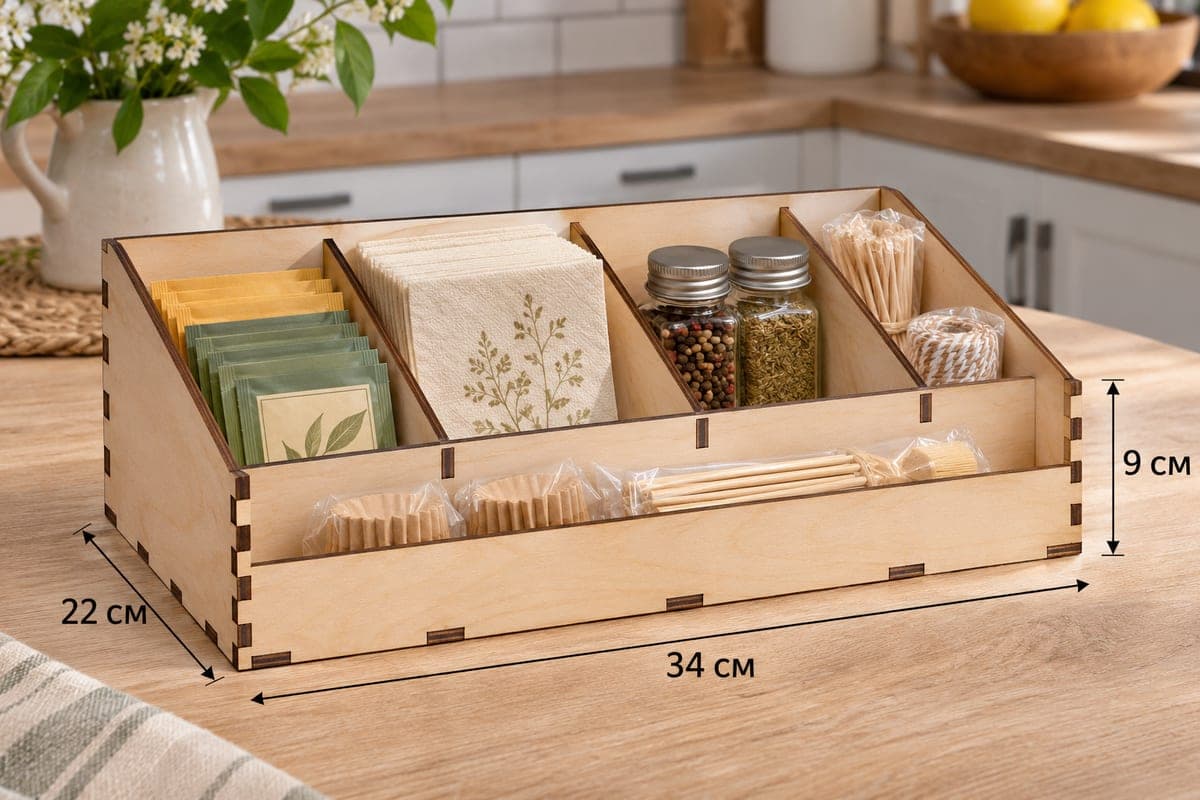
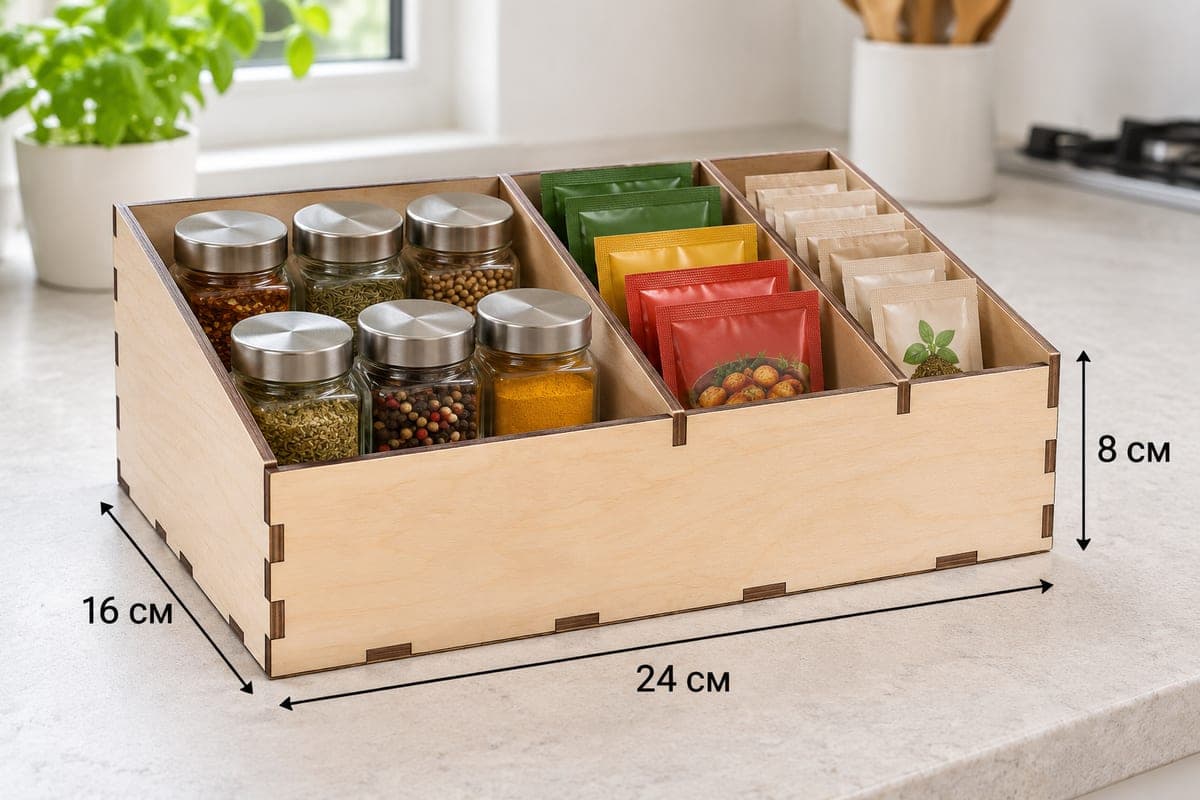
 Visualization
Spice Caddy SVG, Sloped Front Seasoning Organizer Laser Cut File, Wooden Spice Packet Box DXF
This is a free laser-cut file for an open spice caddy with three side-by-side sections and a low front, so the side panels slope down and jar lids and packet tops stay in view. It measures 240 × 160 × 80 mm (9.45 × 6.30 × 3.15 in), is made of 7 plywood pieces that lock together with tabs and slots, and comes as SVG and DXF with separate files for 3, 4, 5 and 6 mm plywood.
- Formats
- SVG, DXF
- Outer size (W × D × H)
- 240 × 160 × 80 mm (9.45 × 6.30 × 3.15 in)
- Parts
- 7
- Material thickness
- 3, 4, 5 or 6 mm plywood (a file for each)
- Layout size (3 mm file)
- 820 × 252 mm
- Cut length
- 4.36 m
- Est. time, 10 W diode (3 mm)
- 14 min 31 s
- Est. time, 40 W CO2 (3 mm)
- 6 min 03 s
- Layers
- CUT only, no engraving
Free account required to download
How to make it
- 01Pick the SVG or DXF that matches your plywood thickness, then cut a single slot on scrap and check that a tab of the same sheet slides in firmly.
- 02Cut the seven parts; on beds shorter than 820 mm, split the base and back onto their own sheet.
- 03Fit the back and both sloped side panels into the base, press on the low front and finish by sliding in the two long dividers.
- 04Sand the cut edges lightly, oil or lacquer the caddy, then load jars on one side and packets in the narrow lanes.
What goes in the three sections
Two dividers run from front to back and split the caddy into three lanes. In the photo the left lane carries six small glass jars in two rows: peppercorns, chili flakes, dried herbs and turmeric. The middle lane holds bright foil seasoning packets stood on edge, and the right lane takes paper herb sachets, so you can flip through them like index cards. Because the front wall is only 44 mm tall against an 80 mm back, a jar lifts out over the edge without tipping the others.
Cutting and putting it together
All seven pieces sit on a layout of 820 × 252 mm. On a compact diode frame, move the base and the back panel to a second sheet and cut the walls on the first. Expected time for the 3 mm file: about 14 min 31 s on a 10 W diode, about 6 min 03 s on a 40 W CO2 and about 2 min 54 s on a 100 W CO2. A 10 W diode gets through 3 mm birch in one or two passes, while 5 or 6 mm stock needs a stronger tube or several slow passes.
Press the back and both sloped sides into the base first, add the low front, then slide the two dividers into their slots. The joints are snug enough to hold dry. Add a little wood glue in the corners if the caddy will be moved around a lot.
Gift and market ideas
- Fill it with three jars and a handful of sachets from a local spice shop as a housewarming present.
- Sell the empty caddies in pairs at a craft stall: one for the counter, one for the pantry shelf.
- Wipe on food-safe oil so turmeric dust and greasy fingers come off with a damp cloth.
Questions about this file
How many spice jars fit in the left lane?
The photo shows six small square jars in two rows of three. Taller or rounder jars will reduce that, so measure yours against the 80 mm back wall.
Can I make the caddy wider for more packets?
Yes, scale the length in your laser software, but keep the slot width equal to your sheet thickness. Scaling the whole drawing evenly would also widen the slots and the tabs would wobble.
Which plywood thickness suits this caddy best?
Use 3 or 4 mm for a light countertop caddy that cuts fast on a diode. Choose 5 or 6 mm when it will hold heavy glass jars every day.
Will it work in acrylic or MDF?
MDF cuts fine with the same files. For acrylic, measure the sheet first and use the file closest to that thickness, since cast acrylic is often slightly off its nominal size.
What finish keeps turmeric stains off the caddy?
Two thin coats of clear lacquer or a food-safe oil seal the wood so spills wipe off. Let the finish cure before filling it.
Similar files