 Visualization
Jewelry Catchall Tray SVG, Two Section Nightstand Organizer DXF, Sloped Wooden Valet Tray Laser Cut File
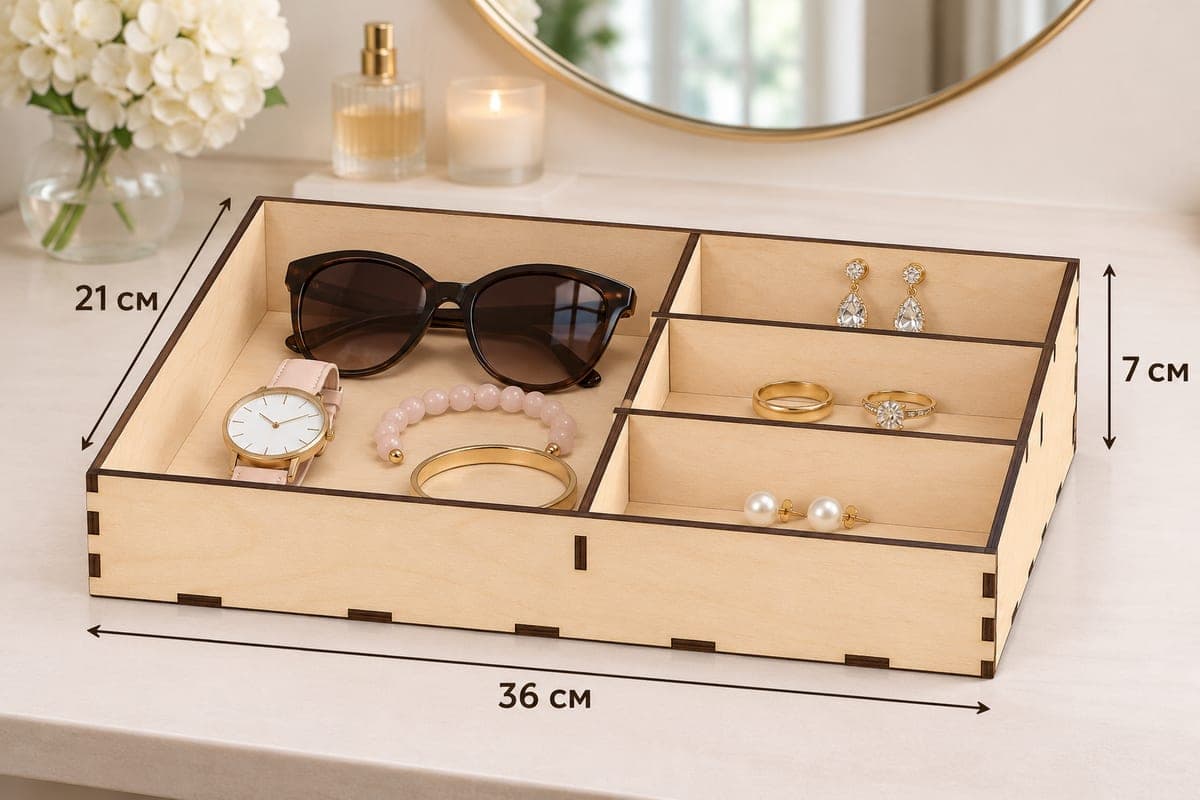
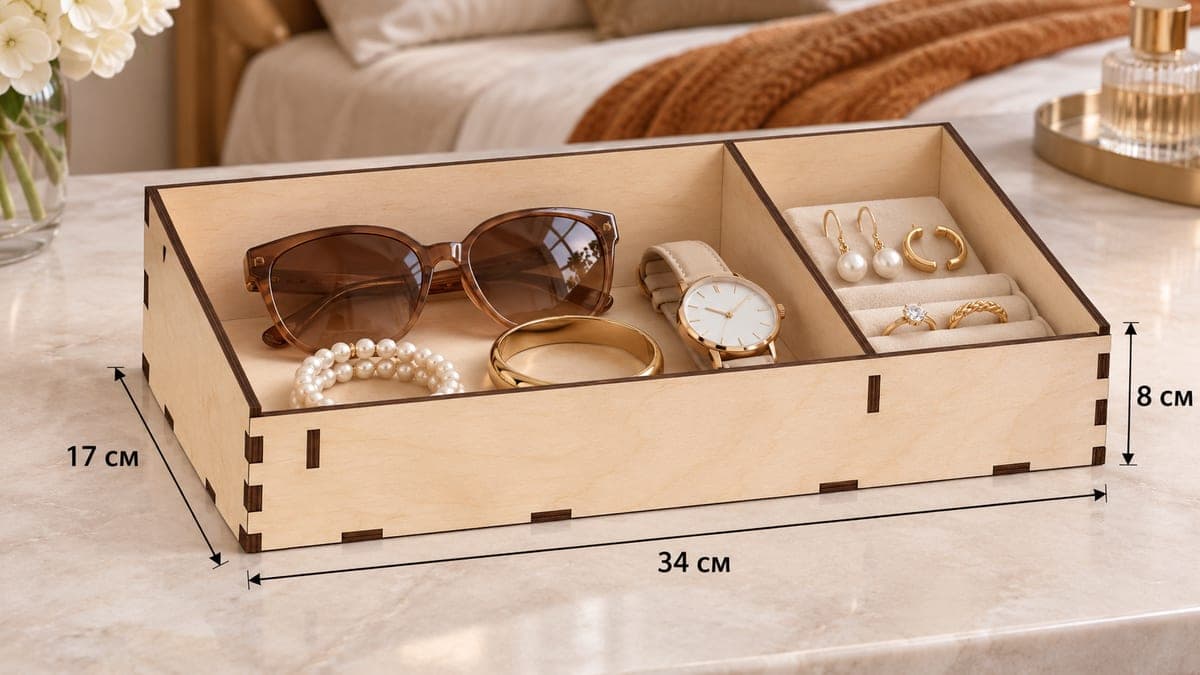
A simple two-section jewelry catchall with a sloped front: one wide bay for sunglasses, a watch and bracelets and a narrower side section for rings and earrings. It measures 340 × 170 × 80 mm (13.39 × 6.69 × 3.15 in), has just 6 tab-and-slot pieces and comes as a free SVG and DXF download for 3, 4, 5 and 6 mm plywood.
- Formats
- SVG, DXF
- Outer size (W × D × H)
- 340 × 170 × 80 mm (13.39 × 6.69 × 3.15 in)
- Parts
- 6
- Material thickness
- 3, 4, 5 or 6 mm plywood (a file for each)
- Layout size (3 mm file)
- 1,040 × 262 mm
- Cut length
- 4.47 m
- Est. time, 10 W diode (3 mm)
- 14 min 54 s
- Est. time, 40 W CO2 (3 mm)
- 6 min 13 s
- Layers
- CUT only, no engraving
Free account required to download
How to make it
- 01Choose the 3, 4, 5 or 6 mm version and cut a single slot on scrap to make sure the divider tab fits.
- 02Cut the six parts; the whole layout spans three small sheets on a 400 mm bed.
- 03Push the divider into the base, then add the 80 mm back, the two sloped sides and the 56 mm front.
- 04Sand, oil or lacquer, and use the wide bay for sunglasses and the narrow one for rings and earrings.
The simplest tray in the set
With only six parts (front, back, two sloped sides, base and one divider) this is the quickest jewelry tray to cut and assemble, and a good first project on a new laser. The divider sits off-center and makes a wide main bay and a narrower side bay. The main bay takes what you drop at night: sunglasses, a watch, a pearl bracelet, a bangle. The side bay is the place for a ring cushion or an earring stand.
The back is 80 mm high and the front 56 mm, a moderate slope that keeps the tray stable on a bedside table.
Fast to cut
For the 3 mm file, cutting takes about 14 min 54 s on a 10 W diode, about 6 min 13 s on a 40 W CO2 and about 2 min 59 s on a 100 W CO2, the shortest times among these jewelry trays. The total cut line is 4472 mm for the 3 mm version. The layout sheet is 1040 × 262 mm; a 400 mm bed fits it over three sheets.
If you plan to make many of these, 3 mm birch on a CO2 laser is the most efficient combination. A diode will cut the 5 or 6 mm versions too, but in several passes.
Ideas for selling and gifting
- A nightstand valet for him or her, finished in dark oil.
- A wedding favor for the couple's table, with a ring dish set in the side bay.
- An entry-level product for a new Etsy shop: cheap to make, quick to photograph, easy to ship flat.
Assembly takes a minute: divider into the base, back on, sides on, front on. Glue is optional.
Questions about this file
Is this a good first project for a new laser owner?
Yes. It has only six parts and one divider, so the assembly is simple, and the 3 mm file cuts in about 15 minutes on a 10 W diode.
What fits in the narrow side section?
A ring cushion, an earring stand or a small dish of studs. Bigger items such as sunglasses and watches go in the wide bay.
Can I engrave initials on the floor of the wide bay?
Nothing is engraved in the file, but you can add initials to the base in your laser software. Engrave before cutting so the part stays aligned.
Does it need glue?
Not for daily use. If you ship them assembled, a drop of wood glue in the divider slots keeps them rigid.
Can I use 3 mm MDF to keep costs down?
Yes, use the 3 mm file. MDF looks best painted or stained, and it should be sealed against moisture.
Similar files