 Visualization
Jewelry Organizer Box SVG, Six Compartment Wooden Jewelry Box DXF, Bathroom Vanity Organizer Laser Cut File
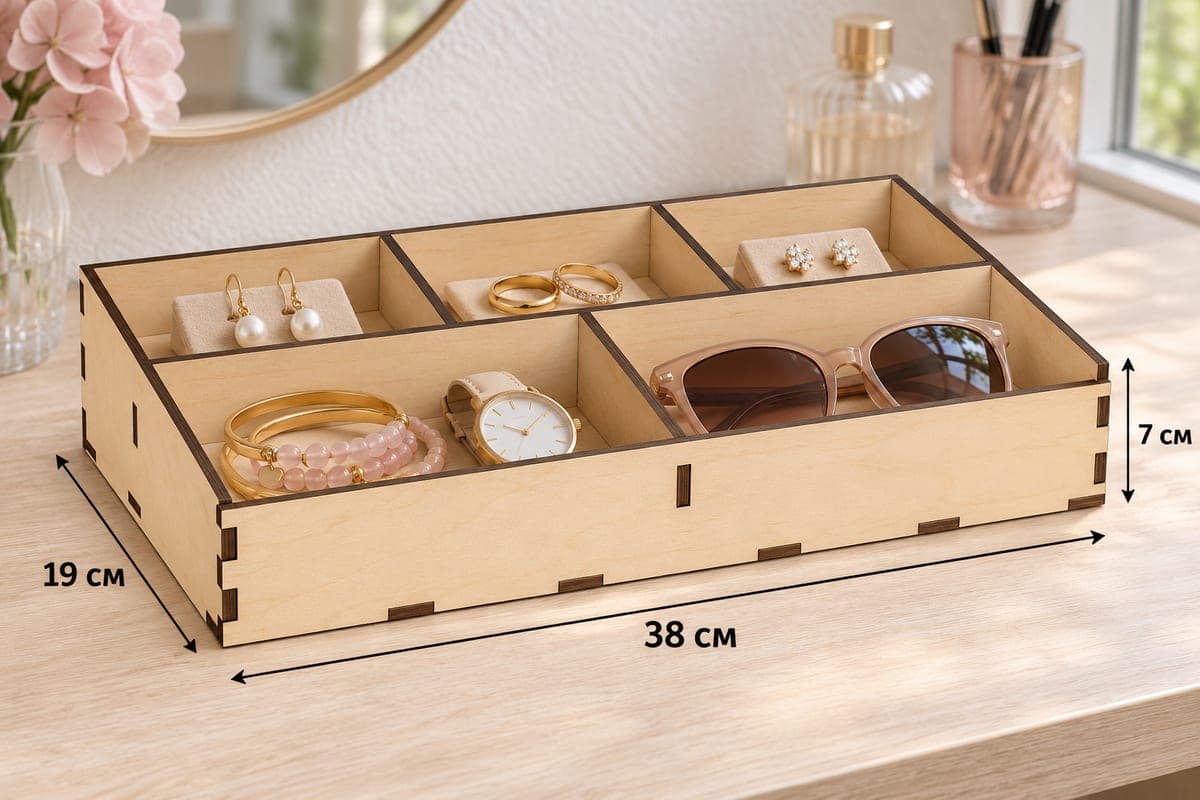
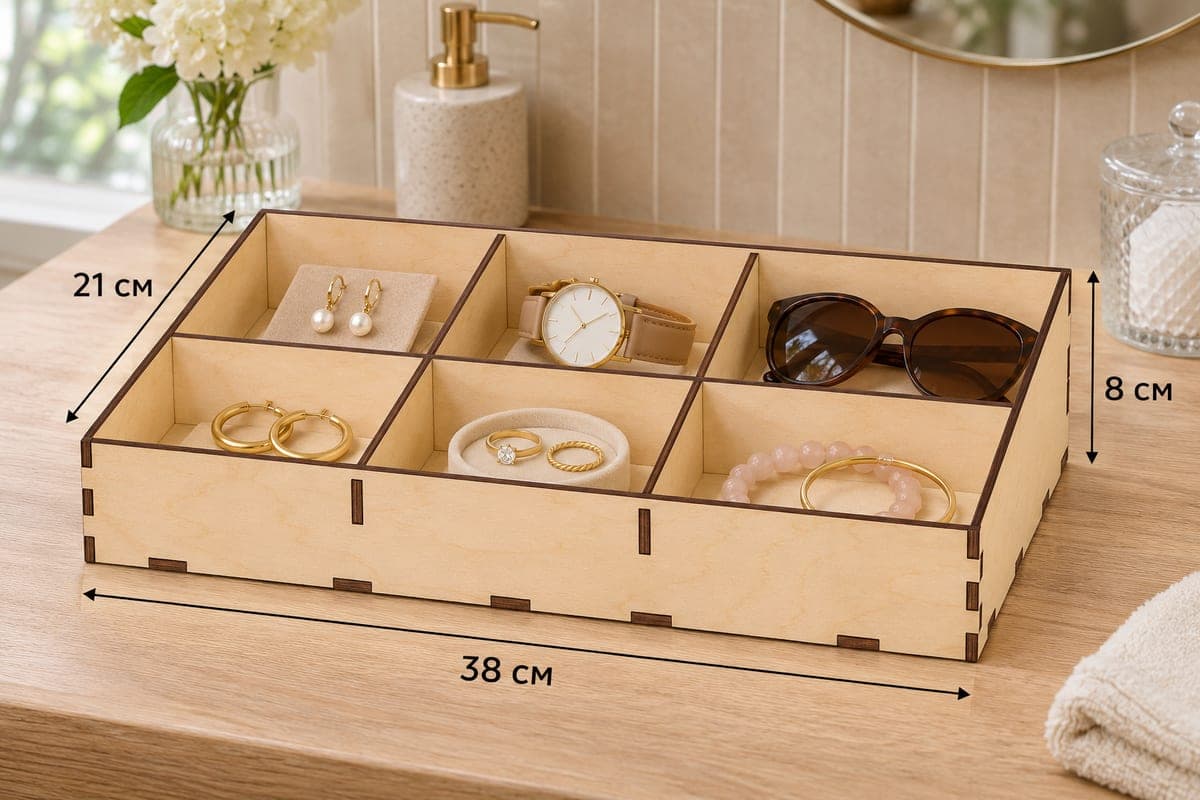
A six-compartment jewelry box with straight 80 mm walls all round and two rows of three equal sections. The free download has SVG and DXF files for 3, 4, 5 and 6 mm plywood; the box measures 380 × 210 × 80 mm (14.96 × 8.27 × 3.15 in), consists of 10 pieces and assembles with tabs and slots.
- Formats
- SVG, DXF
- Outer size (W × D × H)
- 380 × 210 × 80 mm (14.96 × 8.27 × 3.15 in)
- Parts
- 10
- Material thickness
- 3, 4, 5 or 6 mm plywood (a file for each)
- Layout size (3 mm file)
- 1,208 × 302 mm
- Cut length
- 7.64 m
- Est. time, 10 W diode (3 mm)
- 25 min 28 s
- Est. time, 40 W CO2 (3 mm)
- 10 min 37 s
- Layers
- CUT only, no engraving
Free account required to download
How to make it
- 01Choose the 3, 4, 5 or 6 mm file and cut a test slot to confirm the tabs press in without forcing.
- 02Cut the ten pieces, dividing the 1208 mm layout over several sheets if your laser bed is short.
- 03Slot the four short dividers onto the cross divider, set the grid on the base and close it in with the four 80 mm walls.
- 04Sand, seal all faces with polyurethane if it will live in a bathroom, and fill the six compartments.
A tidy grid of six
Unlike the sloped trays in this set, this box has a straight front: all four walls are 80 mm tall. A full-length cross divider, the same height as the walls, separates two rows, and two short dividers in each row make three sections per row. The result is six roughly even compartments, each about the size of a large palm.
In the photo the back row holds pearl earrings, a watch and sunglasses, and the front row gold hoops, rings in a small dish and two bracelets. The tall walls make it a good fit for a bathroom counter or a drawer, where things get knocked about more than on a dresser.
Thickness and cutting
There are ten parts. For the 3 mm file the cut takes about 25 min 28 s on a 10 W diode, about 10 min 37 s on a 40 W CO2 and about 5 min 06 s on a 100 W CO2. The layout runs to 1208 × 302 mm, so most desktop machines will need it split over three sheets. On a diode, stick with 3 or 4 mm unless you are happy running many passes; the 6 mm box is very solid but best left to a CO2 laser.
Assembly and bathroom finish
Join the four short dividers to the long cross divider, place the grid on the base, then add back, front and sides. Because every wall is the same height, any panel can go on first. Glue is optional.
For use near a sink, seal every face, including the underside of the base, with two coats of polyurethane or a hard-wax oil, and let it cure fully before putting jewelry in.
Questions about this file
How big is each of the six compartments?
The box is 380 × 210 mm outside and splits into two rows of three, so each section is a little over 100 mm wide and close to 100 mm deep, roomy enough for a watch or folded sunglasses.
Is it safe to keep this box next to a bathroom sink?
Plywood does not like standing water. Seal all surfaces with polyurethane or hard-wax oil and wipe up splashes, and it will last on a vanity counter.
Can I cut it from acrylic for a modern look?
Yes, with the file that matches the acrylic thickness. Measure the sheet first, since acrylic varies, and bond the joints with acrylic cement.
Why is there no sloped front on this one?
This model is the straight-walled version for drawers and busy counters. If you prefer a slope, the eight-section tray in the same set has a similar grid with a low front.
Can I put a monogram on it?
There is no engraving in the file, but the 380 mm front panel is a good place to add one in your laser software before cutting.
Similar files