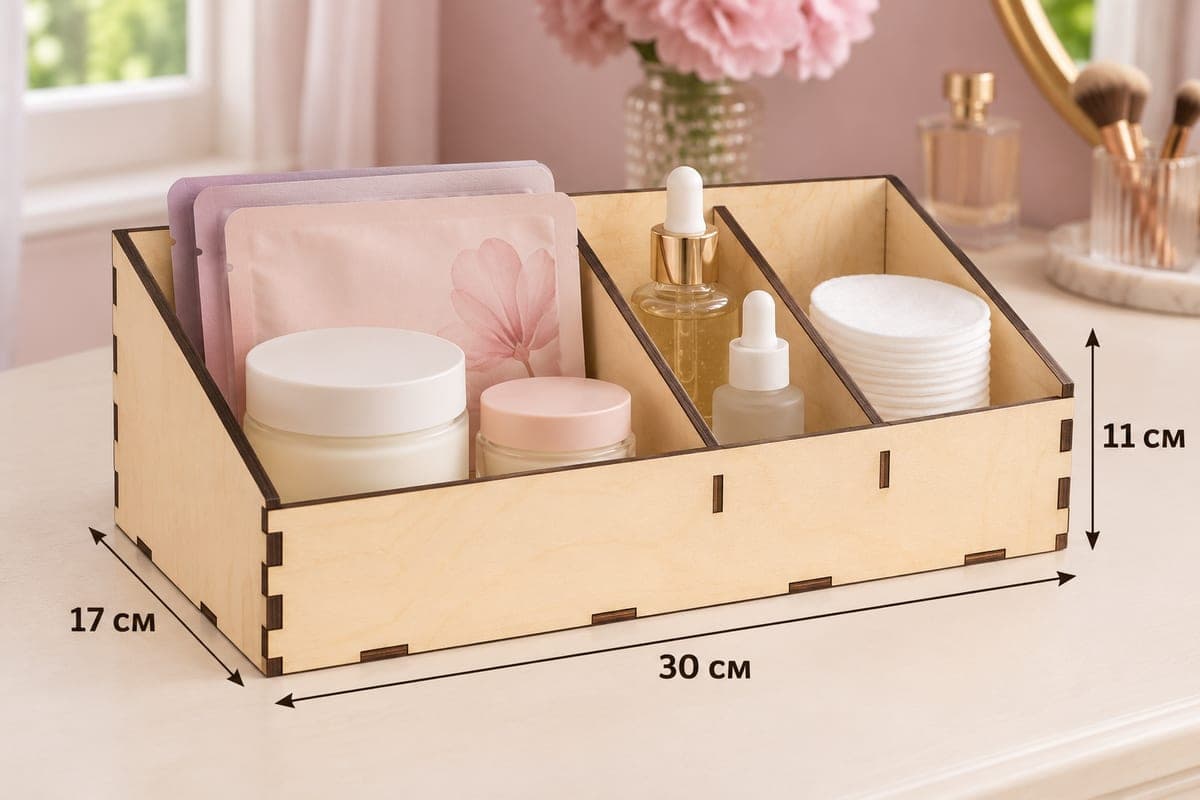
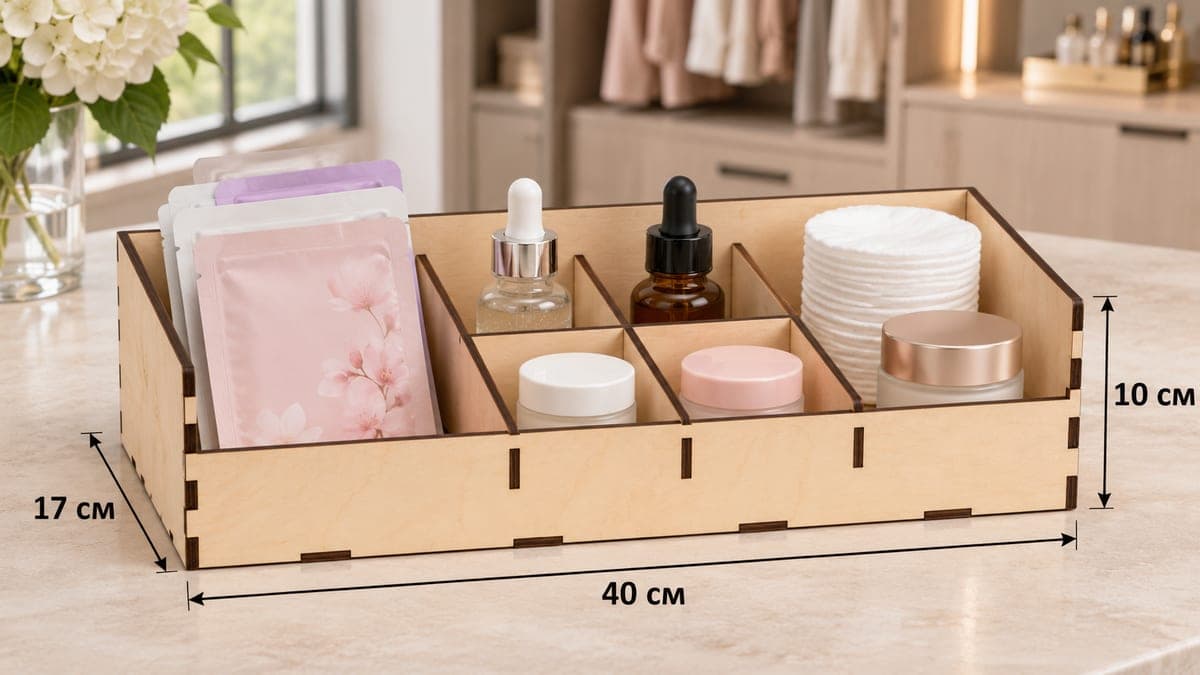
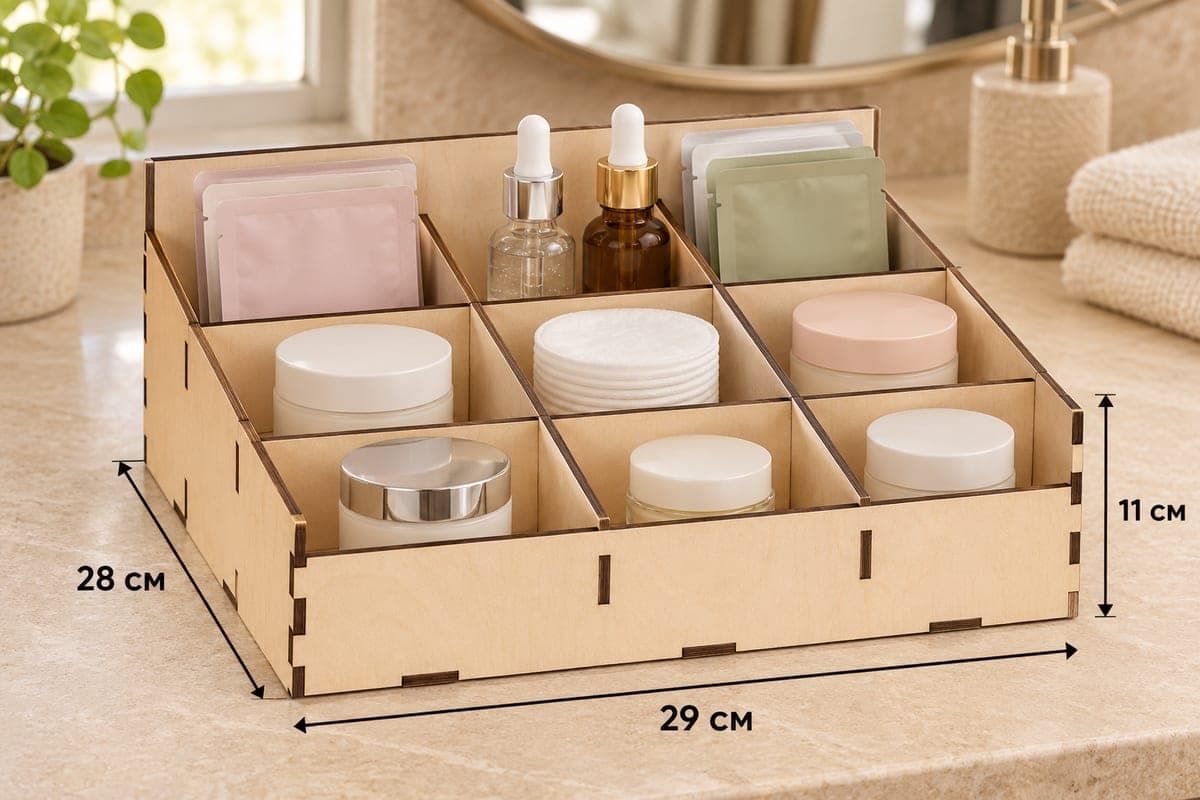
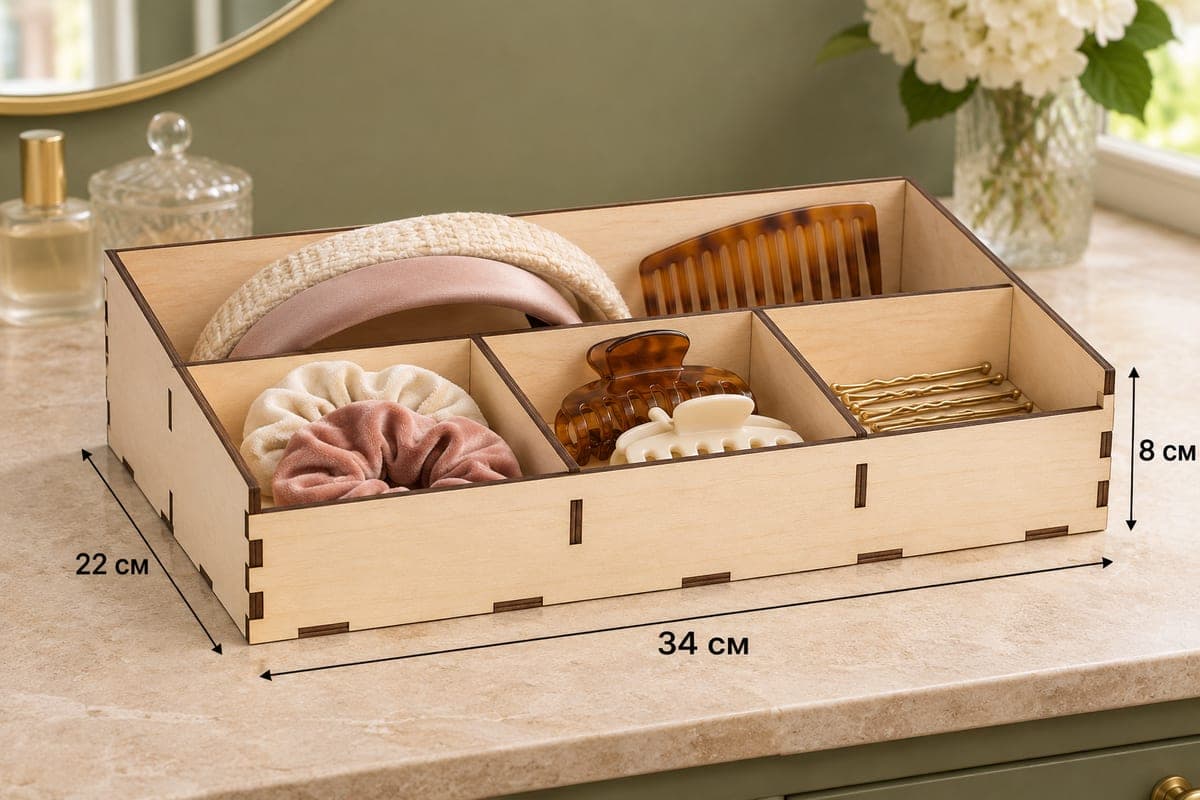
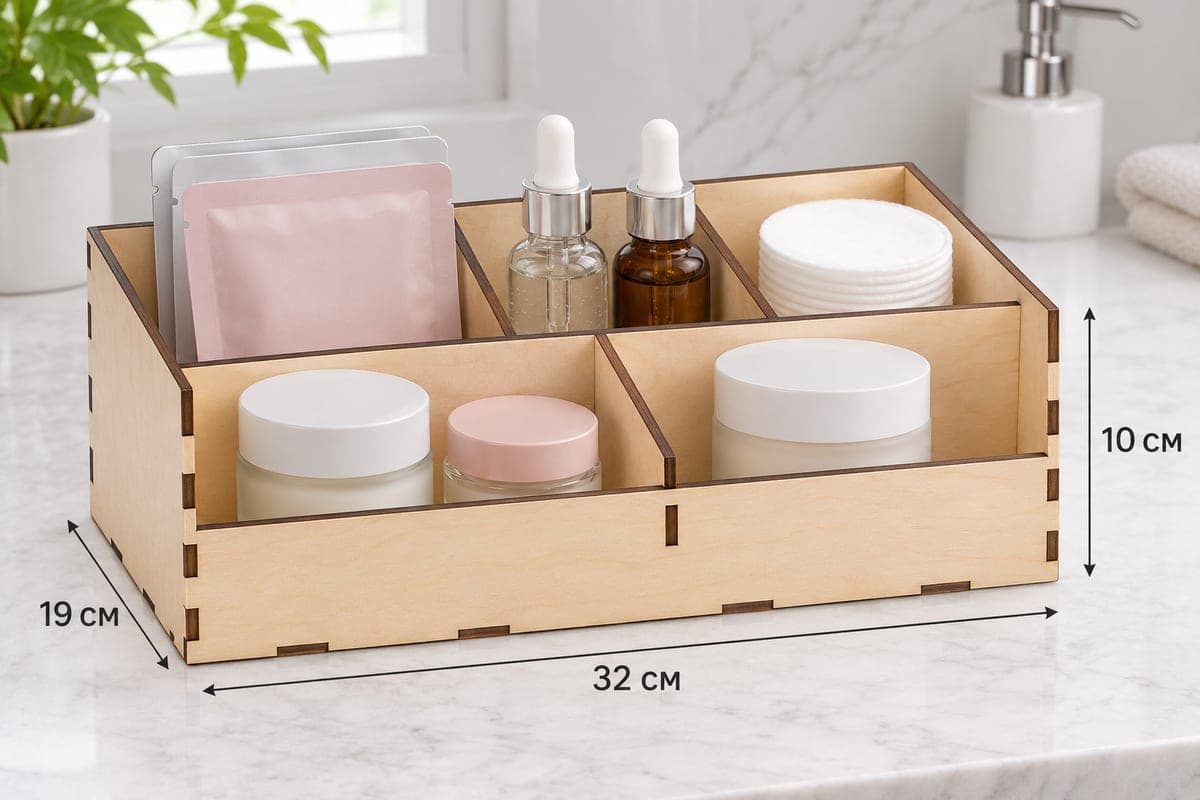
 Visualization
Two Row Skincare Tray SVG, Five Compartment Bathroom Organizer Laser Cut, Serum and Cream Box DXF
A two-row skincare tray with five compartments for a bathroom counter or vanity, available as SVG and DXF in separate versions for 3, 4, 5 and 6 mm plywood. Outer size is 320 × 190 × 100 mm (12.6 × 7.48 × 3.94 in); it is cut from 9 pieces and has a sloped front that drops to 55 mm. It joins with tabs and slots and costs nothing to download.
- Formats
- SVG, DXF
- Outer size (W × D × H)
- 320 × 190 × 100 mm (12.60 × 7.48 × 3.94 in)
- Parts
- 9
- Material thickness
- 3, 4, 5 or 6 mm plywood (a file for each)
- Layout size (3 mm file)
- 1,040 × 302 mm
- Cut length
- 6.47 m
- Est. time, 10 W diode (3 mm)
- 21 min 35 s
- Est. time, 40 W CO2 (3 mm)
- 9 min 00 s
- Layers
- CUT only, no engraving
Free account required to download
How to make it
- 01Choose the file for your plywood thickness and cut a single slot from scrap to check the fit before running the full sheet.
- 02Cut the 9 parts: front, back, two sloped sides, base, the long cross divider and three short dividers.
- 03Slot the two tall dividers into the back of the base and the short one into the front, lay the cross divider over them, then add the back, sides and front.
- 04Sand, seal with water-resistant lacquer or oil, and put serums and masks in the back cells and cream jars in the front bays.
How the compartments are arranged
A cross divider runs the full 320 mm length and splits the tray into a tall back row and a lower front row. Two full-height dividers cut the back row into three cells; one short divider splits the front row into two wider bays. That gives five compartments in total.
The photo shows the back row used for sheet masks, a clear and an amber serum bottle, and a stack of cotton pads. The front bays take cream jars: two smaller ones on the left and a large one on the right. Because the front wall is only 55 mm high, jar lids stay in view while the bottles behind them are held upright.
Choosing plywood and cutting
Each thickness from 3 to 6 mm has its own SVG and DXF, with slots sized for that sheet, so do not scale one file to another thickness. The 3 mm layout is 1040 × 302 mm; if your laser bed is smaller, split the parts over two sheets with the base on its own. For the 3 mm file, expect about 21 min 35 s on a 10 W diode, about 9 min 00 s on a 40 W CO2 and about 4 min 19 s on a 100 W CO2. Thicker sheets need a CO2 laser or extra passes on a diode.
Finishing for a wet counter
This tray is shown next to a sink, so seal it. Sand the cut edges lightly, then apply two thin coats of water-based polyurethane or a hardwax oil, including the underside of the base. Glue is optional, but a little wood glue in the divider slots stops them shifting when you pull out a jar.
As a gift, fill the front bays with two creams and add a set of sheet masks behind them.
Questions about this file
Which items go in the front bays?
The two front bays are wide and shallow, made for round cream jars, eye cream pots or a balm tin. Tall bottles belong in the three back cells.
Is this tray safe next to a bathroom sink?
Bare plywood absorbs water, so seal every surface with water-resistant varnish or hardwax oil before use. Wipe up spills rather than letting them stand.
Which thickness should I choose?
3 mm birch is light and quick to cut on a diode laser; 4 or 5 mm gives a sturdier tray for heavy glass jars. Each thickness has its own file with matching slots.
Can I cut it in acrylic?
Yes, use the file that matches the acrylic thickness and test one slot, since cast acrylic varies slightly. Glue the joints with acrylic cement for a clean look.
Can I engrave a name on the front?
The file has cut lines only, but you can add a name or logo on the low front panel in your laser software before cutting.
Similar files