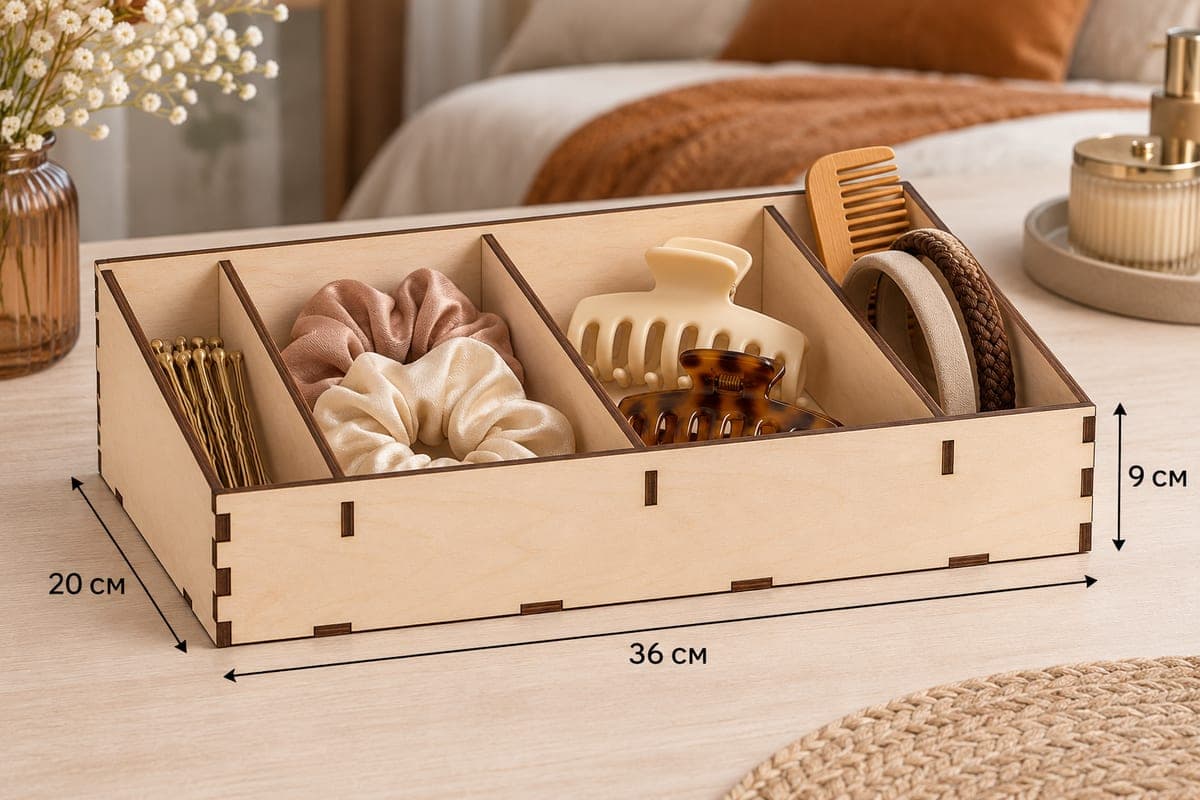
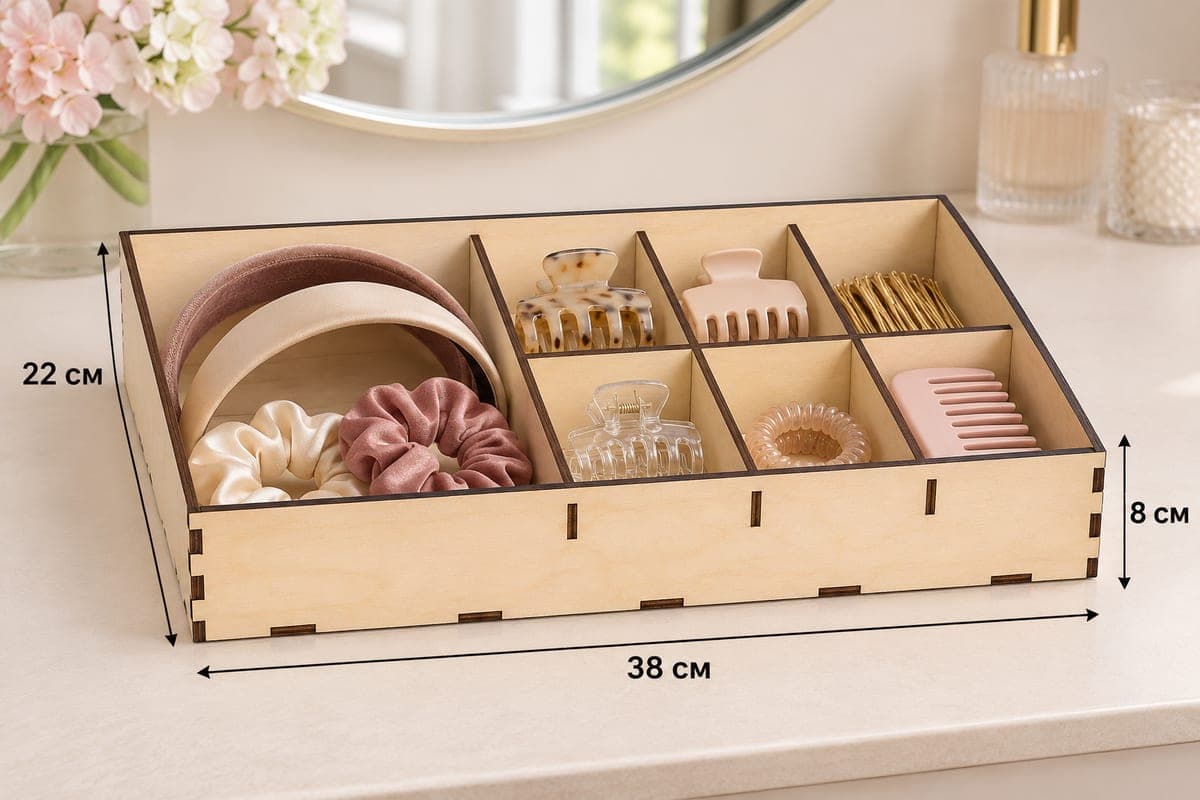
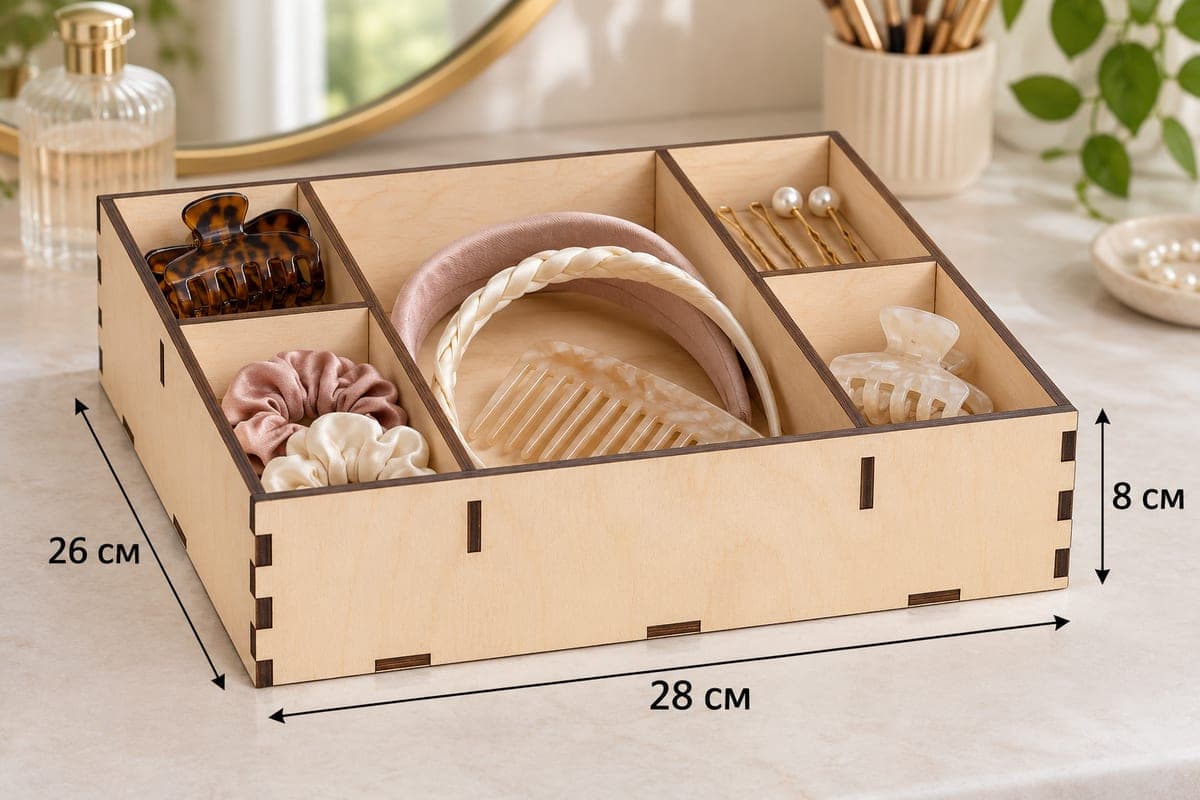
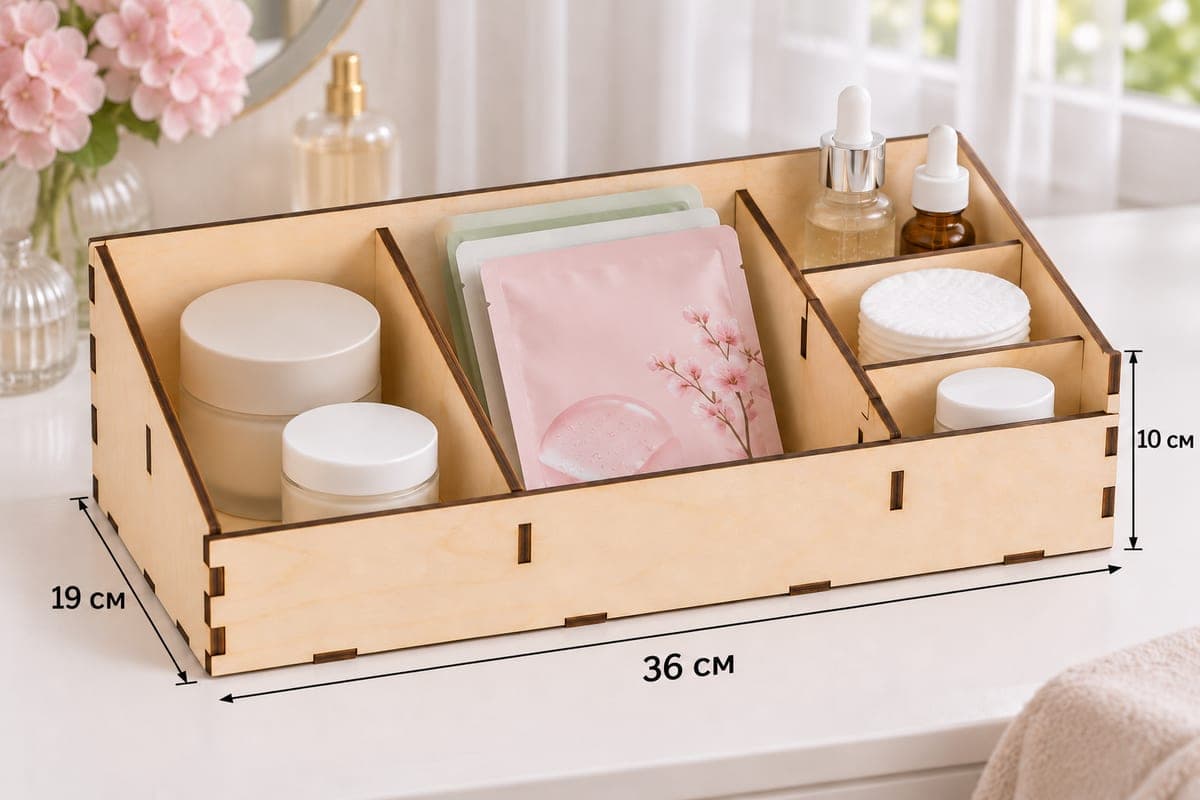
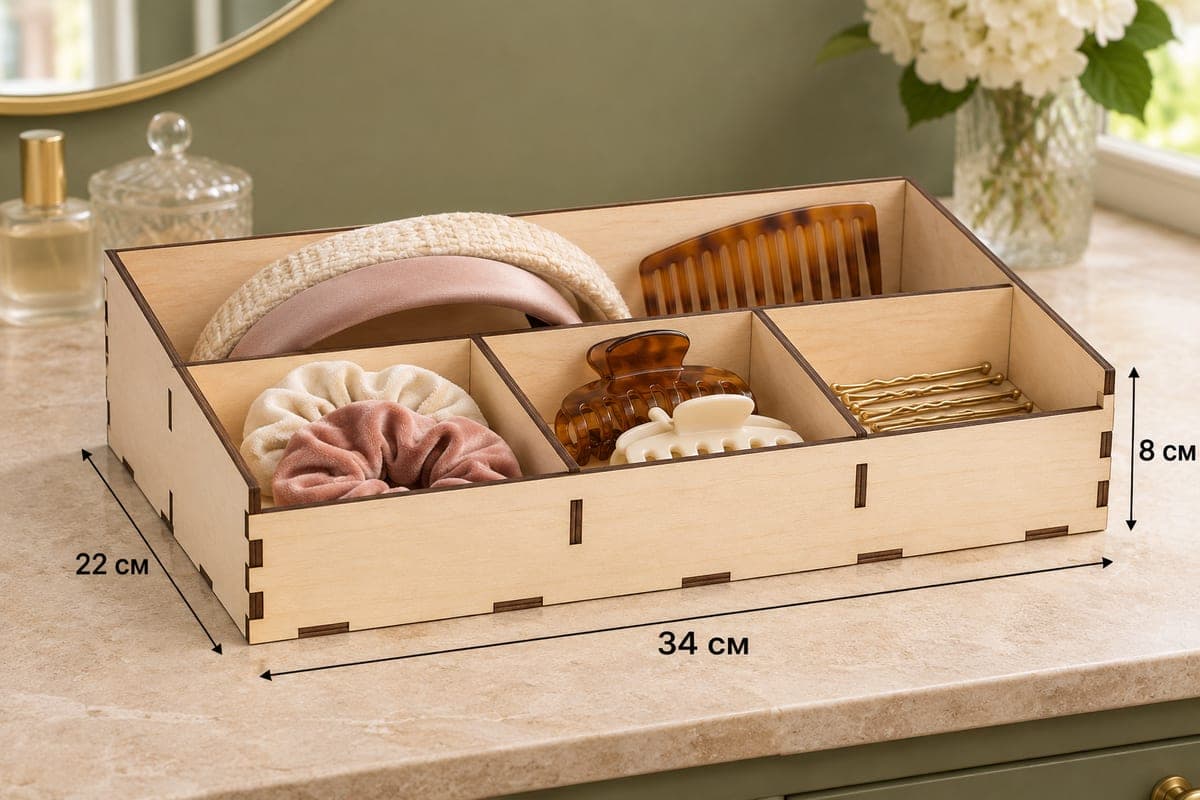
 Visualization
Headband Organizer SVG, Hair Accessory Box With Three Front Pockets, Laser Cut Wooden Vanity Tray DXF
A plywood hair accessory organizer, 340 × 220 × 80 mm (13.39 × 8.66 × 3.15 in), with one full-width bay at the back for headbands and combs and three pockets in front for scrunchies, claw clips and pins; the front is 40 mm. Download SVG and DXF for 3, 4, 5 and 6 mm plywood, 8 parts joined by tabs and slots. The download is free of charge.
- Formats
- SVG, DXF
- Outer size (W × D × H)
- 340 × 220 × 80 mm (13.39 × 8.66 × 3.15 in)
- Parts
- 8
- Material thickness
- 3, 4, 5 or 6 mm plywood (a file for each)
- Layout size (3 mm file)
- 1,140 × 312 mm
- Cut length
- 6.29 m
- Est. time, 10 W diode (3 mm)
- 20 min 59 s
- Est. time, 40 W CO2 (3 mm)
- 8 min 44 s
- Layers
- CUT only, no engraving
Free account required to download
How to make it
- 01Download the file for your plywood and test one front divider slot on a scrap piece.
- 02Cut all 8 parts, keeping the four 340 mm long parts whole when you split the layout.
- 03Put the sides and back into the base, add the full-width cross divider, then the two short front dividers and the low front panel.
- 04Sand the cross divider edge smooth, finish the box and lay headbands along the back with small items in the front pockets.
Headbands at the back, small things in front
A single cross divider runs the full 340 mm width and leaves an undivided strip along the back wall. That strip is made for headbands: lay them in a row and they sit end to end instead of stacked on top of each other, with a wide comb next to them. The front half is split into three pockets by two short dividers: velvet scrunchies on the left, claw clips in the middle and a row of bobby pins on the right.
The front wall is only 40 mm high and the dividers in front follow the slope, so the three pockets are very easy to reach into. Measuring 220 mm deep, it fits a vanity, a dresser top or a wide drawer.
Cutting and assembly tips
Estimated times for the 3 mm file: about 20 min 59 s on a 10 W diode, about 8 min 44 s on a 40 W CO2 and about 4 min 12 s on a 100 W CO2. Thicker 5 and 6 mm sheets need either a CO2 laser or several slow passes on a diode with good air assist. The layout is 1140 mm long; split it so the 340 mm parts (base, front, back, cross divider) are not cut off at the bed edge.
Assemble base, sides and back, then the cross divider, then the two short front dividers, then the front panel. Gluing is optional. Sand the top edge of the cross divider well, since headbands slide over it.
Ways to sell it
Headband storage is a common search, so lead your listing with it. A sage or cream painted version suits the green vanity look in the photo. You can also offer it as a hair accessory gift box, sold with three scrunchies and a headband.
Questions about this file
How many headbands fit in the back bay?
The bay is 340 mm long, so three or four headbands fit end to end, or more if you stand them on edge.
Can I paint it instead of oiling it?
Yes, acrylic or chalk paint works well on birch plywood. Seal the paint with clear lacquer if the box will be near water.
What happens if I scale it by 110%?
The slots grow too, so they no longer match your plywood. After scaling, set every slot back to the actual sheet thickness.
Which thickness is easiest on a diode laser?
3 mm plywood is the easiest; 4 mm works with slower speed. Leave 5 and 6 mm for a CO2 if you can.
Can I engrave a pattern on the front?
You can add an engraving in your laser software. The file only has cut lines, so nothing is engraved by default.
Similar files