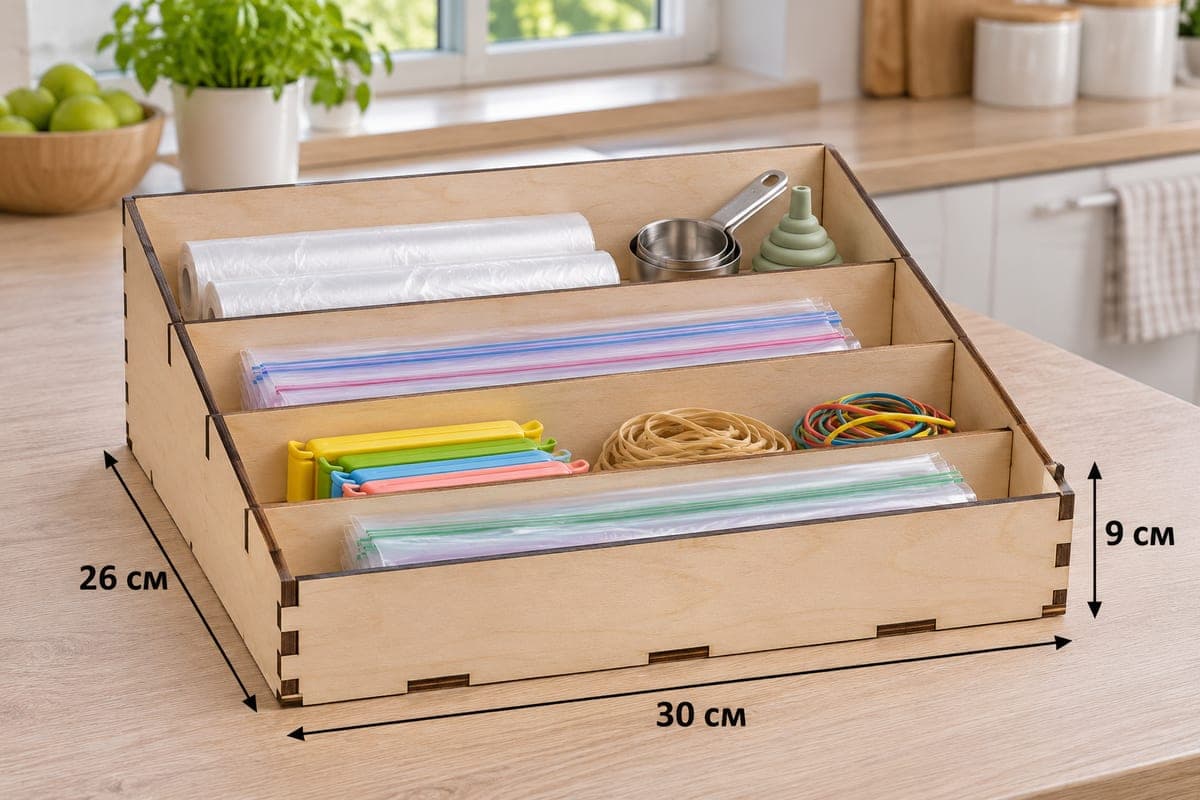
 Visualization
Tiered Wrap Organizer SVG, Stepped Foil and Zip Bag Rack Laser Cut File, Plywood Kitchen Storage Tray DXF
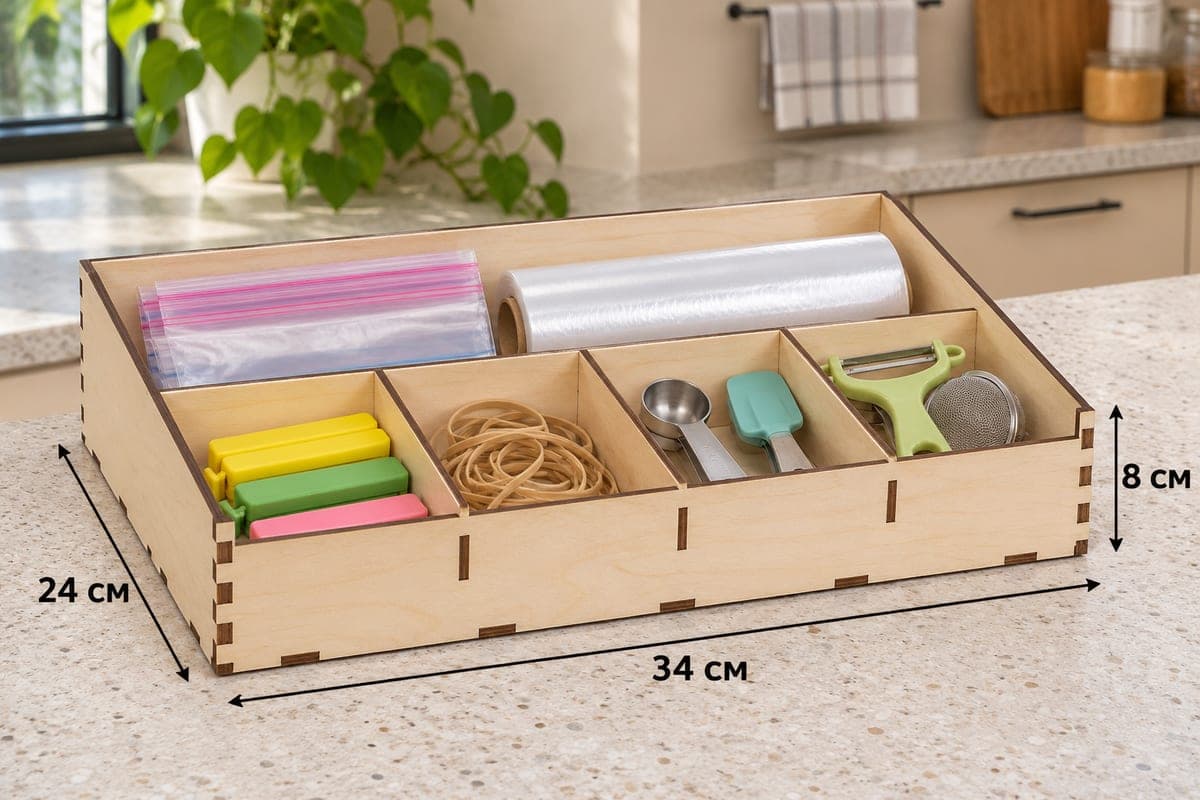
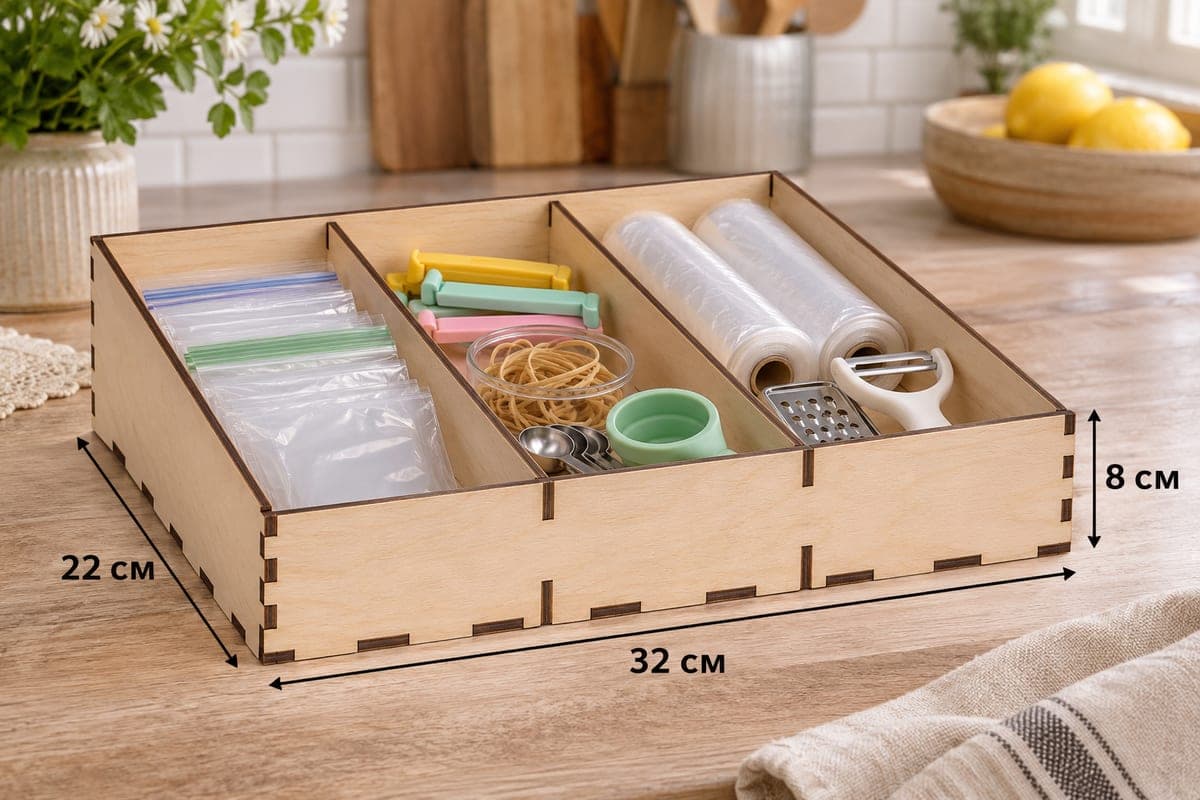
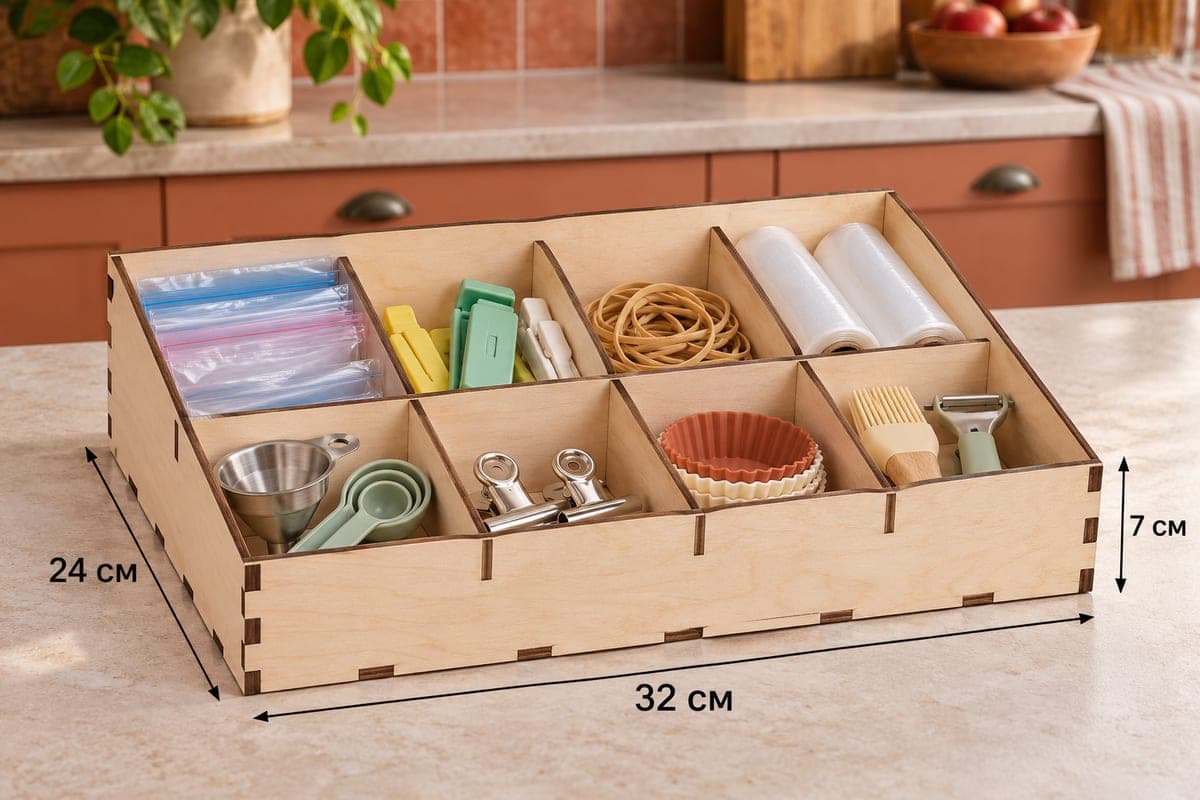
A stepped kitchen organizer with four full-width rows that rise toward the back, made for foil, cling film rolls and flat food bags. It is supplied as SVG and DXF with separate versions for 3, 4, 5 and 6 mm plywood, measures 300 × 260 × 90 mm (11.81 × 10.24 × 3.54 in), and is cut from 8 pieces: the shell plus three cross dividers of increasing height, giving 4 compartments. The front is 45 mm with sloped sides, everything locks with tabs and slots, and the file is a free download.
- Formats
- SVG, DXF
- Outer size (W × D × H)
- 300 × 260 × 90 mm (11.81 × 10.24 × 3.54 in)
- Parts
- 8
- Material thickness
- 3, 4, 5 or 6 mm plywood (a file for each)
- Layout size (3 mm file)
- 1,220 × 362 mm
- Cut length
- 7.22 m
- Est. time, 10 W diode (3 mm)
- 24 min 05 s
- Est. time, 40 W CO2 (3 mm)
- 10 min 02 s
- Layers
- CUT only, no engraving
Free account required to download
How to make it
- 01Choose the file for your plywood thickness and cut a single cross-divider slot on scrap to confirm the fit.
- 02Cut the eight pieces, dividing the 1220 × 362 mm layout between two sheets on a smaller laser.
- 03Assemble base, sloped sides and back, insert the cross dividers from tallest at the back to shortest at the front, and close with the 45 mm front.
- 04Sand the divider edges, seal with lacquer or oil, and load one kind of bag or roll per row.
Four rows like stadium seating
Instead of side-by-side lanes, this box uses three cross dividers that span the full 300 mm width. Their heights step up from about 56 mm to 67 mm to 79 mm, so each row sits a little higher than the one in front and you can see every pack. Long, flat items suit this layout: a row of large zip bags at the front, a row of smaller bags behind it, a row for bag clips and rubber bands, and the tallest back row for two rolls of cling film with nested measuring cups and a funnel at one end.
Cutting and building
The file contains eight parts. At 3 mm the layout is about 1220 × 362 mm, which is larger than most desktop lasers, so cut the base and side panels on one sheet and the walls and cross dividers on a second. Cutting the 3 mm file takes about 24 min 05 s on a 10 W diode, about 10 min 02 s on a 40 W CO2 and about 4 min 49 s on a 100 W CO2. A diode copes with 3 mm in one or two passes, while 5–6 mm plywood is a job for a CO2 or slow multi-pass runs.
Fit the sides into the base, add the back, then insert the cross dividers from the tallest (nearest the back) to the shortest, checking each against the slope. The joints are tight enough to hold dry; glue only if you want it locked.
Finishing and set ideas
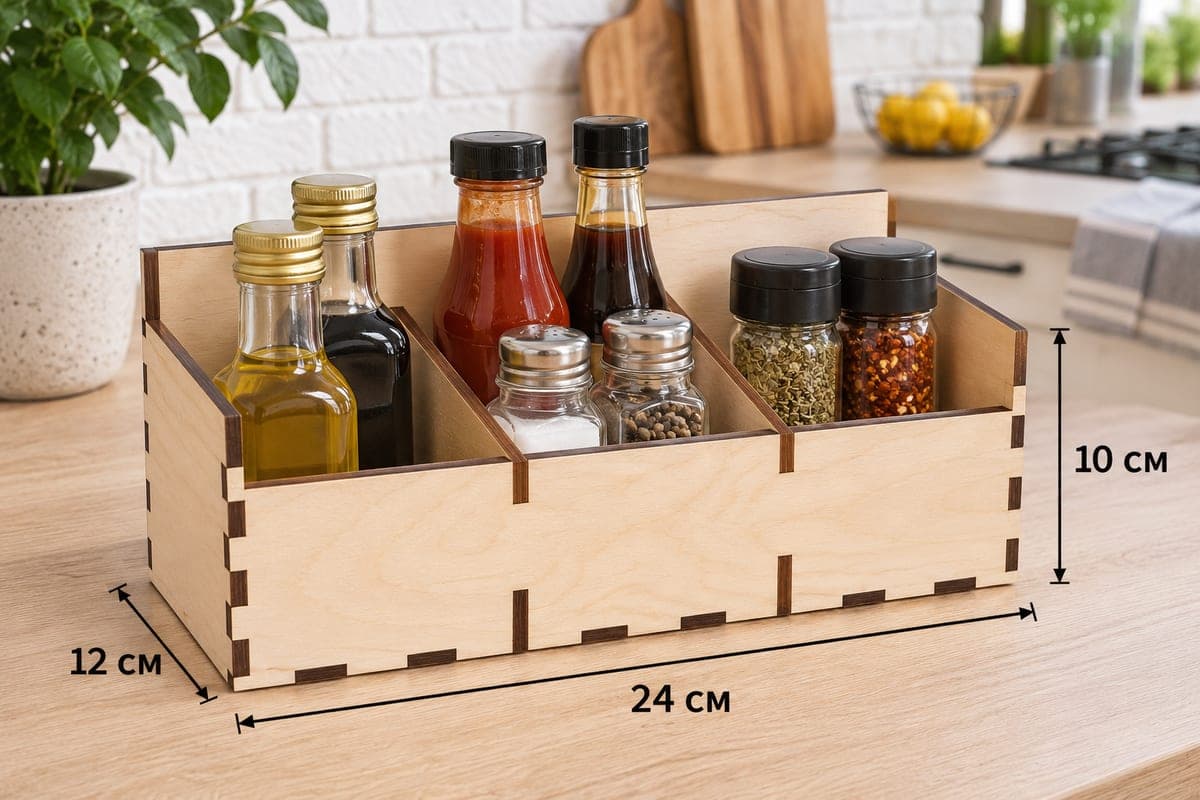
Sand the top edges of each divider, because hands brush them every time a bag is pulled out. A wipe of oil or water-based lacquer protects the wood from wet fingers. Pair this rack with a matching snack bin or spice tray as a kitchen set, or list it as an under-sink wrap station.
Questions about this file
What goes in each of the four rows?
Every row spans the full inside width, so long flat things fit: foil and cling film rolls, loose zip bags, parchment sheets. The front row has the lowest wall and suits bags you grab daily.
Can I scale it up for wider foil rolls?
Widen it in your editor but keep slot and tab sizes equal to your plywood thickness. Resizing the whole drawing by a percentage changes the slots and the joints will no longer fit.
Why are the cross dividers different heights?
They follow the slope of the side panels, rising from front to back, so each row stays visible above the one in front.
Does it need sealing for under the sink?
Yes, plywood near a sink should be sealed with two coats of water-based polyurethane or a hardwax oil. Keep it out of standing water.
Can I add a word like wraps on the front?
Nothing is engraved in the file, but the 300 mm front has room for a short word or name; add it as an engraving layer before you cut.
Similar files