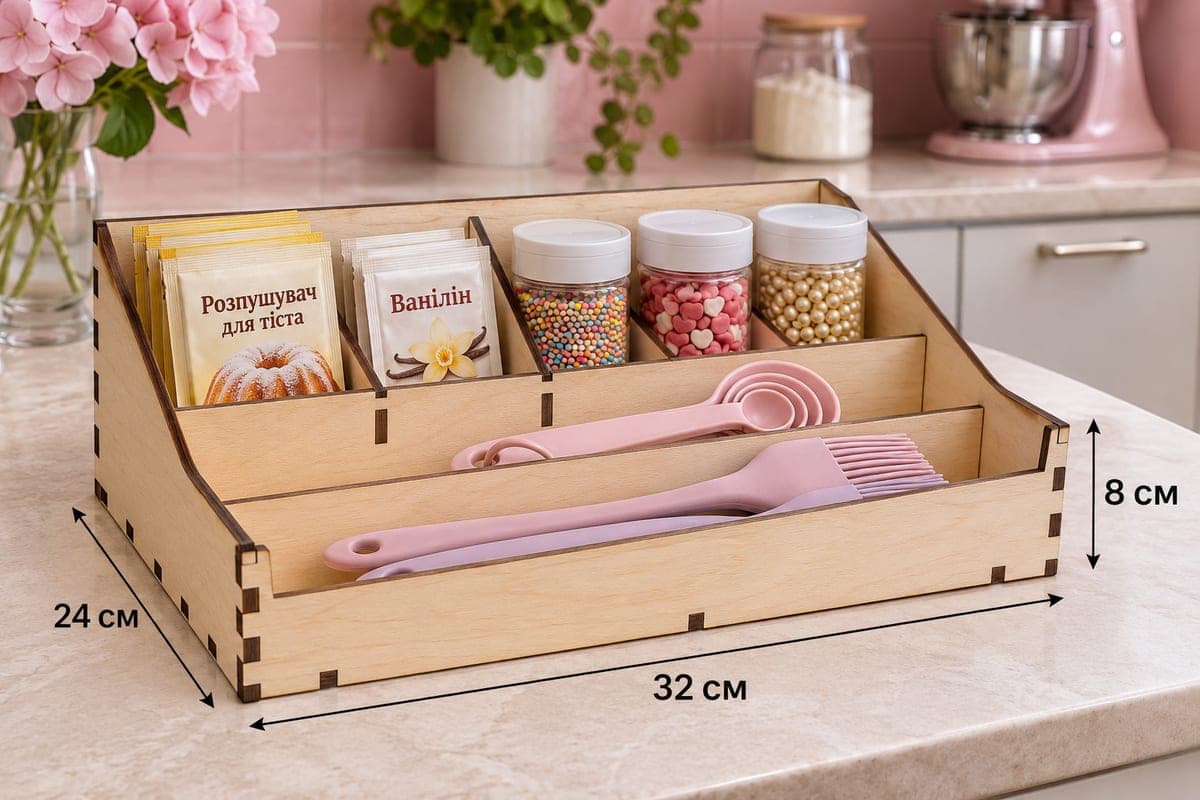
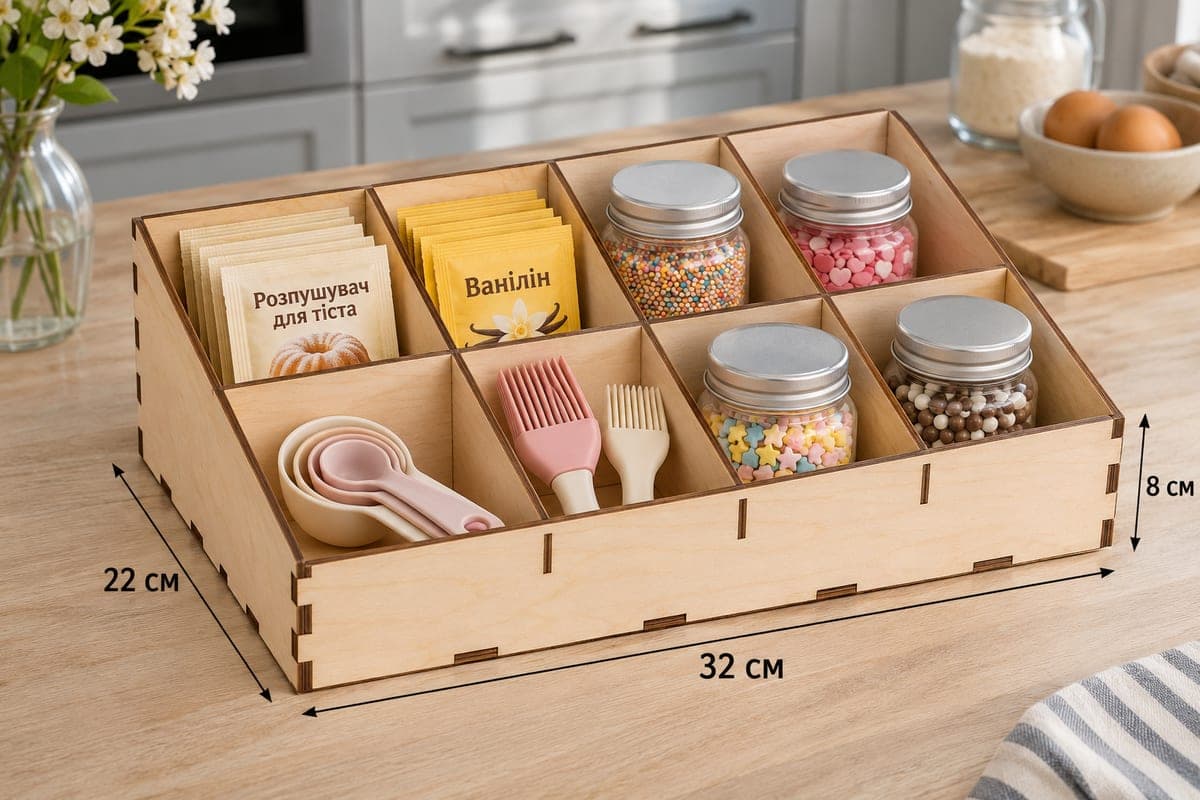
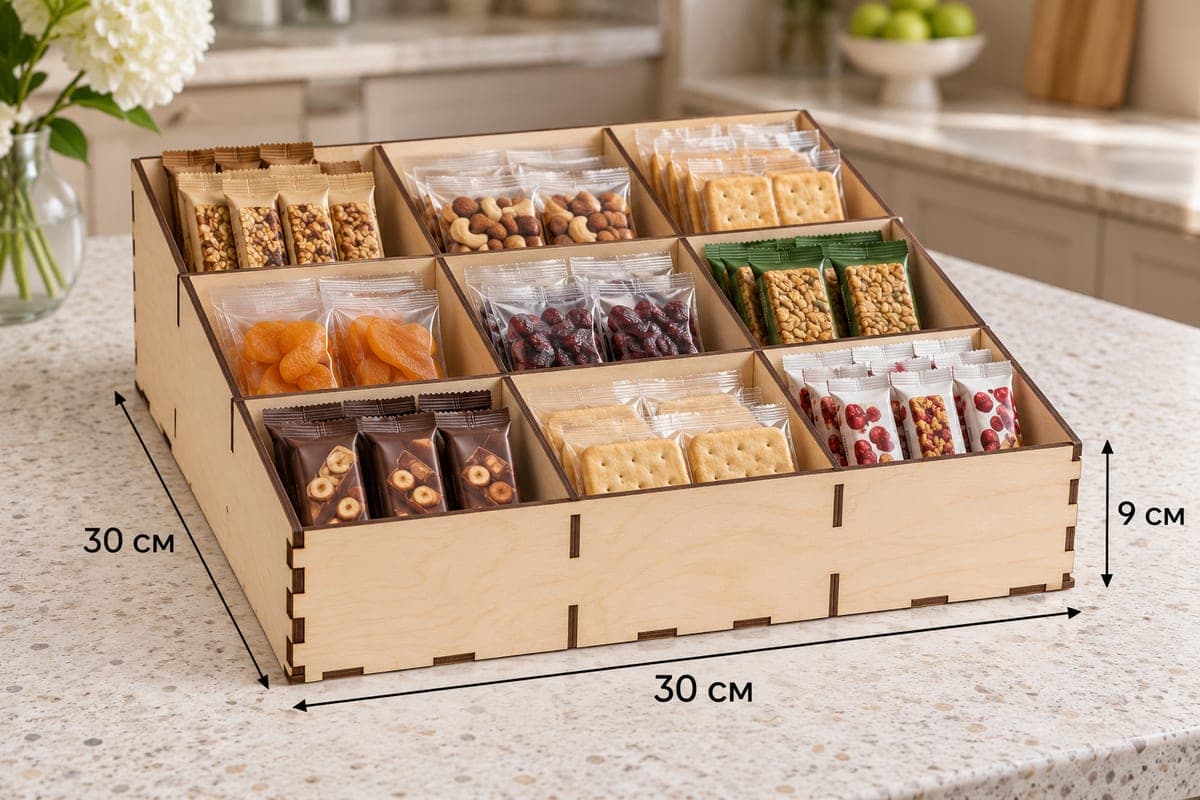
 Visualization
Baking Supply Box SVG, Three Section Sachet and Pastry Tool Holder Laser Cut File, Simple Baking Bin DXF
A simple three-section baking supply box with wide full-depth sections for baking powder and vanilla sachets, sprinkle jars, pastry brushes and measuring spoons. The download includes SVG and DXF files for 3, 4, 5 and 6 mm plywood; the box is 280 × 180 × 100 mm (11.02 × 7.09 × 3.94 in), has only 7 pieces, slopes down to a 55 mm front and assembles with tabs and slots. The files are free to download.
- Formats
- SVG, DXF
- Outer size (W × D × H)
- 280 × 180 × 100 mm (11.02 × 7.09 × 3.94 in)
- Parts
- 7
- Material thickness
- 3, 4, 5 or 6 mm plywood (a file for each)
- Layout size (3 mm file)
- 940 × 292 mm
- Cut length
- 4.99 m
- Est. time, 10 W diode (3 mm)
- 16 min 38 s
- Est. time, 40 W CO2 (3 mm)
- 6 min 56 s
- Layers
- CUT only, no engraving
Free account required to download
How to make it
- 01Choose the SVG or DXF for your plywood thickness and test a single tab in one slot on an offcut.
- 02Cut the seven parts: the 280 × 55 mm front, the 280 × 100 mm back, two sides, the base and two dividers.
- 03Press the back and sides into the base, add the low front, then slide both full-depth dividers into place.
- 04Sand the edges, apply lacquer or oil, and sort sachets, jars and tools into the three sections.
The simplest box in the baking set
With just seven parts and two dividers, this is the quickest baking organizer to cut and build. There are no cross dividers: each of the three sections runs the whole 180 mm depth, so you can mix tall and flat items in the same section and rearrange them whenever you like.
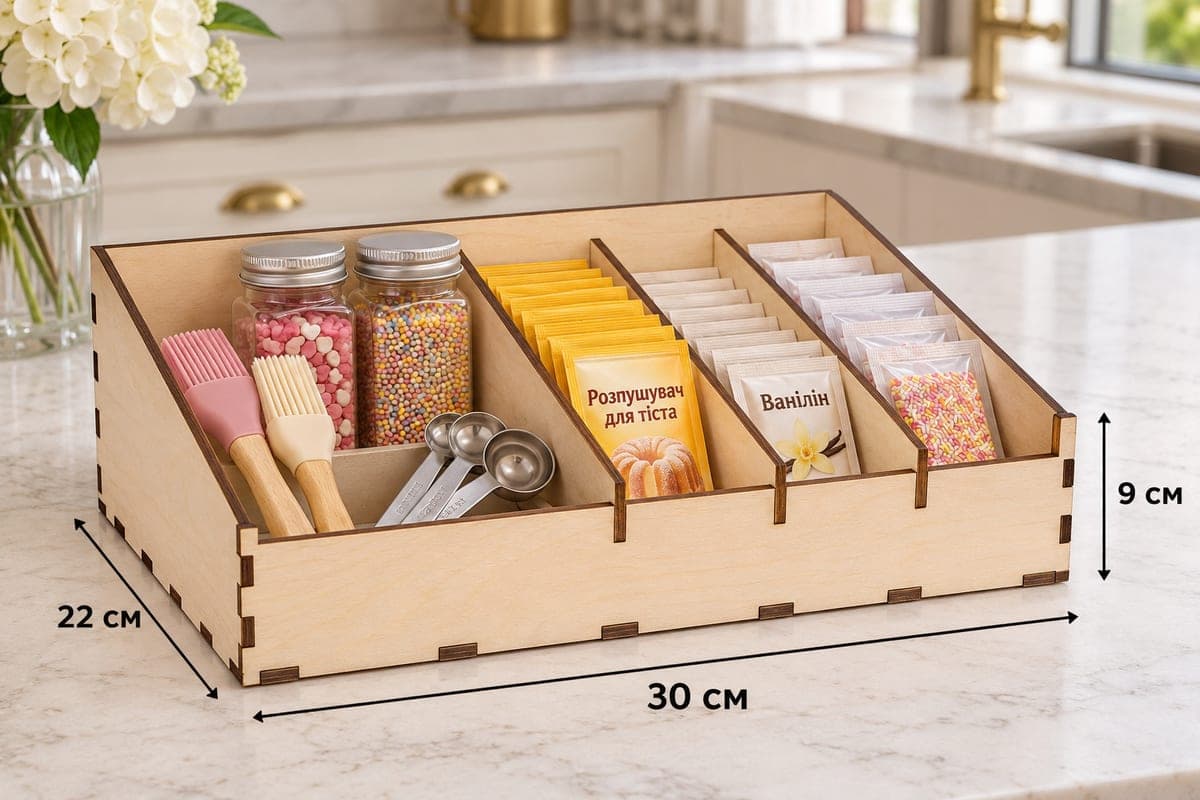
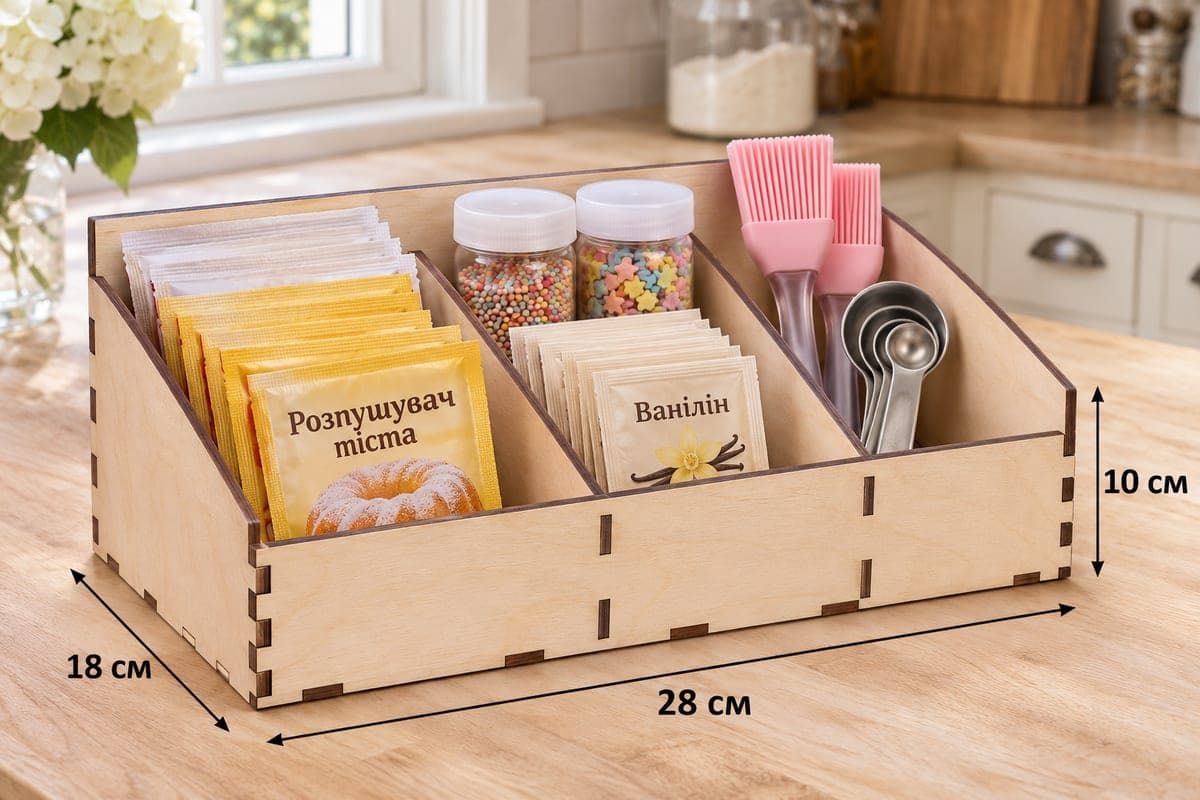
The photo shows how roomy the sections are:
- Left: two rows of sachets, baking powder at the front and a stack of plain white sachets behind.
- Middle: two jars of sprinkles at the back with vanilla sugar sachets standing in front of them.
- Right: two silicone pastry brushes and a set of steel measuring spoons, standing upright.
The back wall is 100 mm and the front 55 mm, so jars stay steady while the sachets at the front remain easy to read.
Cutting and building
The 3 mm layout is 940 × 292 mm, one of the shortest in this category, and a 10 W diode finishes the 3 mm file in about 16 min 38 s. A 40 W CO2 takes about 6 min 56 s and a 100 W CO2 about 3 min 20 s. Plywood of 5 or 6 mm on a diode needs several passes; a CO2 laser handles it in one.
Assembly takes a couple of minutes: base, back, sides, front, then the two dividers. The joints hold without glue, and a little wood glue on the base tabs makes the box permanent.
Good first project
Because it is quick and forgiving, this box is a good first organizer for someone new to their laser. Sand the edges, finish with clear lacquer, and it is ready for the cupboard. For gifts, fill it with a few jars of sprinkles and a pastry brush; for a craft stall, make a stack of them in one evening.
Questions about this file
What fits in each section?
Each section is close to 90 mm wide and runs the full depth, enough for two rows of sachets, two sprinkle jars plus sachets, or a set of brushes and spoons.
Can I add cross dividers later?
Not without editing the file; the sides have no slots for them. If you want small cells, pick one of the six-slot baking boxes instead.
Which thickness is easiest for a beginner?
Start with 3 mm: it cuts in one or two passes on a 10 W diode and the light baking items need no thicker walls.
Can I cut it from MDF?
Yes, use the file for your MDF thickness and seal it so steam from the oven area does not swell it.
Can I engrave a word like Baking on the front?
Yes, the 280 mm front has room for a word or a small whisk icon; add it as an engrave layer in your laser software.
Similar files