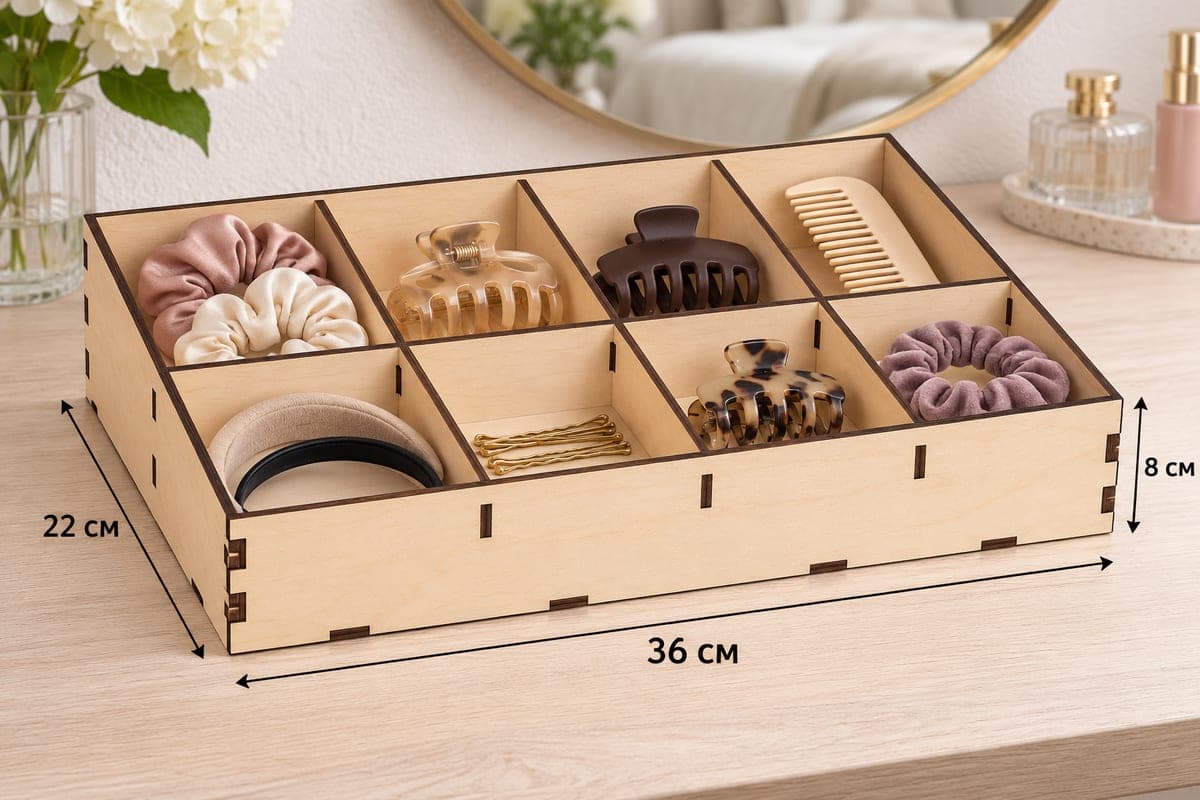
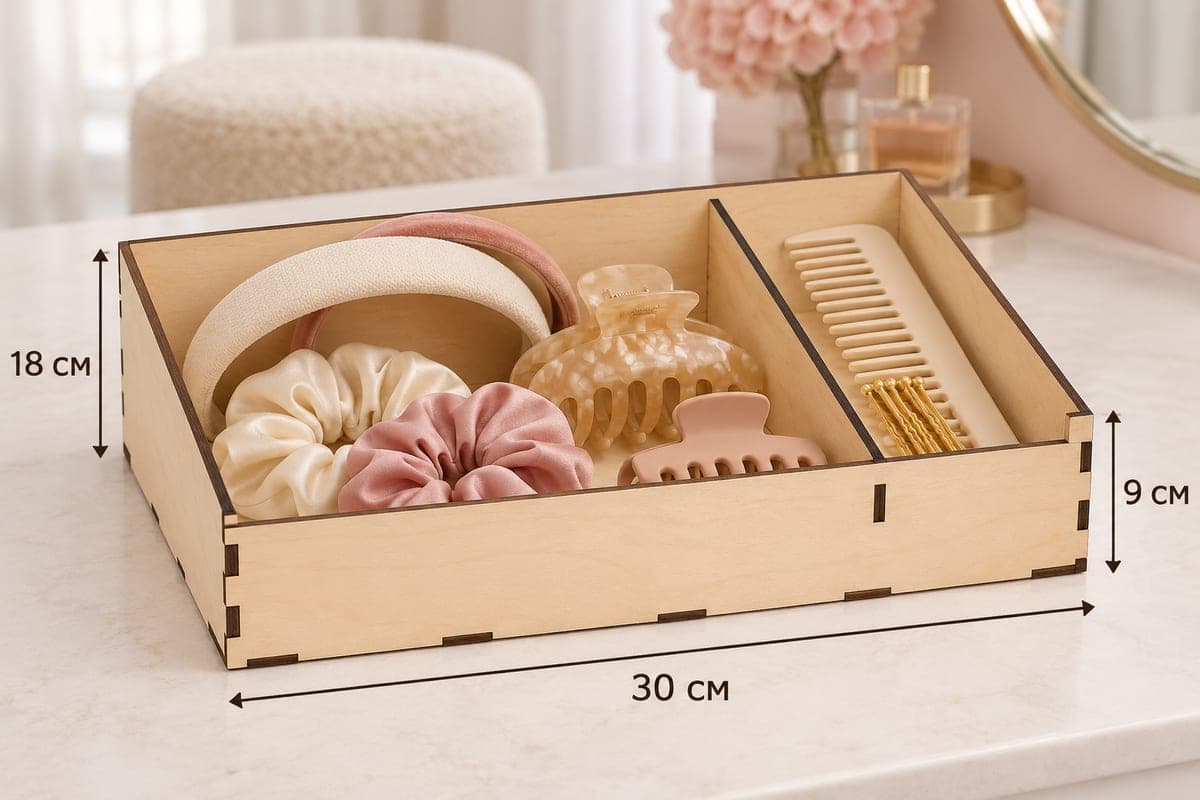
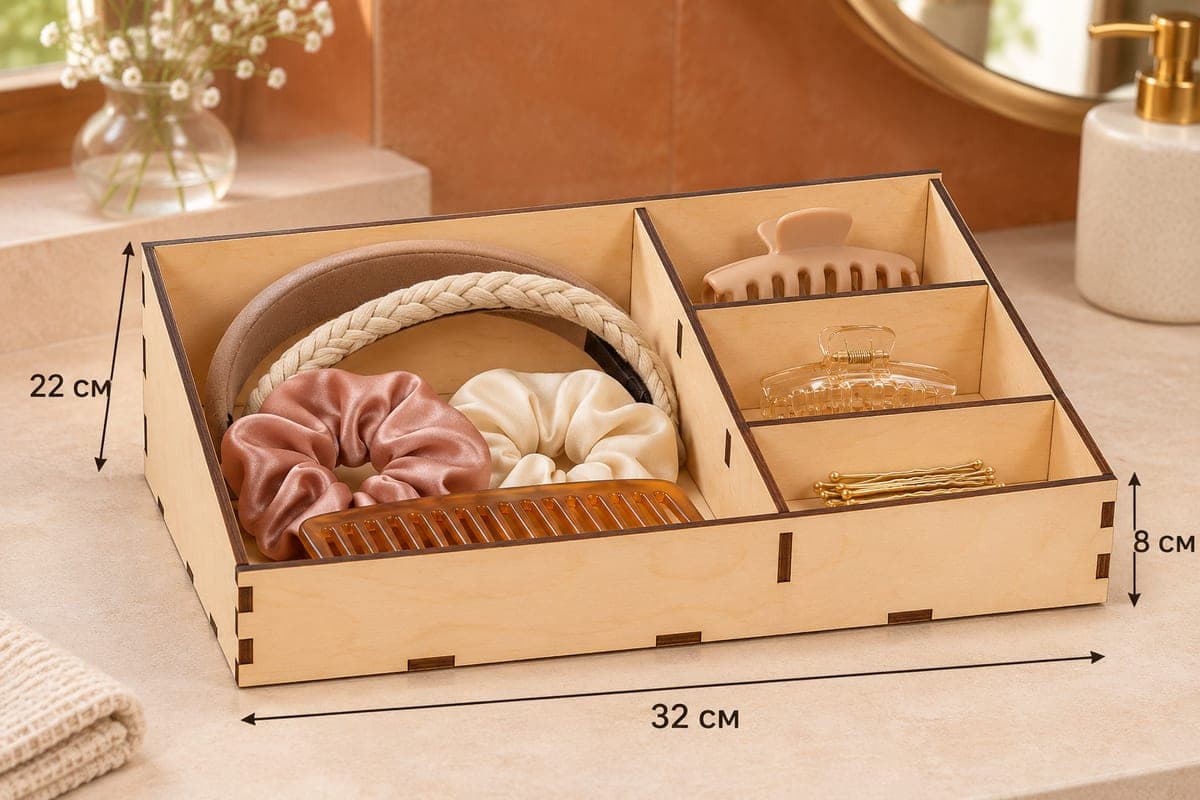
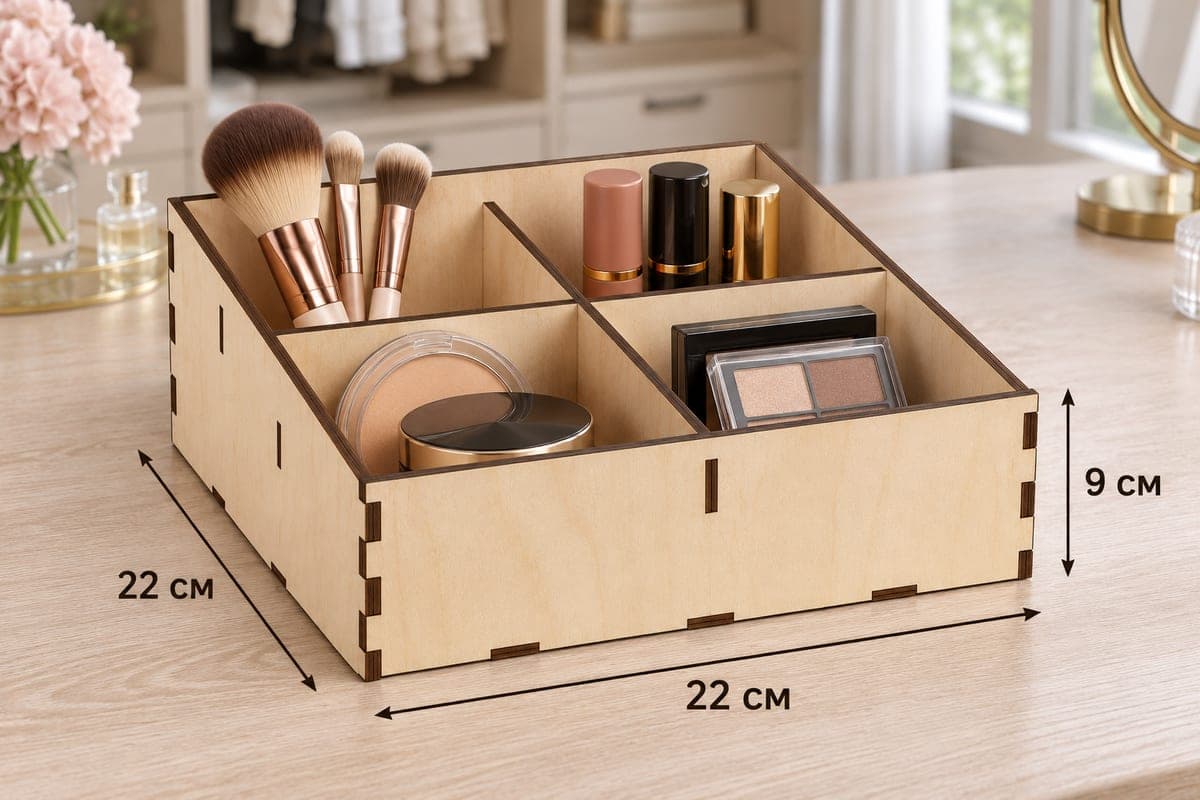
 Visualization
Tiered Hair Accessory Tray SVG, Three Row Headband and Claw Clip Organizer, Laser Cut Wood Tray DXF
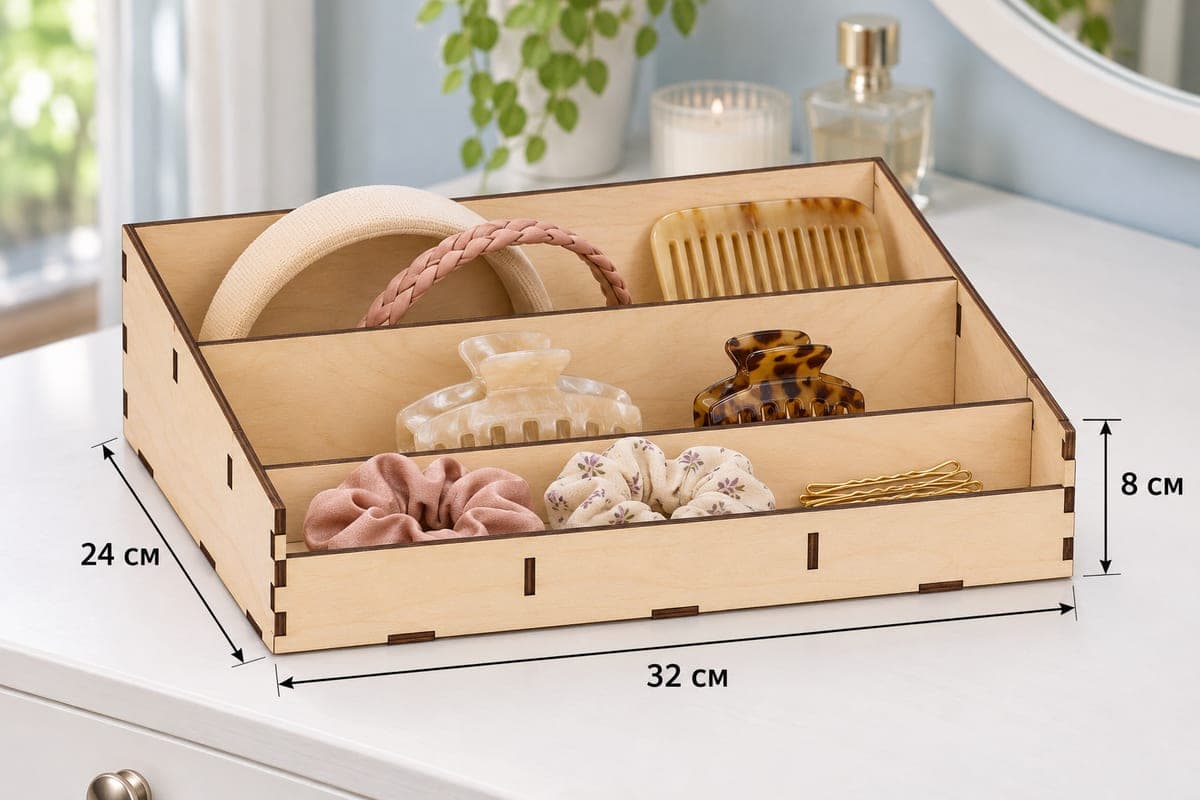
A tiered plywood tray for hair accessories, 320 × 240 × 80 mm (12.60 × 9.45 × 3.15 in), with three rows running the full width that step down from a 80 mm back to a 60 mm front. Download SVG and DXF files for 3, 4, 5 and 6 mm plywood; it has 7 parts that join with tabs and slots. The download is free.
- Formats
- SVG, DXF
- Outer size (W × D × H)
- 320 × 240 × 80 mm (12.60 × 9.45 × 3.15 in)
- Parts
- 7
- Material thickness
- 3, 4, 5 or 6 mm plywood (a file for each)
- Layout size (3 mm file)
- 1,140 × 332 mm
- Cut length
- 6.29 m
- Est. time, 10 W diode (3 mm)
- 20 min 59 s
- Est. time, 40 W CO2 (3 mm)
- 8 min 44 s
- Layers
- CUT only, no engraving
Free account required to download
How to make it
- 01Choose the file for your plywood thickness and do a test cut of one cross-divider slot on scrap.
- 02Cut the 7 parts; the two cross dividers are 320 mm long, so give them a clear strip on the bed.
- 03Fit sides and back to the base, add the taller cross divider first, then the lower one, then the front wall.
- 04Sand, finish with oil or lacquer, and load headbands at the back, claw clips in the middle and scrunchies in front.
Three rows like stadium seats
There are no short dividers in this box, only two cross dividers that run side to side. Each is a little lower than the one behind it, so the three rows rise toward the back. That makes everything visible at once: the back row holds tall headbands and a comb, the middle row shows off claw clips, and the front row keeps scrunchies and a bundle of bobby pins within reach. Long rows suit long things, so headbands lie end to end instead of being squeezed into small squares.
240 mm of depth gives each row about a third of that, plenty for a padded headband standing upright.
Thickness, speed and building
Only 7 parts, yet the layout is still 1140 mm long because both cross dividers span the full width. The 3 mm file runs about 20 min 59 s on a 10 W diode, about 8 min 44 s on a 40 W CO2 and about 4 min 12 s on a 100 W CO2. Diode owners: 3 or 4 mm is the comfortable range; 6 mm will need slow multiple passes. If the cross dividers are too long for your bed, put each on its own pass across the full bed width.
Sides into base, back on. Next the taller cross divider (closest to the back), then the lower one, then the front wall. The dividers lock between the two sloped sides, which keeps the box square. Glue is optional.
Pair it with other trays
Add a matching tray from the same plywood for makeup or jewellery and sell them as a dresser set. A three-row tray also works for a hair salon front desk, one row per product type.
Questions about this file
Why are there no short dividers?
The box uses three full-width rows instead of pockets, which suits long items like headbands and keeps everything visible from the front.
Can I add pockets to the rows later?
Yes, by adding slots to the cross dividers and cutting short dividers to match. Keep every new slot as wide as your plywood is thick.
Which thickness should I use for a tiered tray?
3 or 4 mm birch works well. 5 or 6 mm makes the tiers look bolder but needs a CO2 laser for clean cuts.
Can I make it from clear acrylic?
Yes, cut the version for your acrylic thickness. Clear tiers make a nice display on a shop counter.
Can I stain the tiers in different colours?
Yes, stain the two cross dividers before assembly for a two-tone look. Let the stain dry fully so the slots do not swell.
Similar files