 Visualization
Eight Compartment Hair Organizer SVG, Claw Clip and Scrunchie Storage Box, Laser Cut Grid Tray DXF
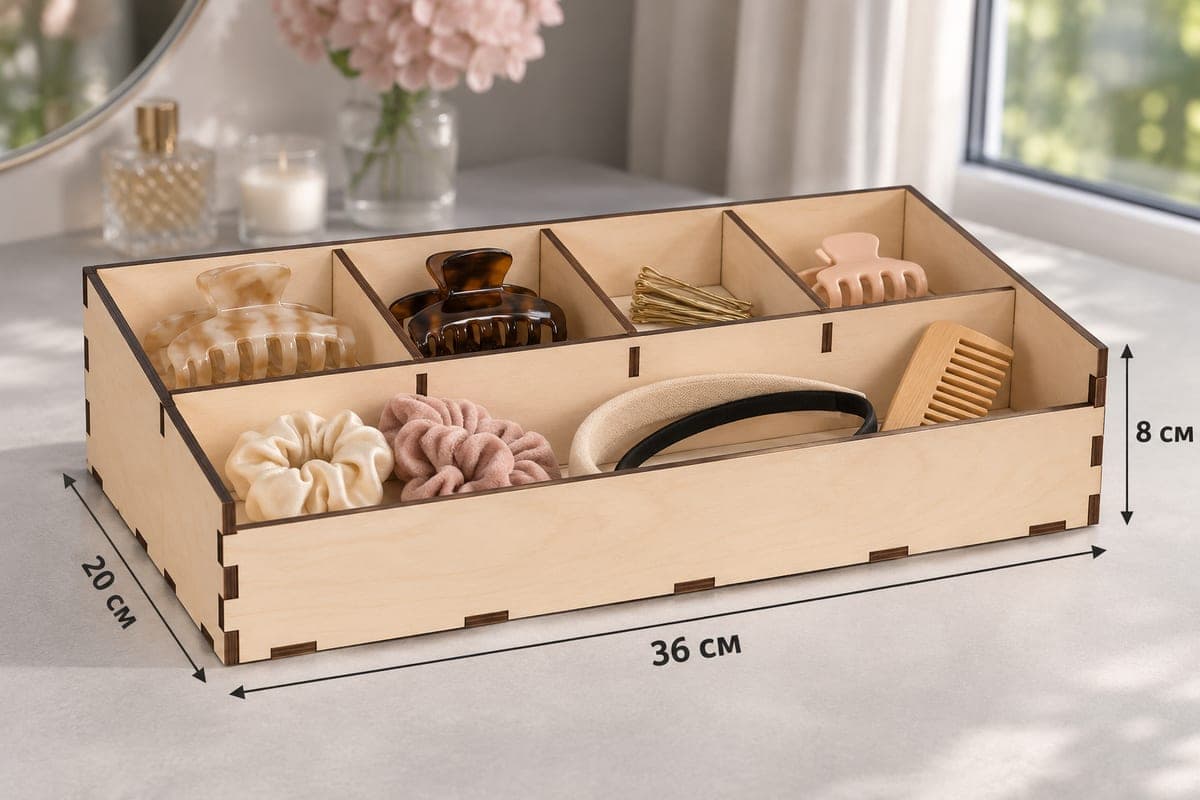
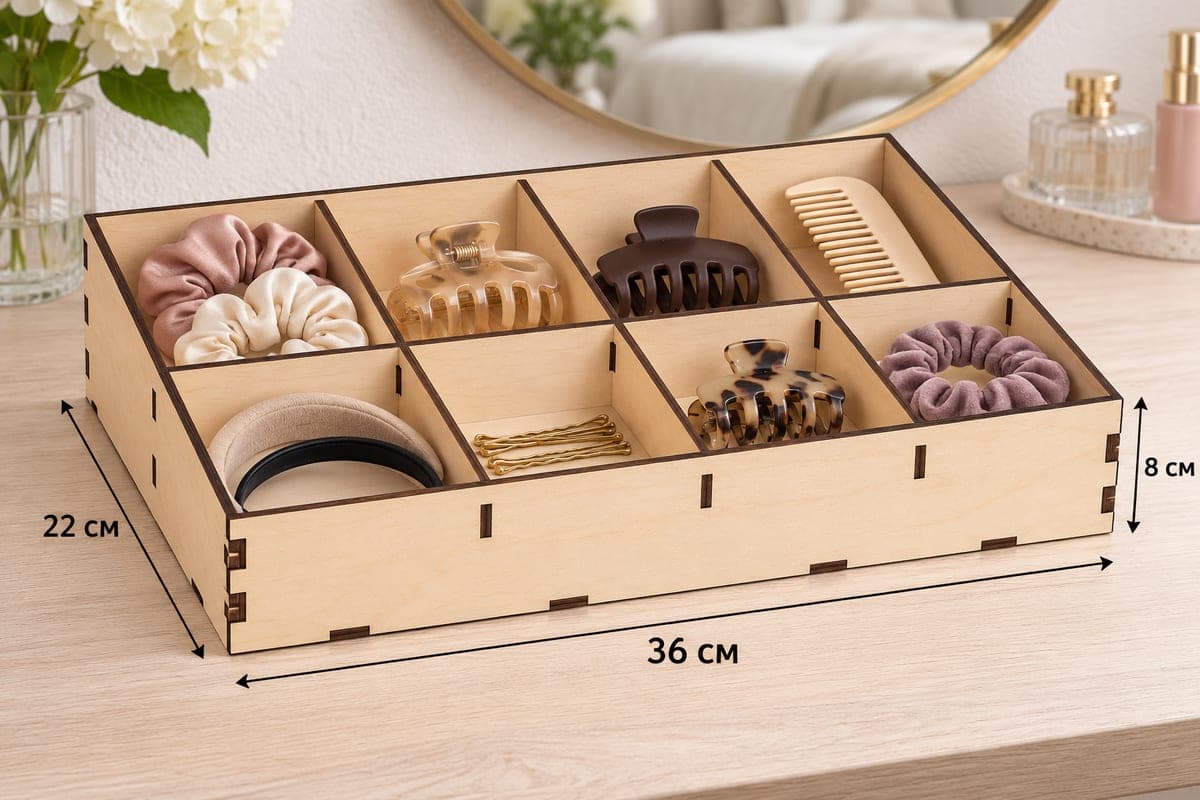
An eight-compartment plywood organizer for hair accessories, 360 × 220 × 80 mm (14.17 × 8.66 × 3.15 in), laid out as two rows of four with sides that slope down to a 64 mm front. The free files are SVG and DXF for 3, 4, 5 and 6 mm plywood; 12 parts join with tabs and slots.
- Formats
- SVG, DXF
- Outer size (W × D × H)
- 360 × 220 × 80 mm (14.17 × 8.66 × 3.15 in)
- Parts
- 12
- Material thickness
- 3, 4, 5 or 6 mm plywood (a file for each)
- Layout size (3 mm file)
- 1,416 × 312 mm
- Cut length
- 8.32 m
- Est. time, 10 W diode (3 mm)
- 27 min 44 s
- Est. time, 40 W CO2 (3 mm)
- 11 min 33 s
- Layers
- CUT only, no engraving
Free account required to download
How to make it
- 01Get the file for your plywood thickness and cut one short divider plus its slot on scrap to check the fit before using a full sheet.
- 02Cut the 12 parts, splitting the 1416 mm layout across two or three sheets as needed.
- 03Assemble base, sides and back, insert the cross divider, then the three back dividers and the three front dividers, then the front wall.
- 04Sand all eight pocket rims, finish with lacquer and sort clips, scrunchies, pins and headbands into the pockets.
Eight small compartments
If your collection is mostly small things, eight pockets beat a few large bins. A cross divider and six short dividers give two rows of four, each pocket roughly 90 mm wide. In the photo the back row holds pink and cream scrunchies, an amber claw clip, a dark brown claw clip and a comb; the front row holds two headbands, gold bobby pins, a tortoiseshell clip and a velvet scrunchie. Group by colour or by type, whichever helps you find things in the morning.
Material, laser time and assembly
With 12 pieces it has one of the higher part counts in the range. The 3 mm file takes about 27 min 44 s on a 10 W diode, about 11 min 33 s on a 40 W CO2 and about 5 min 33 s on a 100 W CO2. The full layout is 1416 mm long, longer than most hobby beds, so plan two or three sheets: base on one, walls on another, the small dividers wherever they fit. For 5 or 6 mm plywood, a CO2 laser keeps the dividers square and the kerf even.
Build the outer box: sides into the base, then the back. Lay the cross divider in, then the three full-height back dividers, then the three shorter front ones. The front wall goes on last and locks the front dividers in. If one divider is loose, a dot of wood glue fixes it.
Finishing and selling
Sand every pocket rim, since eight pockets means a lot of edges that touch fabric. Clear lacquer or a white wash both suit a bedroom vanity. Sell it as a "clip collection" tray, or fill it with eight different accessories as a gift for a teenager.
Questions about this file
What size are the eight pockets?
Each is about a quarter of the 360 mm width and half the 220 mm depth, a good size for one claw clip or two scrunchies.
Do I really need 12 parts for this?
Yes: five walls and base, one cross divider and six short dividers. All of them are cut from the same sheet thickness.
Can I make the pockets bigger by scaling up?
You can scale the drawing, then adjust each slot back to your plywood thickness. Otherwise the tabs will be too loose or too tight.
Will it survive a humid bathroom?
With two coats of water-based polyurethane it will. Raw plywood can swell at the edges if it gets wet often.
Is this good for a shop counter display?
Yes, eight pockets let you show eight different clips or ties side by side.
Similar files