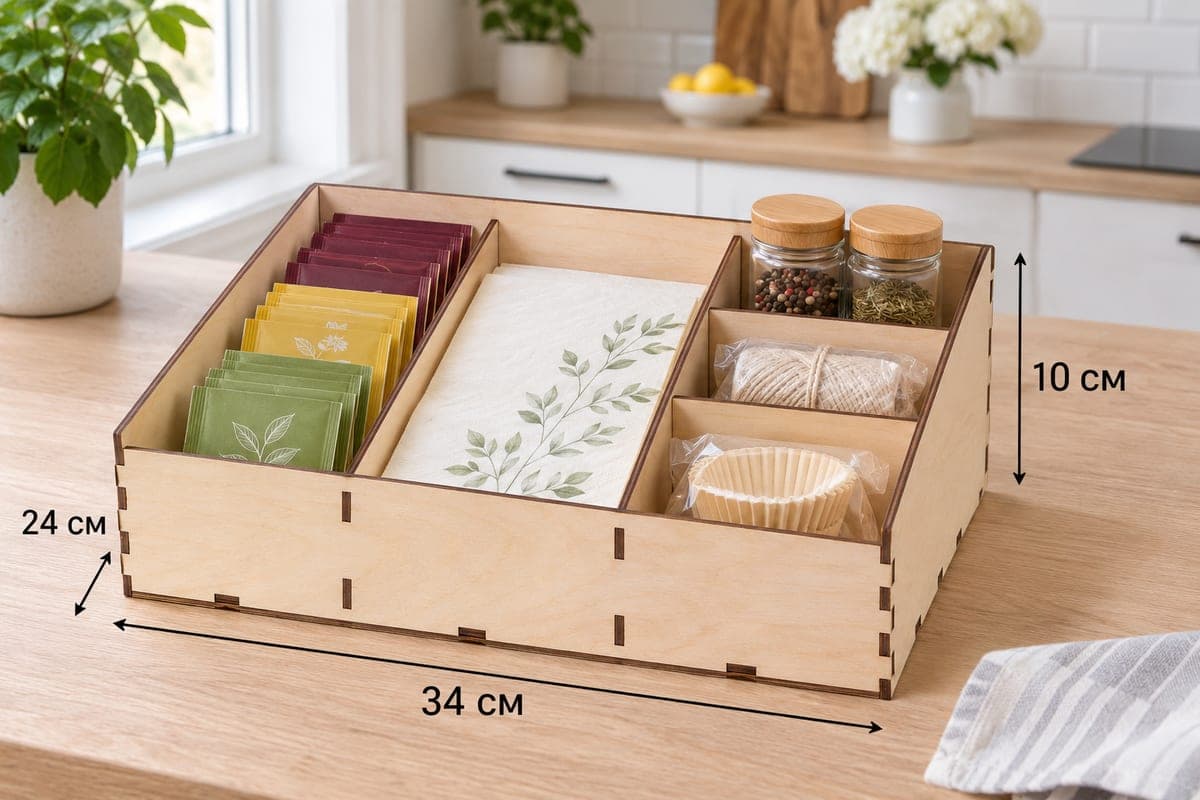
 Visualization
Pantry Organizer Box SVG, Straight Wall Kitchen Bin DXF, Cabinet Storage Box Laser Cut File, Wooden Pantry Tray
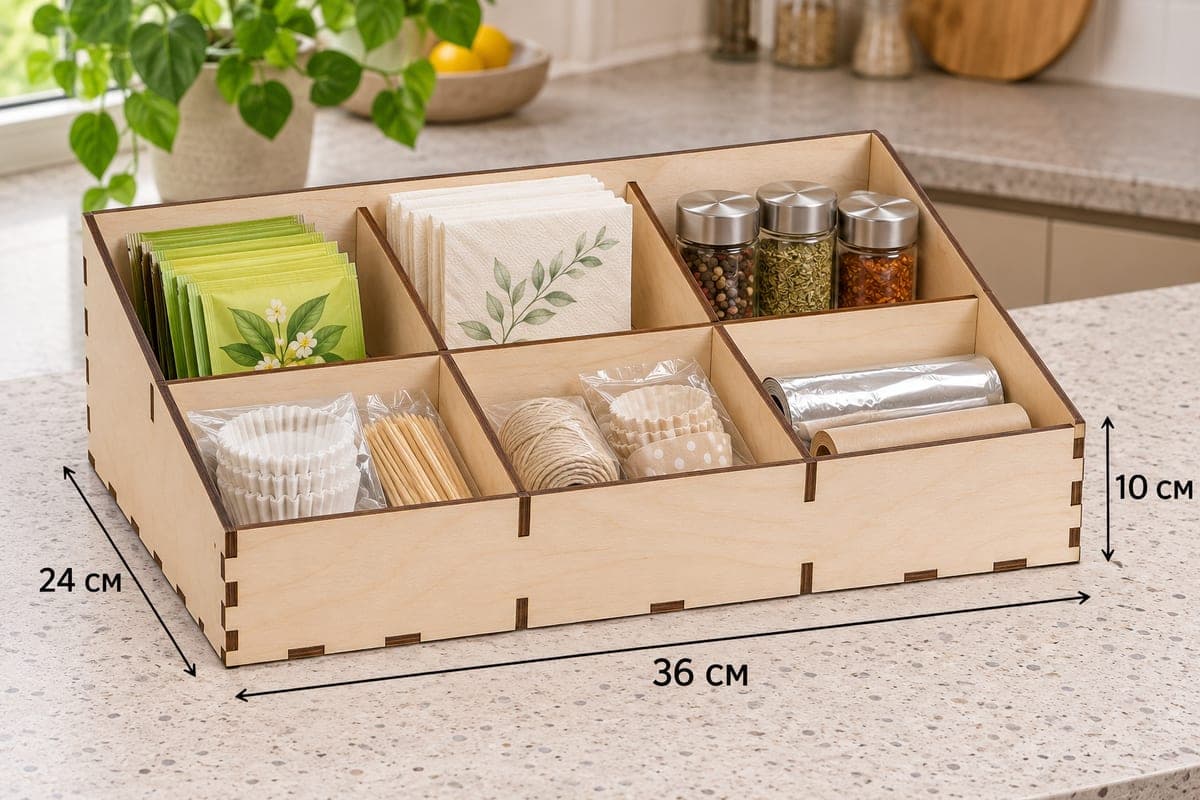
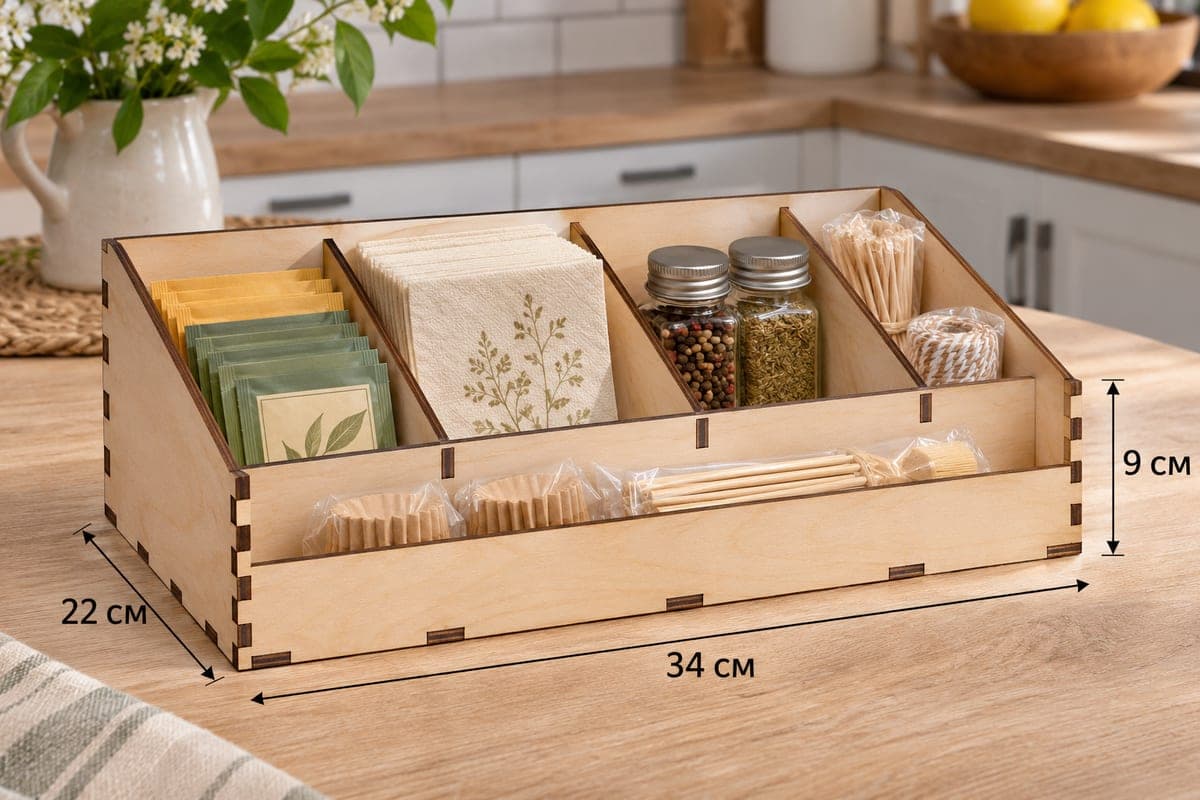
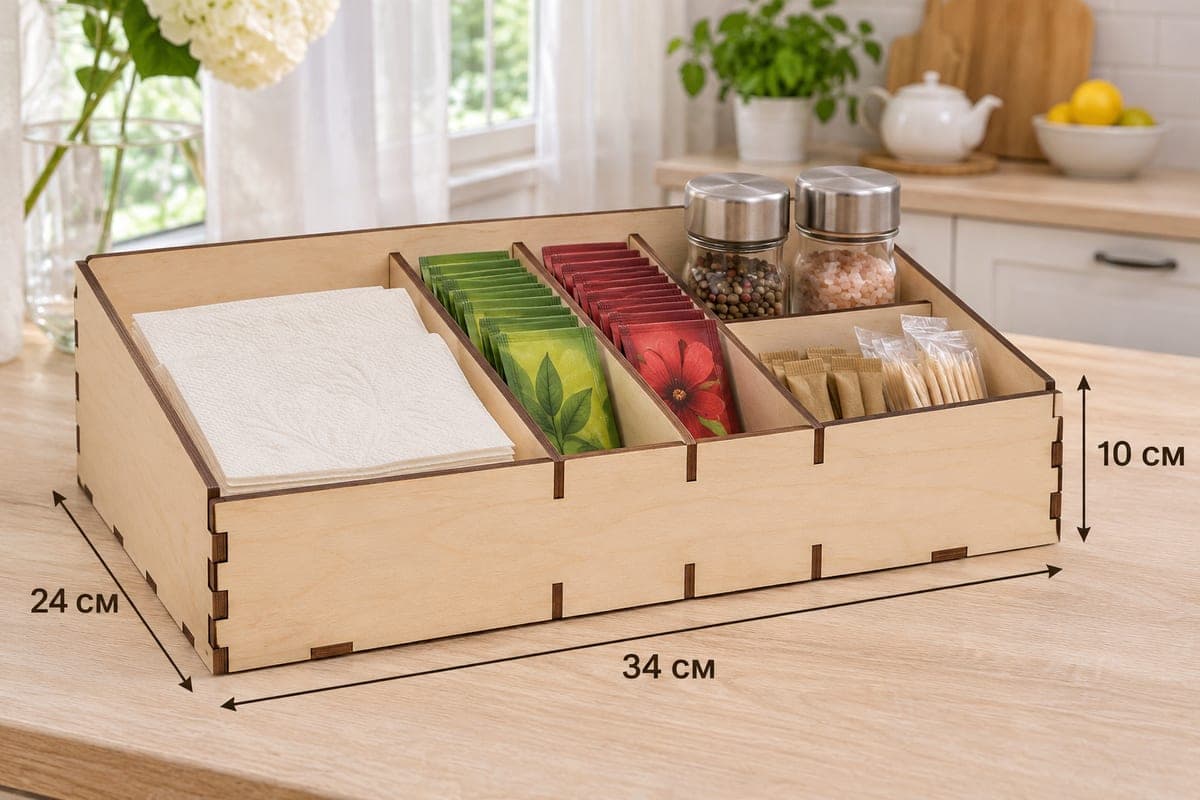
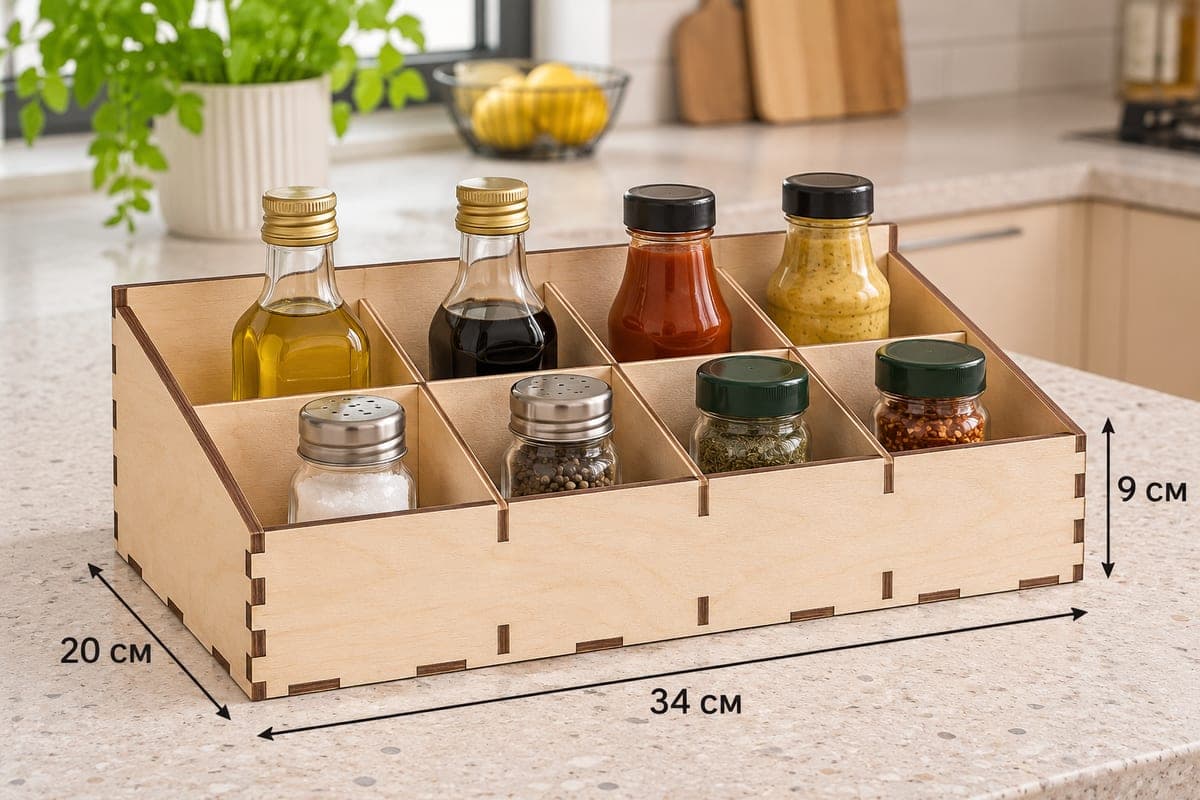
A laser cut file for a straight-walled pantry organizer with five bays: a column for tea bags, a wide middle bay for napkins, and a side column split into three for small jars, twine and baking cups. It comes as SVG and DXF for 3, 4, 5 and 6 mm plywood, measures 340 × 240 × 100 mm (13.39 × 9.45 × 3.94 in), with all four walls 100 mm high, and assembles from 9 pieces with tabs and slots. The straight-wall organizer is free to download.
- Formats
- SVG, DXF
- Outer size (W × D × H)
- 340 × 240 × 100 mm (13.39 × 9.45 × 3.94 in)
- Parts
- 9
- Material thickness
- 3, 4, 5 or 6 mm plywood (a file for each)
- Layout size (3 mm file)
- 1,180 × 352 mm
- Cut length
- 7.65 m
- Est. time, 10 W diode (3 mm)
- 25 min 29 s
- Est. time, 40 W CO2 (3 mm)
- 10 min 37 s
- Layers
- CUT only, no engraving
Free account required to download
How to make it
- 01Choose the file for your plywood thickness and cut one slot on a scrap piece to check the fit.
- 02Cut the nine pieces: four straight walls (front, back and two sides), base, two long dividers and two identical cross dividers.
- 03Build the four walls around the base, add both long dividers, then fit the two cross dividers into the right column.
- 04Sand, wipe on lacquer or oil, then fill the left column with tea, the middle with napkins and the small bays with jars and baking supplies.
A box with no slope
Unlike most organizers in this set, all four walls are the same 100 mm height, so the front does not drop. That makes it a good fit inside a cabinet or on a pantry shelf, where the straight sides sit neatly against other boxes and against the shelf edge. Two long dividers create three columns. The left one in the photo keeps tea bags standing in three color groups; the wide middle bay holds a stack of printed napkins; and the right column is split by two full-height cross dividers into three small bays, holding two spice jars, a roll of twine and a pack of cupcake liners.
Cutting it
For the 3 mm file it takes about 25 min 29 s on a 10 W diode, about 10 min 37 s on a 40 W CO2 and about 5 min 06 s on a 100 W CO2. Diodes cut 3 mm in one or two passes, while 5 and 6 mm need a CO2 or several passes. The 3 mm layout is 1180 × 352 mm; on a smaller machine, rearrange the parts over two or three sheets. The two cross dividers are identical, which makes sorting easy.
Finishing
Sand the edges, then seal with clear lacquer or a hard wax oil. In a cupboard it does not need waterproofing, but a coat makes it easier to wipe. Tabs and slots hold it together; add wood glue for a permanent build.
Make it a set: cut two and place them side by side on a pantry shelf, or pair it with a sloped organizer on the counter. It also sells well as a cabinet organizer for tea, baking supplies or snacks.
Questions about this file
Why would I choose straight walls over a sloped front?
Straight walls let the box sit flush inside a cabinet or next to another box, and they hold tall items upright on all sides. A sloped front is better when you want to see into the box from the front.
Can I use it inside a drawer?
Only if the drawer is deeper than 100 mm, the height of the walls. Measure the drawer before cutting.
Which plywood thickness should I choose?
Three millimeter is fine for a cabinet box. Four or five millimeter gives sturdier walls if you will lift it in and out often.
Can I engrave labels on the small bays?
There is no engraving in the file, but you can add labels to the front panel or the cross dividers in your laser software.
Should I glue the straight walls?
Glue is optional. If you lift the box in and out of a cabinet often, a little wood glue at the corners keeps the straight walls square.
Similar files