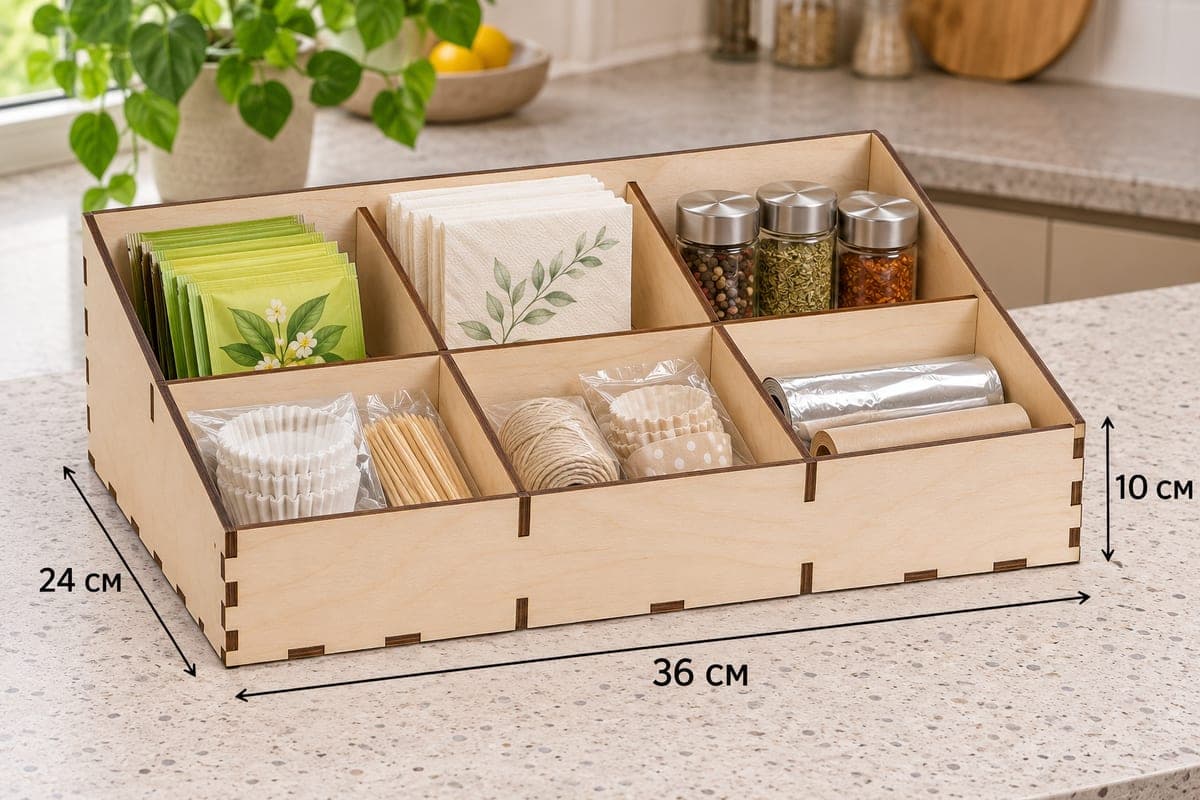
 Visualization
Kitchen Storage Box SVG, Six Compartment Pantry Organizer DXF, Laser Cut Countertop Organizer, Wooden Tea Box
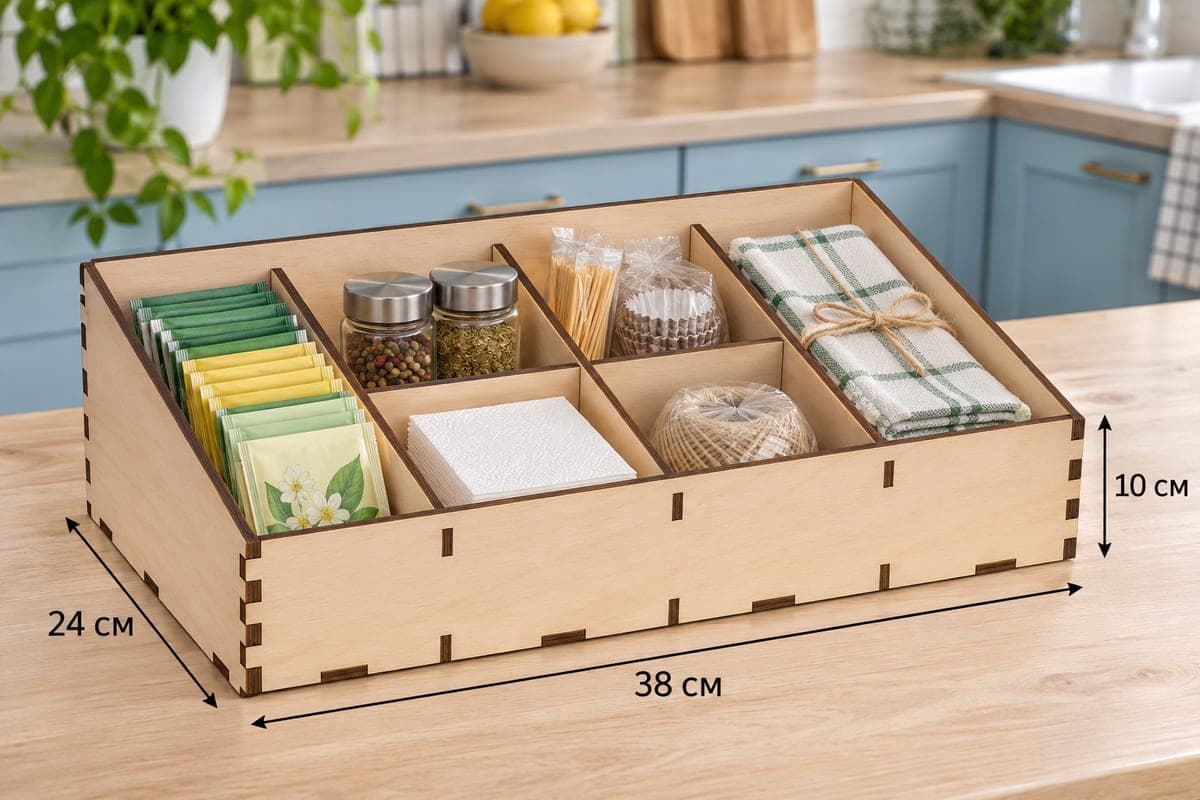
This laser cut file makes a six-section kitchen storage box with a sloped front and two rows of three compartments, for tea bags, napkins, spice jars, baking cups, twine and a roll of foil. It includes SVG and DXF for 3, 4, 5 and 6 mm plywood, an outer size of 360 × 240 × 100 mm (14.17 × 9.45 × 3.94 in) and 10 pieces that fit together with tabs and slots. The storage box download is free.
- Formats
- SVG, DXF
- Outer size (W × D × H)
- 360 × 240 × 100 mm (14.17 × 9.45 × 3.94 in)
- Parts
- 10
- Material thickness
- 3, 4, 5 or 6 mm plywood (a file for each)
- Layout size (3 mm file)
- 1,228 × 352 mm
- Cut length
- 7.63 m
- Est. time, 10 W diode (3 mm)
- 25 min 27 s
- Est. time, 40 W CO2 (3 mm)
- 10 min 36 s
- Layers
- CUT only, no engraving
Free account required to download
How to make it
- 01Select the SVG or DXF for your plywood thickness and cut a single slot as a fit test on an offcut.
- 02Cut all ten pieces: front, back, two sloped sides, base, the cross divider, two tall back dividers and two low front dividers.
- 03Put the outer walls on the base, slot in the cross divider, then fit the tall pair in the back row and the low pair in the front.
- 04Sand the edges, apply lacquer or oil, and sort tea, napkins and jars into the back row and baking supplies into the front.
Two rows of three
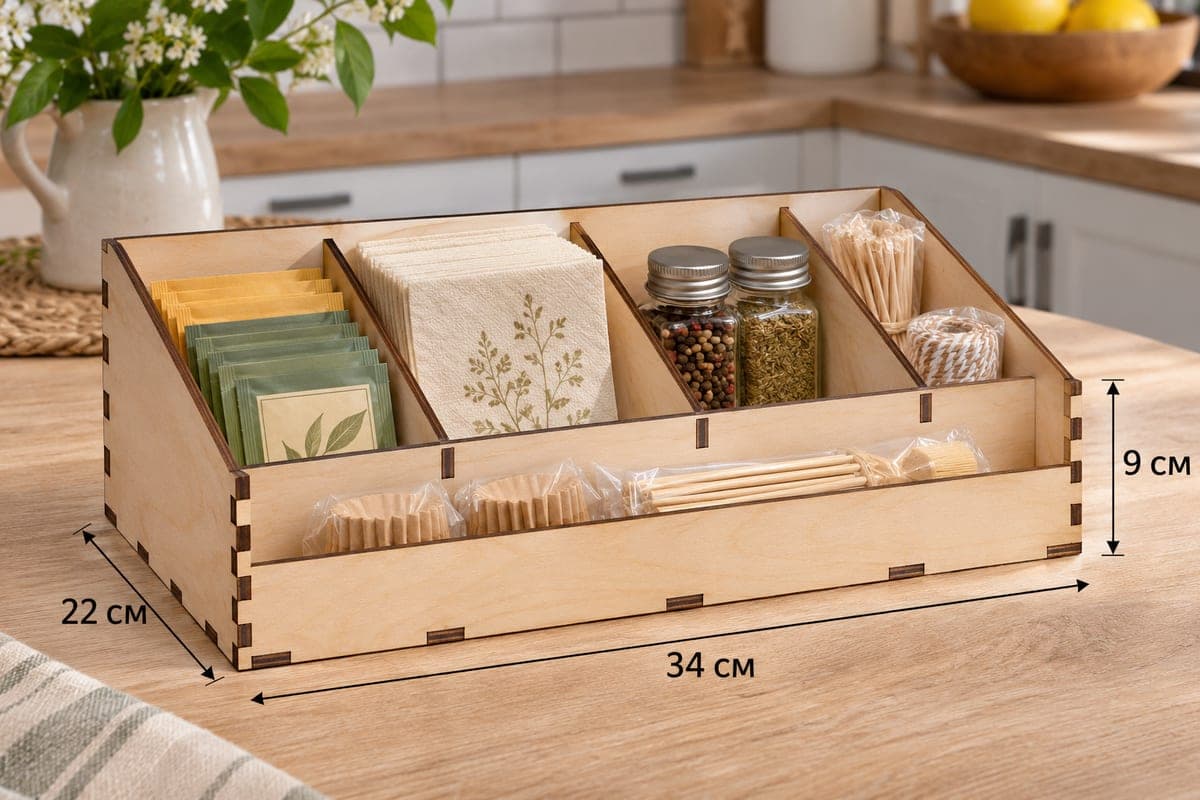
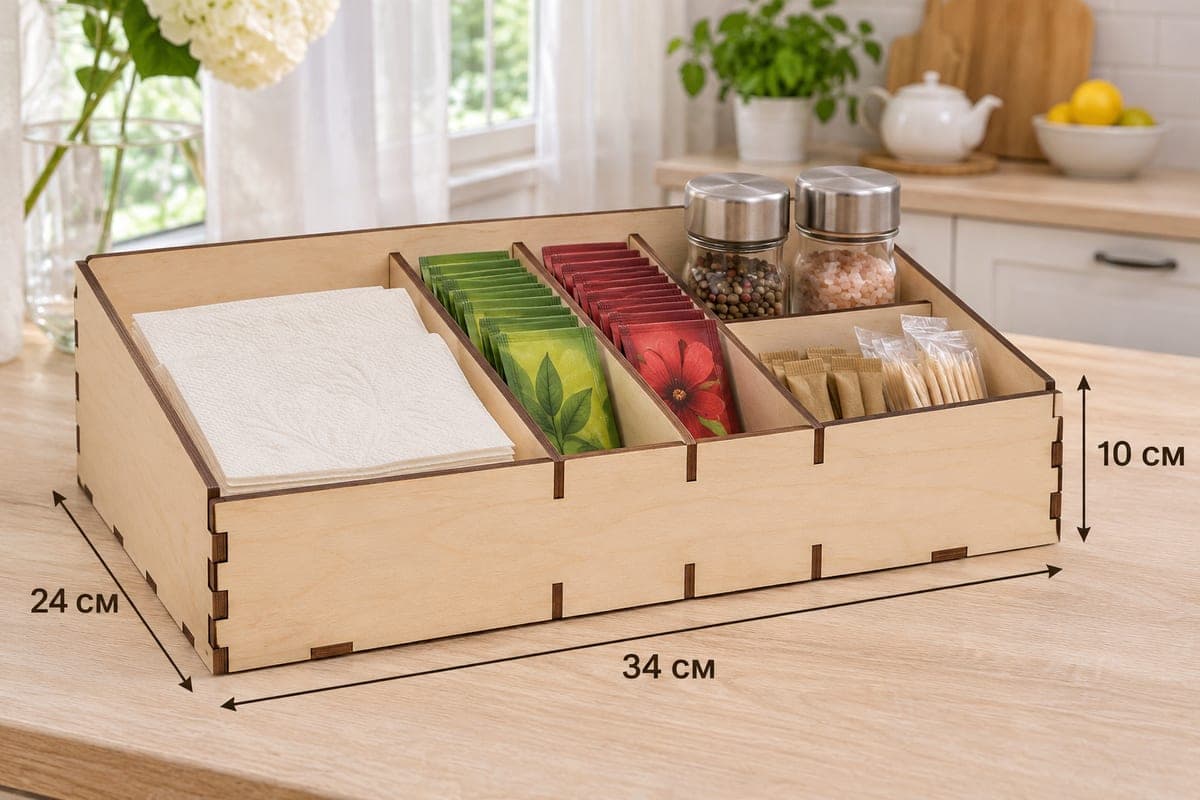
A full-width cross divider splits the box front from back, and each row gets two short dividers, giving six compartments of similar size. The back row stands taller, matching the 100 mm back wall, and the front row follows the slope down to 50 mm. In the photo the back row holds a stack of green tea bags, a pile of printed napkins and three spice jars; the front row holds paper baking cups with toothpicks, a roll of baker's twine with more liners, and a small roll of foil with baking paper.
Thickness and machine
This is a 10-piece file. For the 3 mm file allow about 25 min 27 s on a 10 W diode, about 10 min 36 s on a 40 W CO2 and about 5 min 05 s on a 100 W CO2. A diode manages 3 mm in one or two passes; for 5–6 mm, use a CO2 or run several passes. The 3 mm layout is 1228 × 352 mm, so on a smaller bed split it into two or three sheets: the 360 mm base, front and back fill one sheet by themselves.
Assembly order and finish
Fit the outer walls first, then the cross divider, then the two tall dividers into the back row and the two low ones into the front. The pairs differ in height, so keep them sorted. Glue is optional. Sand the edges and give the box a coat of clear lacquer or a food-safe oil to keep it clean on the counter.
Ideas: sell it as a baking station box, a tea and coffee organizer, or a gift box with tea, jars and napkins packed inside.
Questions about this file
Are all six compartments the same size?
They are close: the three in each row share the width, but the back row is deeper and taller than the front row because of the slope.
Can I store foil or plastic wrap in it?
A small roll of foil or baking paper fits lying in a front compartment, as in the photo. Full-size rolls are longer than the box.
Can I change the box size?
Resize it in your design software and then set each slot to your actual plywood thickness. Plain scaling makes the slots too wide or too narrow.
Will acrylic work instead of plywood?
Yes, cut it from 3 mm acrylic with the 3 mm file and glue the joints with acrylic cement, since acrylic tabs crack under force.
Do I need glue for ten pieces?
No, the tabs hold all ten parts. Glue only the base slots if you want the box to stay rigid when it is carried full.
Similar files