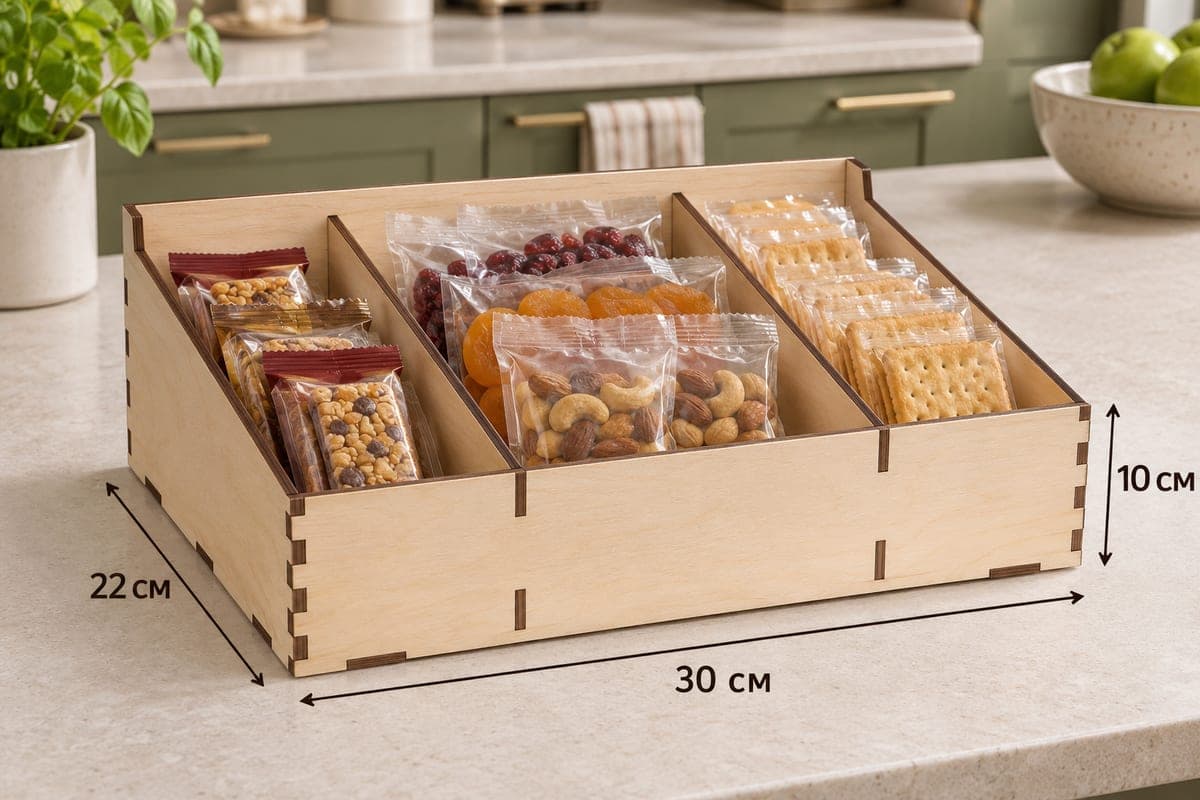
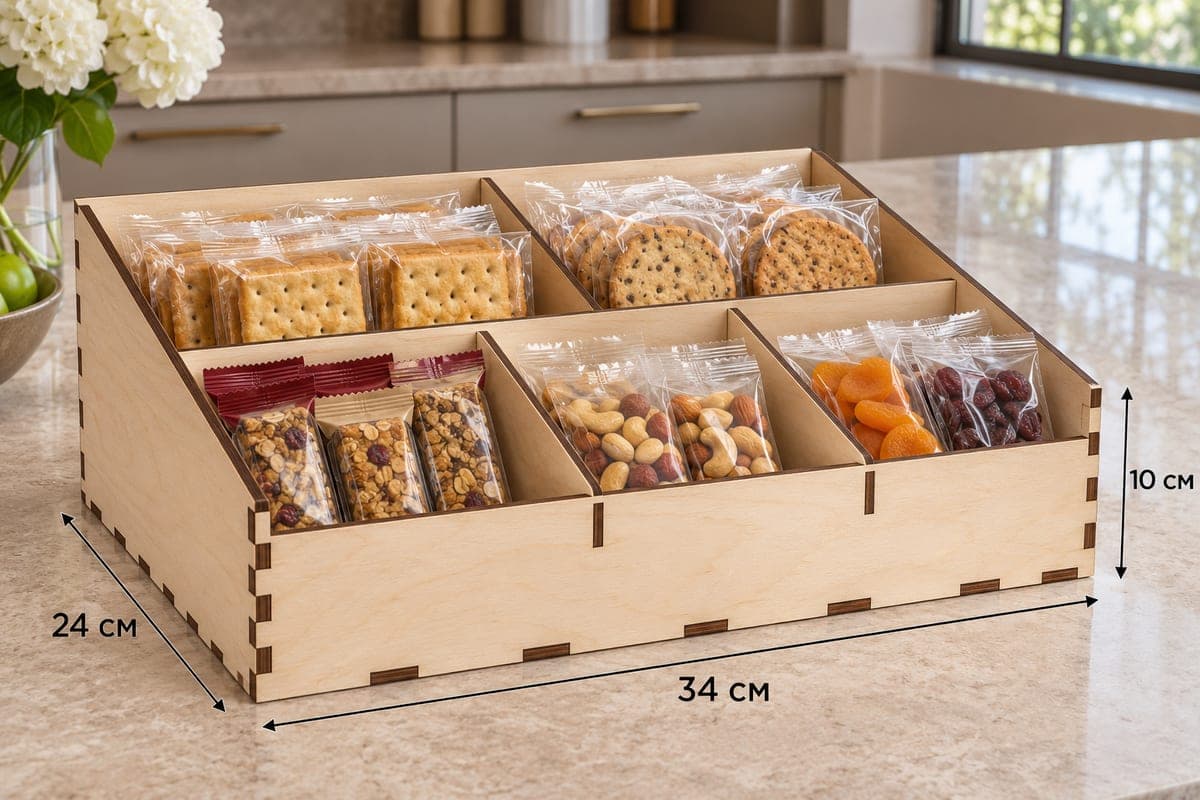
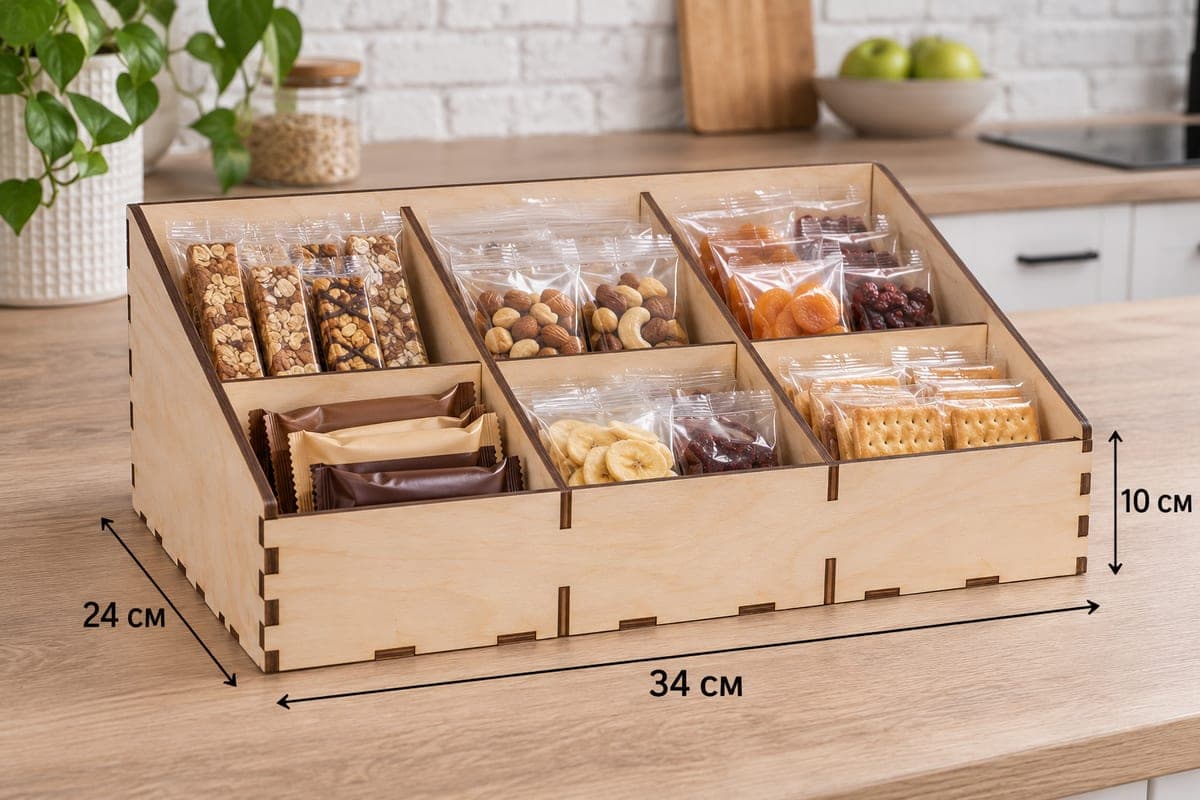
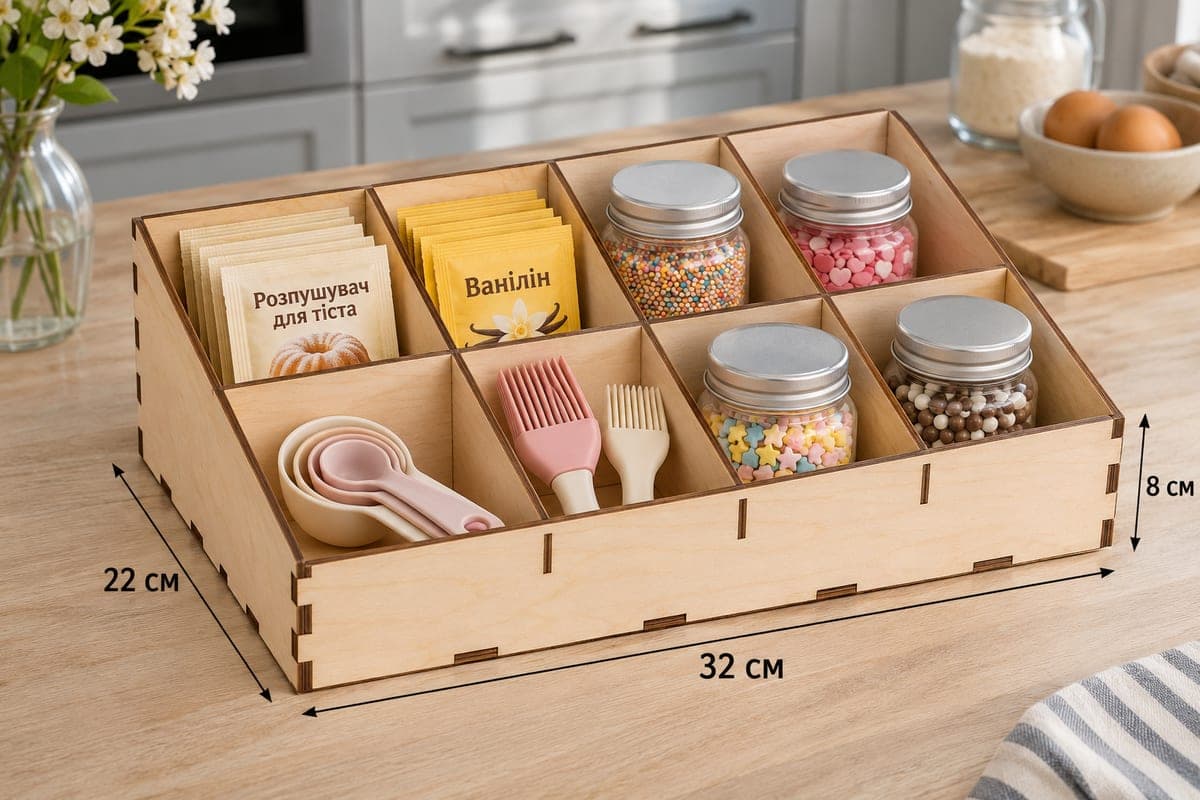
 Visualization
Snack Bar Organizer SVG, Protein Bar Holder Laser Cut File, Stepped Snack Rack, Pantry Snack Organizer DXF
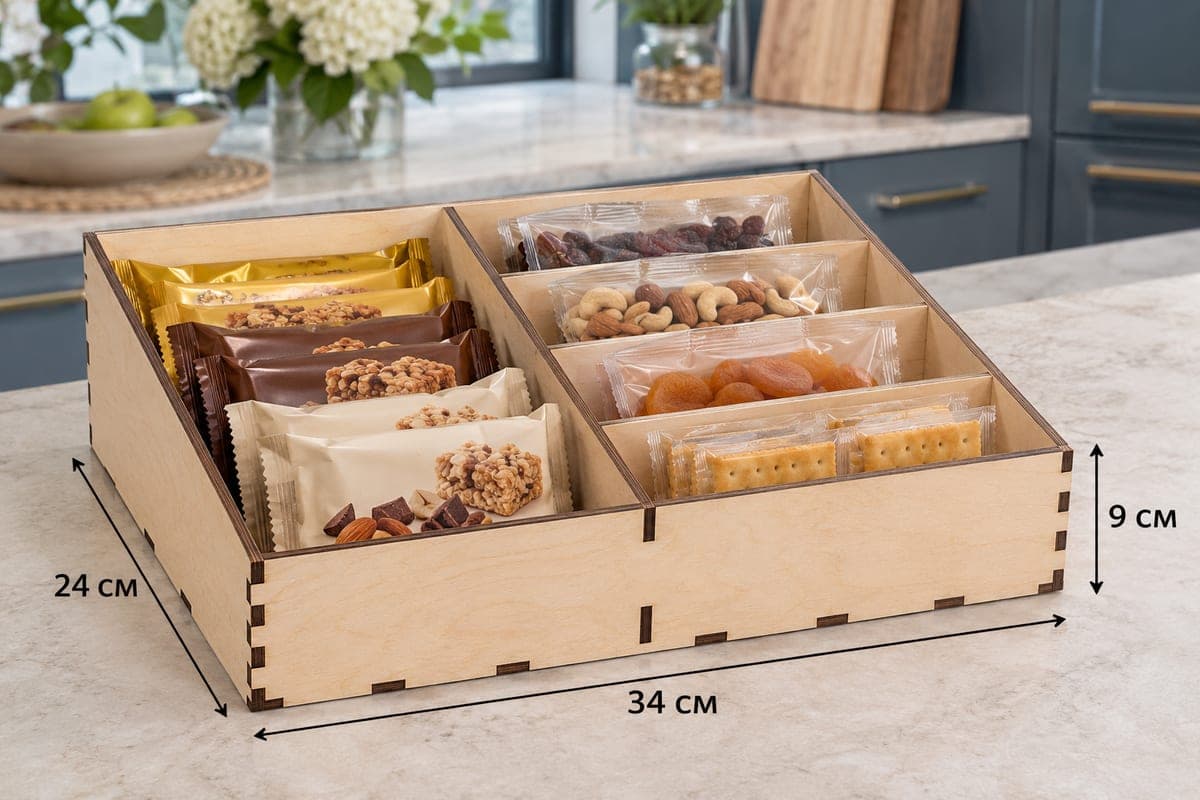
A snack organizer that combines one deep side bay for protein and granola bars with a column of four stepped rows for nut, dried fruit and cracker packs. The download has SVG and DXF files for 3, 4, 5 and 6 mm plywood; the box measures 340 × 240 × 90 mm (13.39 × 9.45 × 3.54 in) and is cut from 9 pieces into 5 compartments. The sides slope to a 54 mm front, it joins with tabs and slots, and it is a free download.
- Formats
- SVG, DXF
- Outer size (W × D × H)
- 340 × 240 × 90 mm (13.39 × 9.45 × 3.54 in)
- Parts
- 9
- Material thickness
- 3, 4, 5 or 6 mm plywood (a file for each)
- Layout size (3 mm file)
- 1,180 × 342 mm
- Cut length
- 7.29 m
- Est. time, 10 W diode (3 mm)
- 24 min 18 s
- Est. time, 40 W CO2 (3 mm)
- 10 min 07 s
- Layers
- CUT only, no engraving
Free account required to download
How to make it
- 01Pick the 3, 4, 5 or 6 mm file and cut a short cross divider to check its fit against the long divider.
- 02Cut all nine parts, moving pieces to a second or third sheet if your bed is under 1180 mm.
- 03Assemble base, sides and back, insert the long divider, add the three cross dividers tallest first, and close with the front.
- 04Sand, finish with oil or lacquer, fill the left bay with bars and the four rows with flat snack packs.
A bar bay and a staircase
One long divider splits the box into a deep left bay and a wider right column about 188 mm across. The left bay is for bars: stack chocolate, protein or granola bars flat or on edge, sorted by wrapper color. On the right, three cross dividers of rising height, about 63, 72 and 81 mm, create four stepped rows. Each row holds one line of flat packs, so you see dried plums, mixed nuts, apricots and crackers one behind the other, every pack above the row in front.
Cutting and assembly
The nine pieces lay out on about 1180 × 342 mm at 3 mm. A 10 W diode needs about 24 min 18 s for the 3 mm file, a 40 W CO2 about 10 min 07 s and a 100 W CO2 about 4 min 52 s. Expect to split the layout over two or three sheets on a small bed. 5 and 6 mm plywood looks good for a counter display, but cut it on a CO2 or with slow multiple passes on a diode.
Build the shell, add the long divider, then set the three cross dividers between it and the right side wall, from the tallest at the back to the shortest at the front. The 54 mm front goes on last. Glue is optional, and a drop on each cross divider keeps the steps from shifting.
Finishing and selling ideas
Sand the step edges and wipe on oil or clear lacquer. Gym-goers, offices and protein-bar fans like a bar-first layout. List it as a protein bar organizer or a pantry snack station, bundle it with a two-bay snack bin, or offer an engraved name or small logo on the front panel as an upgrade.
Questions about this file
Will protein bars fit in the left bay?
Yes. The bay runs the full 240 mm depth, so bars lie flat or stand on edge in several stacks.
Can I scale it up for a shop counter?
Scale the outer size up in your editor and keep the slots at your plywood thickness; a straight percentage scale makes the joints loose.
What thickness looks right on a counter?
5 or 6 mm gives a solid display look but needs a CO2 laser; 4 mm is a good compromise on a strong diode.
Can I use acrylic?
Acrylic works for a shop display; cut a test joint first and bond the parts with acrylic cement.
Do the stepped rows need glue?
They hold dry in their slots. A small drop of wood glue on each cross divider is worth it if the organizer gets moved often.
Similar files