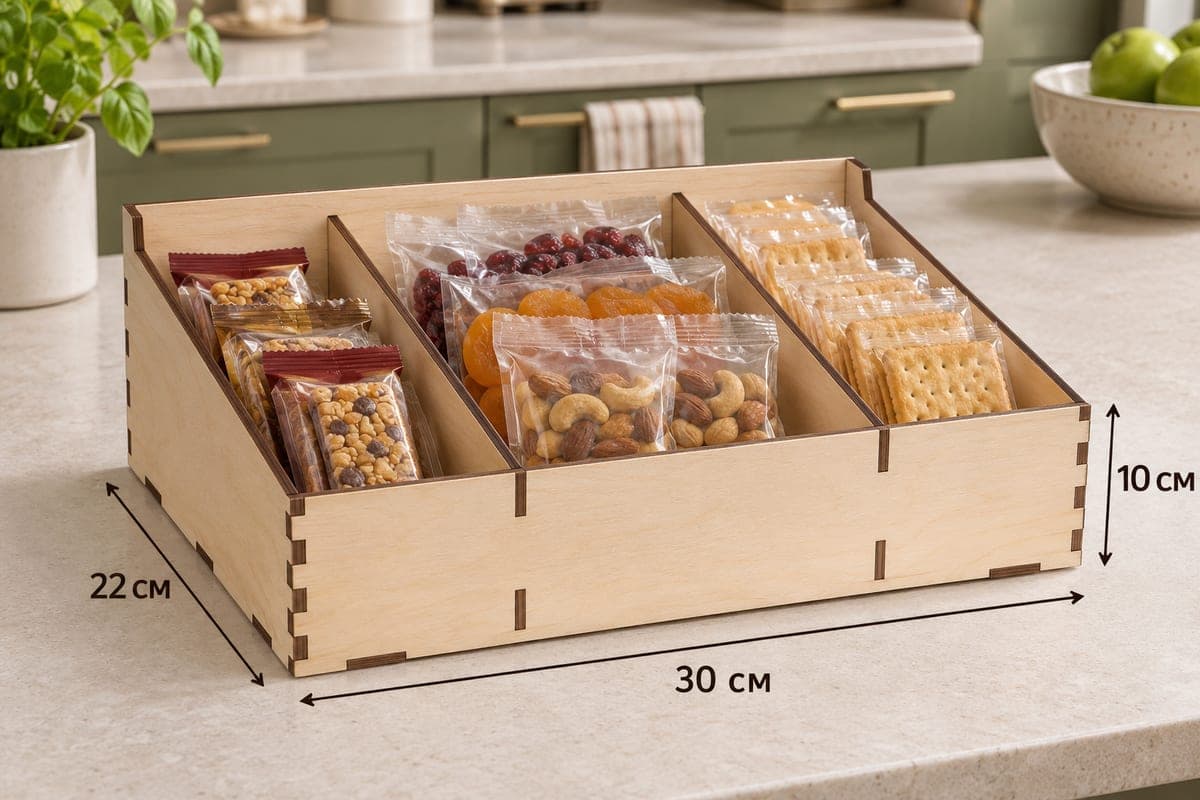
 Visualization
Small Snack Organizer SVG, 3 Compartment Snack Holder Laser Cut File, Countertop Snack Box, Kids Snack Bin DXF
A compact snack organizer with three wide upright lanes for granola bars, nut and fruit packs, and crackers. It is supplied as SVG and DXF with separate files for 3, 4, 5 and 6 mm plywood, measures 300 × 220 × 100 mm (11.81 × 8.66 × 3.94 in), and is cut from only 7 pieces into 3 compartments. The sides slope from 100 mm to a 60 mm front, it holds together with tabs and slots, and it is free to download.
- Formats
- SVG, DXF
- Outer size (W × D × H)
- 300 × 220 × 100 mm (11.81 × 8.66 × 3.94 in)
- Parts
- 7
- Material thickness
- 3, 4, 5 or 6 mm plywood (a file for each)
- Layout size (3 mm file)
- 1,060 × 332 mm
- Cut length
- 5.69 m
- Est. time, 10 W diode (3 mm)
- 18 min 57 s
- Est. time, 40 W CO2 (3 mm)
- 7 min 54 s
- Layers
- CUT only, no engraving
Free account required to download
How to make it
- 01Grab the file for your plywood thickness and cut one divider and slot on a scrap strip.
- 02Cut the seven pieces; on a small bed, the base goes on its own sheet.
- 03Push the sloped sides into the base, add the back, slide both dividers into place and finish with the 60 mm front.
- 04Sand the top edges, apply oil or lacquer, and fill each lane with one kind of snack.
Three wide lanes
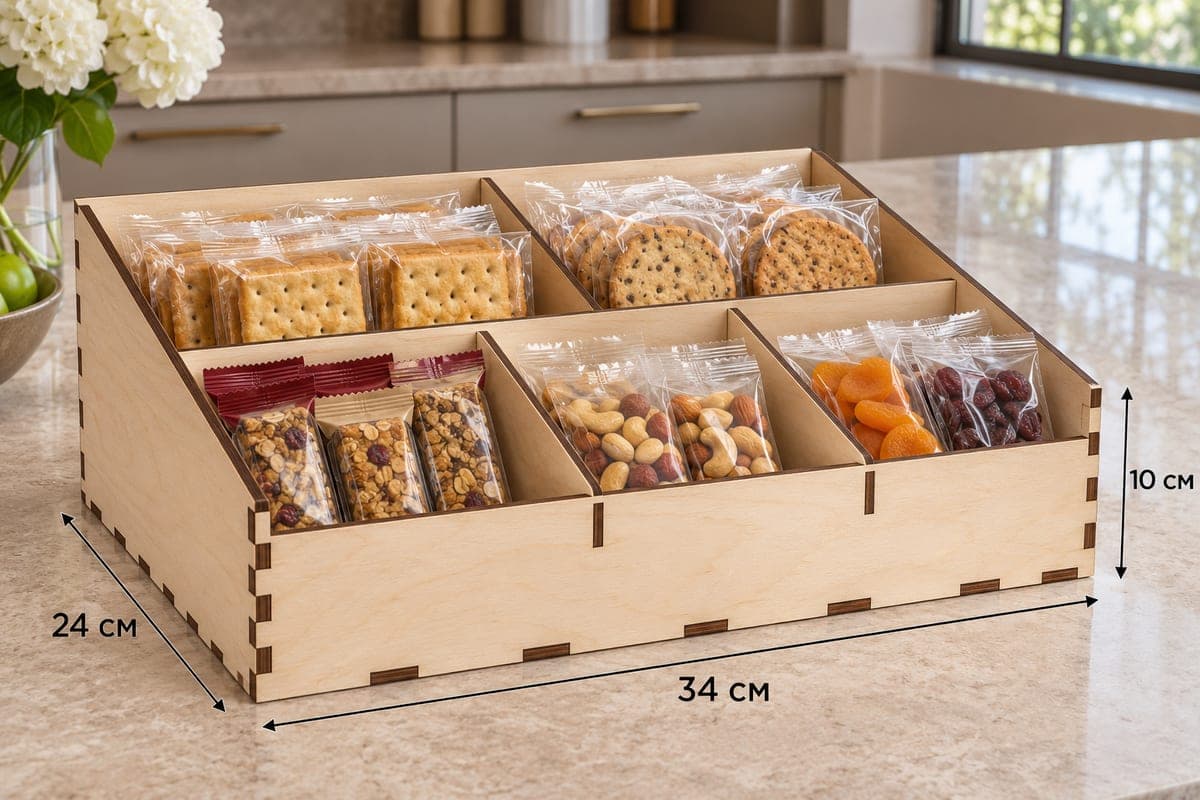
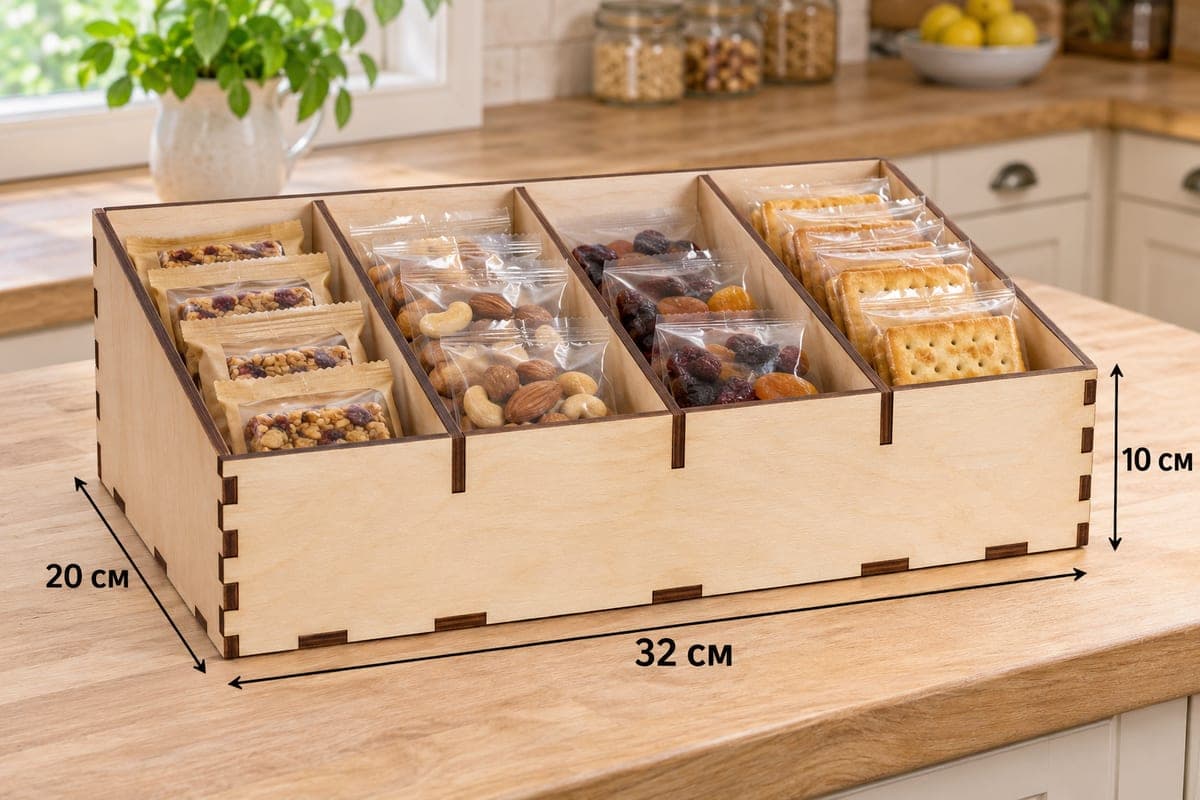
Two dividers split the 300 mm width into three lanes of about 95 mm. That is wider than the four- and five-slot versions, so bigger packs fit: cracker sleeves, multi-pack bars, or a mix of fruit and nut packs in a single lane. The photo shows granola bars on the left, a mixed lane of dried cranberries, apricots and nuts in the middle, and stacked crackers on the right. At 60 mm, the front is the highest in the snack series, which keeps packs from sliding out when the box is moved.
Quick cut, simple build
With seven parts this is one of the quickest snack boxes to make. The 3 mm file cuts in about 18 min 57 s on a 10 W diode, about 7 min 54 s on a 40 W CO2 and about 3 min 47 s on a 100 W CO2. The layout is about 1060 × 332 mm; on a 400 mm bed, put the base on one sheet and everything else on a second. A diode manages 3 mm in one or two passes, but for a sturdier 5 or 6 mm version use a CO2 machine or plan several passes.
Assembly: sides into base, back wall, both dividers, then the front. It stays together without glue; add a bit along the base joints if you want it permanent.
Finishing and who buys it
Sand the lane edges and seal with clear lacquer so the wood shrugs off crumbs. A small footprint, short cut time and little material make it a good first product for a new laser shop. Sell it as a kids' after-school snack box, a desk drawer snack stash, or a personalized gift with an engraved name.
Questions about this file
How wide are the lanes?
About 92 to 96 mm each depending on plywood thickness, so cracker sleeves and wider multi-pack bars fit standing up.
Can I resize it for a lunch drawer?
Shrink the outline in your editor, but keep the slots exactly as wide as your plywood is thick, or the dividers will wobble or jam.
Can a 10 W diode cut the 5 mm file?
It can with several slow passes, but check that the tabs come out cleanly. 3 mm or 4 mm is much easier on a diode.
Is a finish needed?
Not strictly, since snacks stay wrapped, but a coat of oil or lacquer keeps sticky fingers from staining bare wood.
Can I add a child’s name?
Yes, add engraved text to the front panel in your laser software before cutting; the file includes cut lines only.
Similar files