 Visualization
Skincare Tray SVG, Open Back Row Mask and Serum Organizer Laser Cut, Three Cell Cream Jar Box DXF
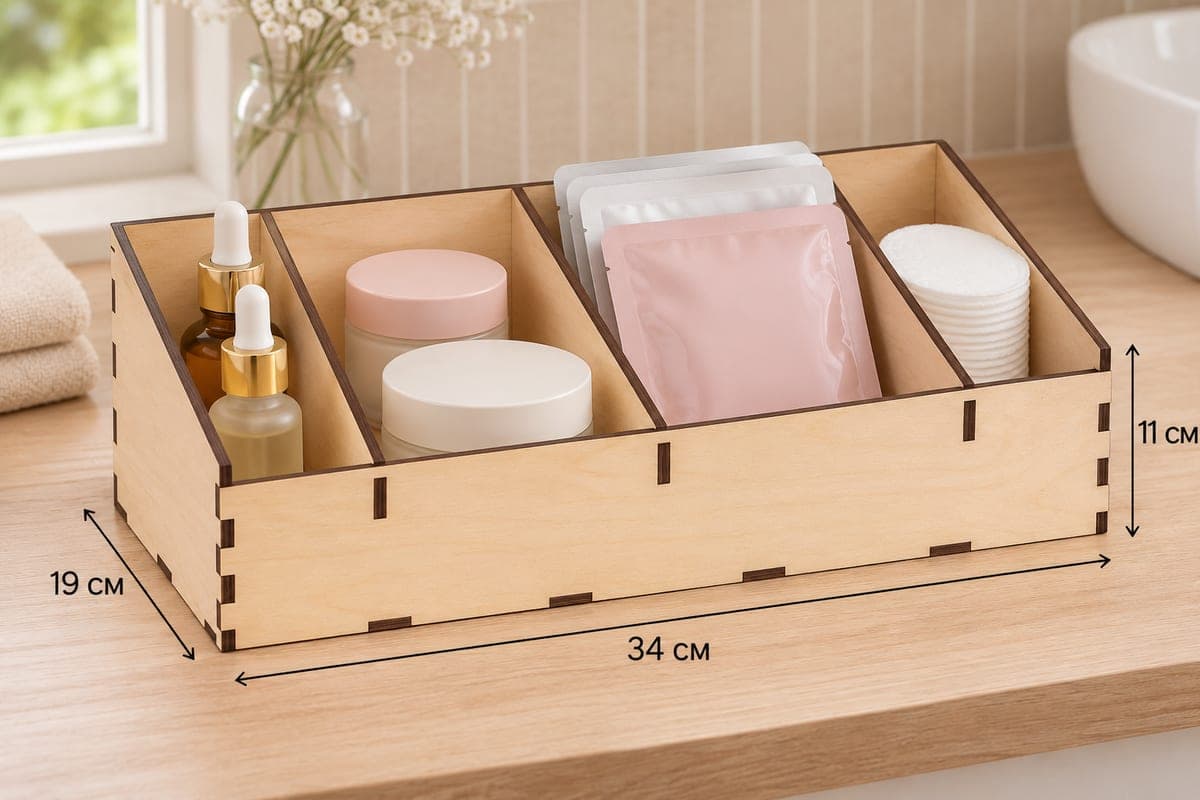
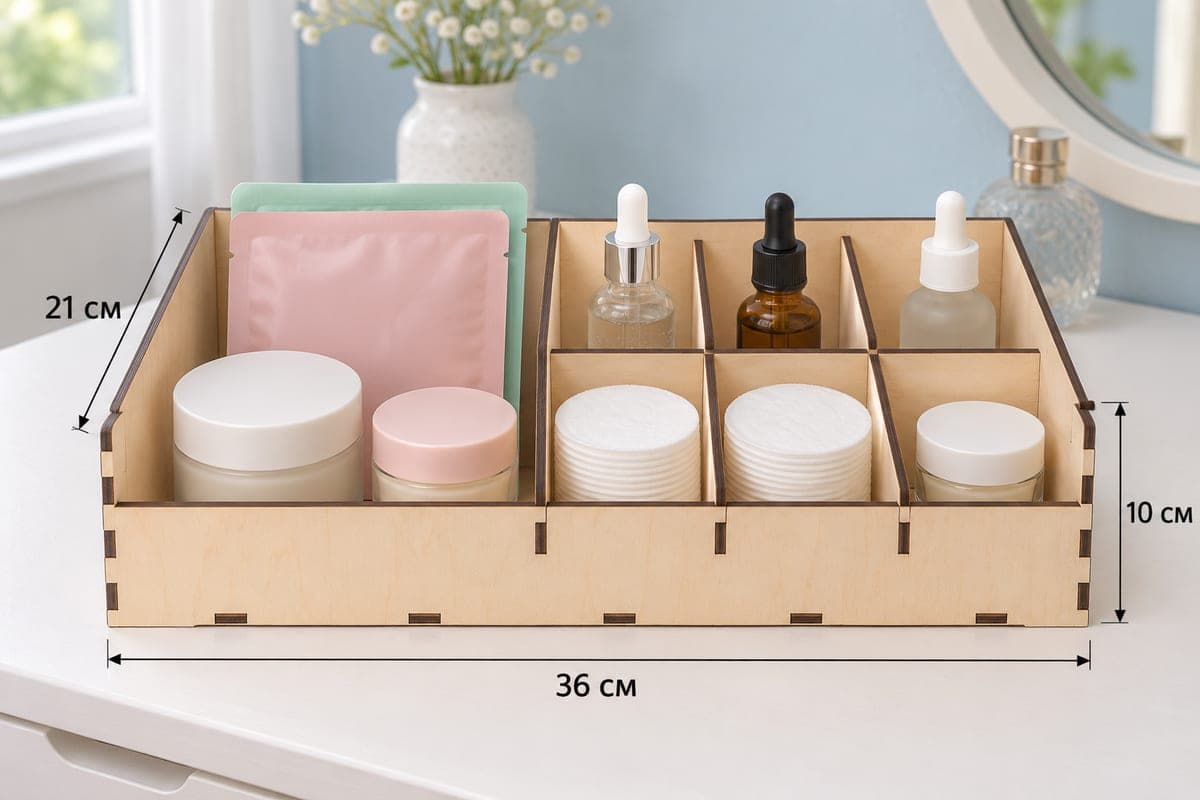
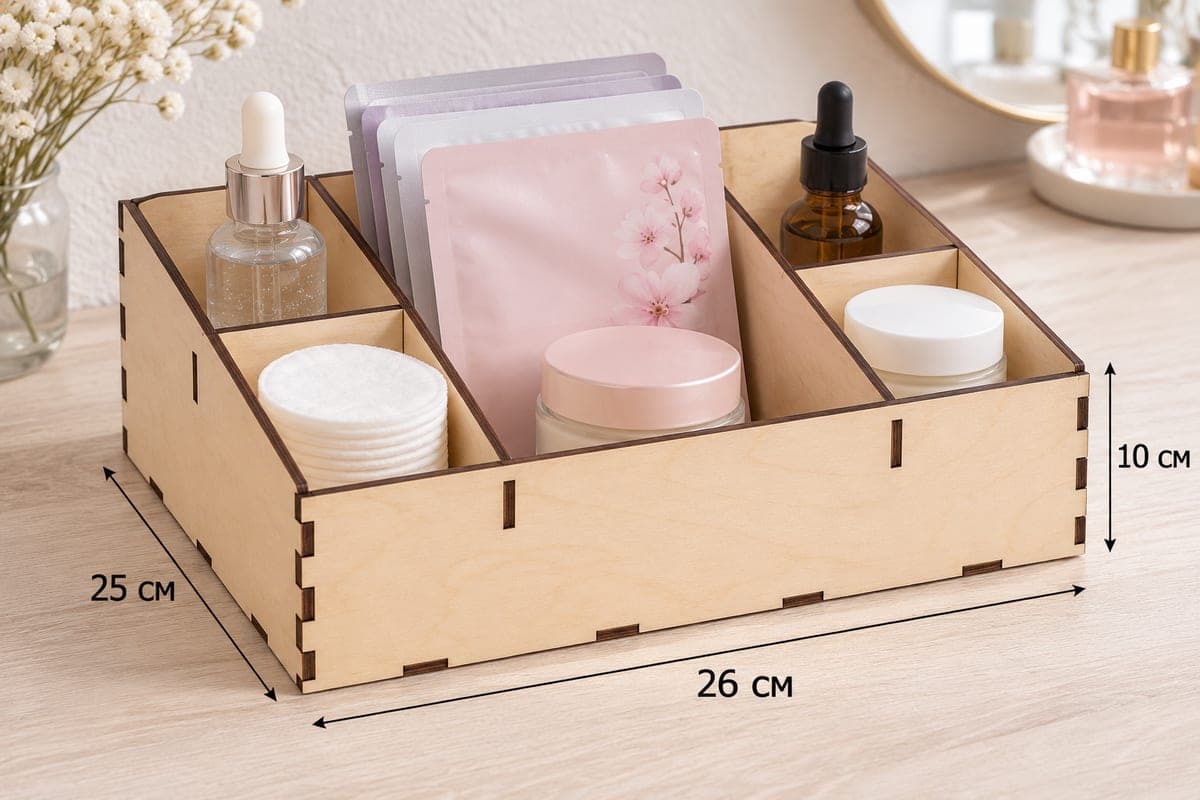
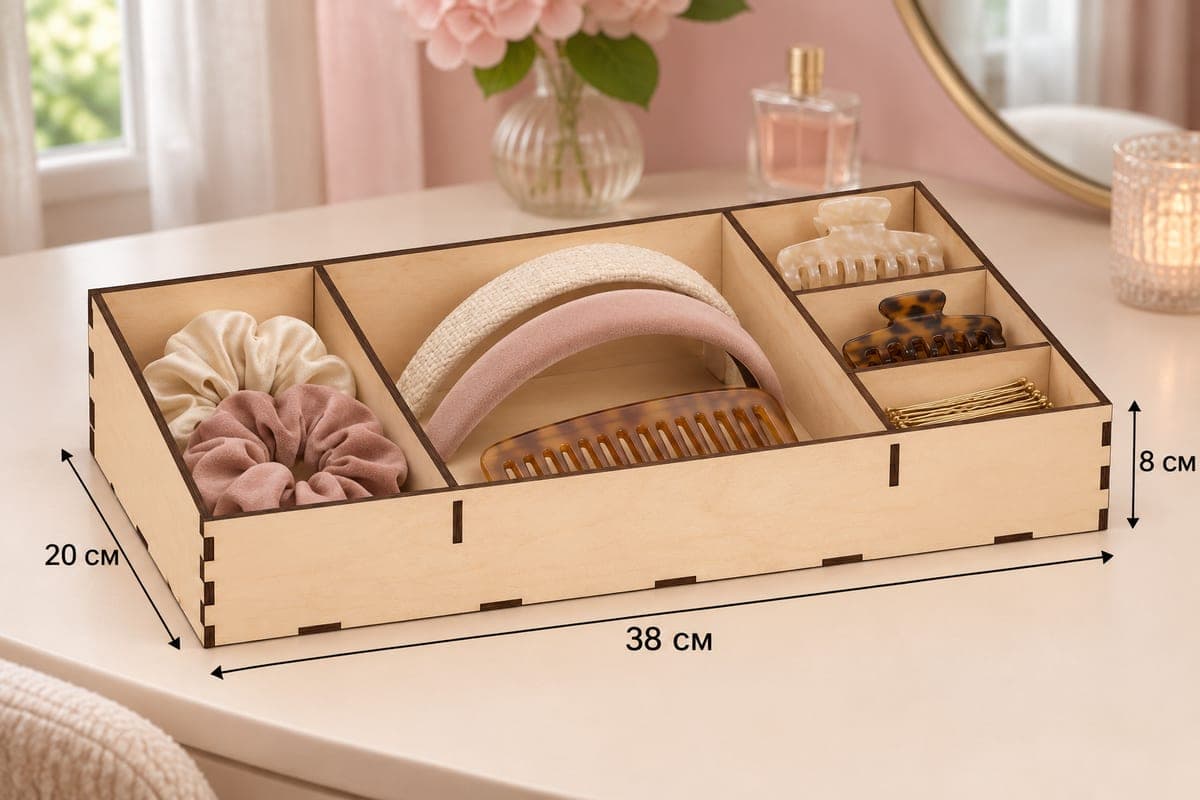
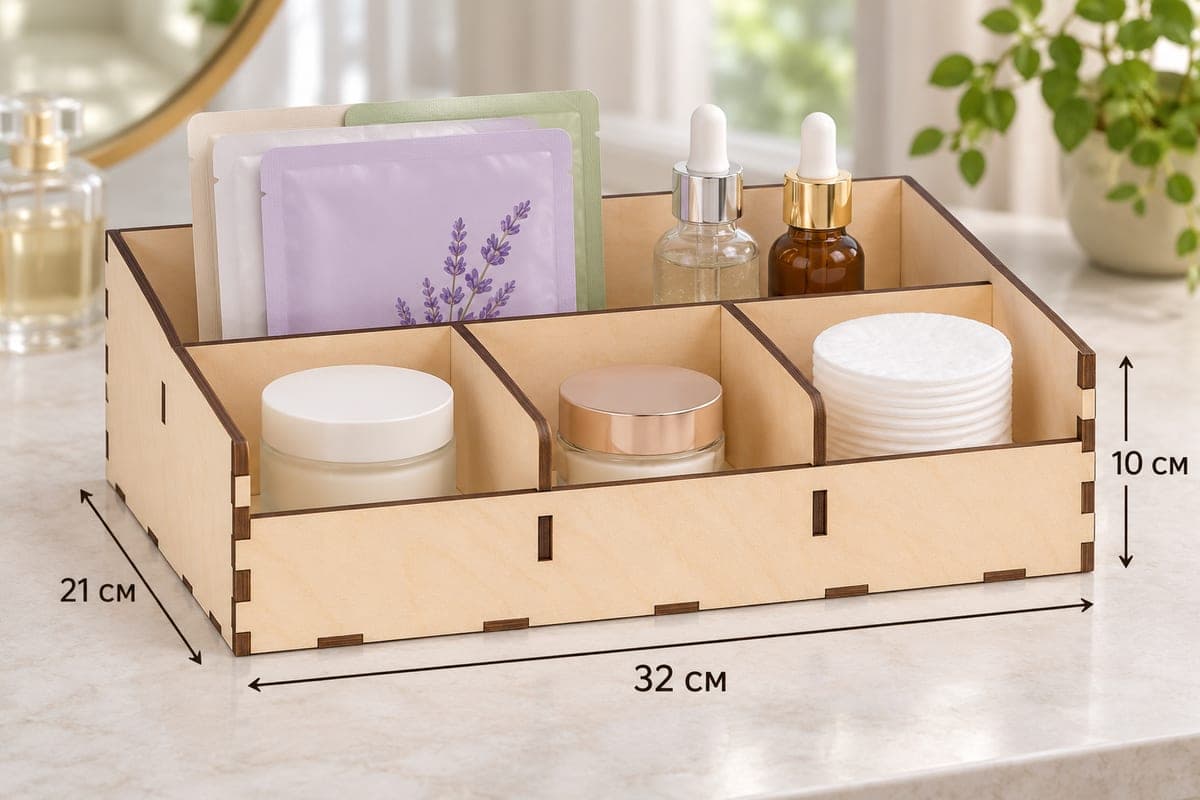
A mid-size skincare tray with one open back row for sheet masks and serums and three front cells for jars and pads, supplied as SVG and DXF with separate files for 3, 4, 5 and 6 mm plywood. It is 320 × 210 × 100 mm (12.6 × 8.27 × 3.94 in), cut from 8 pieces, with sides sloping to a 55 mm front. Tabs and slots join it, and the files cost nothing.
- Formats
- SVG, DXF
- Outer size (W × D × H)
- 320 × 210 × 100 mm (12.60 × 8.27 × 3.94 in)
- Parts
- 8
- Material thickness
- 3, 4, 5 or 6 mm plywood (a file for each)
- Layout size (3 mm file)
- 1,080 × 322 mm
- Cut length
- 6.15 m
- Est. time, 10 W diode (3 mm)
- 20 min 29 s
- Est. time, 40 W CO2 (3 mm)
- 8 min 32 s
- Layers
- CUT only, no engraving
Free account required to download
How to make it
- 01Choose the file for your plywood thickness and cut a single test slot to check the fit.
- 02Cut the 8 parts: front, back, two sloped sides, base, the long cross divider and two low dividers.
- 03Slot the two low dividers into the front of the base, add the cross divider, then fit the back, the sides and the 55 mm front.
- 04Sand, oil or lacquer, then stand masks and serums in the open back row and set jars and pads in the three front cells.
Open at the back, divided at the front
This tray flips the usual pattern. The long cross divider runs the full 320 mm, and the back row behind it is left completely open, while two low dividers split the front row into three cells. So the four compartments are one long back row plus three front cells.
The open back row is where flat and tall items go. In the photo it holds a fan of sheet masks, one with a lavender print, next to a clear and an amber serum. The front cells keep a white cream jar, a rose-gold jar and a stack of cotton pads, each in its own place. The setting is a light marble counter with a plant and a perfume bottle.
Choosing the thickness
The download includes SVG and DXF for 3, 4, 5 and 6 mm, each with slots sized for that sheet. Use 3 mm on a 10 W diode, which cuts it in one or two passes; 5 and 6 mm are better on a CO2. The 3 mm file takes about 20 min 29 s on a 10 W diode, about 8 min 32 s on a 40 W CO2 and about 4 min 06 s on a 100 W CO2. Its layout is 1080 × 322 mm, so on a compact machine put the base and cross divider on a second sheet.
Assembly and finish
Fit the two low dividers into the base, lay the cross divider over them, then add the back, both sloped sides and the front. Glue is optional. Wipe on a clear oil, or lacquer if it stays by a sink.
This tray has a bigger sibling in the set at 340 × 230 mm; offer both sizes in one listing.
Questions about this file
Why is the back row not divided?
Sheet masks and dropper bottles vary in width, so an open row takes any combination without wasted space.
How is this different from the larger tray with the same layout?
This one is 320 × 210 mm; the larger version is 340 × 230 mm, with longer front cells and a deeper back row.
Can I use MDF?
Yes, cut the file that matches the MDF thickness after a test slot, and seal it so it does not absorb cream or water.
Can I change the size?
Resizing changes slot widths too, so after scaling reset each slot to your material thickness.
Is glue needed for this tray?
No, the tabs and slots hold firmly when your test slot fits snugly. Add glue only if you want it permanent or plan to post it assembled.
Similar files