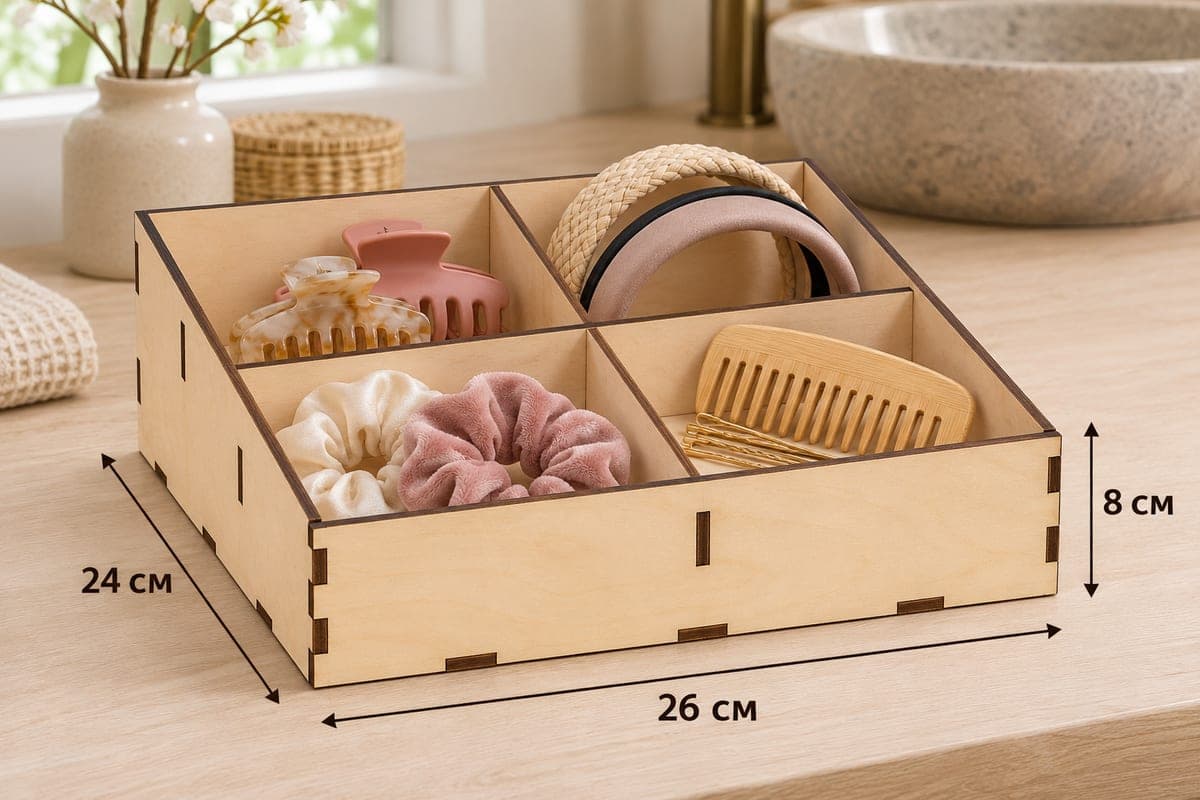
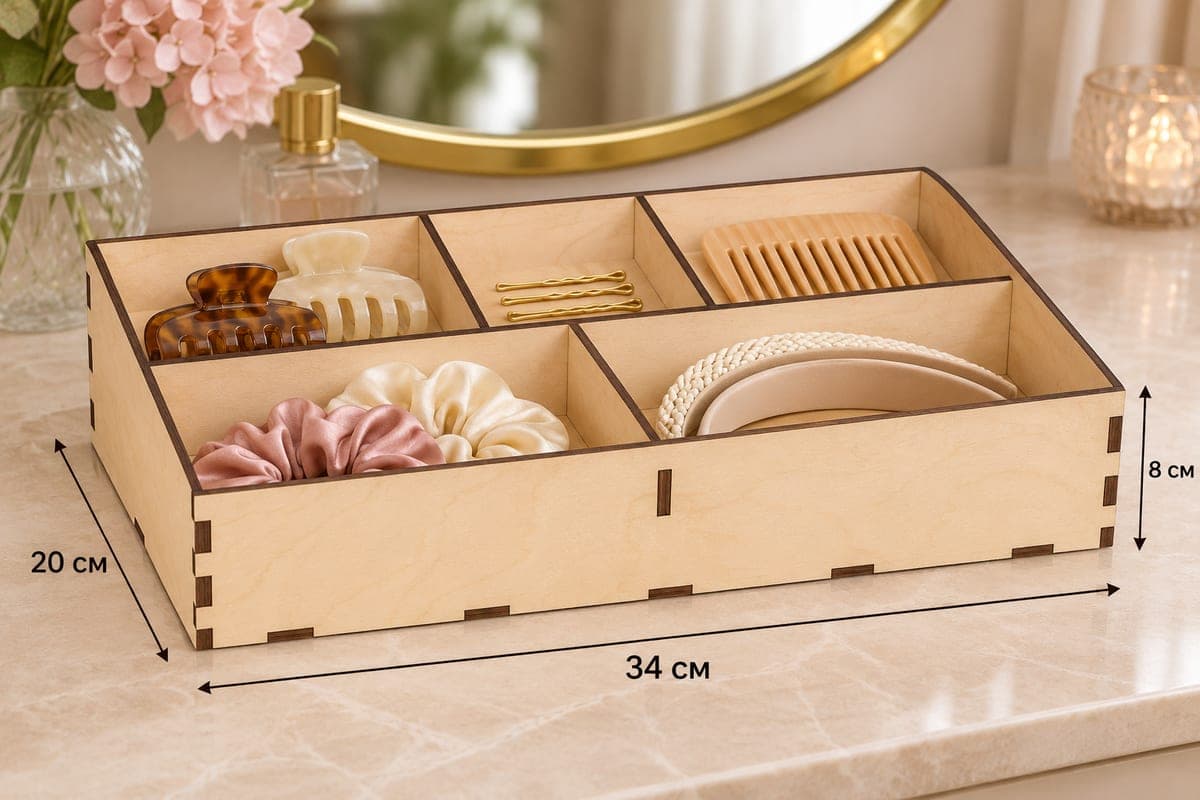
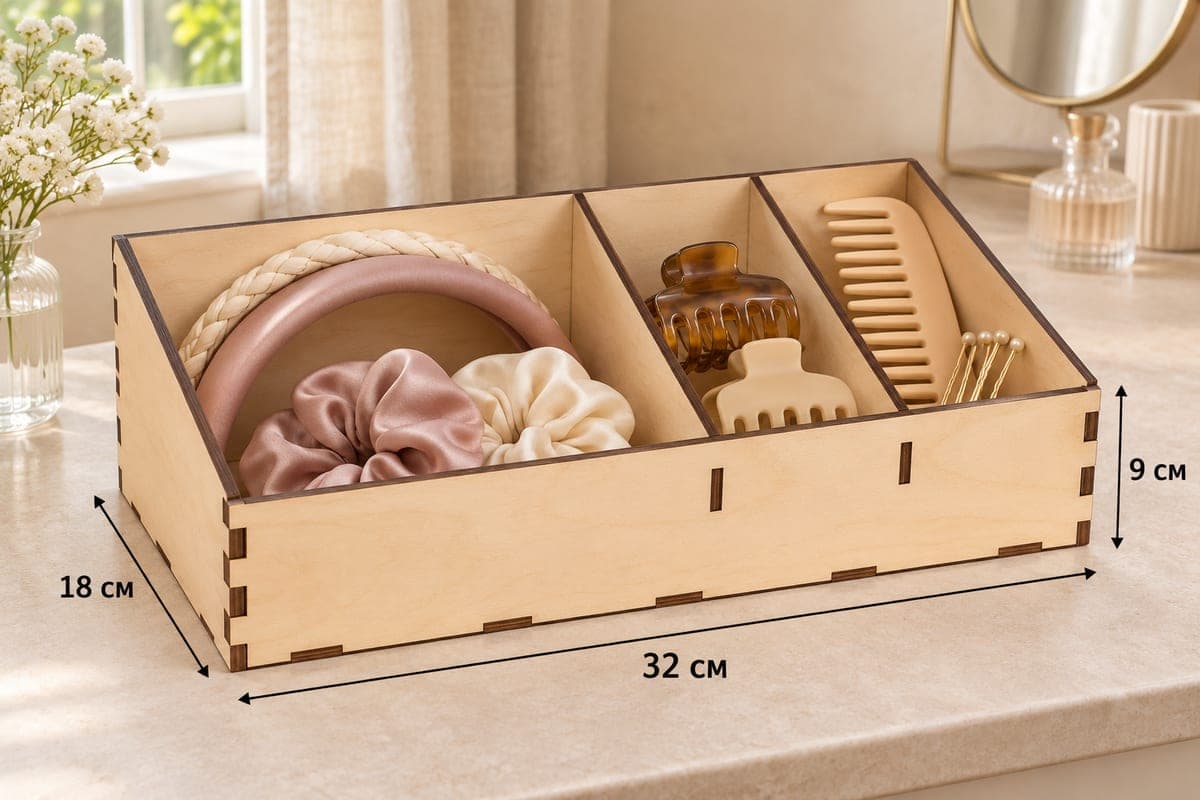
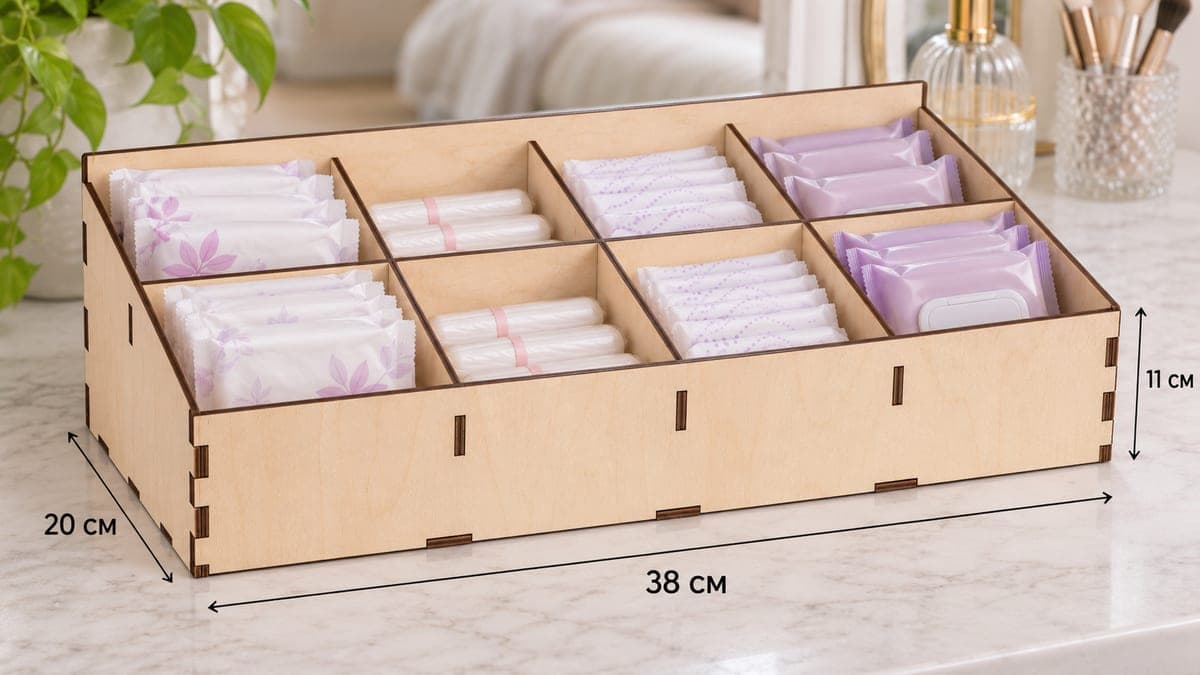
 Visualization
Six Compartment Hair Accessory Tray SVG, Claw Clip and Scrunchie Organizer, Laser Cut Vanity Box DXF
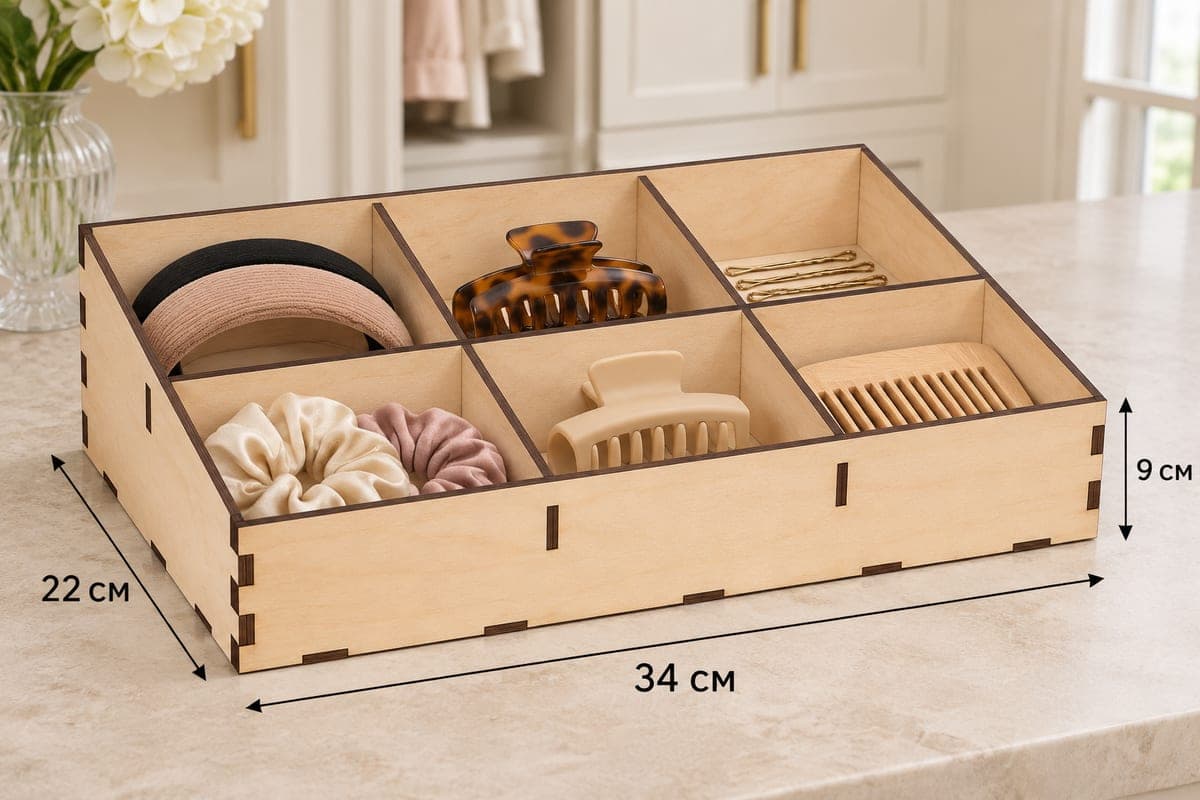
A six-compartment plywood tray for hair accessories, 340 × 220 × 90 mm (13.39 × 8.66 × 3.54 in), arranged as two rows of three with the front lowered to 72 mm. Download includes SVG and DXF files for 3, 4, 5 and 6 mm plywood; the 10 parts assemble with tabs and slots. All eight files are free to download.
- Formats
- SVG, DXF
- Outer size (W × D × H)
- 340 × 220 × 90 mm (13.39 × 8.66 × 3.54 in)
- Parts
- 10
- Material thickness
- 3, 4, 5 or 6 mm plywood (a file for each)
- Layout size (3 mm file)
- 1,148 × 322 mm
- Cut length
- 7.36 m
- Est. time, 10 W diode (3 mm)
- 24 min 33 s
- Est. time, 40 W CO2 (3 mm)
- 10 min 14 s
- Layers
- CUT only, no engraving
Free account required to download
How to make it
- 01Select the file for your plywood thickness and cut a single back-divider slot on scrap to confirm the fit.
- 02Cut all 10 parts, grouping them on two or three sheets if the 1148 mm layout is too long for your bed.
- 03Assemble base, sides and back, place the cross divider, then the two tall back dividers and the two shorter front dividers.
- 04Add the front wall, sand the edges and give each of the six pockets its own type of hair accessory.
Six even pockets
Two long rows of three, all about the same size, make this the most evenly divided tray in the set. A typical fill: headbands in the back left pocket, a big tortoiseshell claw clip in the middle, bobby pins on the right; then scrunchies, a cream claw clip and a comb along the front. The back is 90 mm high, a little taller than most of the 80 mm boxes, which helps keep upright headbands from tipping over the top.
340 × 220 mm is a good footprint for a dressing table, a marble counter or the top of a chest of drawers.
Plywood, laser and assembly
3 mm birch is the easy default: the 3 mm file needs about 24 min 33 s on a 10 W diode, about 10 min 14 s on a 40 W CO2 and about 4 min 55 s on a 100 W CO2. A diode can still do the 4 mm file with slower speed; for 5 or 6 mm, a CO2 tube saves a lot of passes and scorch marks. The layout runs 1148 mm long, so split it in two or three groups if your machine cannot take the full length.
Start with the base and two sides, add the back, then lay the long cross divider in. The two front dividers are shorter (they follow the slope) and the two back ones are full height; drop each into its slot before closing the front wall. Sand the tabs flush if they stick out a hair.
Ideas for selling
- A salon reception tray for clips sold at the counter.
- A teen gift filled with six different accessories, one per pocket.
- A custom piece: offer to add a name to the front panel at checkout.
Questions about this file
How big is each of the six compartments?
The width is split into three nearly equal parts of a bit over 100 mm, and the 220 mm depth is split into a back and a front row.
Which plywood thickness should I pick for this tray?
3 mm for a light tray and fast cutting, 4 mm for a stiffer feel. 5 and 6 mm work best on a CO2 laser.
Can I cut it in acrylic for a shop display?
Yes, use the file matching your acrylic thickness. Clear or frosted acrylic looks clean on a salon counter.
Should I glue the dividers?
Not required. A tiny drop of wood glue on each divider tab makes the tray permanent and stops dividers lifting out when you grab a clip.
Can I resize the tray to fit a drawer?
You can, as long as every slot is set back to your sheet thickness after resizing. The tabs only lock when slot and plywood match.
Similar files