 Visualization
Ring and Earring Organizer SVG, Seven Section Jewelry Tray DXF, Sloped Vanity Accessory Tray Laser Cut File
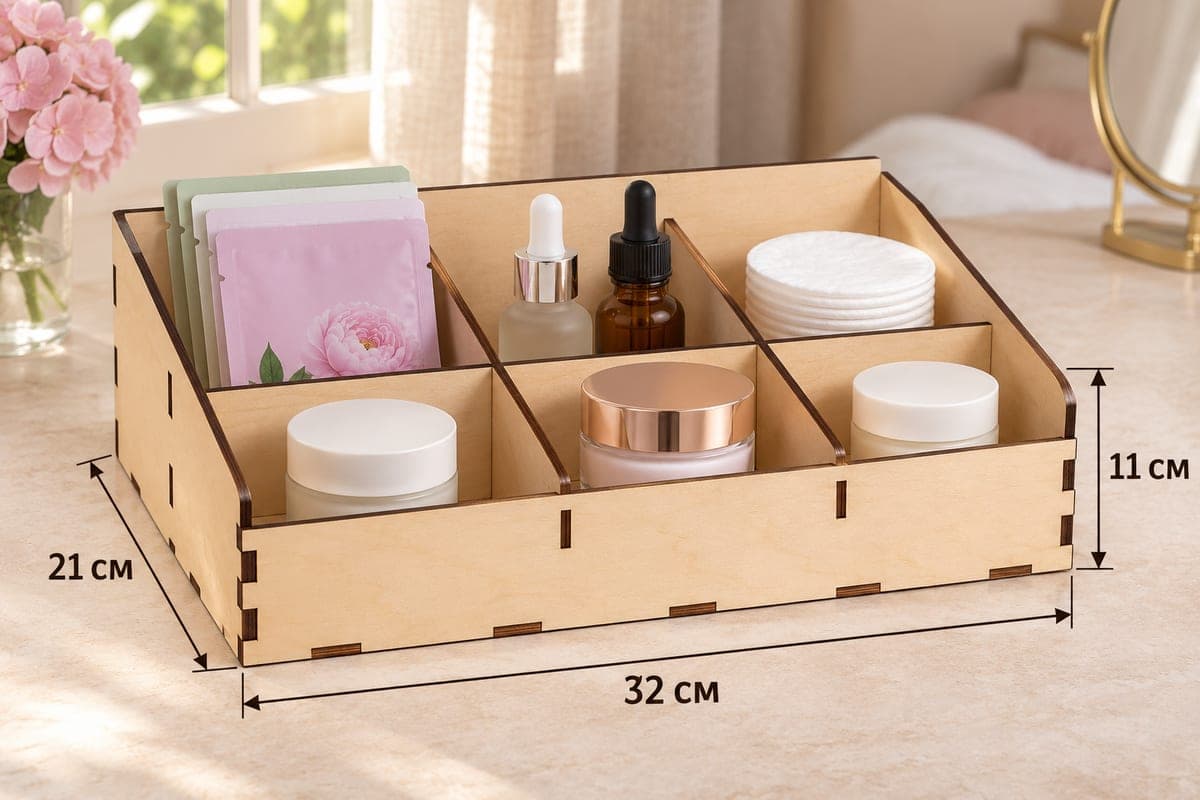
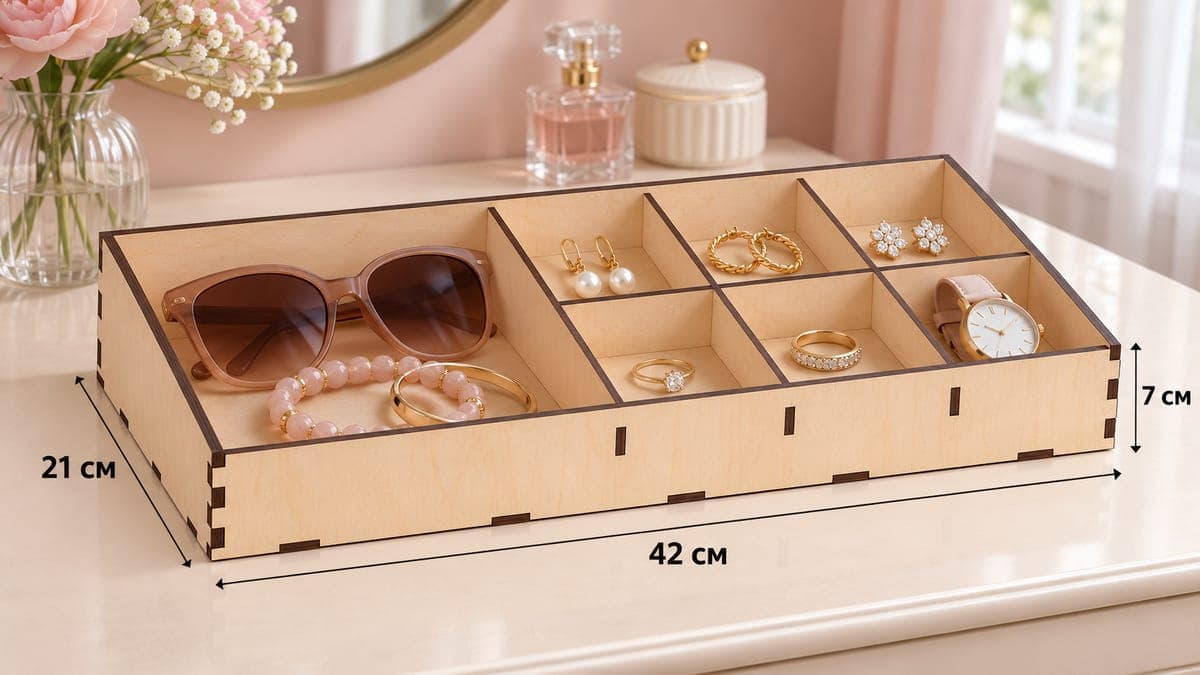
A sloped ring and earring tray with seven sections: one large bay on the left for sunglasses and bracelets and a block of six small cubbies (two rows of three) on the right for rings, earrings and a watch. It measures 420 × 210 × 70 mm (16.54 × 8.27 × 2.76 in), has 11 tab-and-slot pieces and comes as a free SVG and DXF download for 3, 4, 5 and 6 mm plywood.
- Formats
- SVG, DXF
- Outer size (W × D × H)
- 420 × 210 × 70 mm (16.54 × 8.27 × 2.76 in)
- Parts
- 11
- Material thickness
- 3, 4, 5 or 6 mm plywood (a file for each)
- Layout size (3 mm file)
- 1,335 × 292 mm
- Cut length
- 7.94 m
- Est. time, 10 W diode (3 mm)
- 26 min 28 s
- Est. time, 40 W CO2 (3 mm)
- 11 min 02 s
- Layers
- CUT only, no engraving
Free account required to download
How to make it
- 01Pick your thickness version and run a quick slot test on scrap with one short divider.
- 02Cut the eleven parts; make sure the bed fits the 420 mm front, back and base.
- 03Build the six-cubby block from the cross divider and four short dividers, attach it to the long divider, set it on the base and add the walls.
- 04Sand, seal and line the small cubbies with felt, then fill them with rings and earrings and the big bay with sunglasses.
A big bay and a block of six
A long divider runs from back to front and leaves a wide bay on the left. The right part is the interesting one: a cross divider splits it into a back and a front row, and two short dividers in each row make three cubbies per row. That gives six small cubbies plus the large bay, seven sections in total.
Six cubbies is a lot of room for small things. In the photo the back row has pearl drops, two twisted rings and flower studs, and the front row a solitaire ring, a band and a watch. The big bay takes sunglasses and a few bracelets. The front wall is 49 mm and the back 70 mm, and the front cubbies have lower dividers so they stay in view.
Cutting tips
Eleven parts in all. Laser time for the 3 mm file comes to about 26 min 28 s on a 10 W diode, about 11 min 02 s on a 40 W CO2 and about 5 min 18 s on a 100 W CO2. The 3 mm layout measures 1334.6 × 292 mm. The 420 mm front, back and base need a bed at least that long; everything else is small and nests easily on scraps.
Diode owners: 3 mm takes one or two passes. The 5 and 6 mm files cut fine on a CO2 laser, while a diode needs several slow passes and good air assist.
Assembly and selling ideas
Build the six-cubby block first: four short dividers into the cross divider. Attach it to the long divider, then set everything on the base and add back, sides and front. No glue needed.
This layout is popular with people who own many rings. Offer it with felt-lined cubbies, or as a wedding gift with the couple's ring dish in the large bay.
Questions about this file
How many rings can I store?
Each of the six cubbies holds several rings lying flat, or one ring roll cut to fit. With felt strips you can stand a dozen or more upright.
Can I make the cubbies smaller?
You can redraw the short dividers, but keep their slots at the real thickness of your plywood. Scaling the whole file down would also shrink the slots.
Does the file include engraving?
No, only cut lines. The large bay floor is a nice place to engrave initials if you add that layer yourself.
Is 5 mm plywood a good choice here?
It works on a CO2 laser and gives a stronger tray, but with this many small cubbies 3 or 4 mm looks lighter and leaves more room inside.
Can a 10 W diode cut it in one evening?
Yes, the job for the 3 mm file runs about 26 min 28 s on a 10 W diode. Split the layout into sheets and cut them one after another.
Similar files