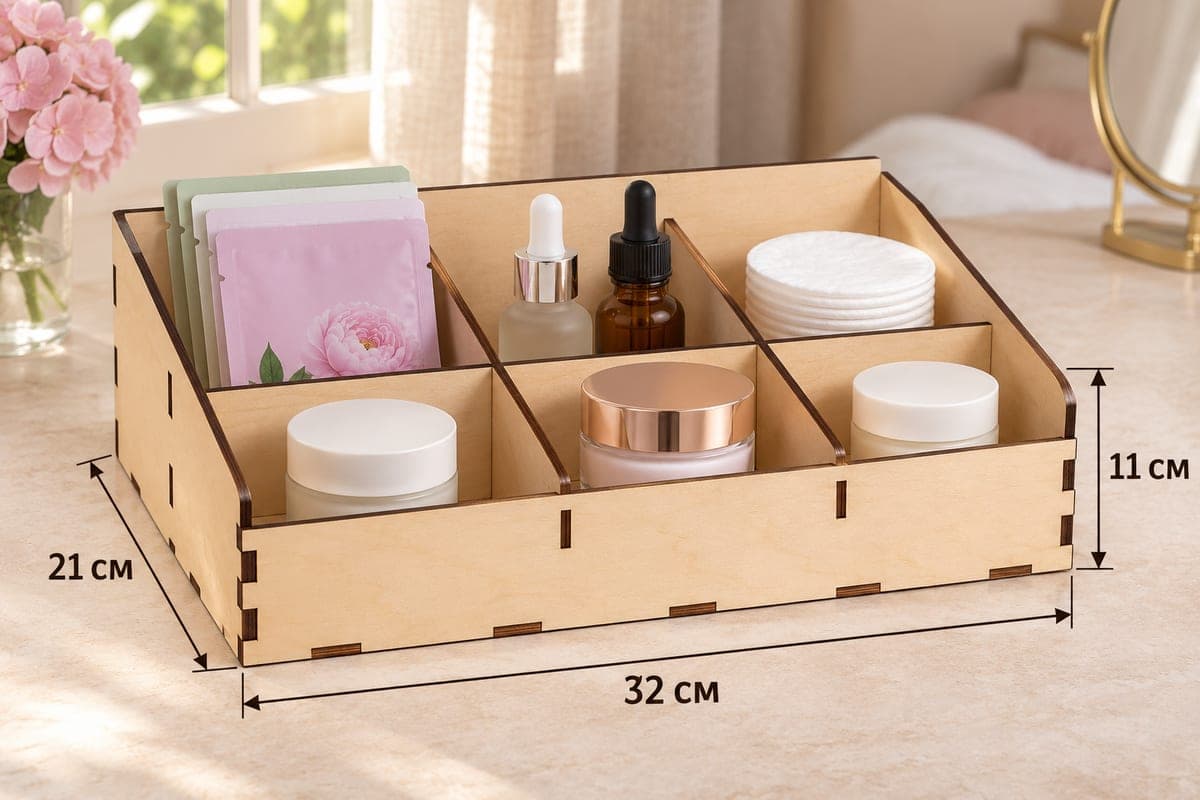
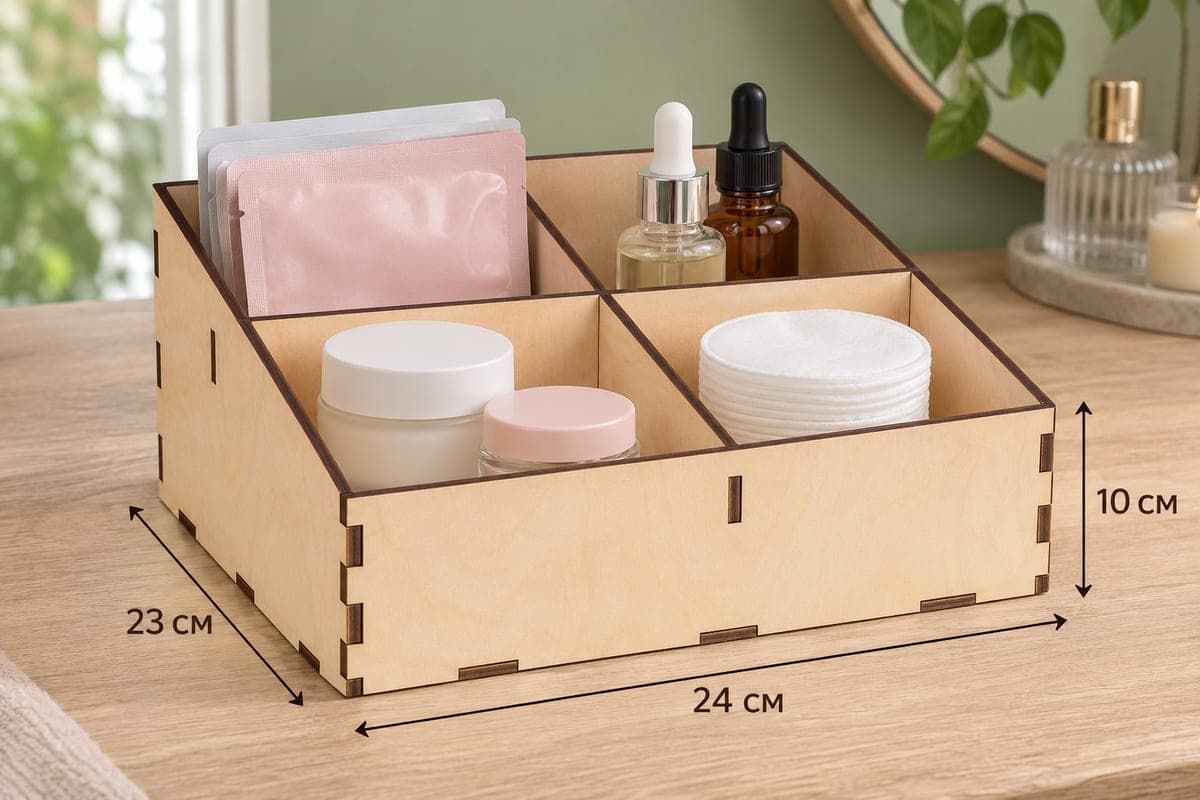
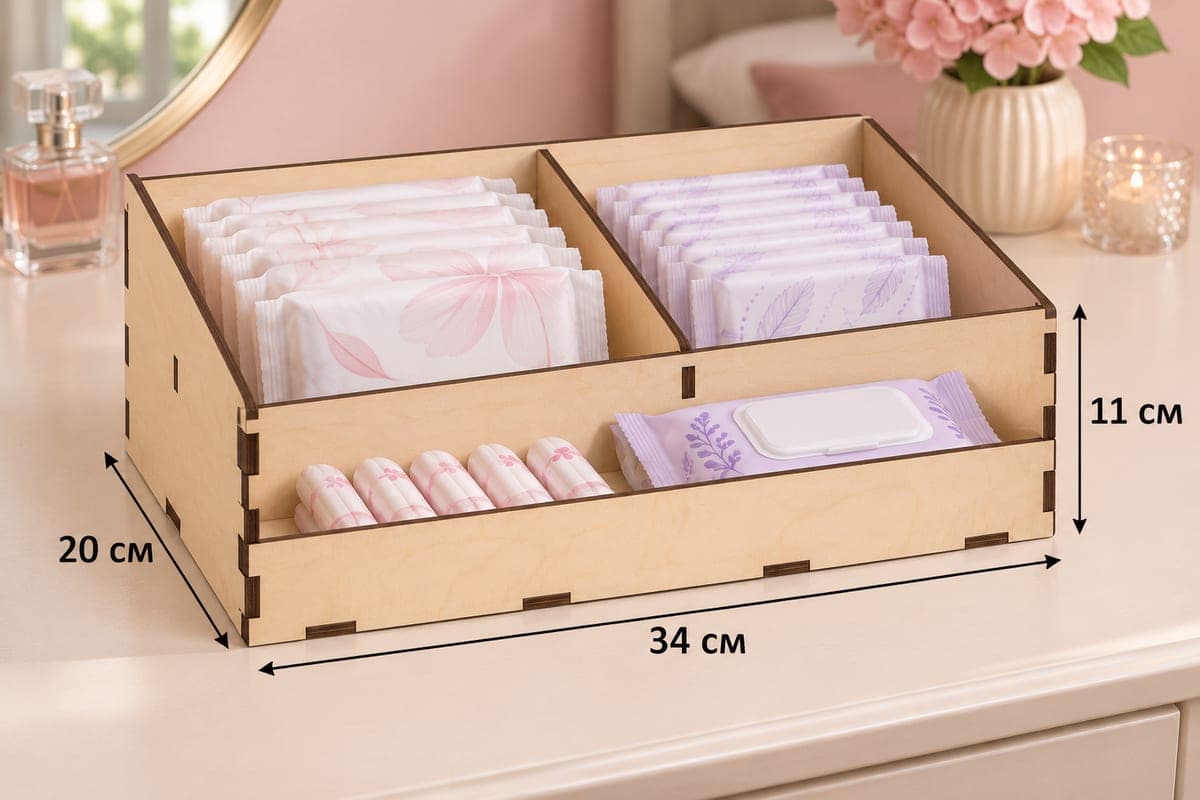
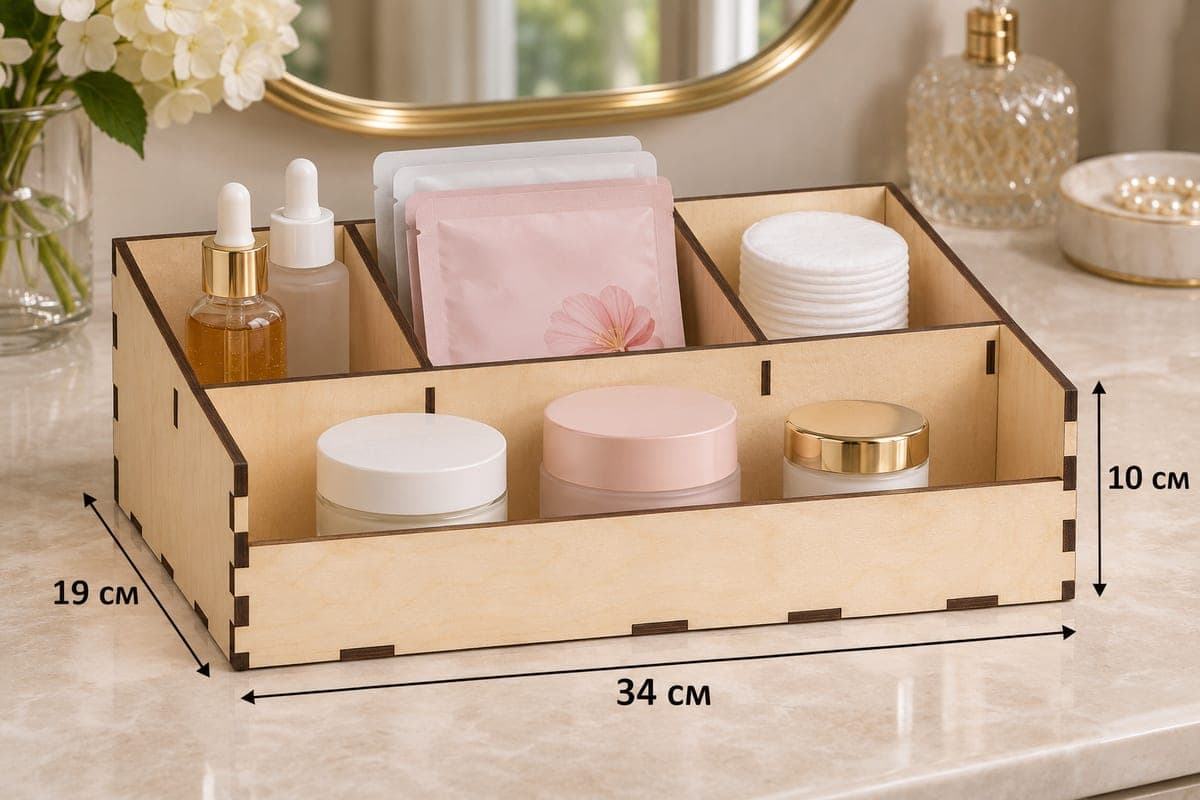
 Visualization
Serum Organizer SVG, Cream Jar Holder Laser Cut File, Wooden Skincare Display Box DXF, Vanity Riser
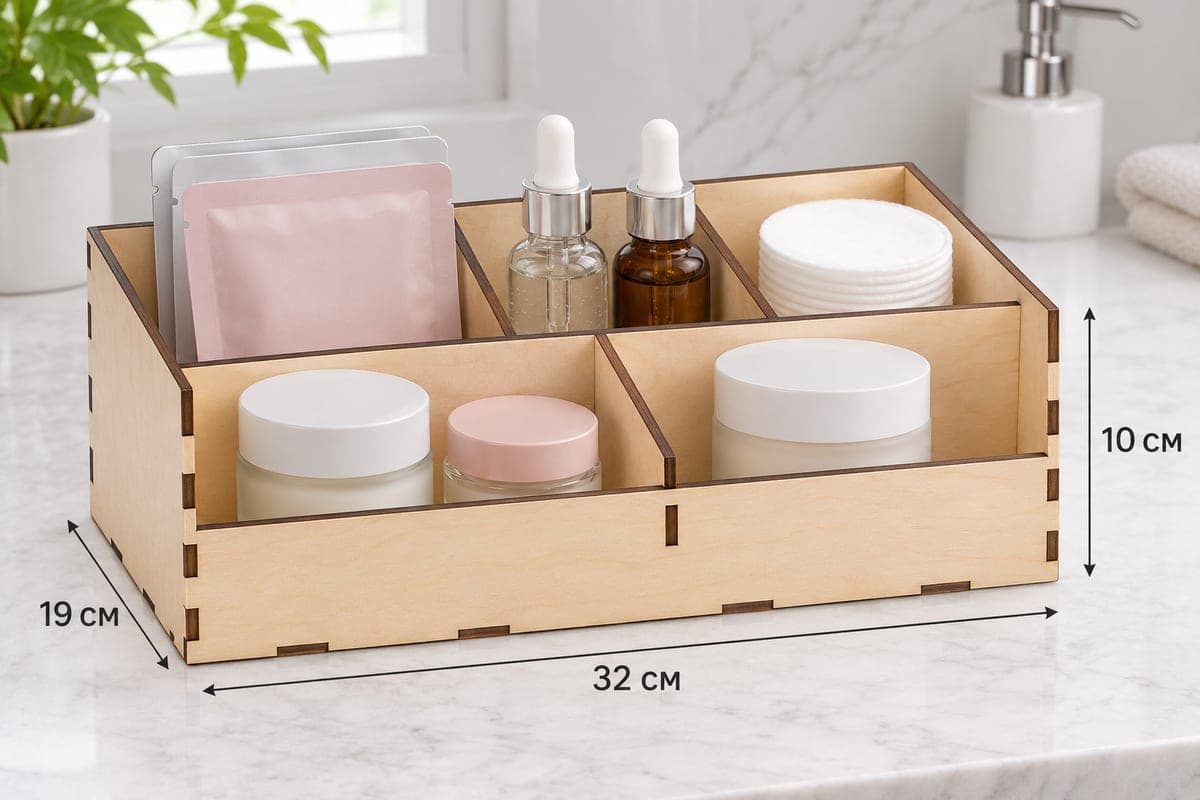
A serum and cream jar organizer with three back cells and one open front row, delivered as SVG and DXF with separate files for 3, 4, 5 and 6 mm plywood. Its outer size is 340 × 190 × 100 mm (13.39 × 7.48 × 3.94 in), it is cut from 8 pieces, and the sides slope down to a 55 mm front. Tabs and slots join it, and it is a free download.
- Formats
- SVG, DXF
- Outer size (W × D × H)
- 340 × 190 × 100 mm (13.39 × 7.48 × 3.94 in)
- Parts
- 8
- Material thickness
- 3, 4, 5 or 6 mm plywood (a file for each)
- Layout size (3 mm file)
- 1,080 × 302 mm
- Cut length
- 6.22 m
- Est. time, 10 W diode (3 mm)
- 20 min 44 s
- Est. time, 40 W CO2 (3 mm)
- 8 min 38 s
- Layers
- CUT only, no engraving
Free account required to download
How to make it
- 01Open the file that matches your plywood thickness and cut one slot from a scrap piece to confirm a firm fit.
- 02Cut the 8 parts: front, back, two sloped sides, base, the long cross divider and two short dividers.
- 03Lock the two short dividers and the cross divider into the base, then fit the back wall, both sides and the 55 mm front.
- 04Sand, coat the inside with lacquer or hardwax oil, then stand serums in the back cells and line jars along the open front row.
Built around a row of jars
Most trays in this set split the front as well as the back. This one keeps the whole front row open: a cross divider runs the full 340 mm and only the back row is divided, by two full-height dividers, into three cells. So you get four bays, and the front one is long enough for three cream jars side by side, or for jars of different diameters without having to match them to cell sizes.
In the photo the back left cell holds two serum dropper bottles, the middle one a stack of sheet masks, and the right one cotton pads. The front row shows a white, a pink and a gold-lidded jar on a marble vanity.
Cutting and assembly
The 3 mm layout is 1080 × 302 mm. If your machine cannot take that length, cut the base and the long cross divider on one sheet and the walls on another. The 3 mm file needs about 20 min 44 s on a 10 W diode, about 8 min 38 s on a 40 W CO2 and about 4 min 09 s on a 100 W CO2. A diode cuts 3 mm in one or two passes; 5 and 6 mm sheets need a CO2 or more passes.
Assemble the two short dividers and the cross divider into the base first, as one unit. Then add the back, the two sloped sides and the low front. Tab-and-slot joints hold dry; glue is optional.
Finishing
Cream jars often leave greasy rings, so a wipeable finish is worth it. Two coats of clear lacquer or a hardwax oil on the base let you clean the front row with a damp cloth.
Sell it as a serum display for a beauty counter, or gift it with three jars already in the front row.
Questions about this file
Why is the front row not divided?
The open front row lets you place three or four jars of any diameter without matching them to fixed cells.
Can I add dividers to the front row?
Yes, draw short dividers the height of the front row and add matching slots to the base and cross divider in your design software.
Which plywood thickness is easiest on a diode laser?
Use the 3 mm file; a 10 W diode cuts it in one or two passes. Thicker files cut fine on a CO2.
Can I scale it to fit a smaller shelf?
You can, but the slots shrink with it and stop matching your sheet, so correct them to your material thickness after scaling.
Is engraving included?
No, the file has cut lines only. Add your own text or a logo to the front panel before cutting if you want one.
Similar files