 Visualization
Jewelry Tray SVG, Earring Ledge Organizer DXF, Two Bay Watch and Bracelet Tray Laser Cut File
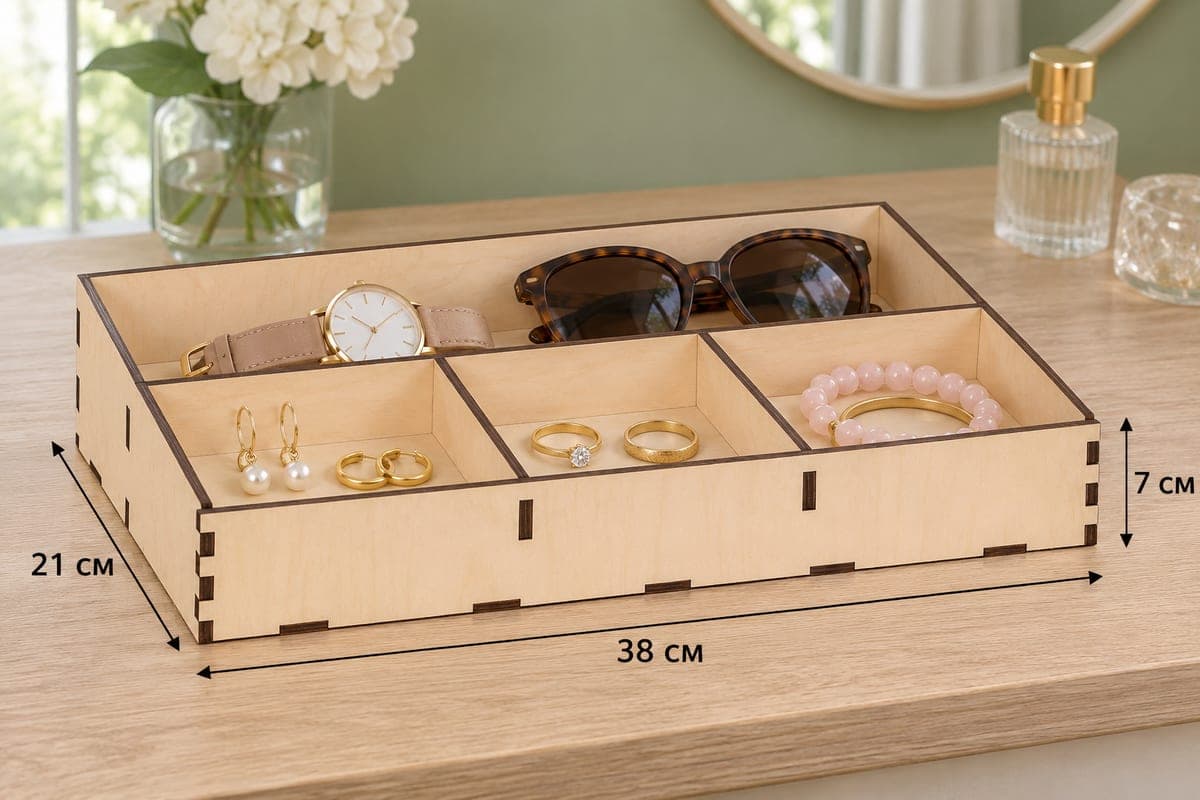
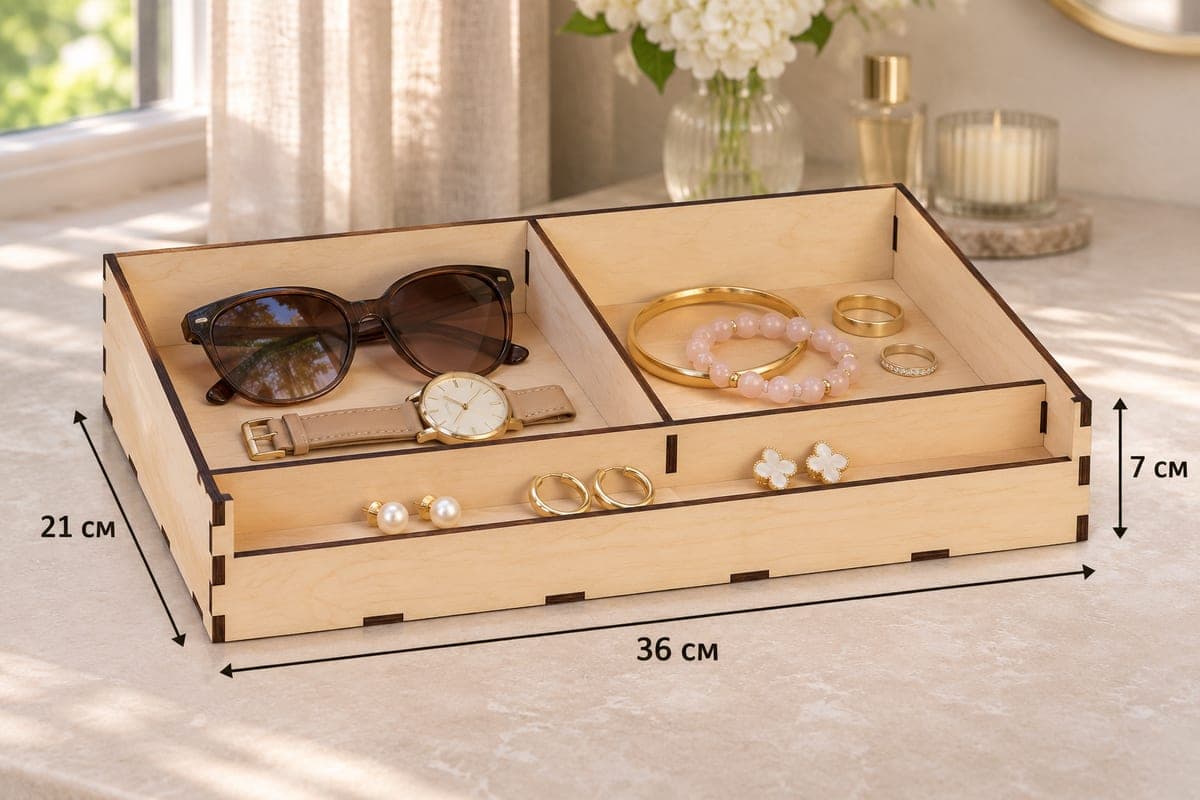
A jewelry tray with two deep bays at the back for sunglasses, a watch and bracelets and a long, low front ledge for earrings, three compartments in total, with a steep slope from a 70 mm back to a 35 mm front. It measures 360 × 210 × 70 mm (14.17 × 8.27 × 2.76 in), has 7 tab-and-slot pieces and comes as a free SVG and DXF download for 3, 4, 5 and 6 mm plywood.
- Formats
- SVG, DXF
- Outer size (W × D × H)
- 360 × 210 × 70 mm (14.17 × 8.27 × 2.76 in)
- Parts
- 7
- Material thickness
- 3, 4, 5 or 6 mm plywood (a file for each)
- Layout size (3 mm file)
- 1,160 × 292 mm
- Cut length
- 5.92 m
- Est. time, 10 W diode (3 mm)
- 19 min 45 s
- Est. time, 40 W CO2 (3 mm)
- 8 min 14 s
- Layers
- CUT only, no engraving
Free account required to download
How to make it
- 01Choose the file for your plywood and test-cut a single slot so the divider tabs slide in firmly.
- 02Cut the seven parts, splitting the 1160 mm layout over three sheets if needed.
- 03Slot the short divider into the cross divider, place both in the base, then fit the 70 mm back, the sloped sides and the 35 mm front.
- 04Sand the sloped edges, oil the tray and lay earrings along the front ledge with larger pieces in the two bays.
Two bays and a ledge
A full-height cross divider sits near the front and leaves a long, shallow ledge in front of it. Behind the divider, a single short divider splits the rest into two equal bays. So the tray has three compartments: a left bay, a right bay, and the ledge running the whole 360 mm width.
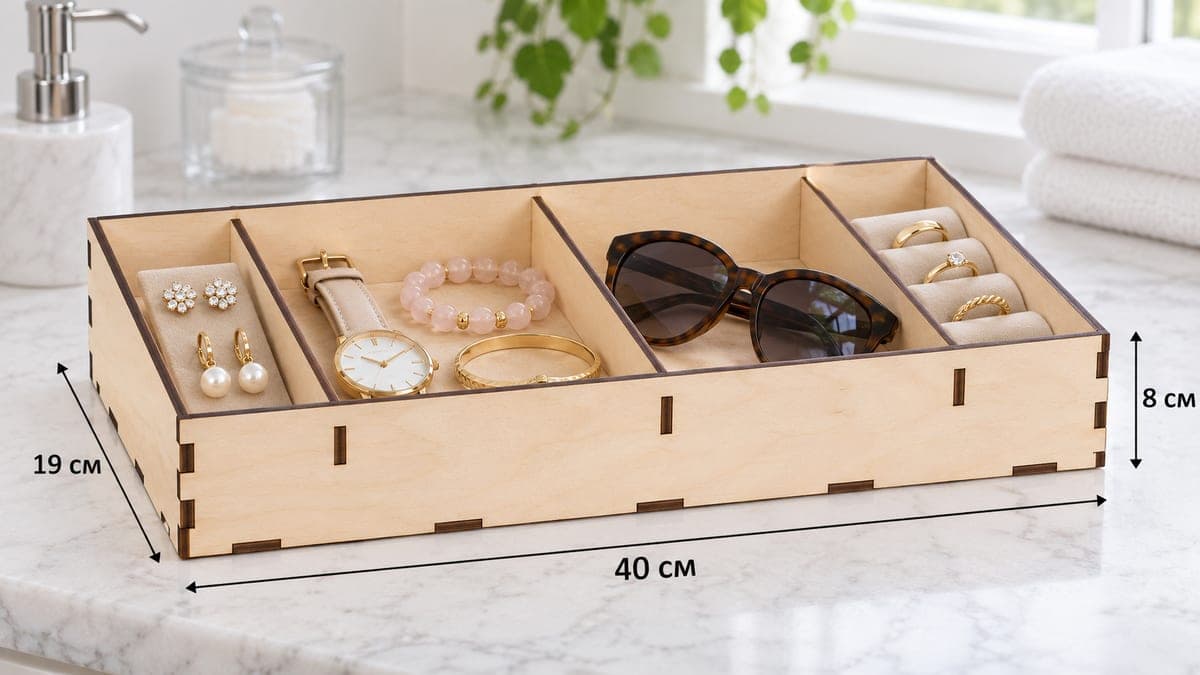
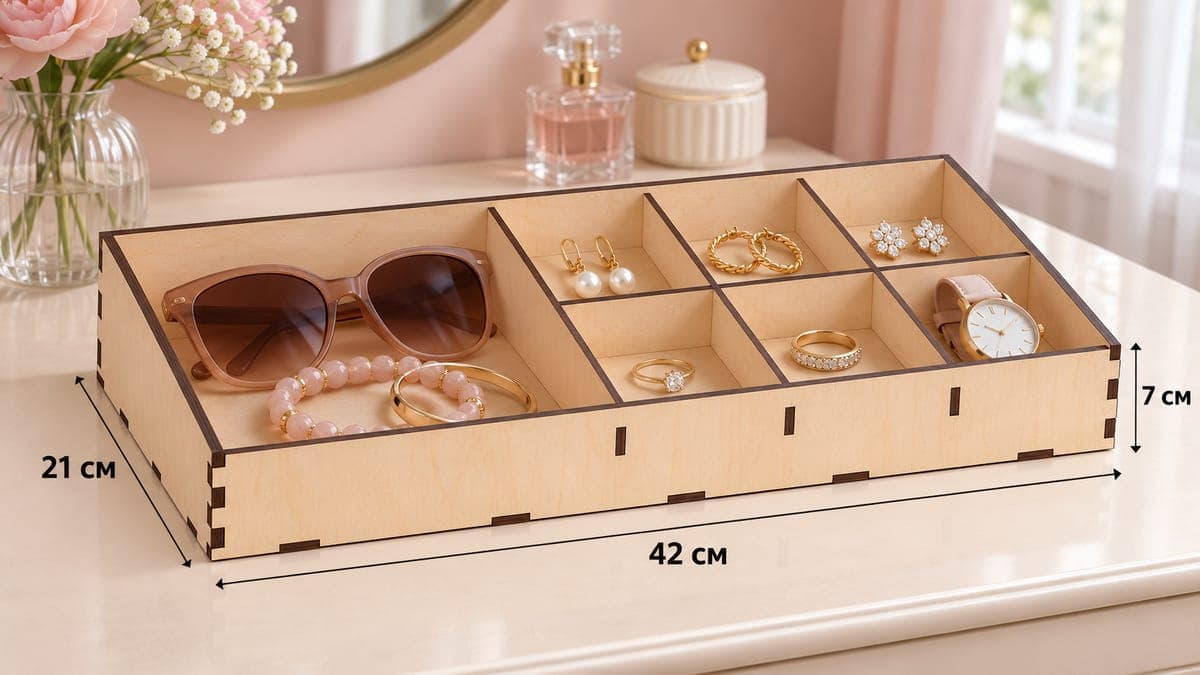
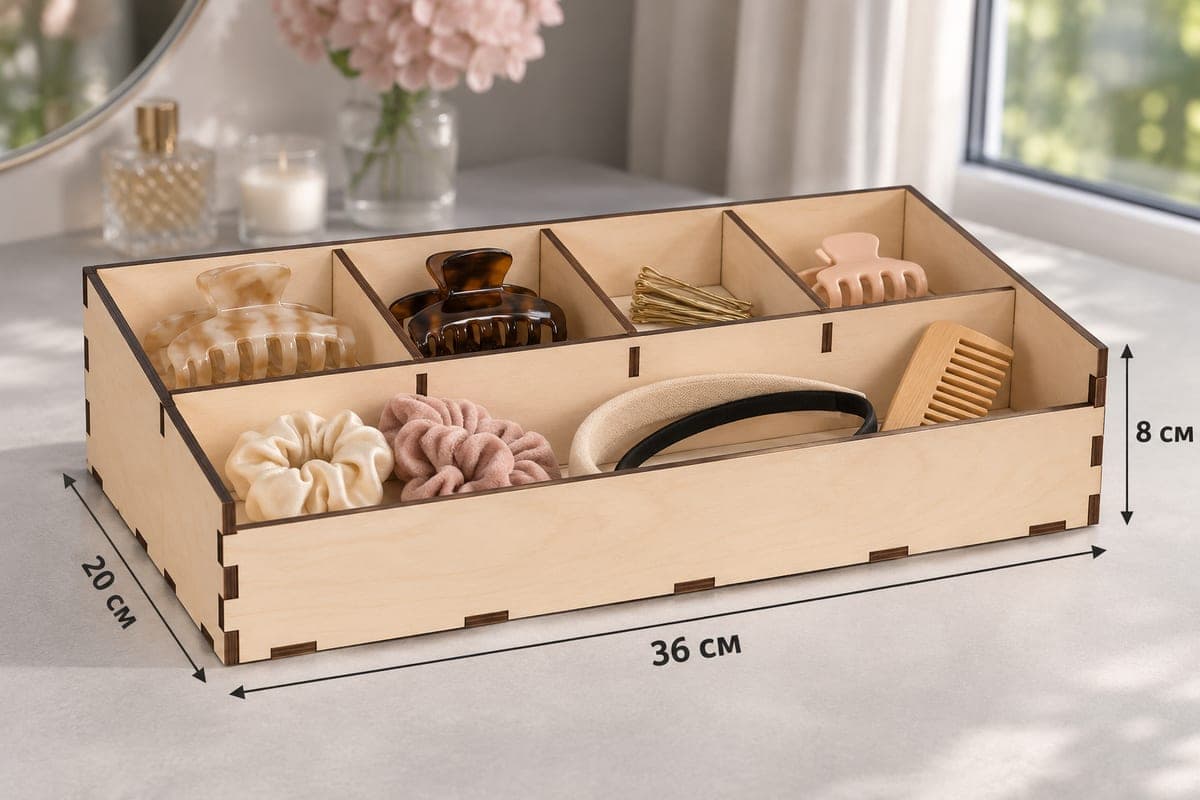
The front wall is only 35 mm tall, half the height of the back. That makes the ledge feel like a display shelf: earrings laid on it are at eye level when you look down. In the photo it holds pearl studs, gold hoops and flower earrings, while the back bays take sunglasses with a watch on one side and a bangle, a beaded bracelet and two rings on the other.
Cutting and assembly
Seven parts: front, back, two sloped sides, base, cross divider and one divider. On the clock, the job for the 3 mm file is about 19 min 45 s on a 10 W diode, about 8 min 14 s on a 40 W CO2 and about 3 min 57 s on a 100 W CO2. The layout measures 1160 × 292 mm; split it over three sheets on a small bed. With a diode, 3 mm is a one- or two-pass job; the 5 and 6 mm files need more power.
Push the short divider into the cross divider, set them in the base, then add the back, sides and the low front. It holds together without glue. Because the sides slope steeply, sand their top edges well. A coat of clear oil brings out the grain.
Gift and selling ideas
- Fill the ledge with a row of earrings as a birthday gift.
- Earring makers can use it to show a collection on a market table.
- Offer it with a name engraved on the front panel (add the text yourself).
Questions about this file
How deep is the front earring ledge?
It runs the full 360 mm width between the low front wall and the cross divider, a shallow strip sized for a row of earrings or rings.
Will earrings slide off the ledge?
No, the 35 mm front wall still rises well above the base. A strip of felt on the ledge stops studs from rolling.
Is it sturdy enough to carry to a market stall?
In 4 or 5 mm plywood with a drop of glue in each joint it travels well. The 3 mm version is lighter and better suited to a dresser.
Can I cut it from 3 mm acrylic?
Yes, with the 3 mm file. Check the actual sheet thickness and glue the joints with acrylic cement.
Can I add a name to the front?
The file has no engraving, but you can add text to the front panel in your laser software and engrave it before cutting.
Similar files