 Visualization
Flatware Organizer SVG, Cutlery Tray With Side Pockets Laser File, Drawer Divider Box DXF, Utensil Insert
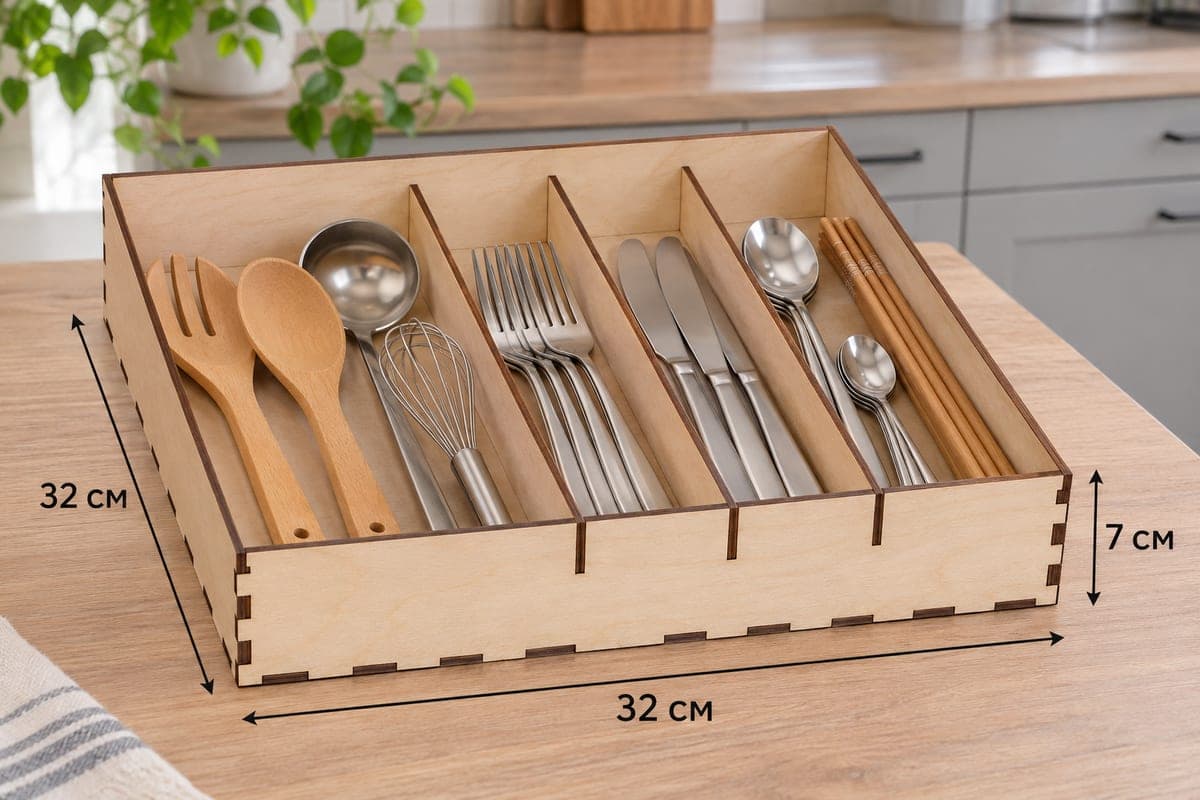
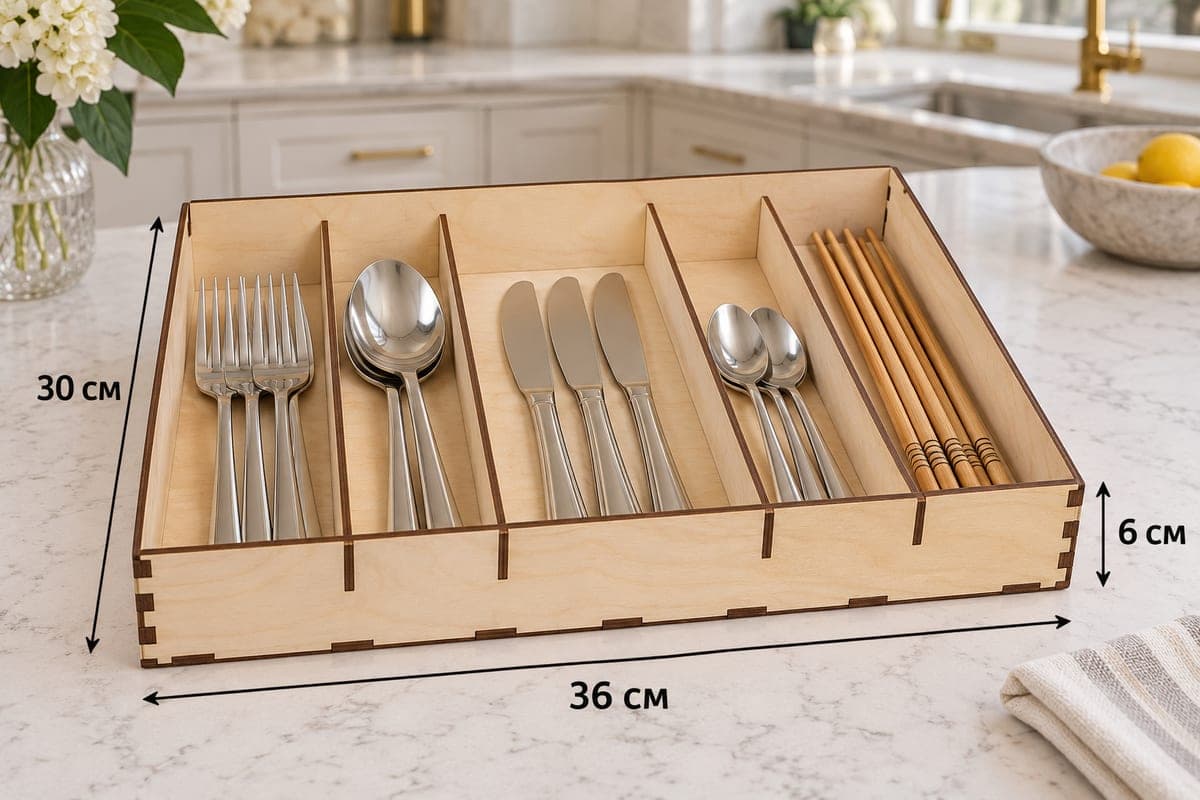
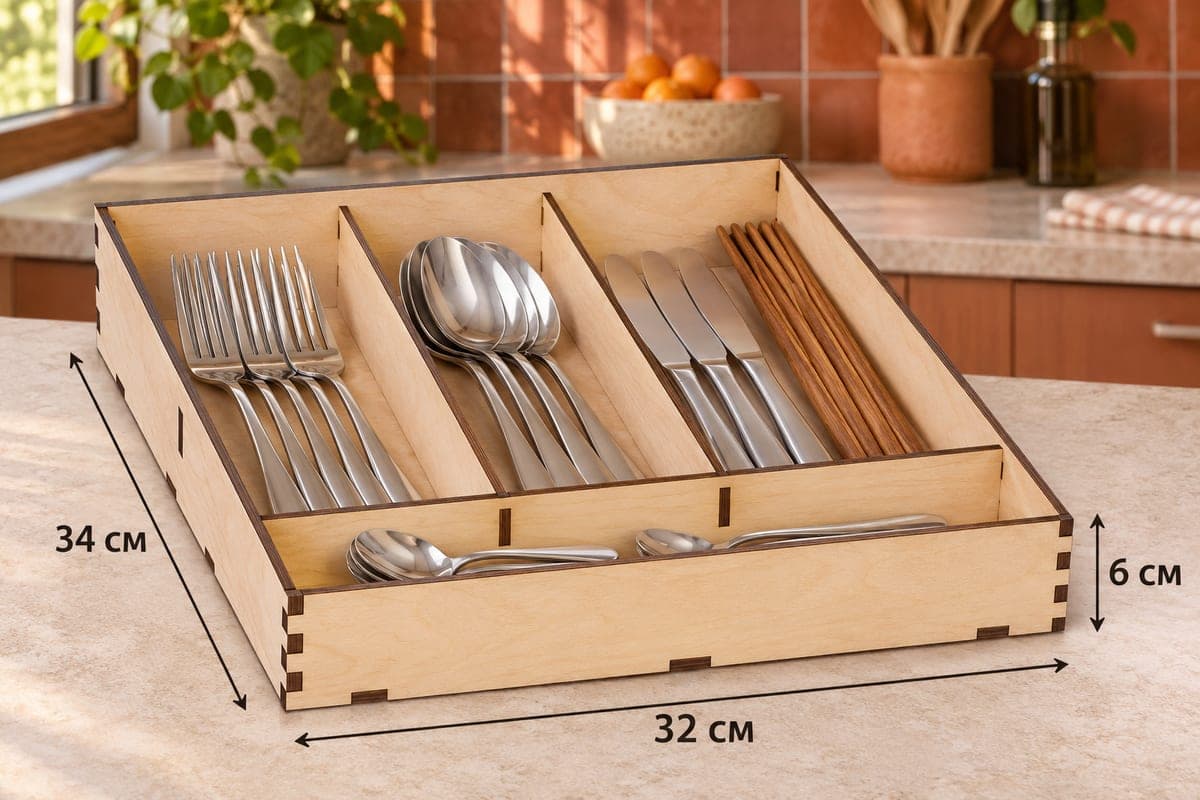
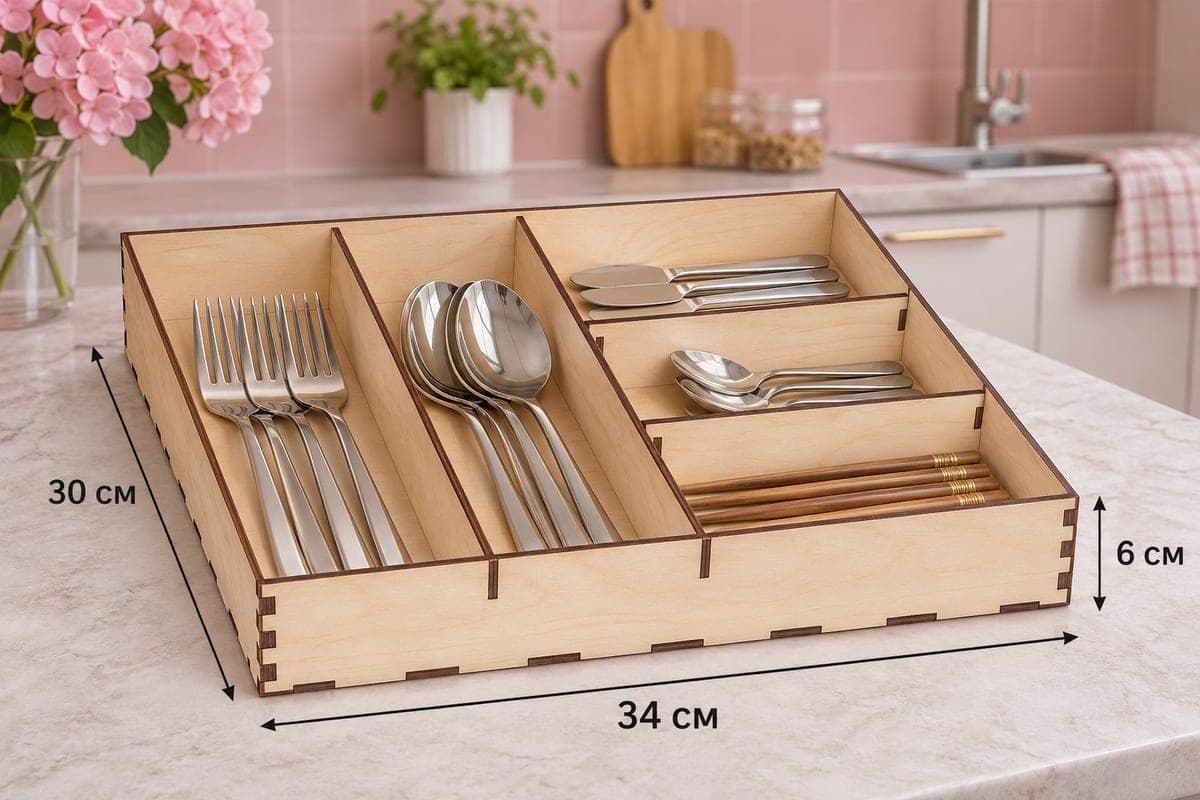
A flatware tray that combines two long lanes with a column of three stacked pockets, five compartments in all, cut as SVG and DXF in separate files for 3, 4, 5 and 6 mm plywood. Outer size 340 × 300 × 60 mm (13.39 × 11.81 × 2.36 in); 9 pieces with two long dividers and two short cross dividers; tab-and-slot assembly; free to download.
- Formats
- SVG, DXF
- Outer size (W × D × H)
- 340 × 300 × 60 mm (13.39 × 11.81 × 2.36 in)
- Parts
- 9
- Material thickness
- 3, 4, 5 or 6 mm plywood (a file for each)
- Layout size (3 mm file)
- 1,300 × 372 mm
- Cut length
- 7.84 m
- Est. time, 10 W diode (3 mm)
- 26 min 08 s
- Est. time, 40 W CO2 (3 mm)
- 10 min 53 s
- Layers
- CUT only, no engraving
Free account required to download
How to make it
- 01Select the folder matching your plywood thickness and cut a test slot in a scrap strip to check the fit.
- 02Cut the base, four walls, the two long dividers and the two short cross dividers.
- 03Insert the two long dividers, slide the cross dividers into place on the right side, then add the side walls and finish with the front and back.
- 04Sand, seal, and load forks and spoons into the long lanes, with knives, teaspoons and chopsticks across the three side pockets.
Two lanes and a column of pockets
Two long dividers create a pair of full-depth lanes on the left for forks and dinner spoons. The right part of the tray is wider and is split by two short cross dividers into three stacked pockets, each holding items sideways: table knives at the back, teaspoons in the middle, chopsticks at the front in the photo. Short items lying across the tray waste less space than they would in a long lane, which is why this layout fits a lot into 340 by 300 mm.
Thickness, cutting and assembly
The cross dividers are only about 154 mm long, so they stay rigid even in 3 mm plywood. Pick 3 or 4 mm for a light drawer insert, or 5 to 6 mm if the tray will be lifted out and carried to the table.
The 3 mm layout is 1300 × 372 mm. If your laser bed is smaller, place the base on one sheet and the walls and dividers on the next one or two. The 3 mm file takes about 26 min 08 s on a 10 W diode, about 10 min 53 s on a 40 W CO2 and about 5 min 14 s on a 100 W CO2. On a diode, 3 mm usually needs one or two passes, and 5 to 6 mm several.
Set the two long dividers first, then drop the cross dividers in between the right-hand long divider and the side wall. Add the walls and press the corners together. Glue is optional. Sand the edges and seal with clear lacquer or oil so the tray wipes clean.
Gift idea
Fill the side pockets with a set of chopsticks and dessert spoons and give it as a ready-to-use drawer kit to a student moving into a first flat.
Questions about this file
Do table knives fit across the side pockets?
The side pockets are about 154 mm wide, which suits teaspoons, chopsticks and shorter knives; long table knives fit better in one of the full-depth lanes.
Can I swap the pocket column to the left side?
Turn the tray around so the front faces the back of the drawer and the pockets end up on the left; the joints are the same at both ends.
Is it strong enough in 3 mm plywood?
Yes for a drawer insert; the short cross dividers brace the right side and keep the walls square.
Would clear acrylic work for this tray?
Acrylic of matching thickness works and looks smart in a modern kitchen, but use the 3 or 4 mm file and assemble slowly to avoid cracking a tab.
Should I glue the cross dividers?
They sit firmly without glue; a small dab helps only if you lift the tray out often.
Similar files