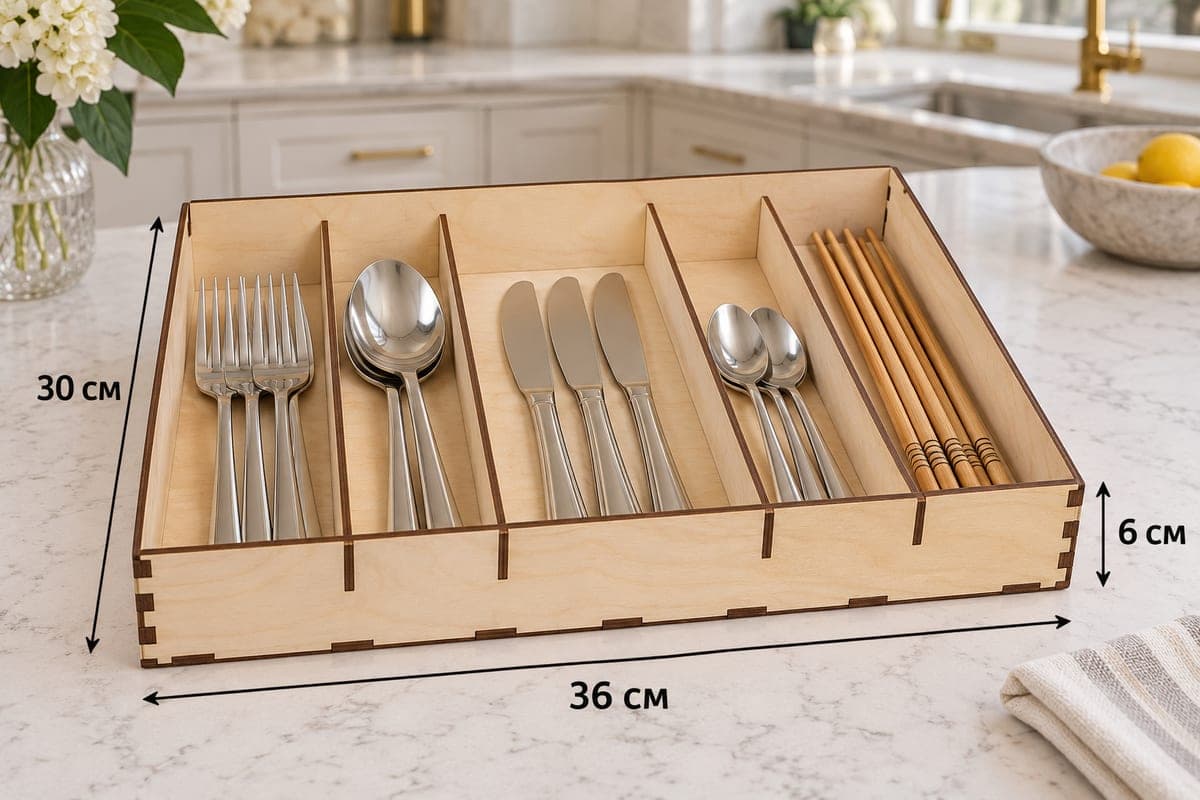
 Visualization
Silverware Organizer SVG, Five Compartment Cutlery Tray Laser Cut File, Wide Drawer Utensil Insert DXF
A five-slot silverware organizer for a wide kitchen drawer, provided as SVG and DXF with separate files for 3, 4, 5 and 6 mm plywood. It measures 360 × 300 × 60 mm (14.17 × 11.81 × 2.36 in), has 9 pieces including four full-depth dividers, and goes together with tabs and slots. It is a free file.
- Formats
- SVG, DXF
- Outer size (W × D × H)
- 360 × 300 × 60 mm (14.17 × 11.81 × 2.36 in)
- Parts
- 9
- Material thickness
- 3, 4, 5 or 6 mm plywood (a file for each)
- Layout size (3 mm file)
- 1,340 × 436 mm
- Cut length
- 8.76 m
- Est. time, 10 W diode (3 mm)
- 29 min 11 s
- Est. time, 40 W CO2 (3 mm)
- 12 min 10 s
- Layers
- CUT only, no engraving
Free account required to download
How to make it
- 01Choose the 3, 4, 5 or 6 mm file to match your plywood and cut a single slot as a fit test.
- 02Cut the base, front, back, two sides and four dividers, rearranging them over several sheets if needed.
- 03Stand the four dividers in the base, then add the side walls, and finish with the front and back panels to lock everything.
- 04Sand and seal the tray, then sort forks, spoons, knives, teaspoons and chopsticks into the five lanes.
Five lanes, one per utensil type
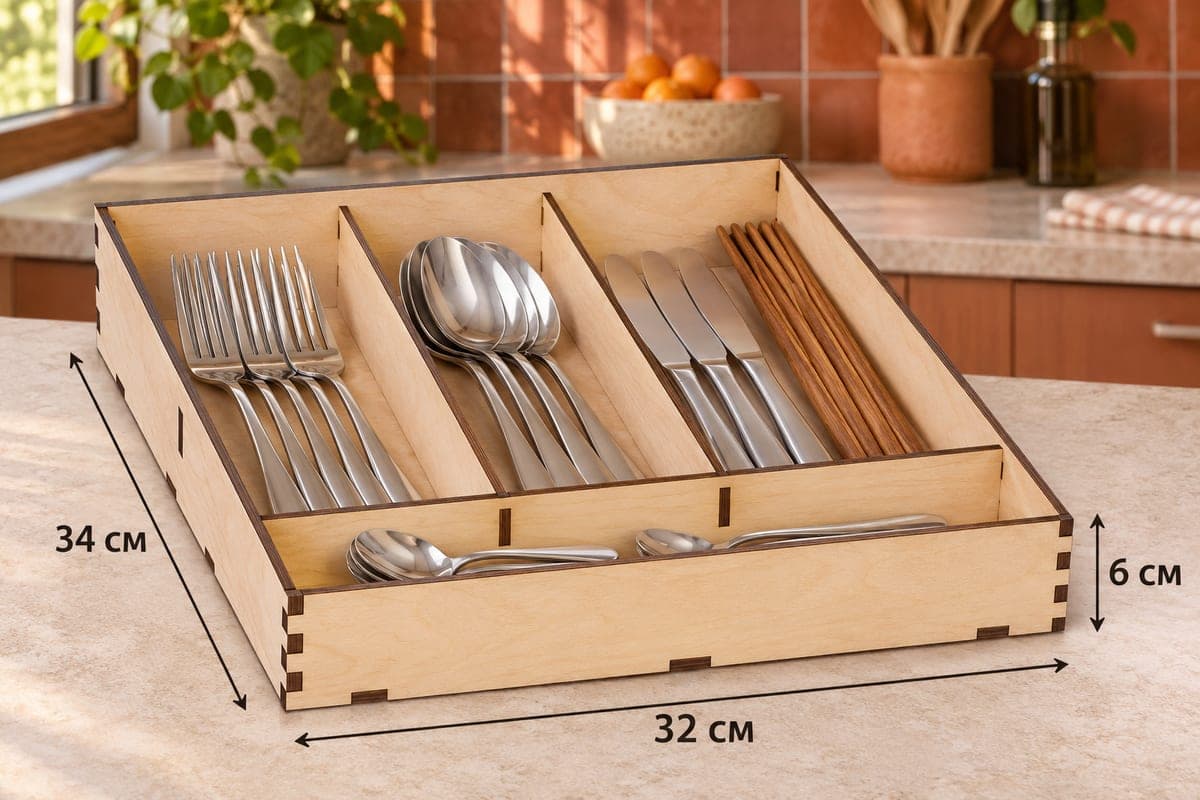
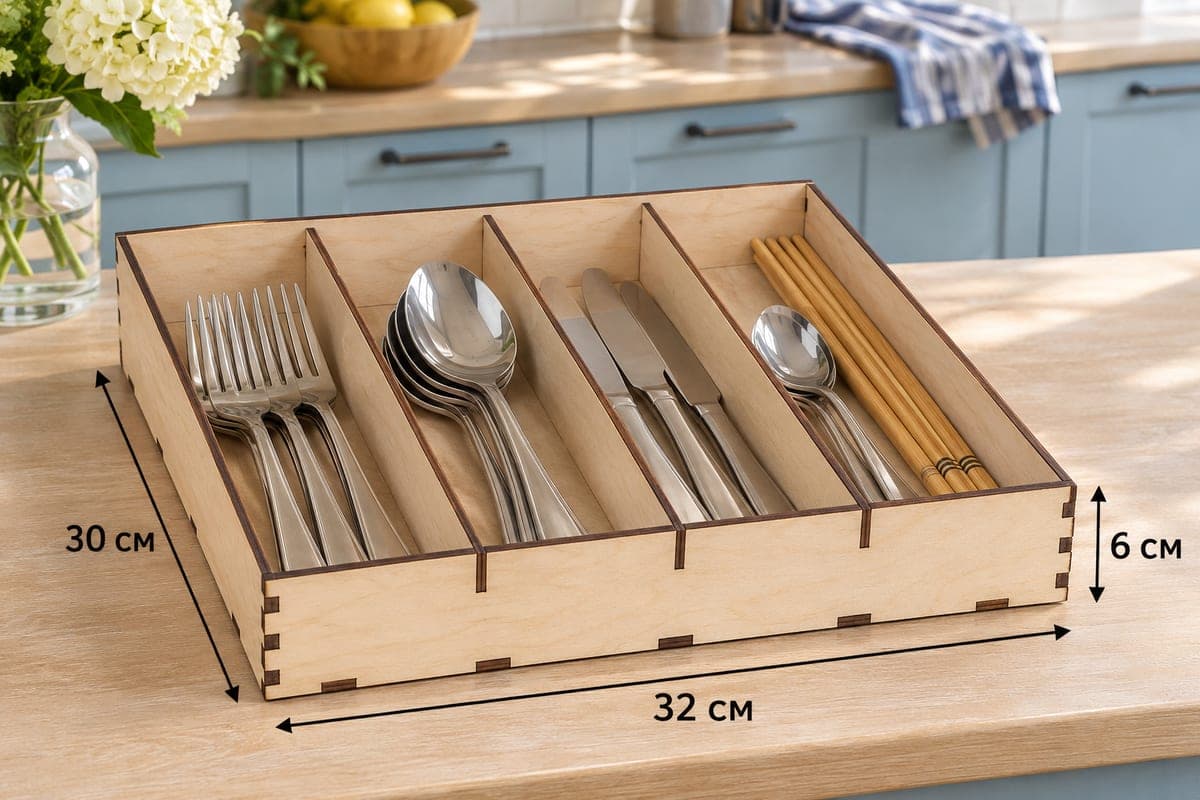
Four dividers split the 360 mm width into five lanes that run the full 300 mm depth. The photo shows a sensible order from left to right: dinner forks, soup spoons, table knives, teaspoons, and a narrow lane of wooden chopsticks. With a separate slot for each kind, nobody digs through a mixed pile to find a teaspoon. The walls are 60 mm high, so the tray suits a standard shallow cutlery drawer.
This is the wider of the straight-front trays in the set. Check that your drawer is at least 360 mm wide on the inside; if it is narrower, the four-slot version is the better pick. If you want to scale it, remember that the slots are drawn for the plywood thickness, so they must stay that width even when the outline changes.
Cutting and finishing
The 3 mm layout is 1340 × 436 mm. On a smaller bed, cut the base alone, then the four walls, then the four dividers. For the 3 mm file expect about 29 min 11 s on a 10 W diode, about 12 min 10 s on a 40 W CO2 or about 5 min 50 s on a 100 W CO2. A diode needs one or two passes on 3 mm and several on 5 to 6 mm. Sand off the scorch, then finish with clear lacquer or a kitchen-safe oil so drips from washed cutlery do not mark the wood.
Make it a set
Cut the five-slot tray together with a deep utensil tray for ladles and whisks and you have a matching pair for two drawers. Etsy buyers often look for exactly that kind of set for a new kitchen.
Questions about this file
How wide is each of the five lanes?
The 360 mm width is split evenly by four dividers, so each lane is a little under 70 mm wide depending on the plywood thickness you cut.
Can I leave one divider out to get a wider lane?
Yes, simply skip one divider; the empty slot in the base will show, so you may want to fill it with a little wood filler.
Will it work in acrylic?
It will if your acrylic matches one of the four thicknesses, but acrylic is brittle at the tabs, so press pieces together gently.
Is a 10 W diode enough for this tray?
For 3 mm plywood, yes, in one or two passes; for 6 mm use several slower passes or a CO2 laser.
How do I keep the tray from sliding in the drawer?
Stick small felt or silicone pads under the base corners; they add grip and protect the drawer bottom.
Similar files