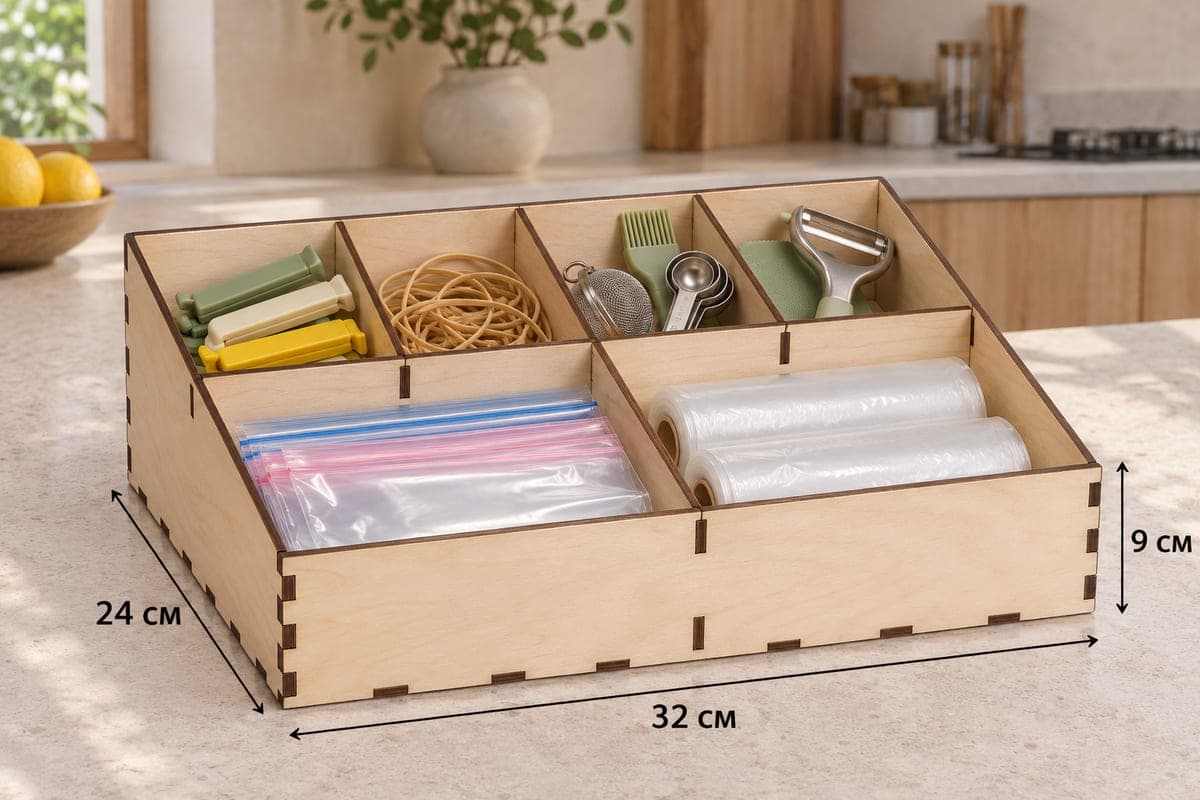
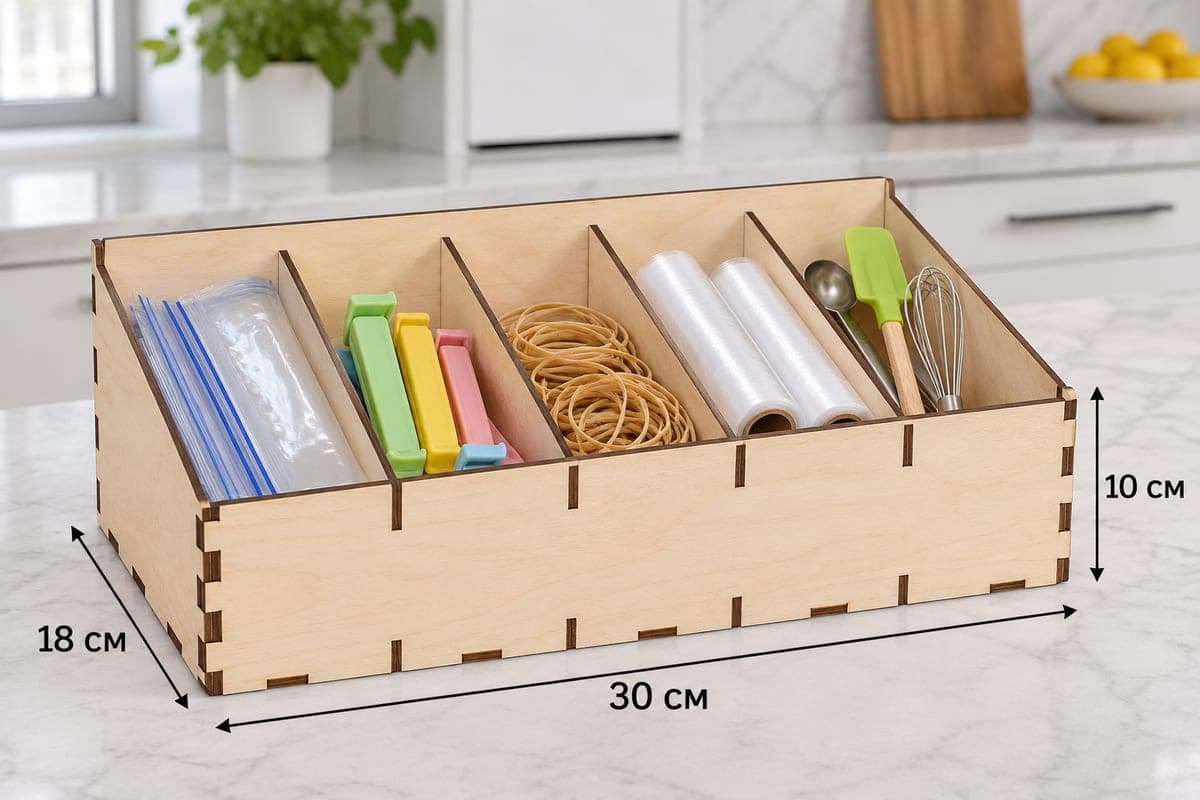
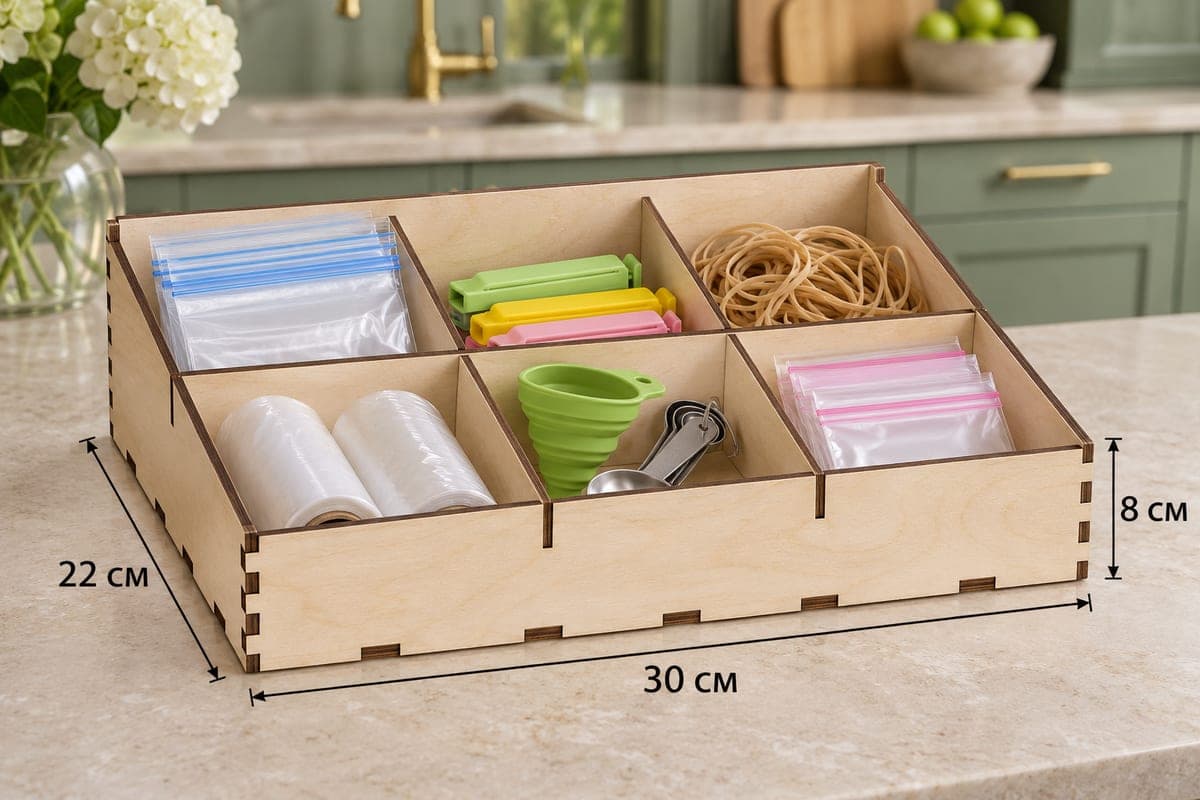
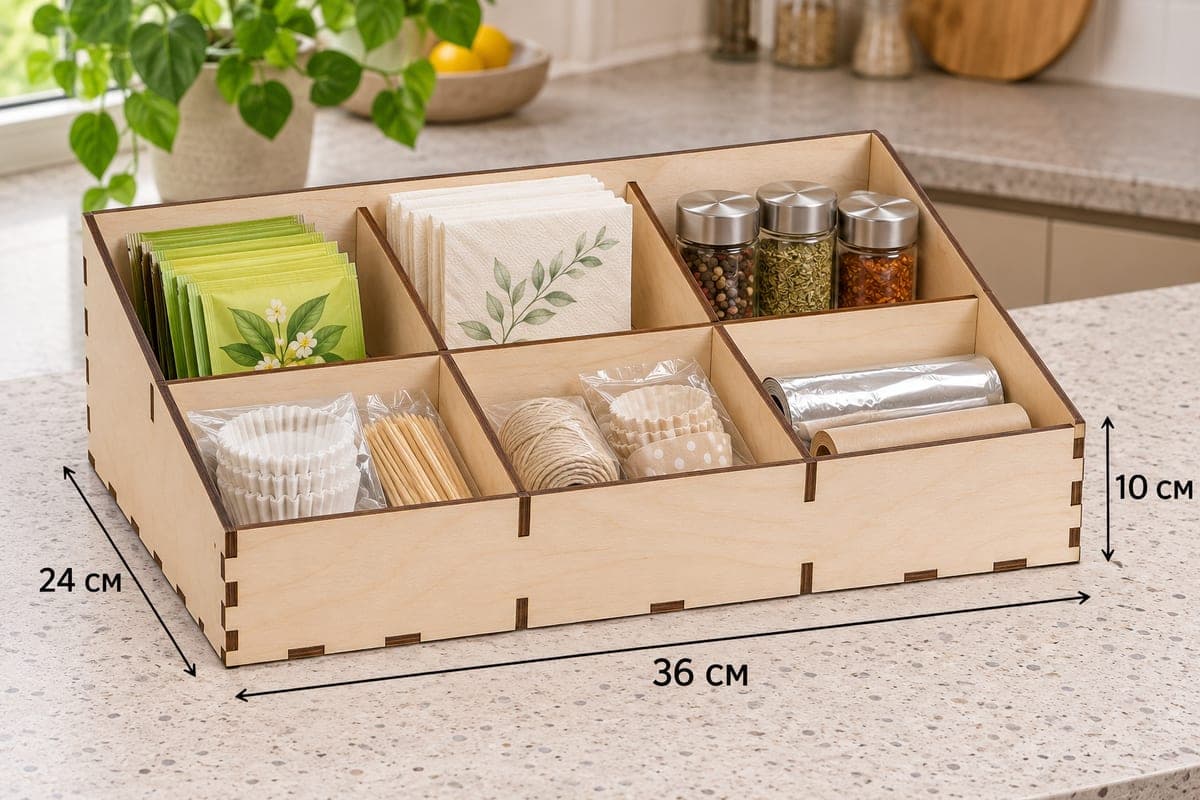
 Visualization
Foil and Wrap Organizer SVG, Cling Film Roll Caddy Laser Cut File, Kitchen Bag and Gadget Box DXF
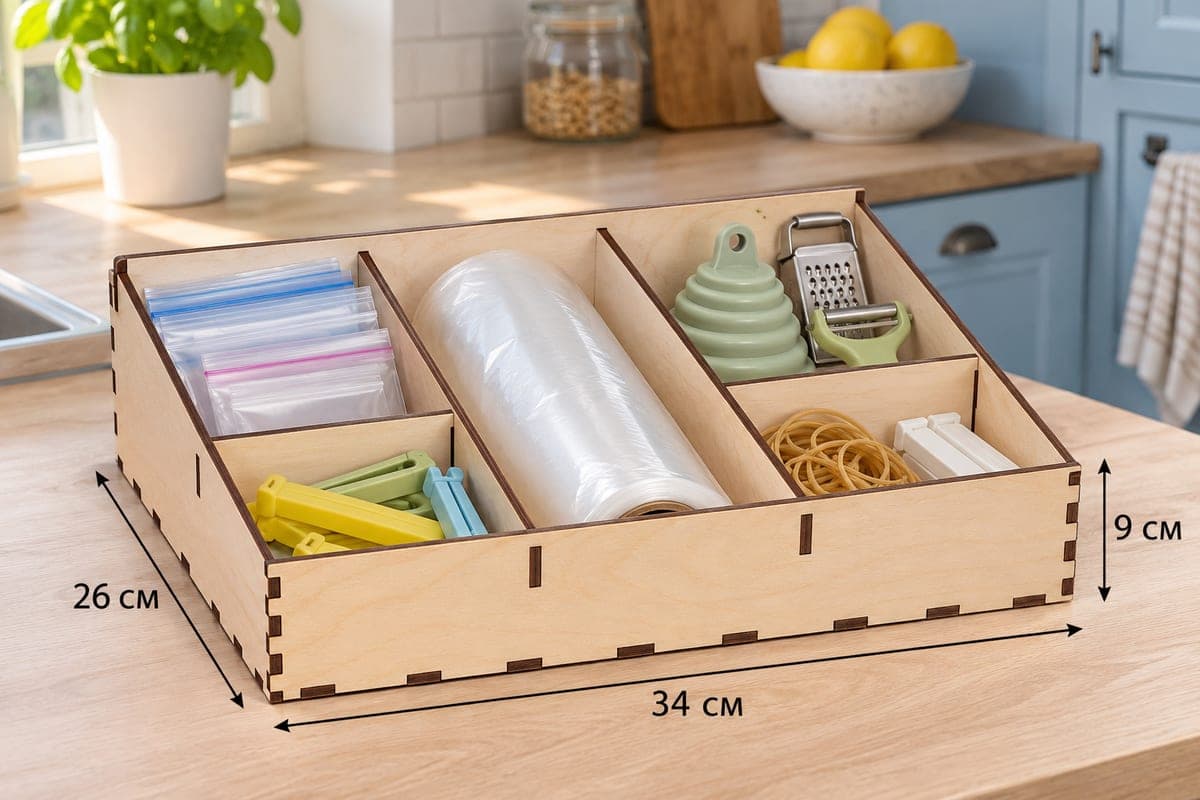
A sloped kitchen caddy with a full-depth center lane for a roll of foil or cling film, flanked by two side columns that are each split into a back and a front cell. It is supplied as SVG and DXF with separate files for 3, 4, 5 and 6 mm plywood, measures 340 × 260 × 90 mm (13.39 × 10.24 × 3.54 in), and is cut from 9 pieces into 5 compartments. The front drops to 45 mm, it joins with tabs and slots, and it is free to download.
- Formats
- SVG, DXF
- Outer size (W × D × H)
- 340 × 260 × 90 mm (13.39 × 10.24 × 3.54 in)
- Parts
- 9
- Material thickness
- 3, 4, 5 or 6 mm plywood (a file for each)
- Layout size (3 mm file)
- 1,220 × 362 mm
- Cut length
- 7.23 m
- Est. time, 10 W diode (3 mm)
- 24 min 06 s
- Est. time, 40 W CO2 (3 mm)
- 10 min 03 s
- Layers
- CUT only, no engraving
Free account required to download
How to make it
- 01Pick the 3, 4, 5 or 6 mm file and test one long divider in a scrap slot before cutting the full sheet.
- 02Cut the nine pieces, dividing the 1220 mm layout over two or three sheets if needed.
- 03Assemble base, sides and back, slide in the two long dividers, then the left and right cross dividers, and finish with the front.
- 04Sand and seal, lay the roll in the center lane, and sort bags, clips and gadgets into the four side cells.
A lane for the roll
Two long dividers run from front to back and leave an open center lane over the full 260 mm depth. A roll of cling film or foil lies in it lengthwise, pointing at you, so you can lift it out without disturbing anything else. Each side column gets one short cross divider, and the right column is a little wider than the left. On the left, zip bags stand in the back cell and bag clips wait in the front one; on the right, a folding funnel, a small grater and a peeler fill the back cell, with rubber bands and chip clips in front. That gives five compartments, all visible thanks to the slope from 90 mm down to 45 mm.
Cutting
The file has nine parts and a 3 mm layout of about 1220 × 362 mm, so it will not fit a desktop bed in one go; split it across two or three sheets. Cutting time for the 3 mm file is about 24 min 06 s on a 10 W diode, about 10 min 03 s on a 40 W CO2 and about 4 min 49 s on a 100 W CO2. For 5 or 6 mm boards, use a CO2 or run a diode in multiple passes at lower speed.
Seat the sloped sides in the base, add the back, fit both long dividers, then the two cross dividers, and close with the front. Glue is optional.
Finishing and selling
Sand the lane edges where the roll slides in and out, then oil or lacquer the box. Shoppers who keep wrap in a drawer like seeing the roll lane in the photo, so lead with it. It also works as a gift with a roll of beeswax wraps inside or as part of a three-piece kitchen set.
Questions about this file
Which way does the roll sit?
Lengthwise in the center lane, running front to back inside the 260 mm depth. Shorter rolls of foil or film fit; a full 30 cm roll is too long for this box.
Can I widen the center lane?
Move the long dividers in your editor and shift their slots in the base and walls to match. Keep every slot at your plywood thickness so the joints still lock.
MDF or plywood for this caddy?
Both cut well. Plywood is lighter and takes oil nicely, while MDF gives a smooth surface for paint.
What thickness holds up in a busy kitchen?
4 or 5 mm plywood stands up better to daily use than 3 mm, but needs a stronger laser or extra passes on a diode.
Can the front carry a name?
Yes, add an engraving to the front panel or one side before cutting; the download contains cut lines only.
Similar files